How are my friends from Hive? I hope you are doing well. Happy start of the week to all of you. Continuing with the construction and design of the jacket I want to present you the second part of this one. Here I will present the design of the sleeves and the collar. I hope you like it!

Sleeves
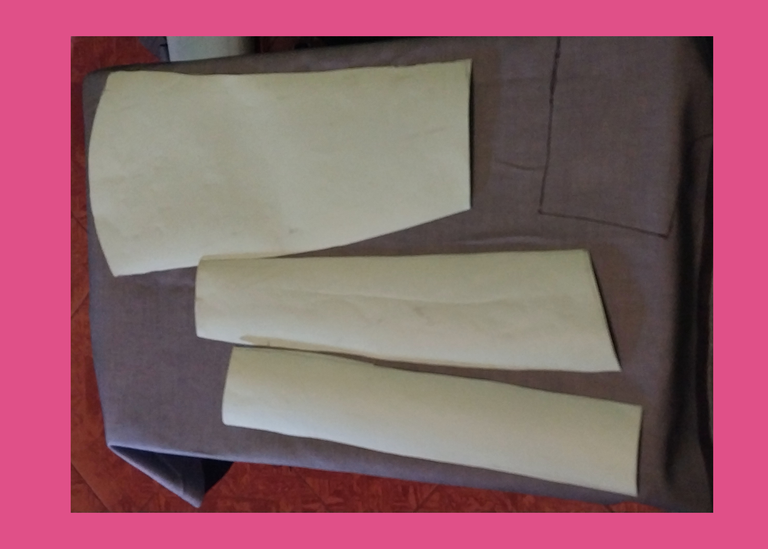
Starting from the patterns we must trace this shape on the fabric, we must copy the pair for each pattern, that is to say we would have 6 pieces in total.
1

We start by marking the pieces on the fabric with the help of a chalk, pencil or a marker.
2
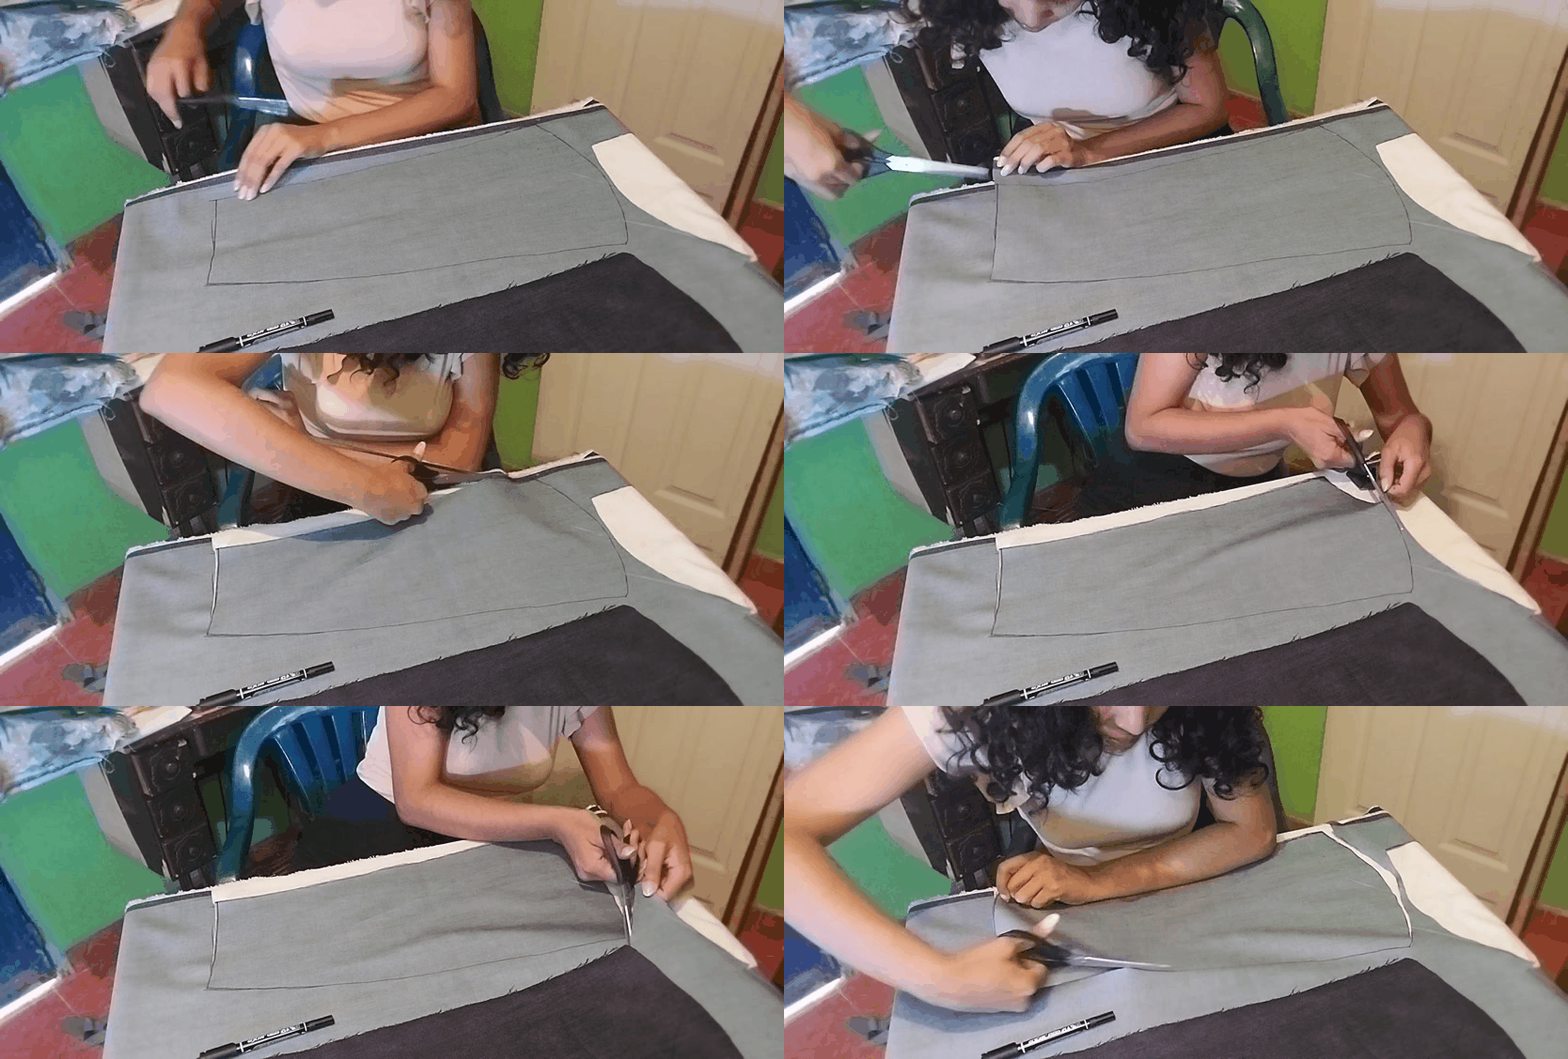
Then we must cut out the piece with the help of the scissors.

After we have the three pieces we must join them together by sewing.
3

Then we make a double on the smallest piece of our pattern and sew it to the edge of the largest piece of our sleeve.
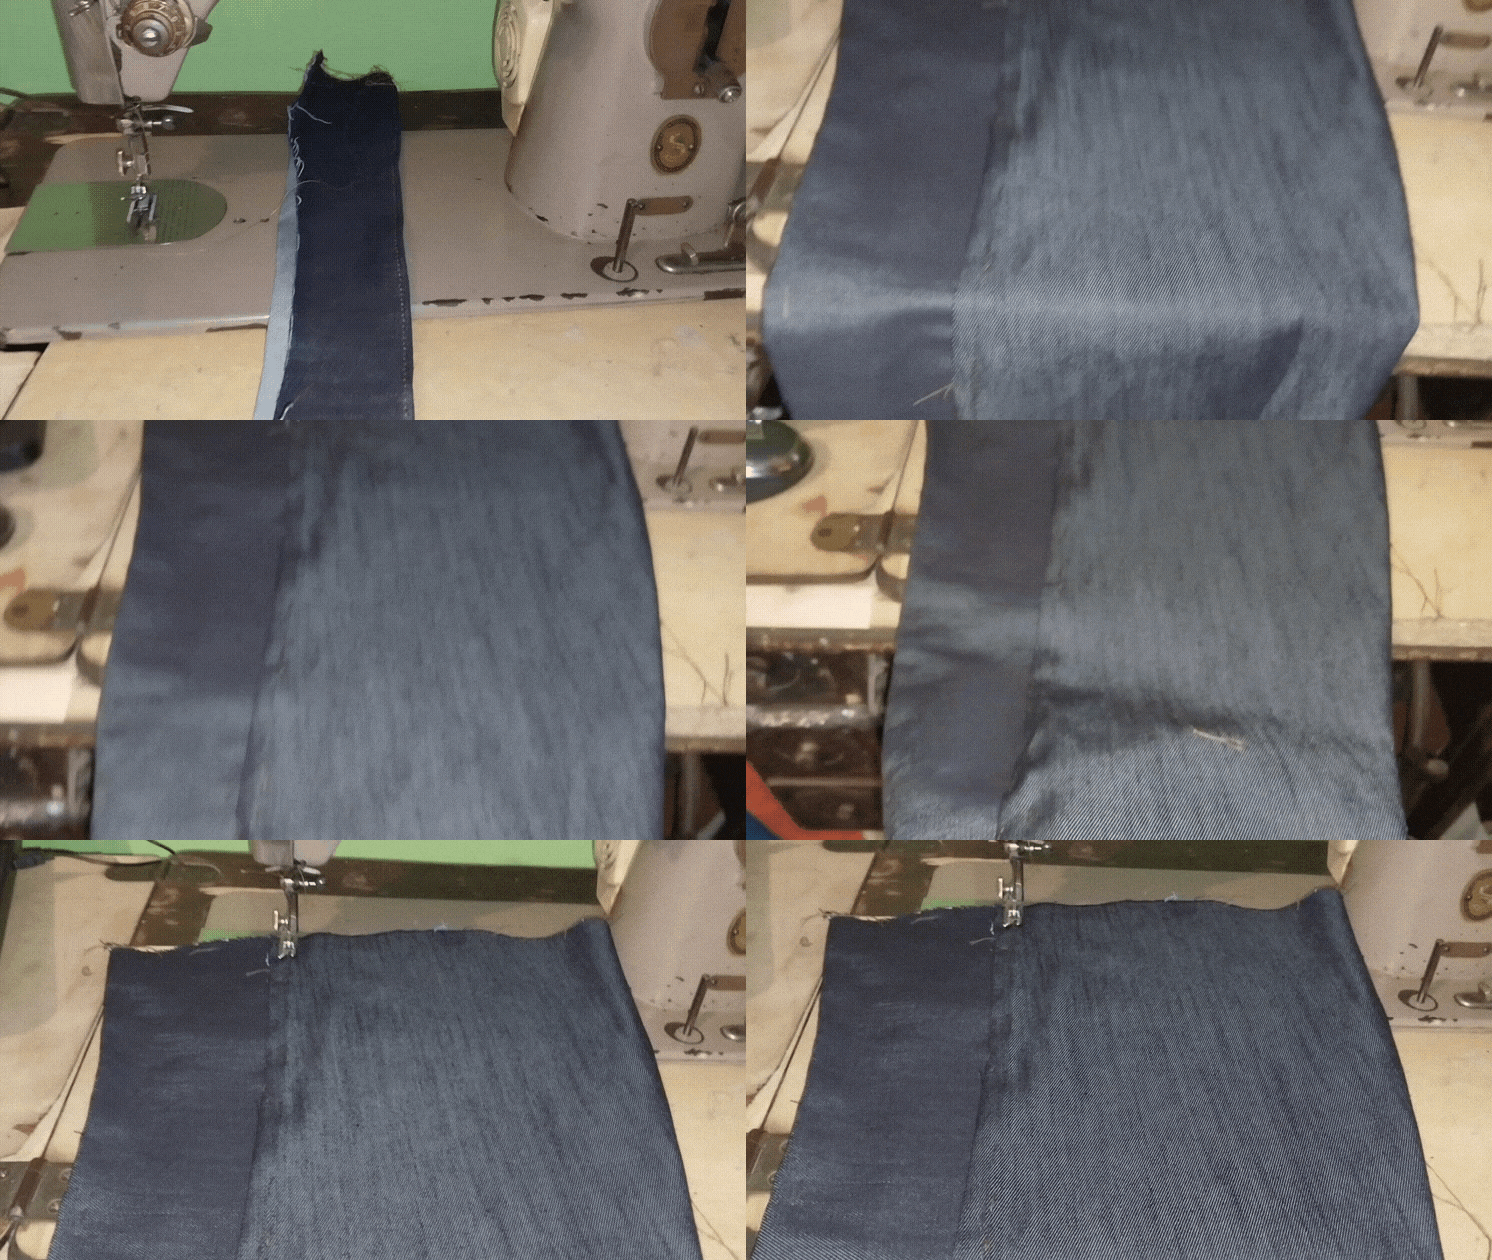
Here you can see the union of the sleeves.
4

Then we must sew the sleeve in the armhole area of our jacket.
1
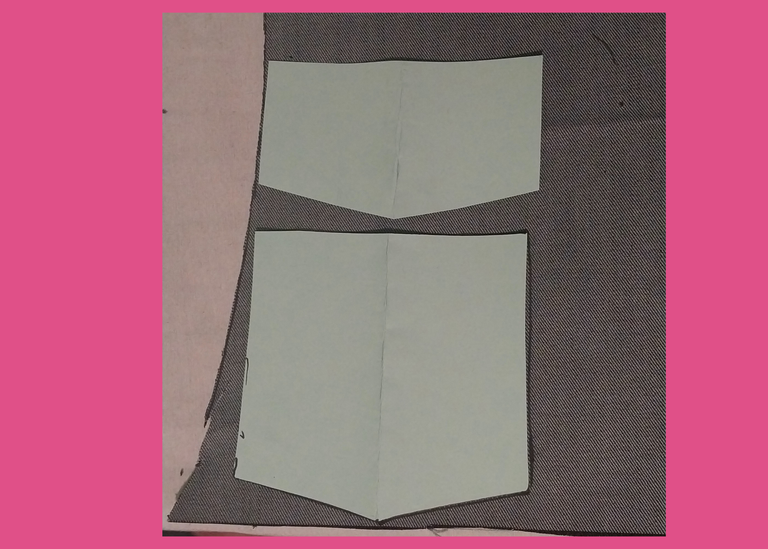
According to this pattern we should mark the pocket area. We should also mark two pieces of each pin on the fabric.
2

Then we fold the edges of the pockets and proceed to sew with needle and thread the shape of these, and then pass it to the sewing machine !
3

In the same way, we proceed to sew some stitches on the other pocket shape.
4

This is how the seam will look on the jacket fabric.
Neck
1

We mark this pattern on the fabric and draw two pieces on the fabric.
2

Once we have both pieces, we should sew the top part of the collar and leave the bottom part of the collar open.
3

Then we sew the top part of the collar and the vertical area that forms the collar to leave only the bottom part of the collar open.
4

Through the neck opening we must sew the neck opening.
5

This is how the collar area of our jacket will look like.

This would be the final result of our design!

- Images belong to me
- Translator: Deepl Traslator
- Editing: Canva

Que tal mis amigos de Hive? Espero que se encuentren muy bien. Feliz inicio de semana para todos. Continuando con la consfeccion y el diseño de la chaqueta quiero presentarles la segunda parte de esta. Aqui les presentaré el diseño de las mangas y el cuello. Espero que les guste!

Mangas

Partiendo de los patrones debemos de calcar esta forma en la tela, debemos copiar el par por cada patrón, es decir tendríamos 6 piezas en total.
1

Iniciamos marcando la piezas sobre la tela con la ayuda de una tiza , lapiz o algun marcador! .
2

Luego debemos recortar la pieza con la ayuda de la tijera.

Luego de que tengamos las tres piezas debemos unir estas a traves de costura.
3

Luego hacemos un dobles en la pieza más pequeña de nuestro patron y esta la cosemos en el borde de la pieza más grande de nuestra manga.

Aqui se puede apreciar la unión de las mangas.
4

Luego debemos coser la manga en la zona de la sisa de nuestra chaqueta.
Bolsillo
1

De acuerdo con este patron debemos marcar la zona de los bolsillos. Tambien debemos marcar dos piezas de cada patorn sobre la tela.
2

Luego doblamos los bordes de los bolsillos y procedemos a coser con aguja e hilo la forma de estes, para luego pasar este a la maquina de coser !
3

Asi mismo, procedemos a realizar algunas puntadas sobre la otra forma del bolsillo.
4

De esta manera quedaría la costura sobre la tela de la chaqueta.
Cuello
1

Marcamos este patrón sobre la tela y sacamos dos piezas en la tela.
2

Al tener ambas piezas, debemos coser la zona de arriba del cuello y dejamos abierta la parte de abajo del cuello.
3

Luego cosemos la zona de arriba del cuello y el area vertical que forma el cuello para dejar únicamente abierta la zona de abajo del cuello.
4

A través de la abertura del cuello debemos ir cosiendo la esta en la abertura del cuello.
5

De esta forma quedaría la zona del cuello de nuestra chaqueta.

Este seria el resultado final de nuestro diseño!


- Las imágenes me pertenecen
- Traductor: Deelp traslator
- Edicion: Canva

 )
)