Sometime last week, I was surfing through the net and I saw an image of bow headbands and immediately thought that I need to make them for myself. I must say once again that it feels really good to see something beautiful online and be able to replicate it for myself.
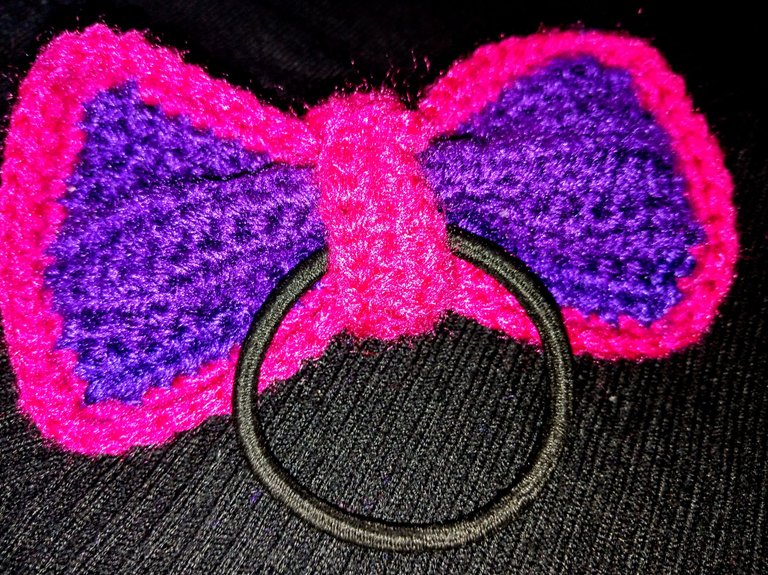
I am not one who really likes to pack my hair up so often because when packed up so often, it could lead to intracranial pressure. Nonetheless, I pack it from time to time and on such occasions, I use a regular black hair packer.
With the inspiration from the ‘net and some spare yarns, I got to work. One thing that really caught my attention was the use of a darker colour to line the edges of the bow.
Materials Used
- Some spare yarns
- 4.00mm crochet hook.
- Darning needle
- Pair of scissors
Procedure.
Making the bow was a really straightforward and somewhat easy process.
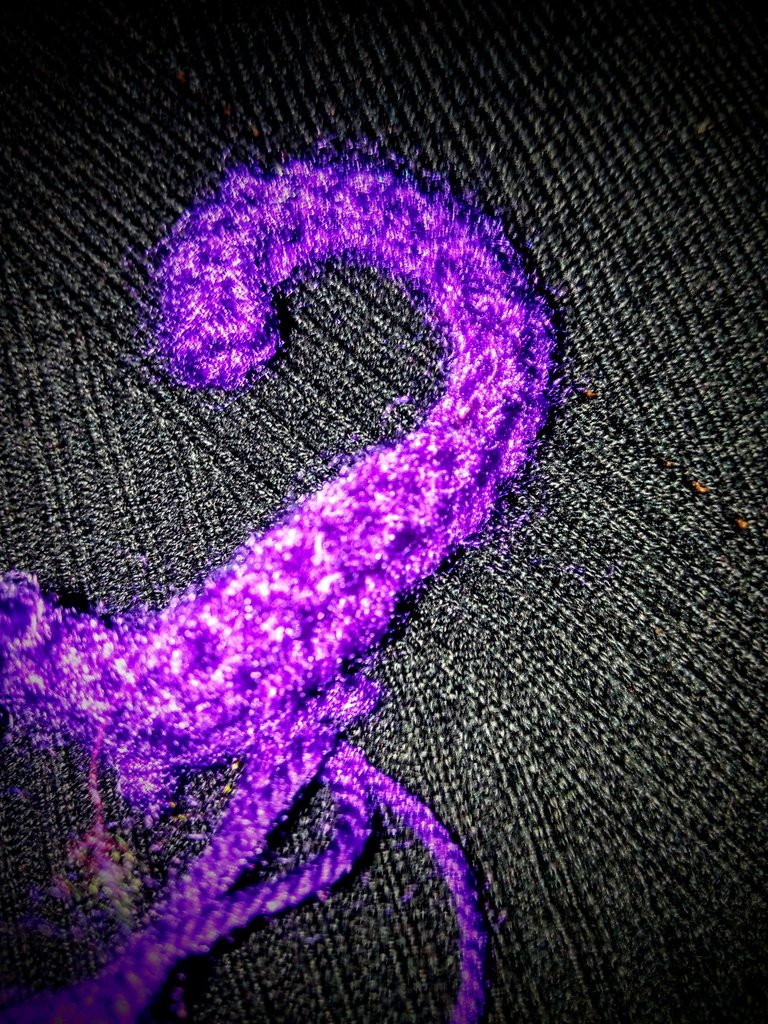
I started by making a chain of forty with two extra turning chains. After which I made a row using half double crochet stitches.
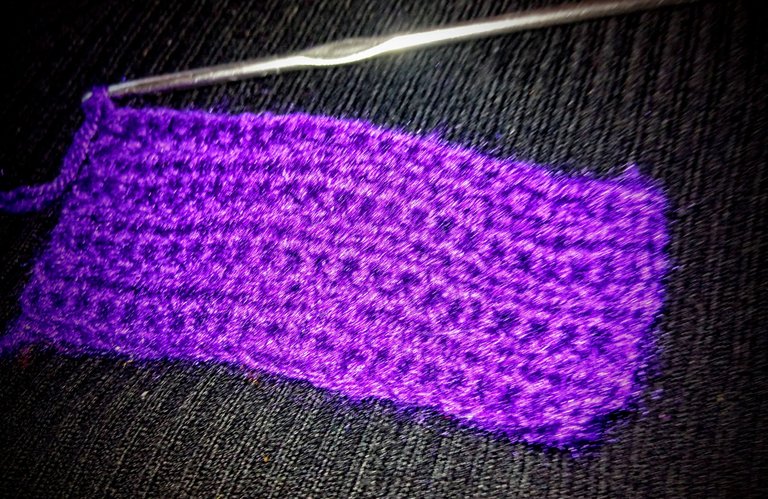
With that, I repeated the same pattern for five extra rows, making a total of six rows. While making the bows, I didn't want them to come out so large to prevent looking like a joke whenever I wear them, so I was really careful with my number of rows and the length.
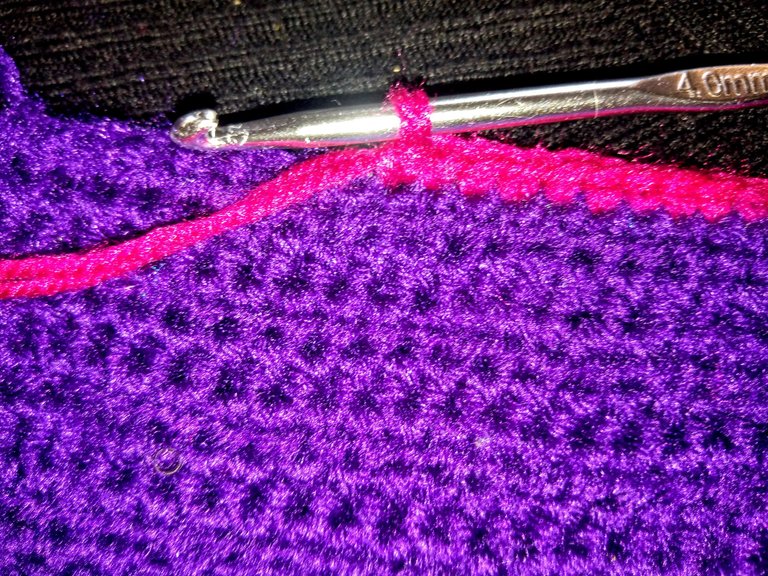
After making the rows, I switched colours to a darker colour. With the dark colour, I went round the edges of the mini rectangle I just made two times.
After the second circumnavigation, I did a slip stitch, fastened and cut off my yarn. At this point, I made sure to sew in my loose ends to prevent extra work in the end.
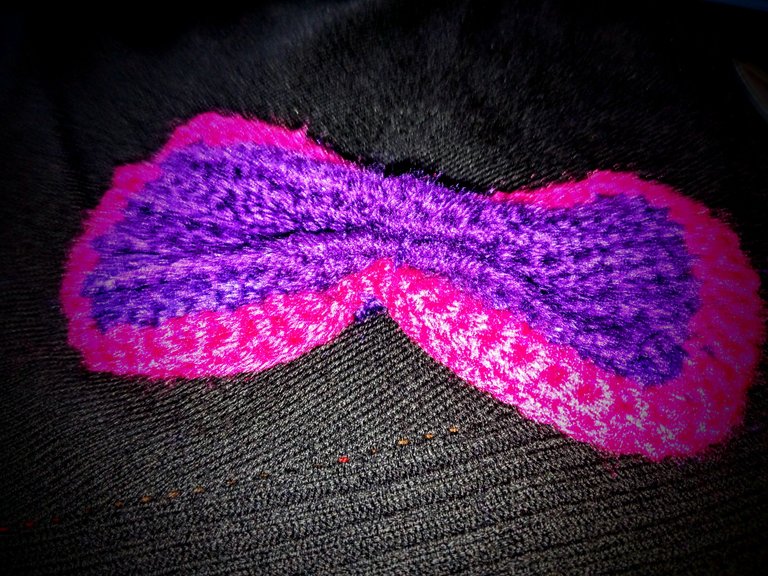
The next thing I did was fold the middle of the rectangle to form a bow-like crease. When I got the desired creases, I used a homogeneous colour to sew through the creases to ensure that the bow doesn't loosen.
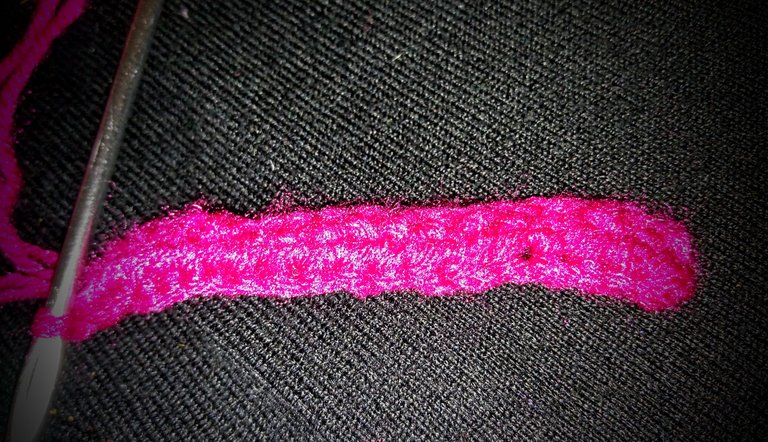
Afterwards, it was time to make the band that holds the bow together. This band is usually fitting, giving the bow its graceful shape.
I made a chain of twenty and that went round the row snuggly. With that, I made two extra rows using the half double crochet stitch.
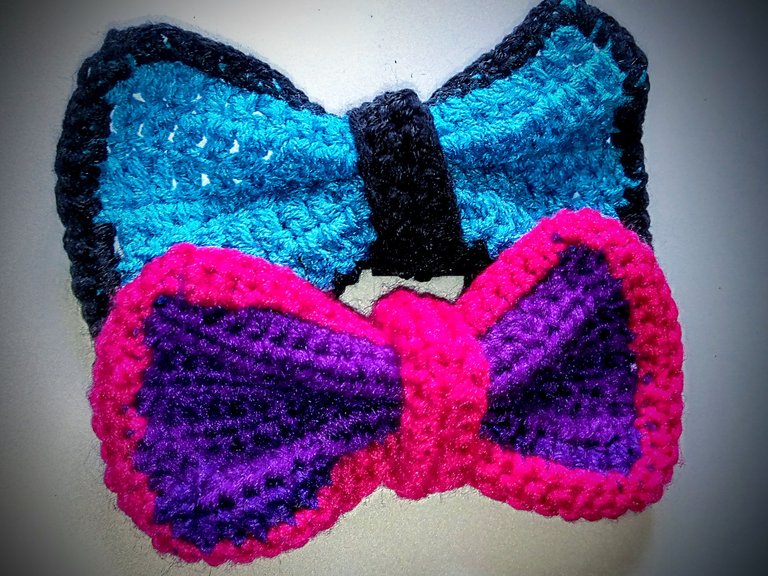
At the end, I placed the elastic band inside before joining the ends of the bow's band. Using slip stitches, I joined the ends, sewed in the loose ends and fastened them off.
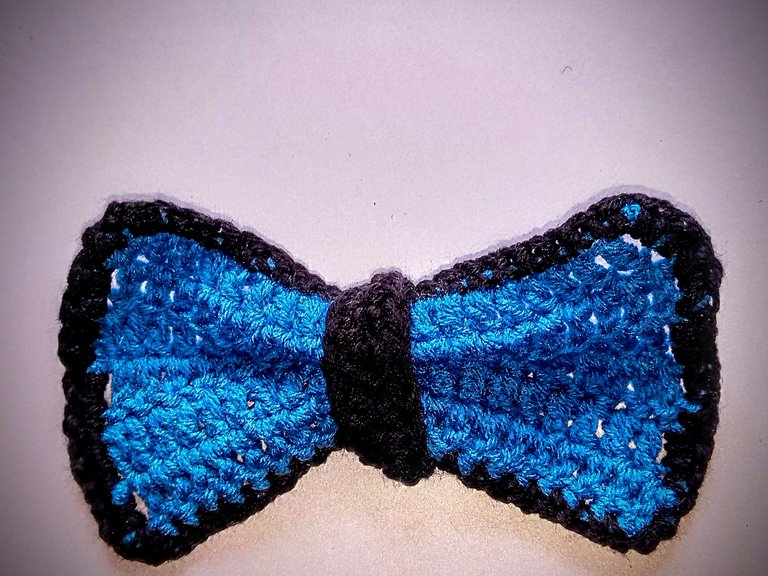
This was the last phase of making the bow. To ensure that I didn't overuse one of the bow hair bands, I made the same thing in another colour but with slightly different stitches.
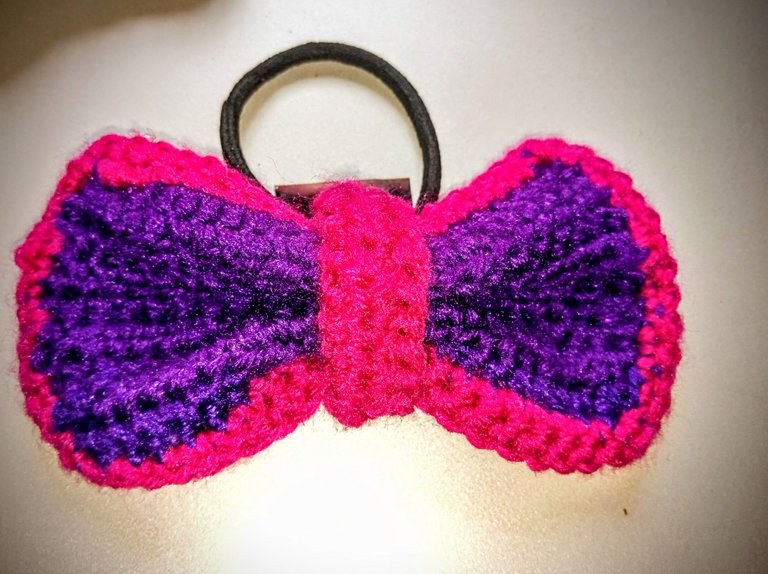
I tried the hairbands on afterwards and they fit properly. On days when I feel like adding colours to my outfit, I have just the right things to use. What do you think of these bow headbands?
All images used belong to me and were taken with my mobile device except stated otherwise.
Love🤍

