Hello, friends!
Making photo frames is been nice since I don't have many printed photos. In this digital era, we mostly have photos of our loved ones in our phones or in our computer. Or maybe we saved them on our pendrives or uploaded them in the cloud.
But I have a few printed photos of my nieces, and keep them in an album it's not as special as showing them in my living room.
That's why I made this photo frame.
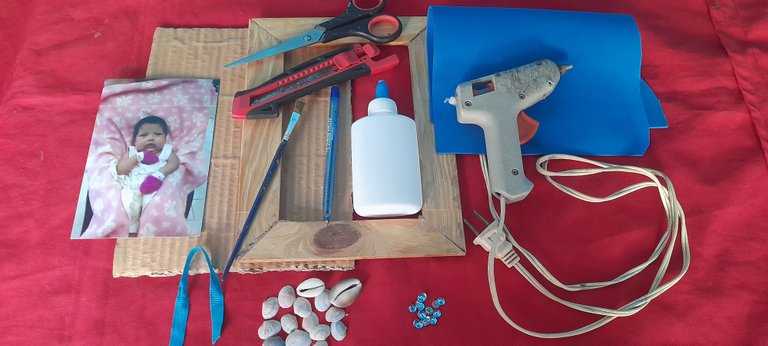
Materials:
- Cardboard.
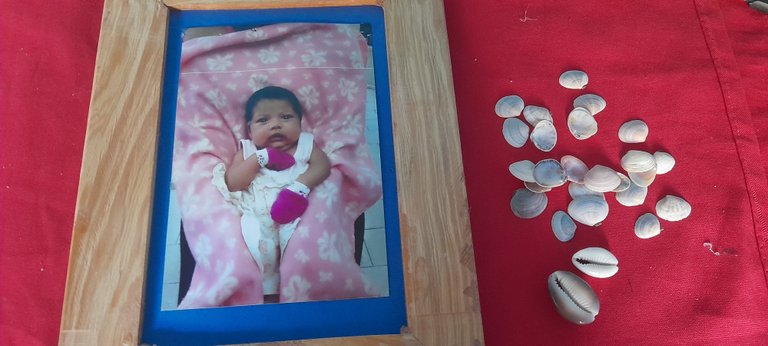
- Sea Shells.
- Silicone Gun.
- Cutter.
- Scissors.
- Ribbon.
- Photo.
- Foami.
- Pen.
- Glue.
- Brush.
- Old Frame.
- Sequins.
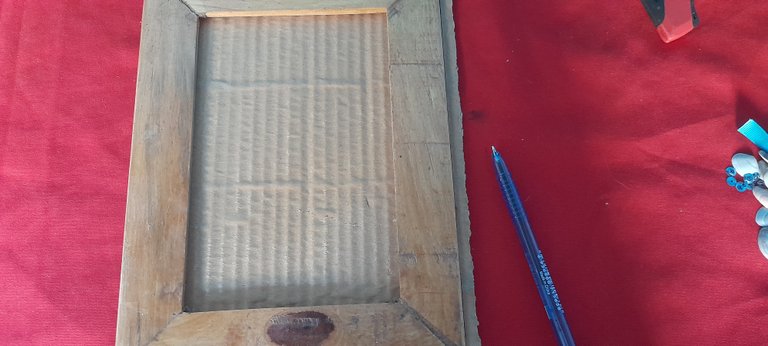
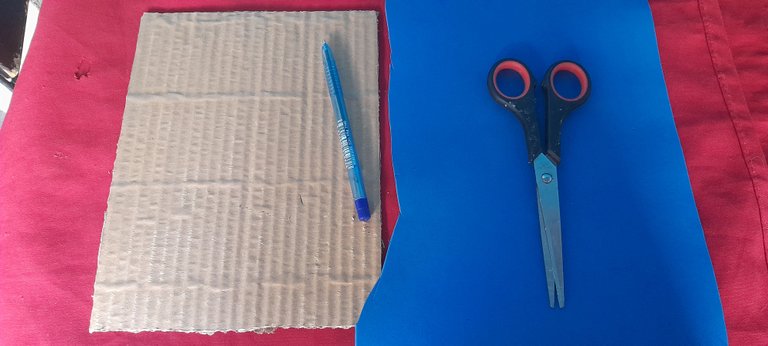
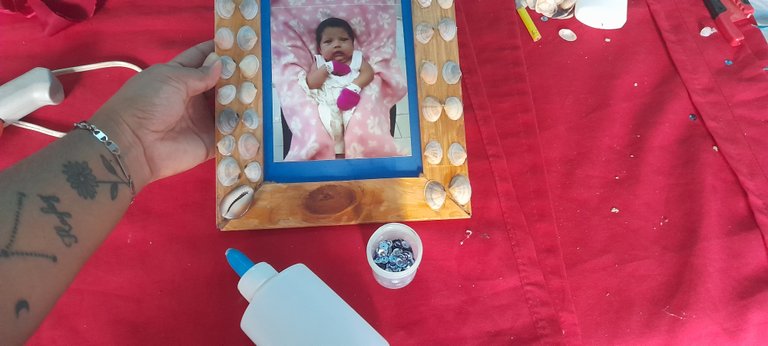
Step 1: With the frame on top of the cardboard I marked the size with the pen.
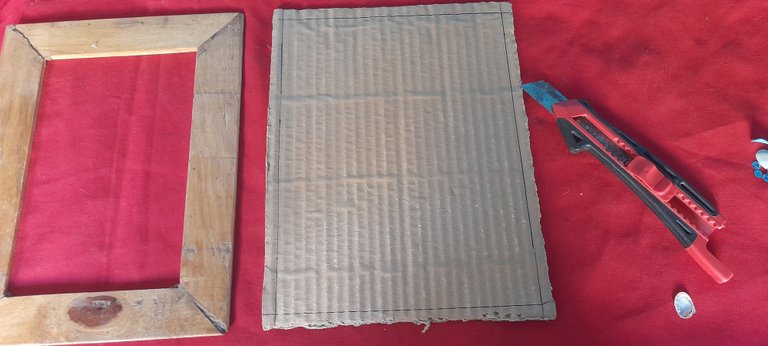
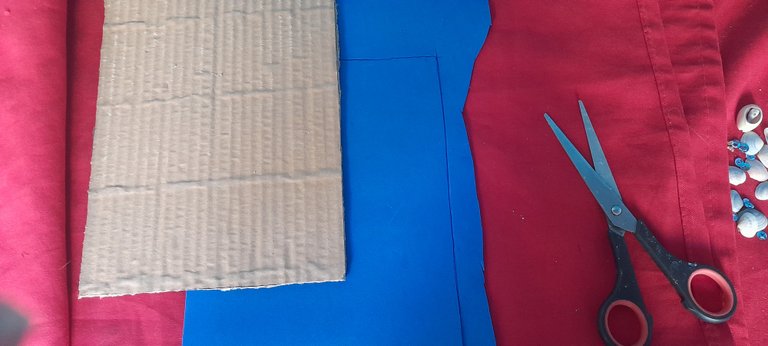
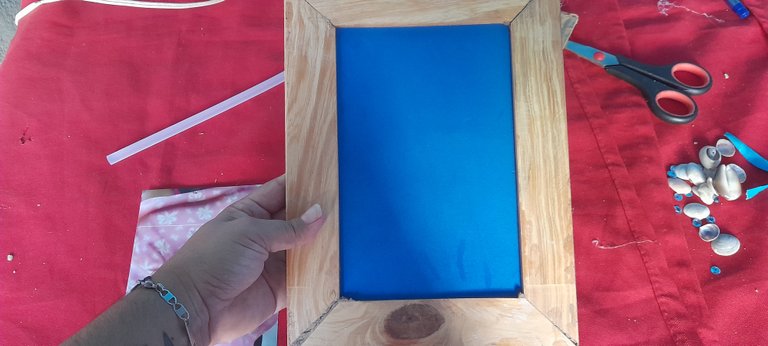
Step 2: I cut the cardboard on the edges, them I took the same size on the foami and cut it too.
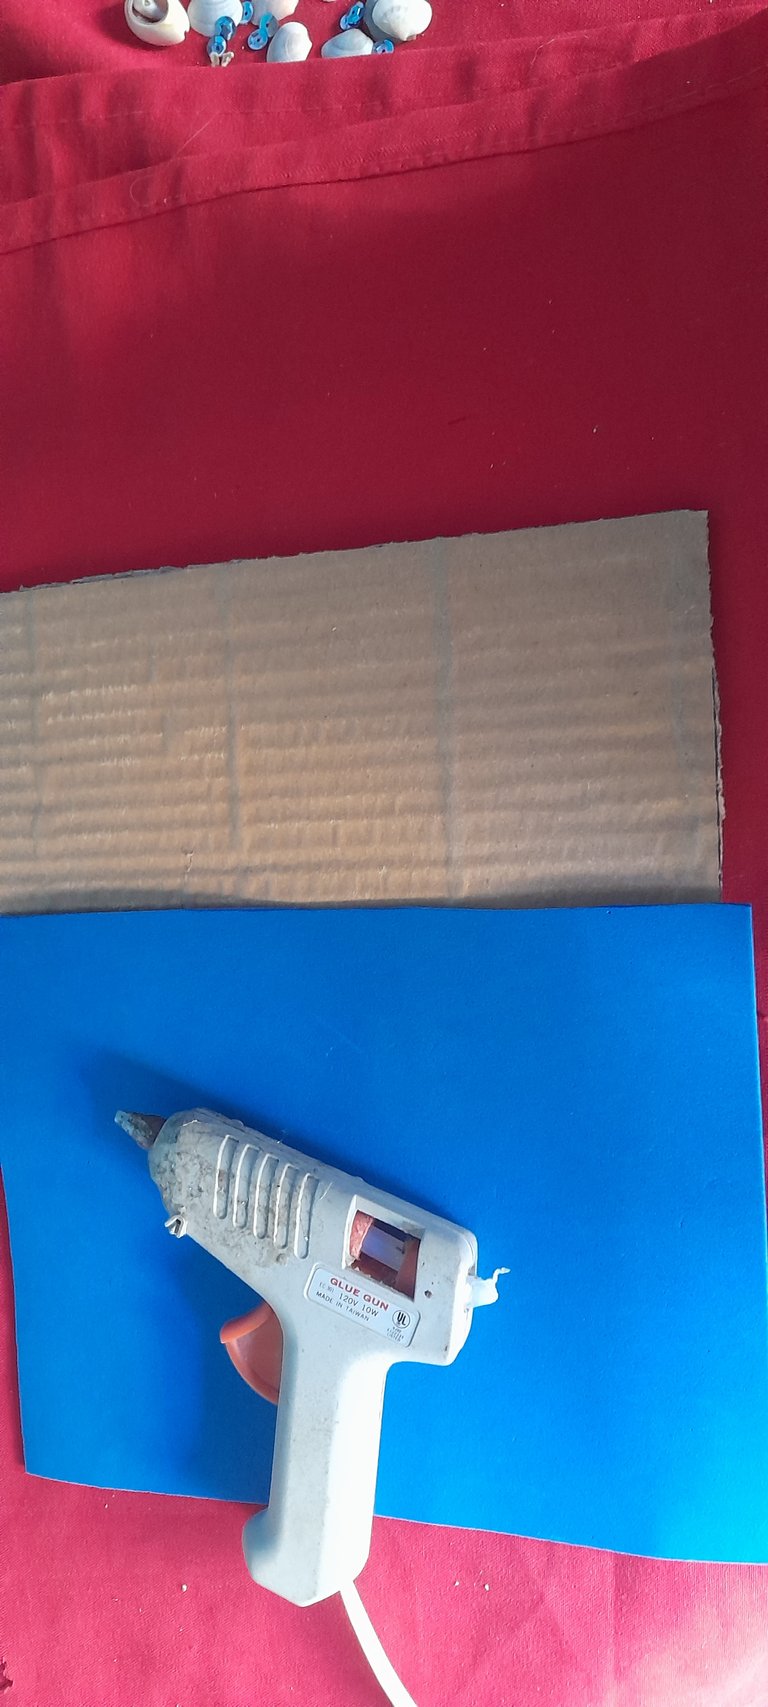
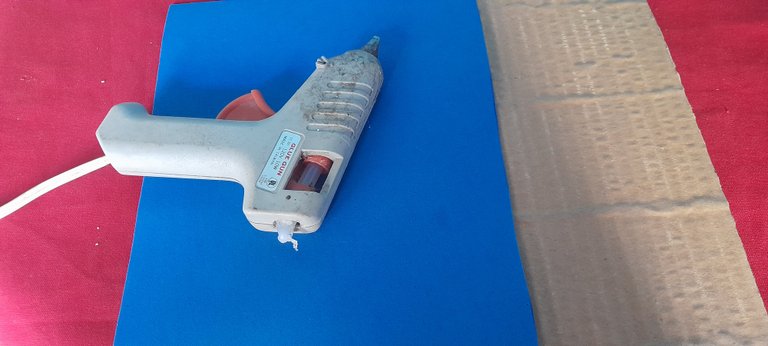
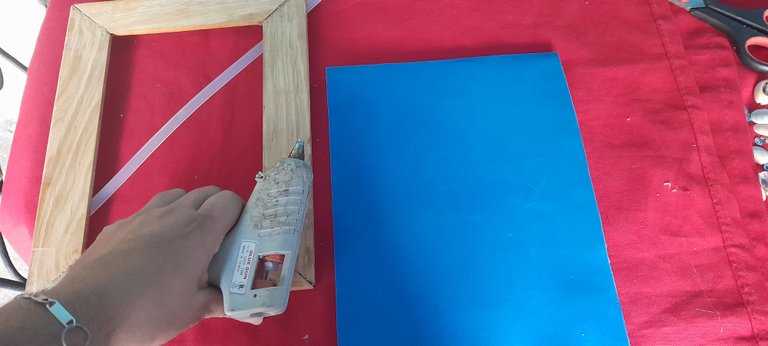
Step 3: I joined the foami and the cardboard with silicone. And then I glued the frame on top of the foami.
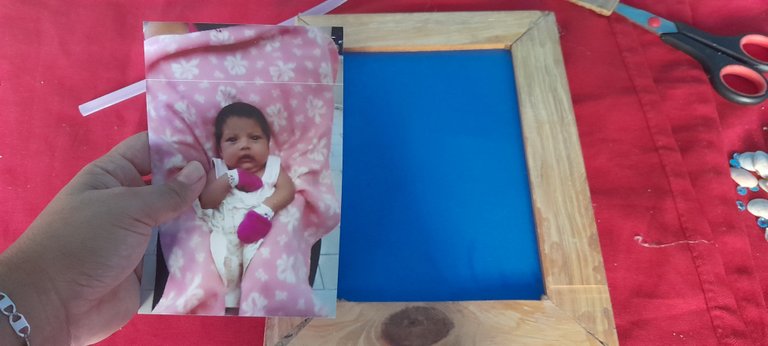
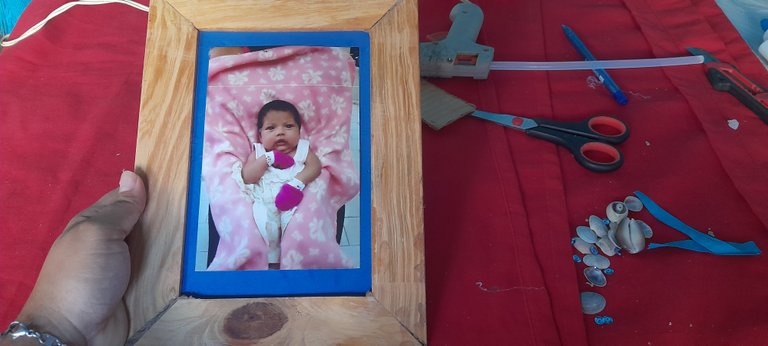
Step 4: I glued the photo on the center.
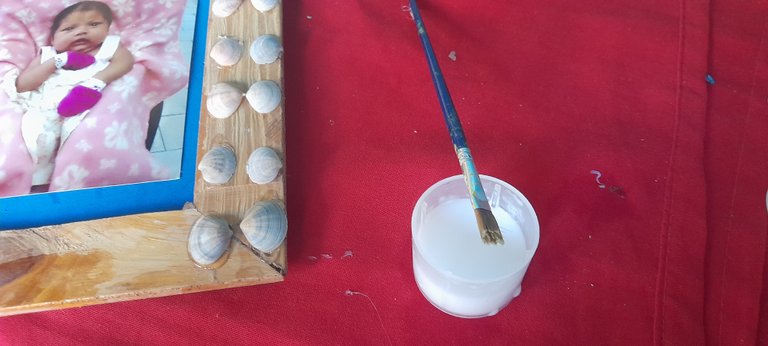
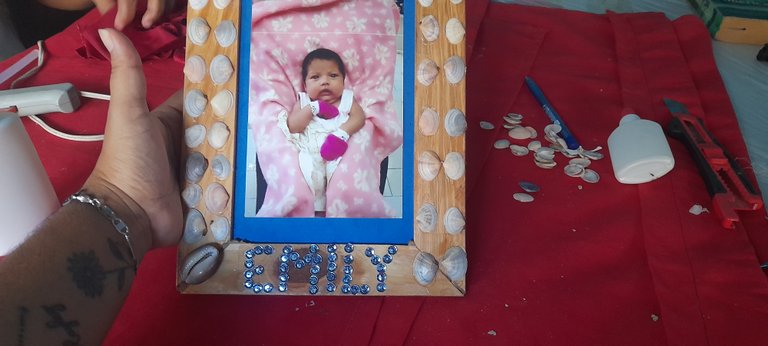
Step 5: with silicone, I glued some sea shells to decorate the frame.

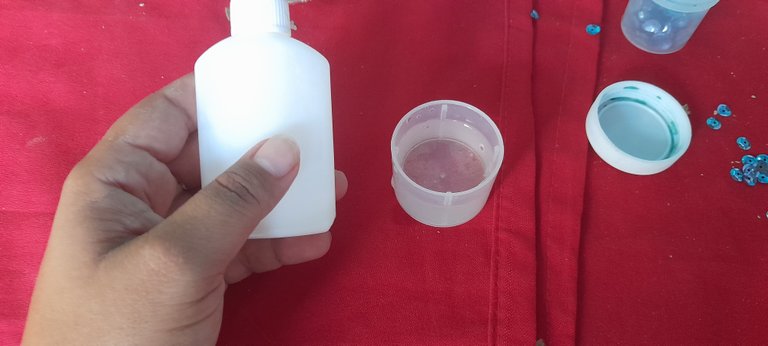
Step 6: I put some glue in a small amount of water to make something like a varnish and spread it with the brush over the frame. This should make the frame glitter a little.
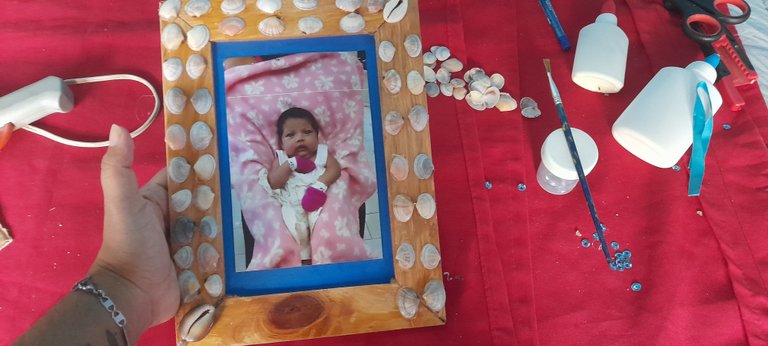
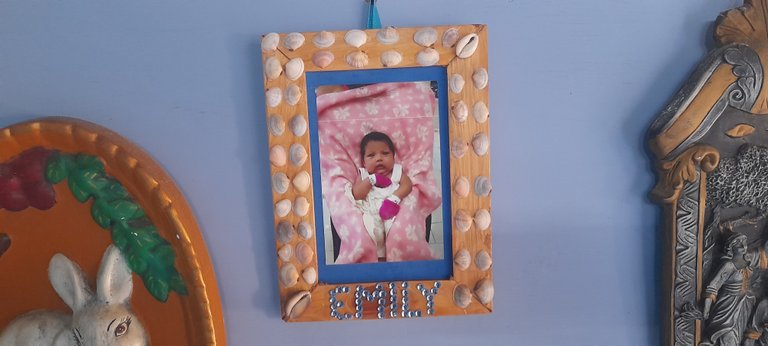
Step 7: I glued the Sequins on the frame forming my niece's name "Emily".
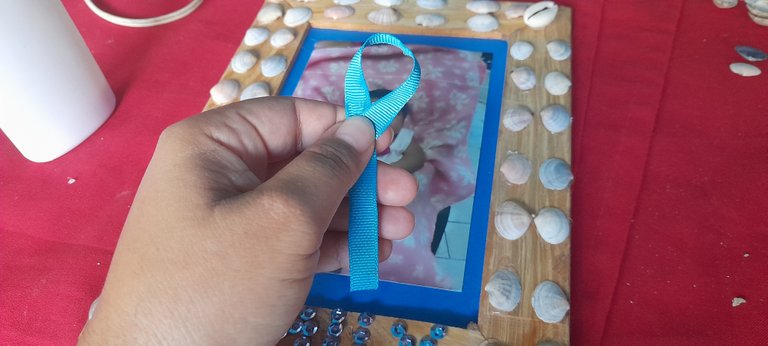
Step 8: Finally, I took a piece of ribbon and glued it on the back of the frame as a holder.

And this is the result, my friends. Hope you like it. See you later.

