This is a post about how not to tile a splashback. For the correct way, please look on YouTube, as there are literally hundreds of videos available.
The problem with all these is that they don't tell you what to do if your walls are not perfectly straight. Mine fall away from left to right by 2cm over 2.5m and by 1.5cm from the floor to the ceiling. To make it worse, the changes are non-linear, meaning they're also 'wavey'! This made fitting the kitchen hell, and the only job left to do was the tiling.
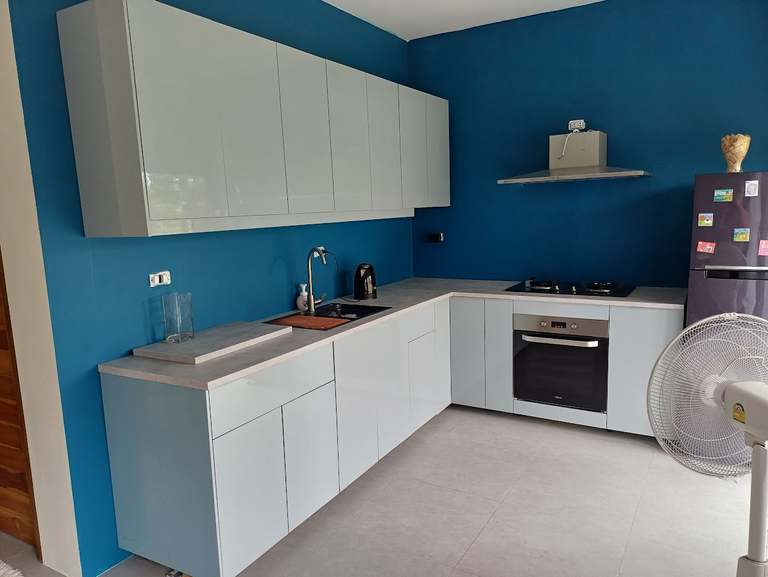
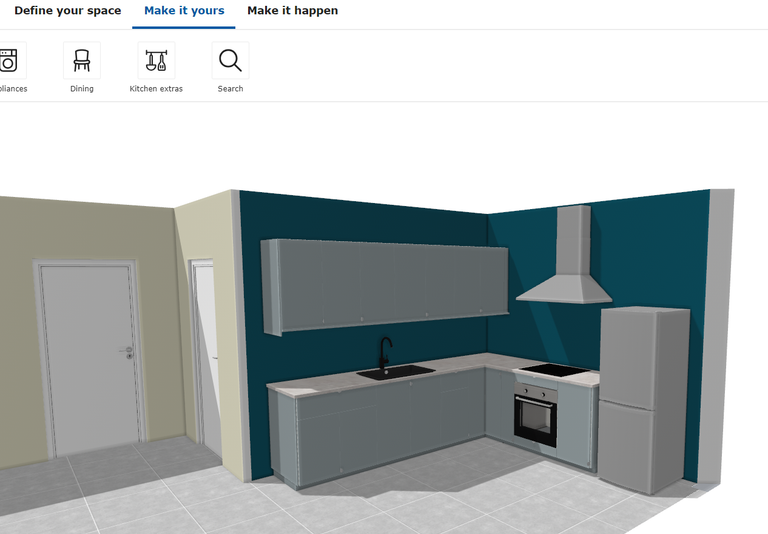
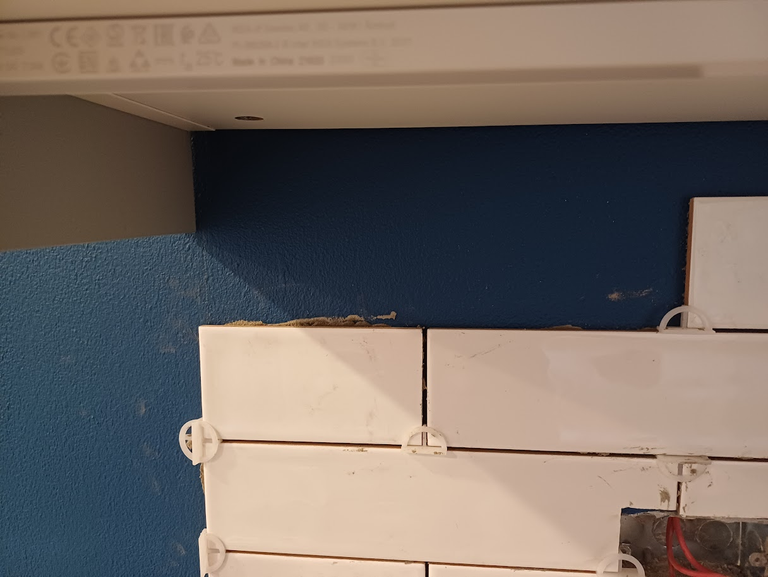
The 'before' shot
Originally, I'd bought the tiles and attempted to get a real tradesman in to do the job. It would take a professional less than a day, but no one on this island is interested in small jobs. Labour is cheap here, 500฿ ($15 USD, £12 GBP) a day, but I was being quoted 5-6000฿ to do the job. I have never had much success tiling and I was proud of the finished kitchen and didn't want to screw it up with a crap tiling job but not wanting to be held to ransom, I was going to have to tackle it myself.
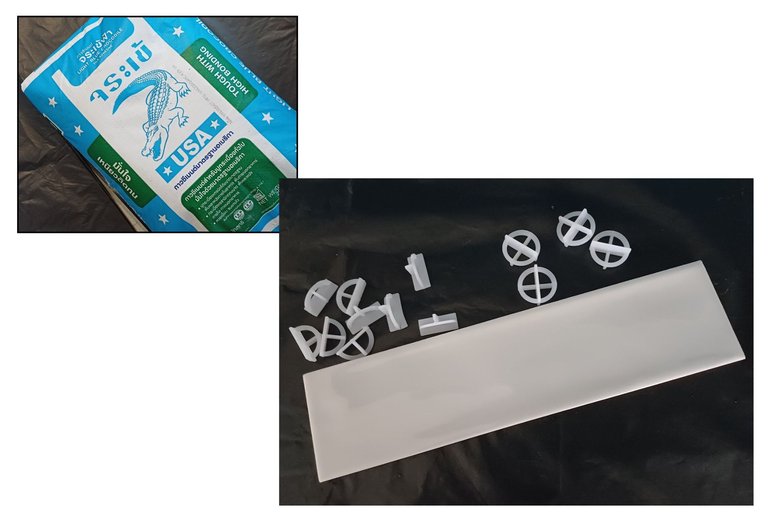
I just needed the tiles, an adhesive, some spacers and a few simple tools such as a spirit level and trowels, including my notched plasterer's trowel to apply the adhesive to the wall, and a spirit level to keep everything nice and straight.
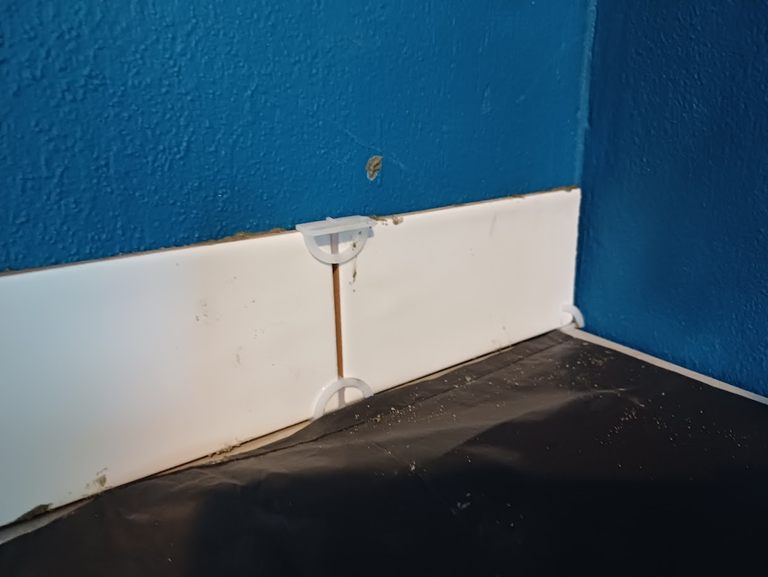
The best thing about subway tiles is that you lay them staggered as you would do when brick-laying. This means that there is no need for perfectly straight vertical joins and you have a little leeway for slight errors.
It also meant I had to cut my tile spacers in half to create 'T' pieces to keep the spacing even.
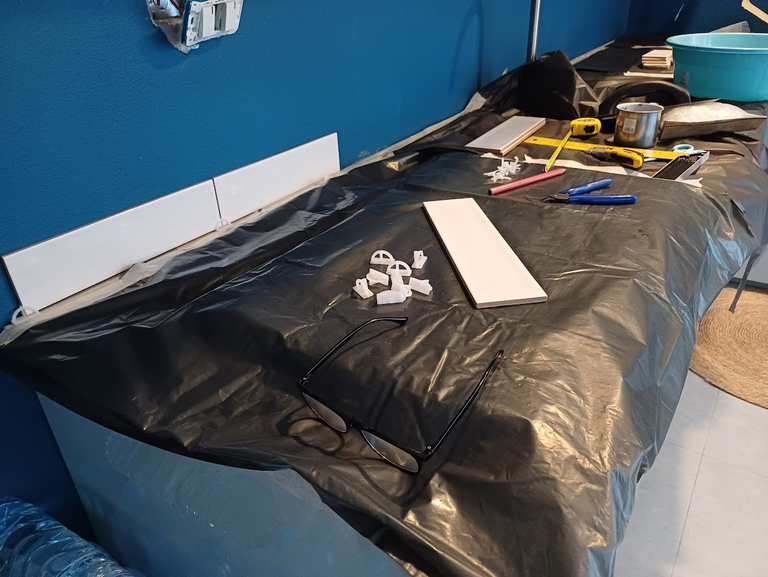
The first thing to do is cover up well. Things are going to get messy!
The first job was to remove the extractor and trim under the wall cabinets. To ensure I only used full tiles, I'd decided to work up to the rough height of the extractor before re-positioning it to suit.
Then, I cut a bunch of tiles in half using an angle-grinder with a tile cutting disc attached, cutting from back to front to avoid chipping the ceramic face. After trying a couple of tiles for size, I started with a full tile on the bottom row, starting from the edge of the counter where I'd dropped a vertical line, and planned to work towards the corner. The 90° corner that in reality, is only 86°!
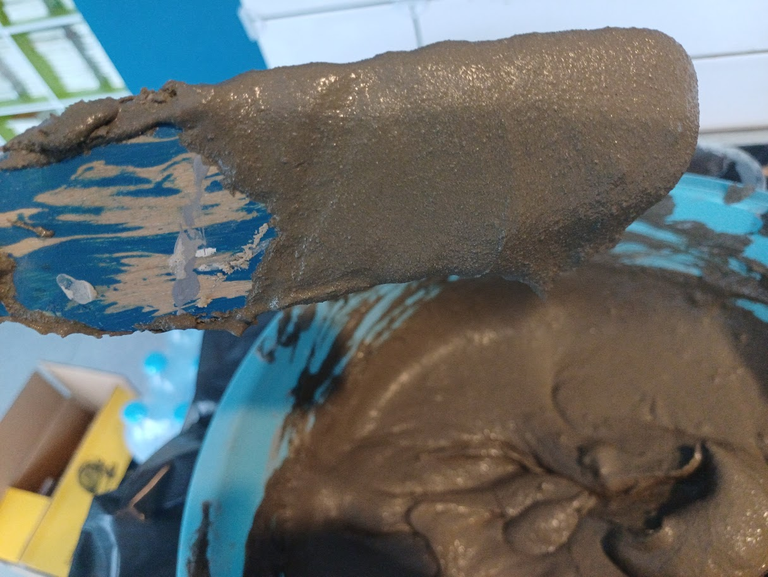
Then things began to get messy as I mixed a small batch of adhesive, following the ratio on the manufacturer's instructions. What we're looking for is "a consistency of peanut butter", said one article I read online.
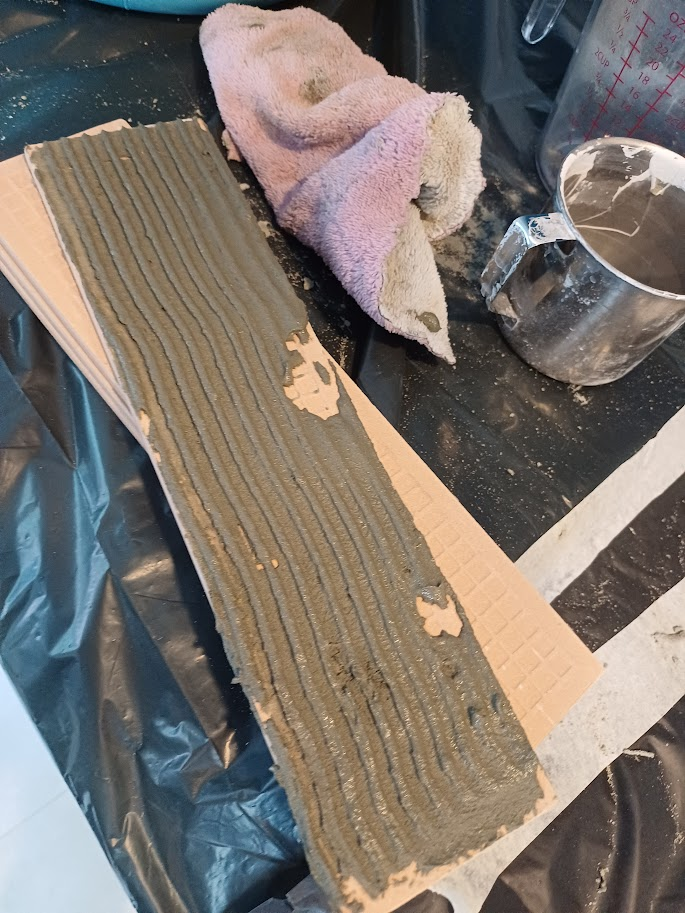
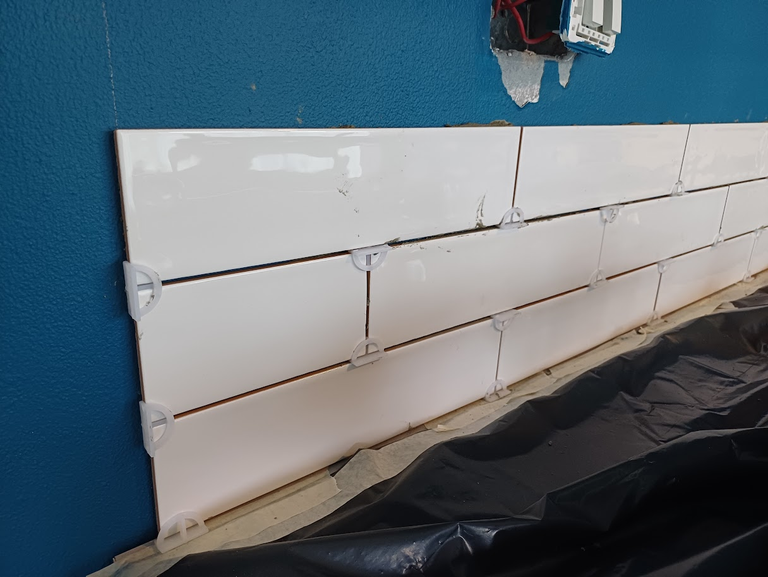
What you'd normally do is to then spread it on the wall using your notched trowel to get an even thickness before sticking the tiles on, but because my walls are all over the place, I was worried about the adhesive sagging so I decided to rip-up the rule book and stick each tile individually in an attempt to keep the whole splashback both vertically and horizontally level. Obviously, this was going to take a little more time!
As I approached the first corner, I had a stroke of luck. The end tile was only going to be a fraction longer than half, so I cut a few more tiles in preparation.
...before returning to the starting point for the next row. As I wasn't using a trim, I wanted all uncut and perfectly aligned tiles to start each row.
Rinse and repeat. I kept making up small batches of adhesive, which also took more time as I didn't want it 'going off' before I'd used it all.
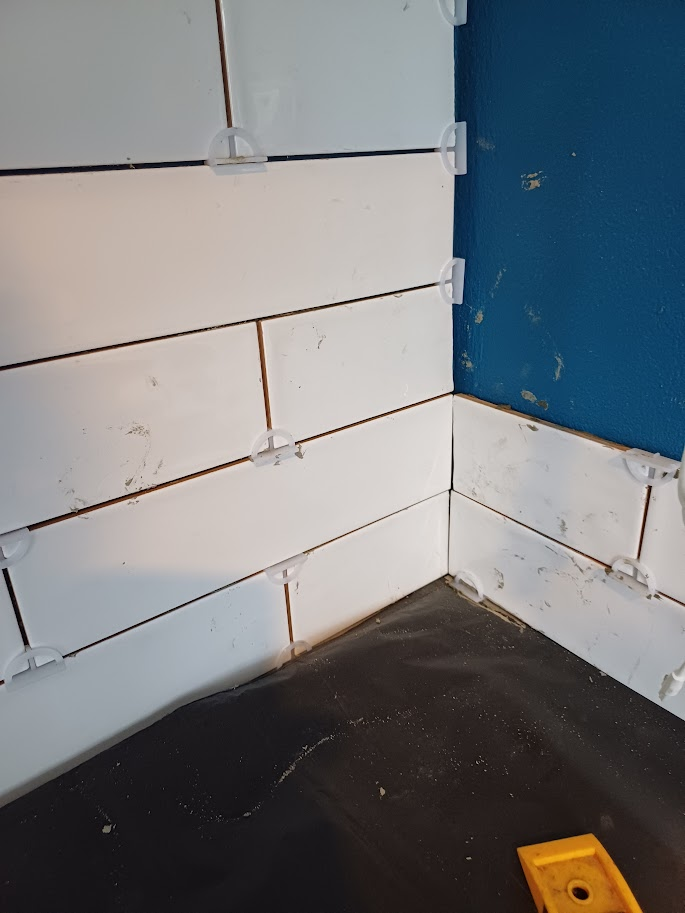
Back into the corner, and I was starting to get to grips with this tiling lark. My confidence was increasing all the time, especially knowing that a multitude of sins could be hidden by grout and white silicon!
There is no DIY job in the world that does not benefit from having a hammer within reach!
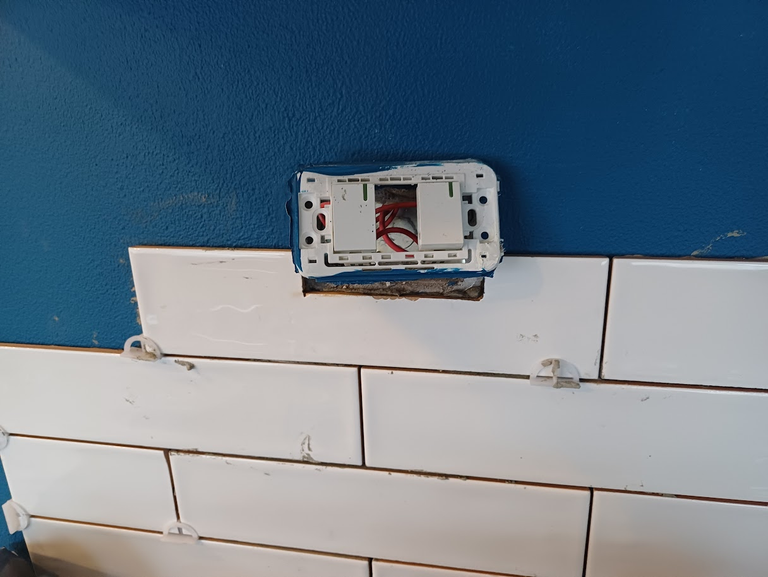
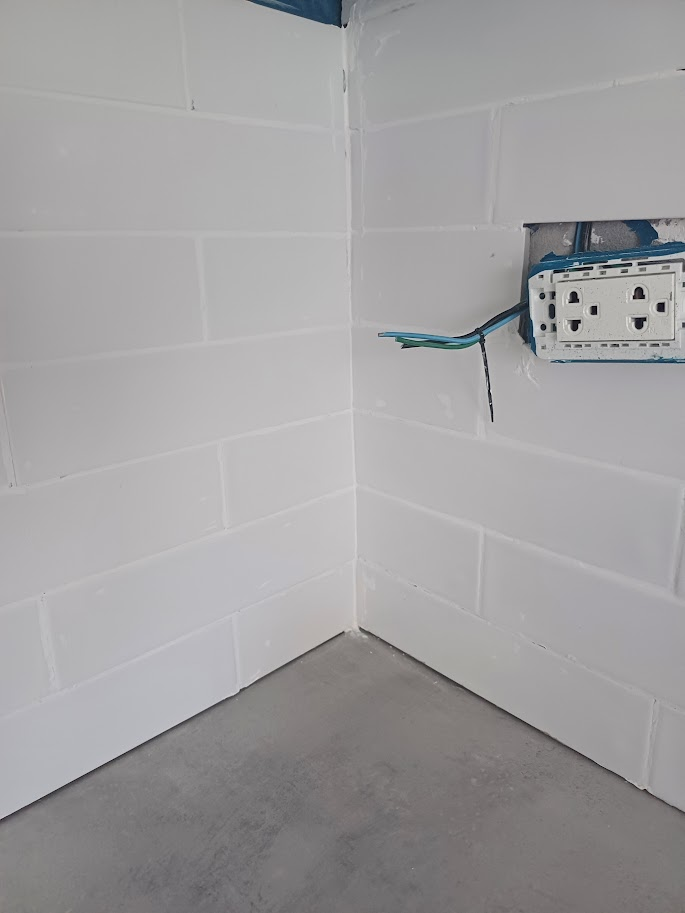
Time to start cutting tiles carefully for the sockets and switches, which had annoyingly not been set level horizontally, probably due to the floor dropping away! It was quite easy to cut them using the angle grinder to gently create the cutout after measuring and marking the tile carefully, remembering that I was working in reverse!
Under the wall units, there is a slight gap, and due to laziness, I decided not to start messing around cutting tiles lengthwise in half to fill it, as I figured that when the trims were put back, no one would notice...unless they are under 4 feet tall.

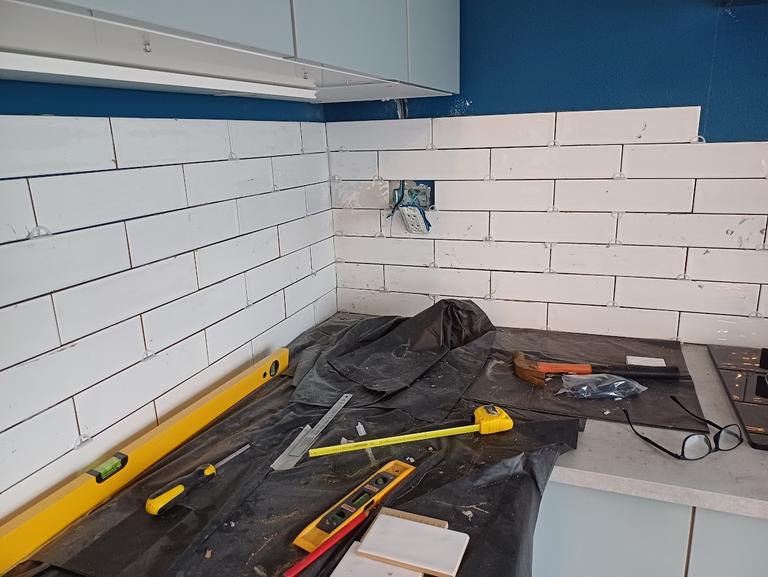
After a couple of days of stop-start work, I'd finished and all that remained was grouting and siliconing some beads around the worktop to stop water regression.
Then the debate began. I wanted grey grout. The wife and everyone that she polled on the subject wanted white. Of course, I'd done the work and I am the master of the house, so...
...white it was and to be honest, probably better for covering up my mistakes and slight unevenness. The grouting was a total ball-ache of a job, monotonous and time-consuming, but I was happy with the results.
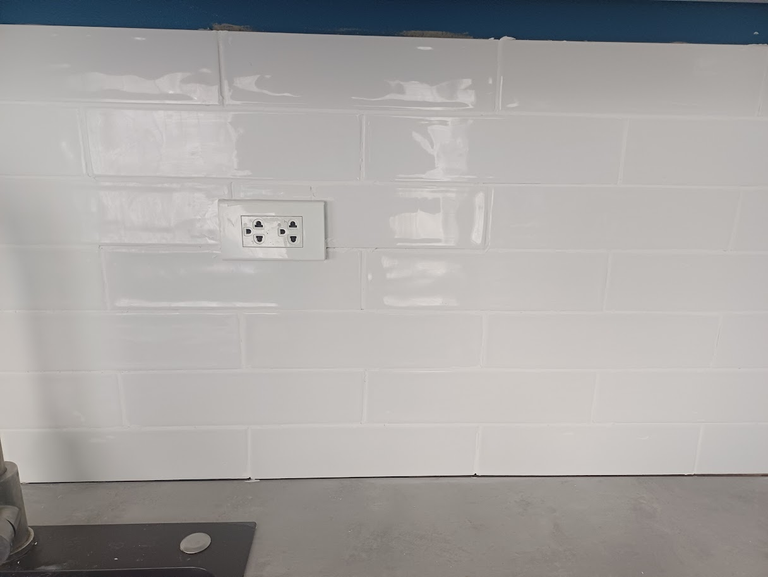
Zoom in on this picture and you'll see where I broke a tile around the sockets and glued it back together!
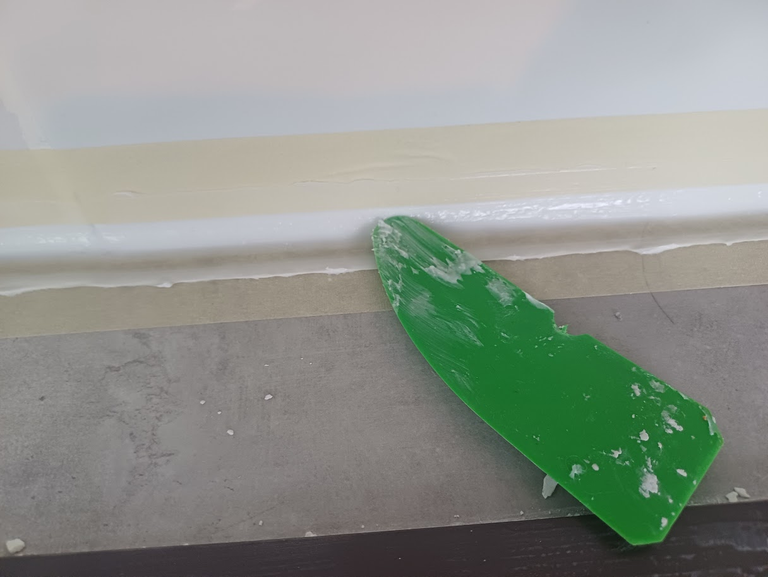
Final job. A bead of silicon between the tiles and worktops, and like a true pro, I masked it all up and bought some cheap plastic scrapy things from Shopee to nail the finishing touch.
Pulling the masking tape off after just 10 minutes gave me a pretty clean and straight edge. The mistake I've made in the past is letting the silicon dry before pulling off the tape, which can often lead to splitting and loose edges.
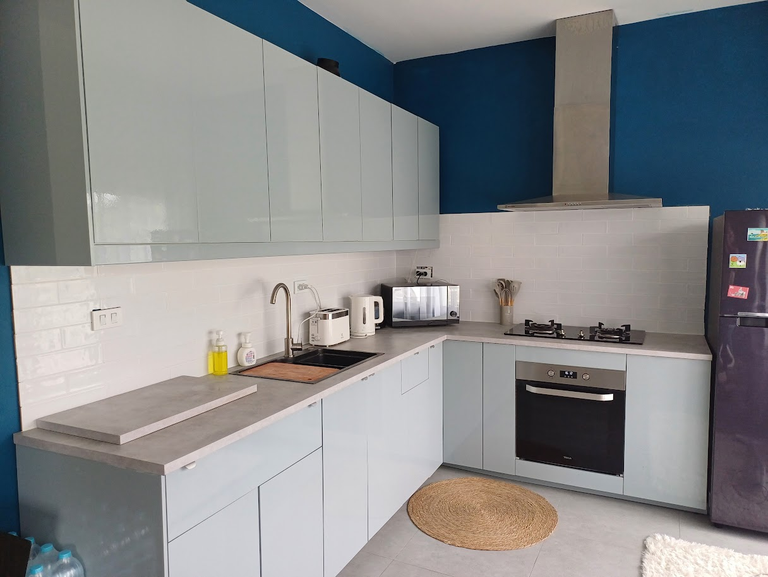
The 'after shot'. As you can see, two sockets need properly fixing, but I've a couple of new spur sockets to wire in for the cabinet lighting to do next...whenever that may be! Yes, I also need to sort out the door and drawer gaps.
Final thoughts?
I'm really quite pleased with myself and happy the way things came out, but as always, if I were doing it again, there are a couple of things I'd have done differently.
Firstly, I'd have sanded the walls down first, as due to the wipe clean acrylic paint, adhesion was a problem in a couple of areas, and I had to get the 'No Nails' out.
Secondly, I'd have just grouted it whatever colour I wanted without asking!!
Thank you very much to anyone who read the whole of a very dry post about tiling. Grateful as I am, I question your sanity!
Best wishes, and I hope everyone is having a great week.
PS @commentrewarder is switched on, so if you have any great advice, please pass it on!