Hola amigos de Hive. Espero se encuentren muy bien, y que estén pasando un domingo maravilloso. Las flores son sin duda alguna uno de los seres vivos maravillosos, vitales y hermosos que podemos ver en la naturaleza.
🌹🌹🌹
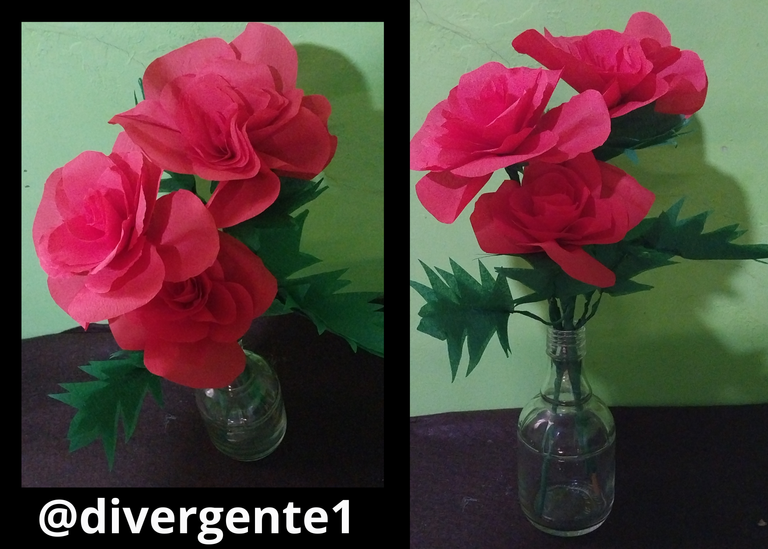
Amo las flores, generalmente están en cada uno de mis diseños y en cada arte que quiero plasmar.Las rosas son un gran símbolo para representar a la mujer. Es cierto que las rosas, además de ser conocidas por su belleza, también se asocian con la fuerza. A pesar de su apariencia delicada, las rosas tienen espinas que pueden protegerlas de posibles daños. Esta combinación de belleza y fuerza puede ser comparada con las mujeres, ya que también podemos ser fuertes y resilientes a pesar de nuestra apariencia delicada.
🌹🌹🌹
Es por ello que en esta oportunidad quiero mostrar el paso a paso de estas hermosas rosas 🌹 espero les guste!
Materiales.
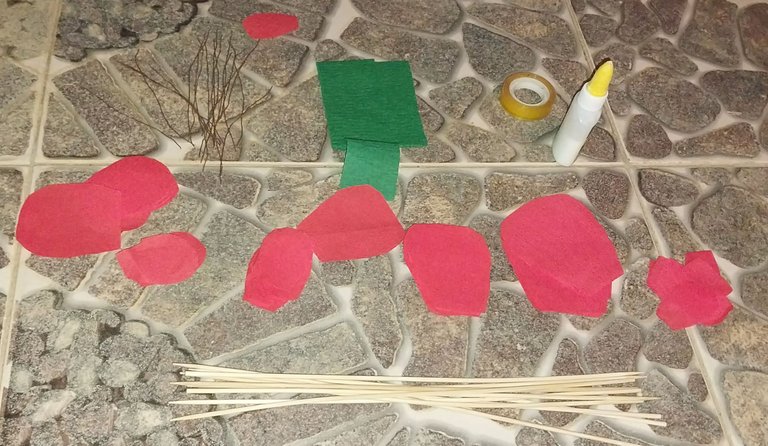
- 🌹Papel crepé rojo (Hacemos varios pétalos desde 4 cm y 6 cm de alto, necesitaremos 20 de los pequeños y 6 de los pequeños)
- 🌹Papel CREPÉ verde
- 🌹Palitos de altura
- 🌹Pega
- 🌹Alambre de 1 mm de 10 cm
- 🌹Celoven
Paso a Paso
1
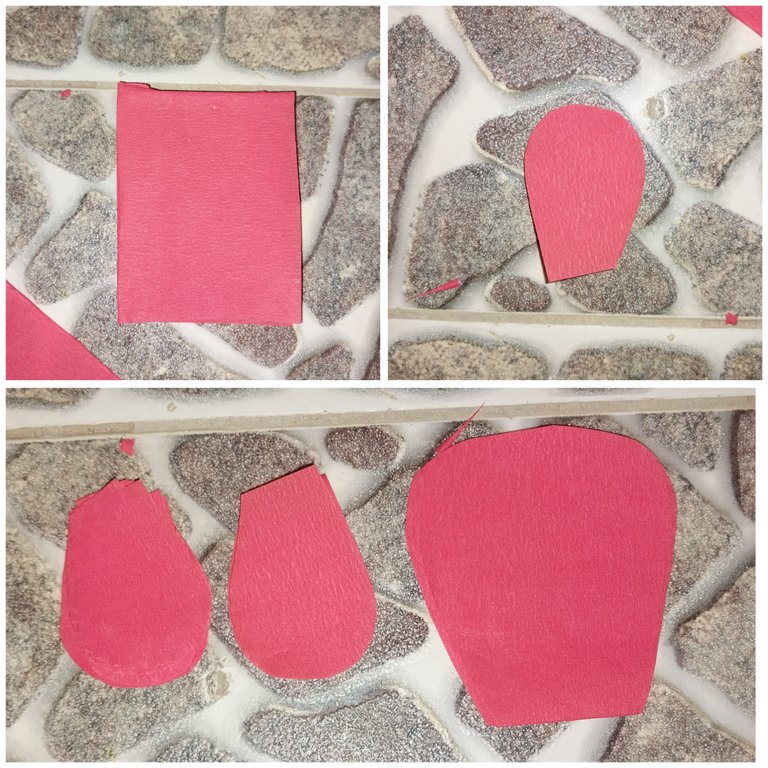
Esta es la forma para crear los pétalos, debemos tomar un rectángulo de 6 cm de alto por 4 de ancho y para los pétalos grandes un rectángulo de 6 cm de alto por 7 cm de ancho.
Y luego debemos redondear las esquinas y recortar la caída de la silueta de un pétalo.
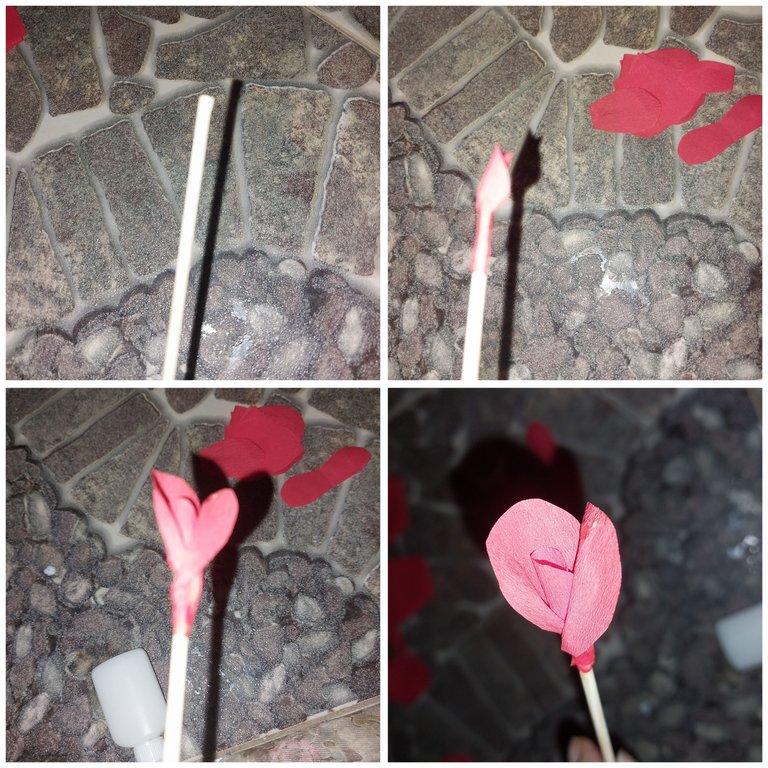
Iniciamos a pegar los pétalos pequeños en el palito de altura utilizando un poco de pega blanca. Debemos ir pegandole los primeros pétalos de forma cerrada en el palito de altura, para hacer el centro de la rosa.
2
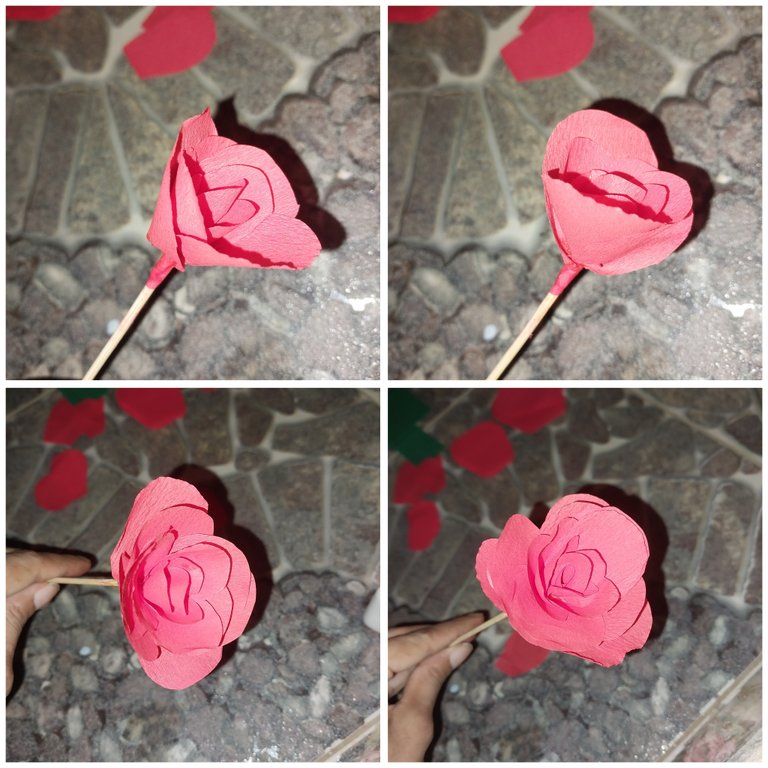
Luego debemos ir pegando por capas cada uno de los pétalos, utilizando los 20 pétalos pequeños.
3
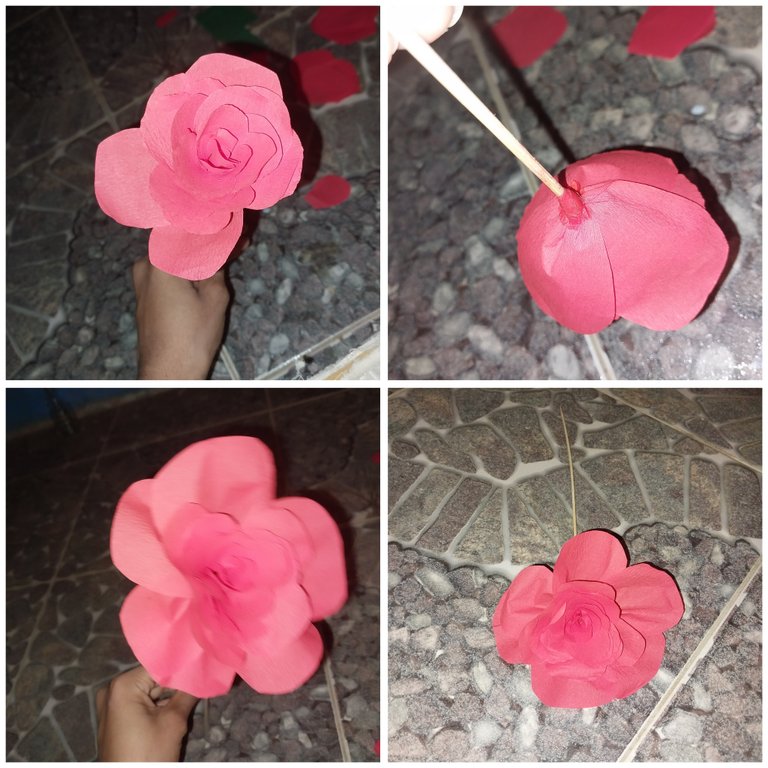
Seguidamente vamos a pegar en capaz los seis pétalos grandes cubriendo el área formado por los pétalos pequeños.
4
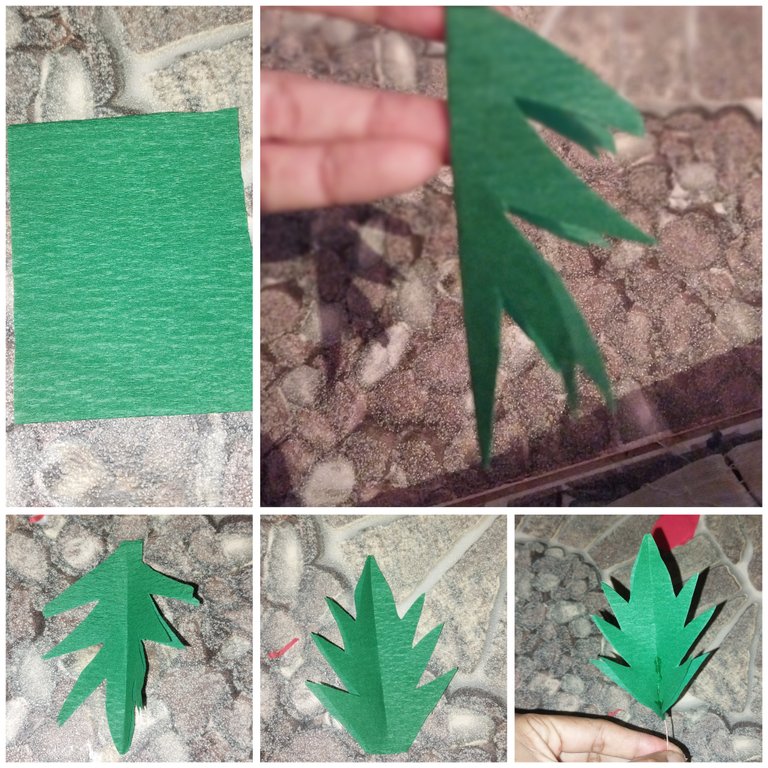
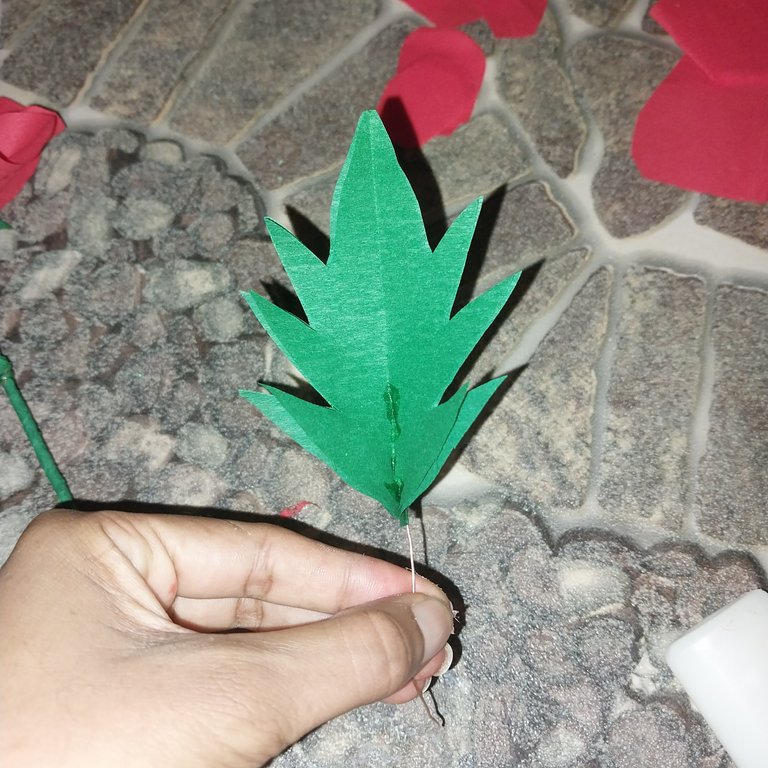
Seguidamente debemos utilizar un rectángulo verde y doblar este a la mitad y con la ayuda de la tijera hacer cortes triangulares para formar las hijas, luego pegamos sobre la flor un Alambre y sobre este otra hoja.
5
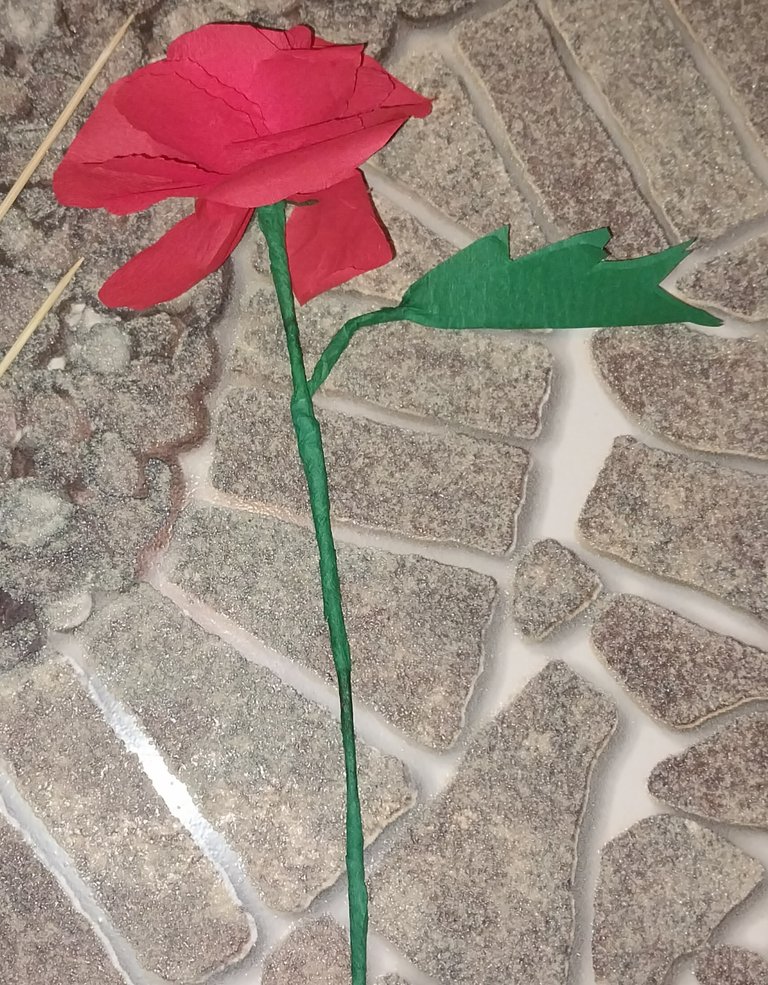
Seguidamente debemos enrollar este Alambre a la superficie del palito de altura y luego utilizar un pedazo de crepé verde para forrar la zona del tallo.
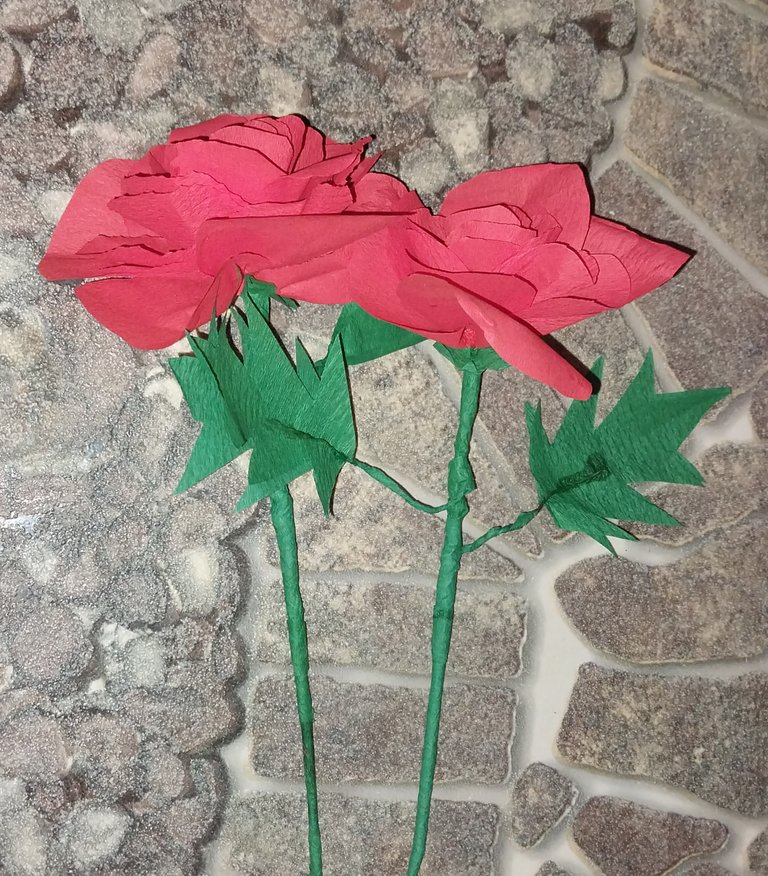
Este es el resultado final de nuestras rosas. Espero que les guste!
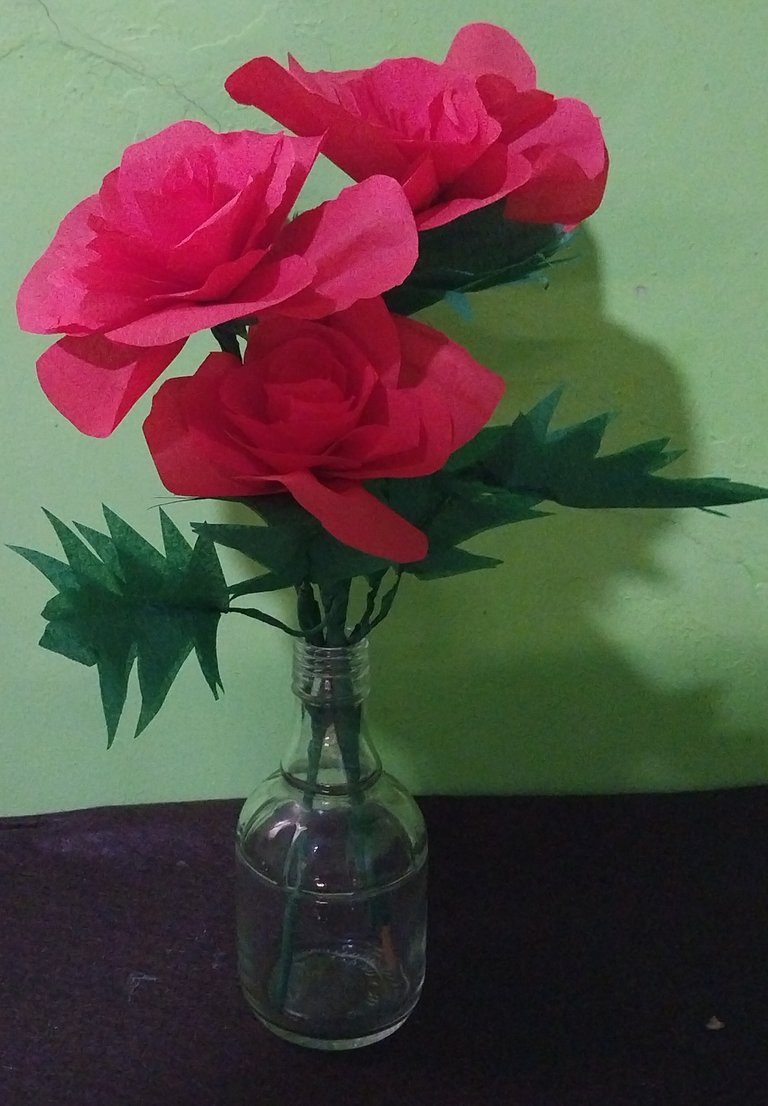
Muchas gracias queridos Hivers.
- Las imágenes me pertenecen
- Traductor: Deelp traslator
- Edicion: Canva
Hello friends of Hive. I hope you are doing very well, and that you are having a wonderful Sunday. Flowers are without a doubt one of the wonderful, vital and beautiful living things we can see in nature.
🌹🌹🌹

I love flowers, they are usually in every one of my designs and in every art I want to capture.Roses are a great symbol to represent women. It is true that roses, besides being known for their beauty, are also associated with strength. Despite their delicate appearance, roses have thorns that can protect them from harm. This combination of beauty and strength can be compared to women, as we can also be strong and resilient despite our delicate appearance.
🌹🌹🌹
That's why in this opportunity I want to show the step by step of these beautiful roses 🌹 hope you like it!
Materials.

- 🌹 Red crepe paper (We make several petals from 4 cm and 6 cm high, we will need 20 of the small ones and 6 of the small ones).
- 🌹Green crepe paper
- 🌹Sticks of height
- 🌹Glue
- 🌹1 mm wire of 10 cm
- 🌹Celoven
Step by Step
1

This is the shape to create the petals, we must take a rectangle of 6 cm high by 4 cm wide and for the large petals a rectangle of 6 cm high by 7 cm wide.
And then we must round the corners and cut out the fall of the silhouette of a petal.

We start gluing the small petals on the height stick using some white glue. We must glue the first petals in a closed way on the height stick, to make the center of the rose.
2

Then we must glue each of the petals in layers, using the 20 small petals.
3

Next we are going to glue the six large petals in layers, covering the area formed by the small petals.
4

Next we must use a green rectangle and fold it in half and with the help of the scissors make triangular cuts to form the daughters, then we glue on the flower a wire and on this another leaf.

5

Next we must roll this wire to the surface of the height stick and then use a piece of green crepe to line the stem area.

This is the final result of our roses. I hope you like it!

Thank you very much dear Hivers.
- Images belong to me
- Translator: Deepl Traslator
- Editing: Canva
