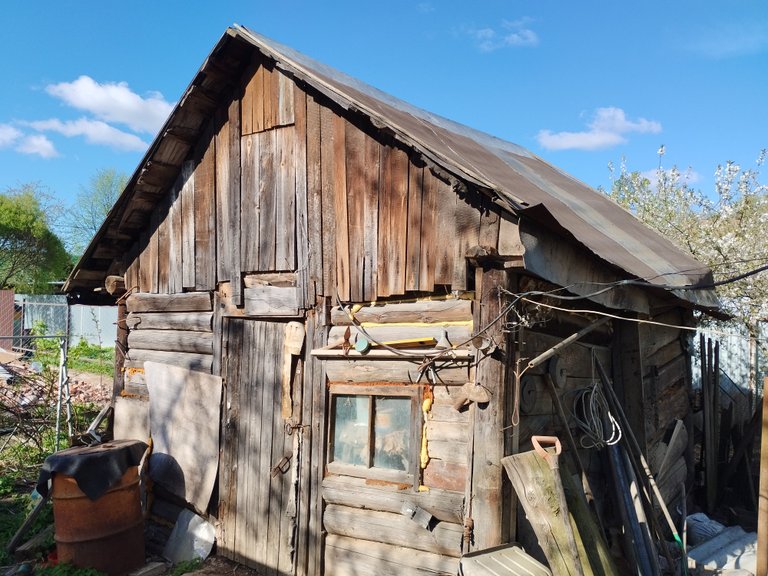
Good day dear mates! Those of you who follow my posts may know that one of my goals for this year was to disassemble an old garden house that was used to store garden tools and also housed chickens for a while. I planned to start taking it disassembling in early May. However, since the weather in April brought it's surprises, the realization of the plan became a big question mark. However, in spite of the weather, I woke up early on the morning of May 1 and headed out to the garden. The weather was overcast, but I decided not to give up on my goal. And this is what my garden shed looked like before the work started. As you can see it was quite old and could collapse at any moment. Assessing its condition we came to the conclusion with my dad that it would not stand another season.
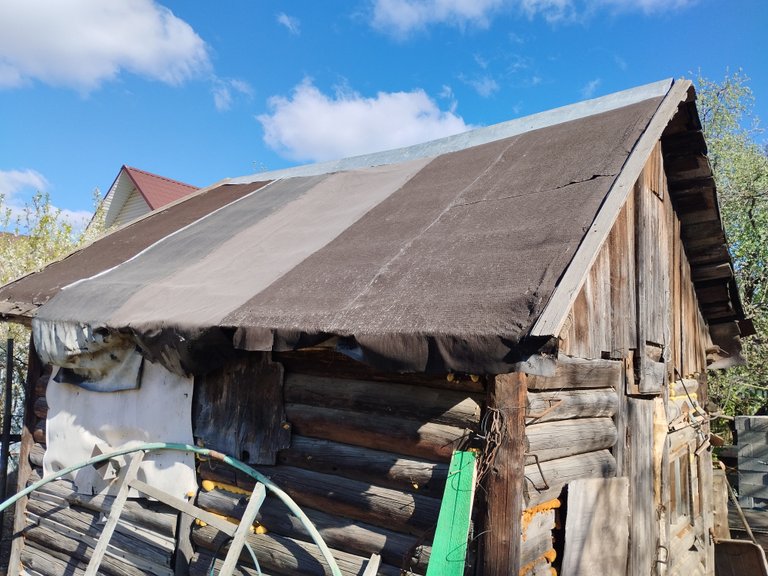
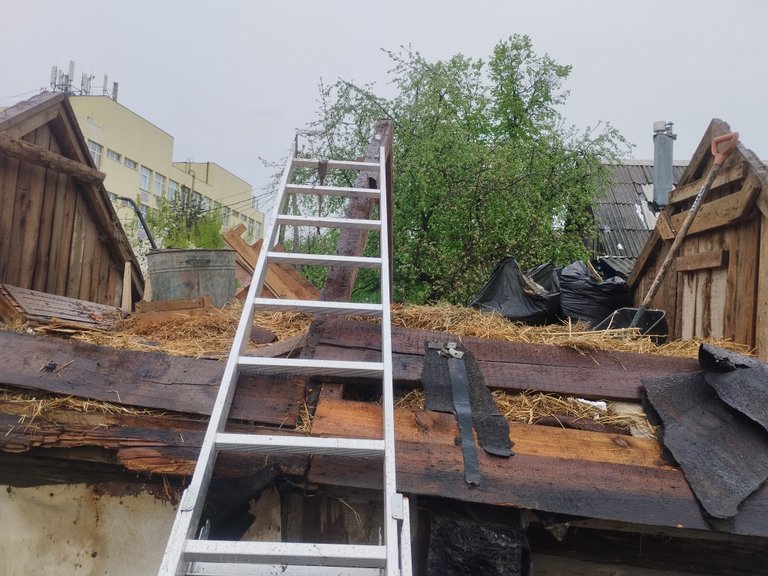
Beginning of disassembling, the roof the roof
And so we set about disassembling it. We decided to start with the roof. But before it I disconected my old garden house from electricity to prevent a short circuit during disassembly.
After it, I put a ladder on the roof and started unscrewing the fasteners that held the roofing felt. Then it was the turn of the purlins and the base of the roof.
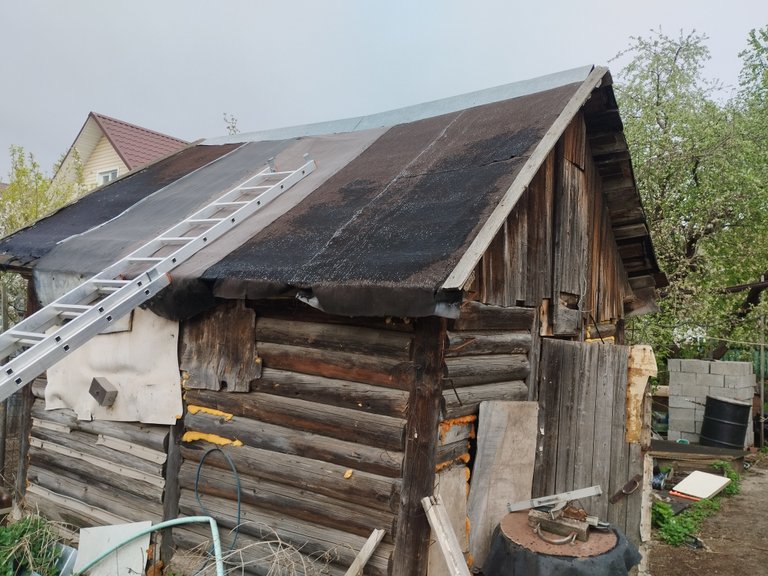
When the roof and attic walls were done, I realized that I still had to thoroughly dismantle and remove the hay from the attic area, of which there was a lot. Previously it had been used as bedding for the chickens and also put in the nests. And in winter, the hay layer helped to keep the heat in. In general, it was not difficult to disassemble the top of the roof and I managed it in a couple days. Although in my opinion I could have done it faster if it hadn't rained.
Walls and ceiling
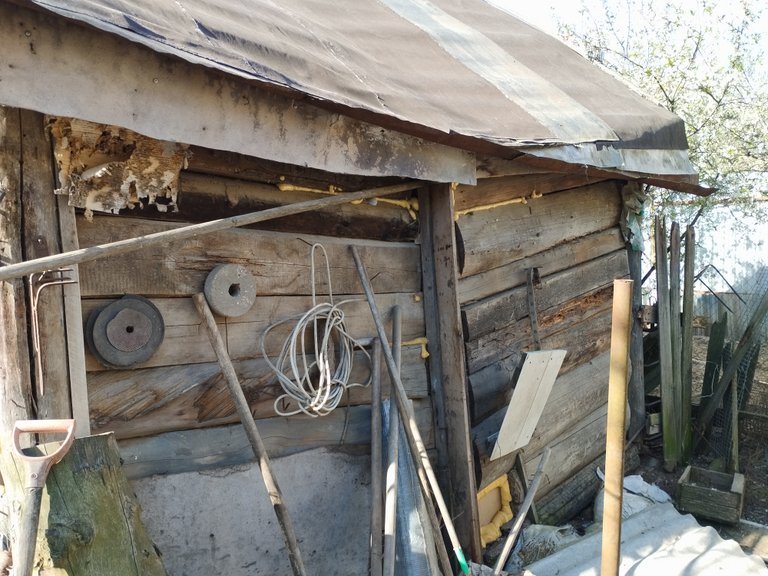
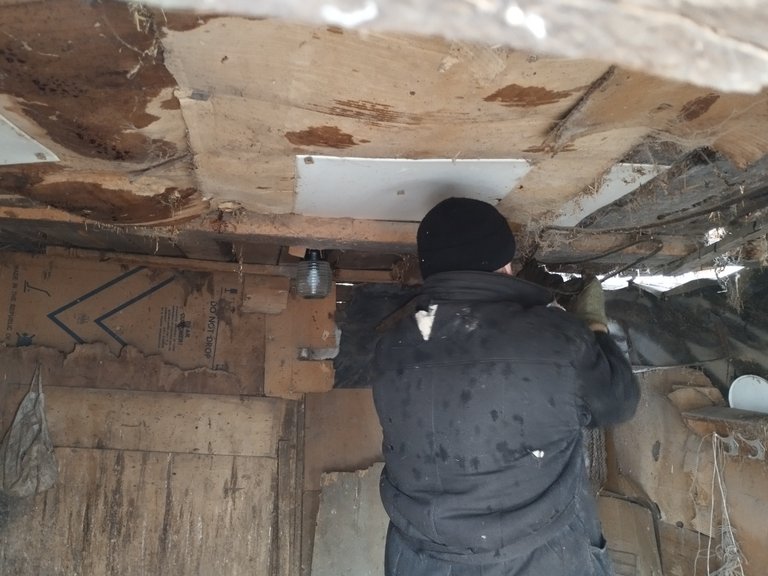
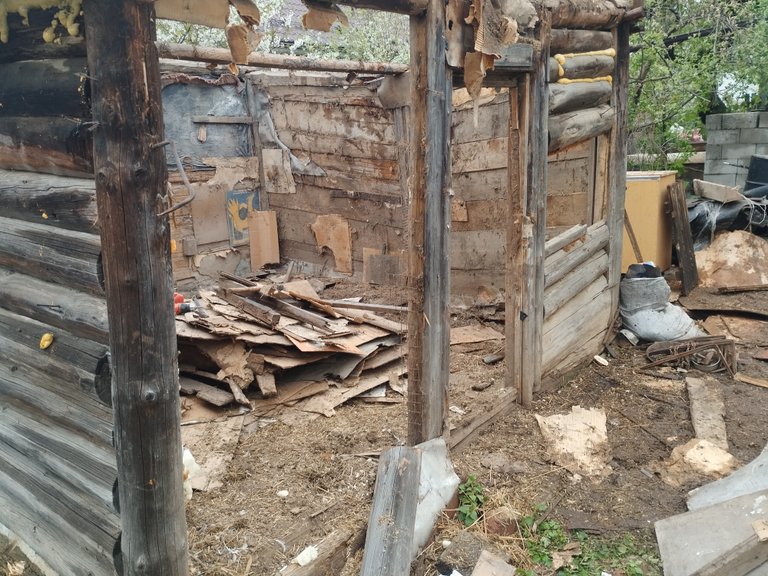
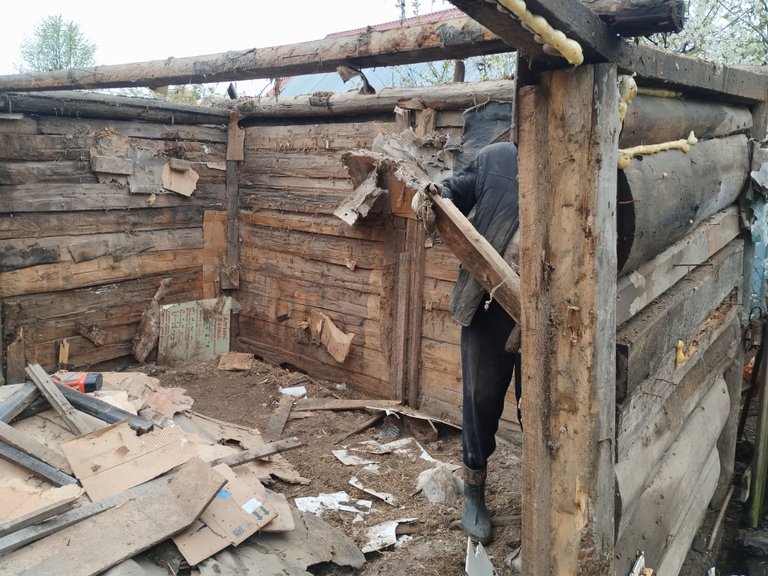
The next day it was the turn of the ceiling and walls. Beforehand, we took everything that was inside outdoors so that nothing would get in our way. There was a lot of junk that had been stored. In addition to gardening tools, I managed to find an old hand drill, a shoe repair tool, wrenches and much more.
It took us also couple of days to take the ceiling apart because the boards were tightly chipped and in some places there were several layers overlapping.We then proceeded to dismantle the walls. First we started tearing down the old partitions that were inside. They separated the room where chickens used to live from the common space for tools.
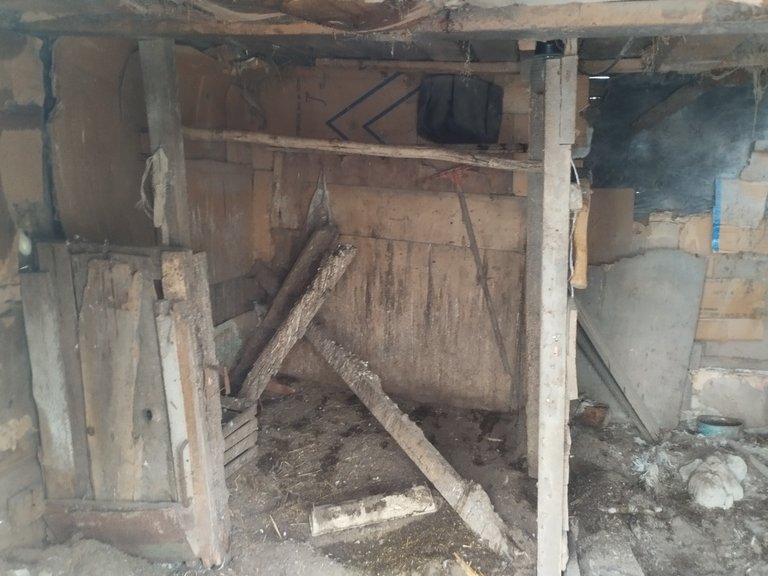
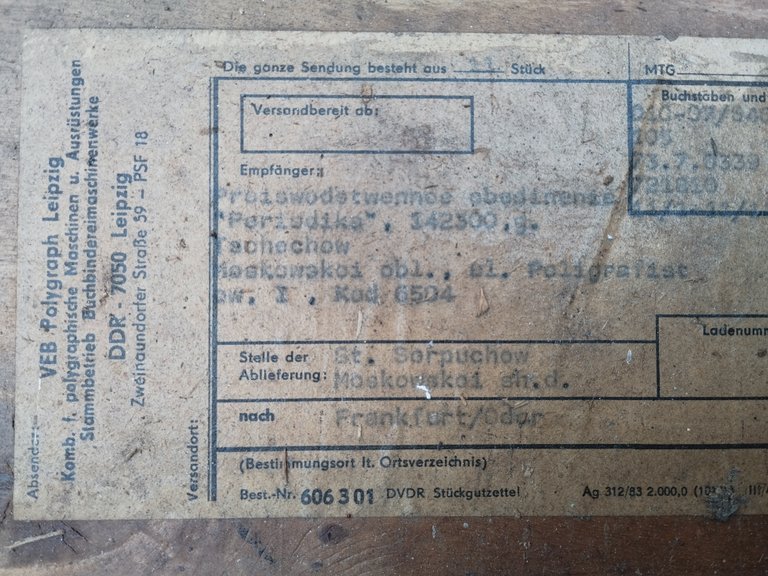
The walls were not so simple as they were covered with plywood, cardboard and other materials when the house was built to keep the wind and moisture out. And I had to dismantle all that first to get to the base of the walls. To tell the truth, this garden house was built by my grandfather and I understand that at that time they tried to use simple available, but effective materials. As it turned out later, some of the coatings were even produced in another country. The plywood used on one of the walls was taken from the packaging of a machine that had been delivered from Leipzig.
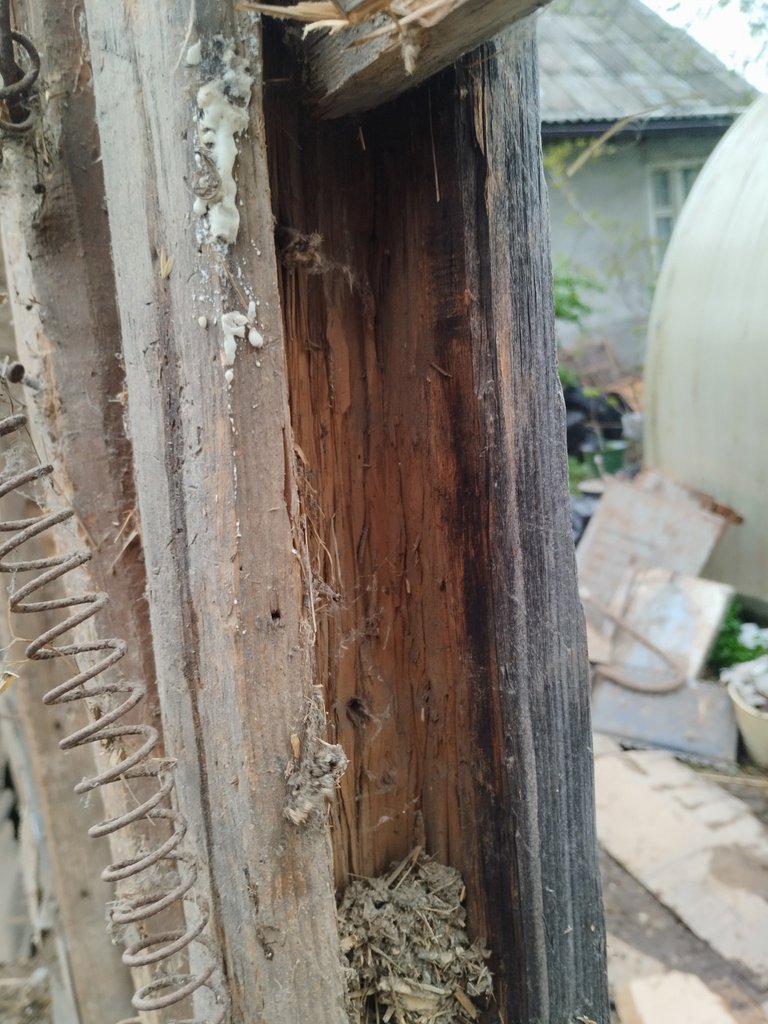
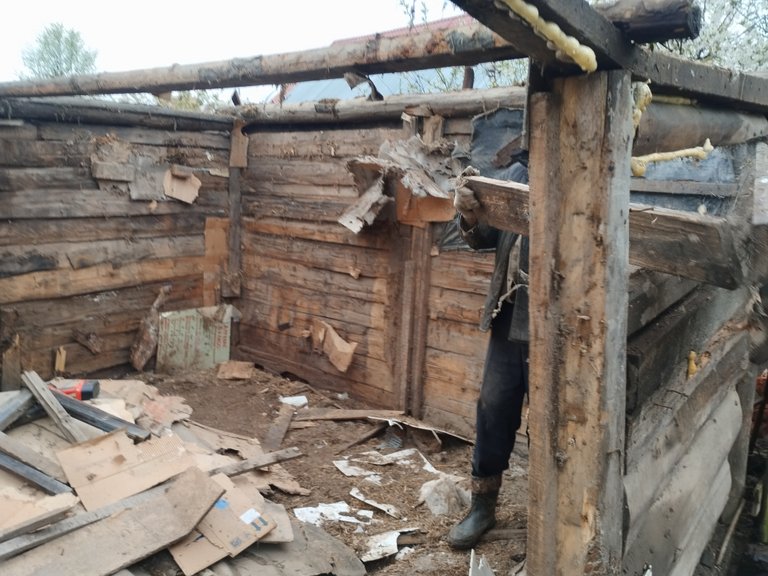
When we dismantled the base of the walls, I saw that the logs, or rather half logs were not just stacked, but laid in grooves cut in the main pillars. And in order to assemble everything, the posts were installed first, and then the logs were simply lowered into the grooves. And each subsequent lowered log lowering from above pressed the previous one with its vestige, thus making the wall more whole and reducing the gaps between the elements of the wall.

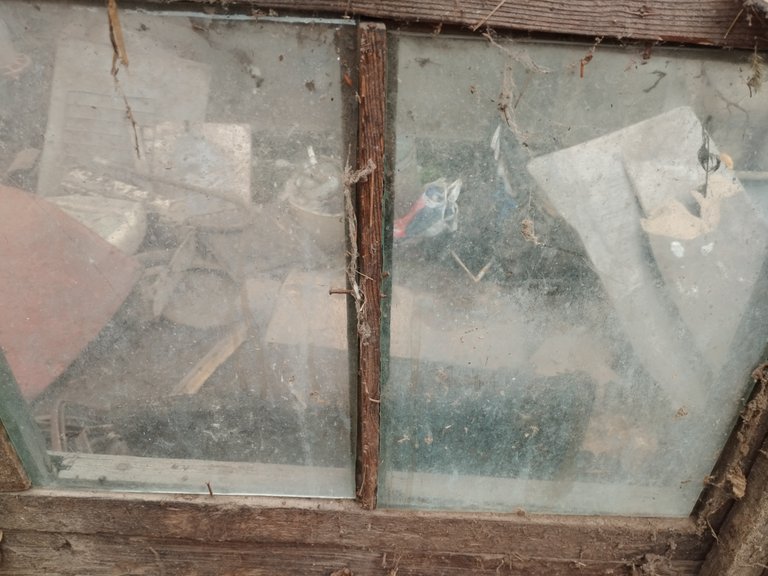
The windows and doorway were also homemade, but it took a lot of labor to take them apart, too.

Some of the logs had to be knocked out because they were tightly seated in the grooves and could not be easily moved or pulled out.
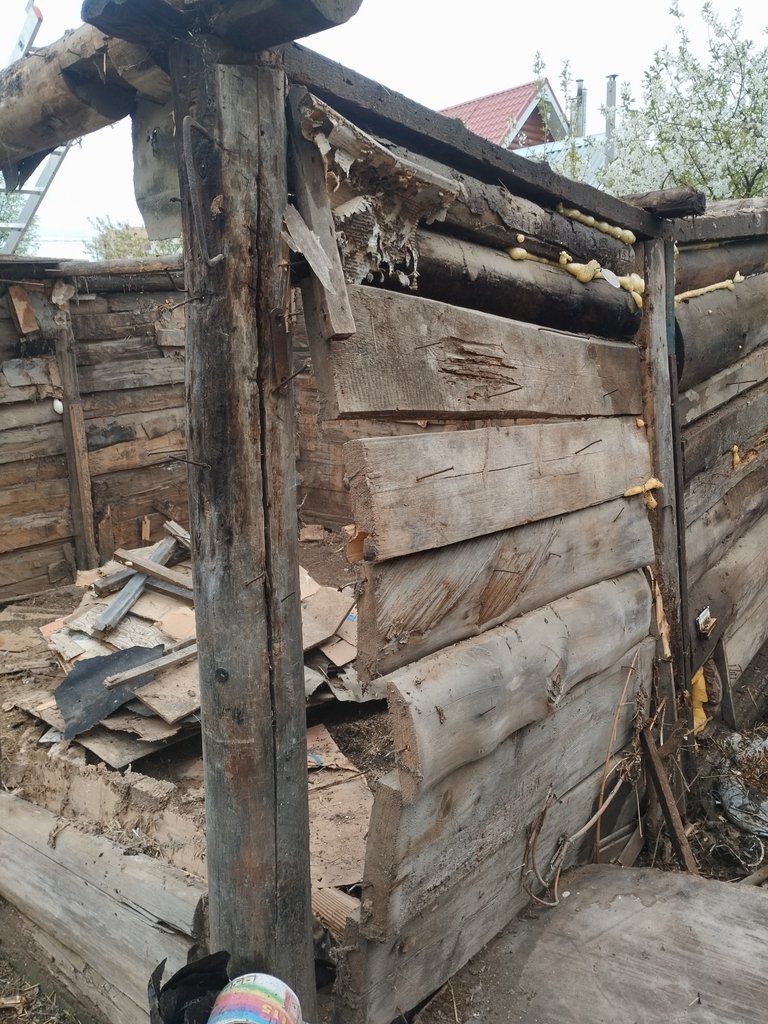
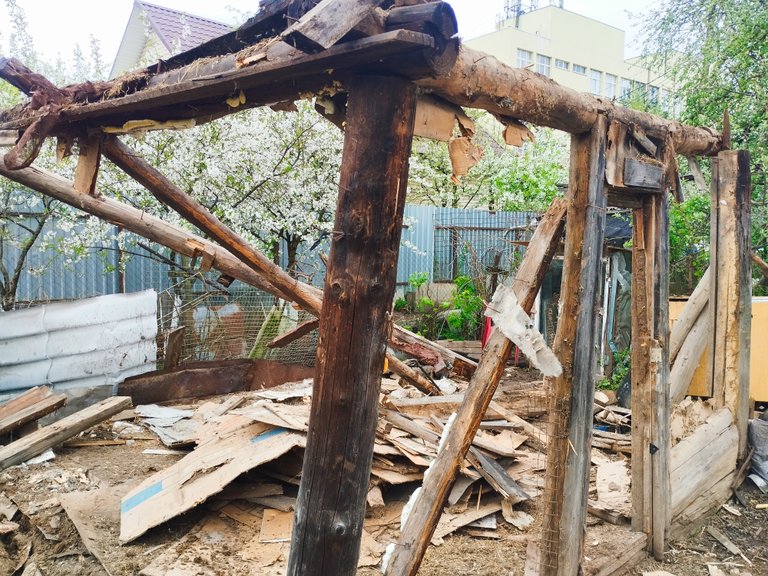
When only the main poles were left standing, we decided to dismantle the metal brackets that held them together, and then pile the construction so that it could be cut with a chainsaw.
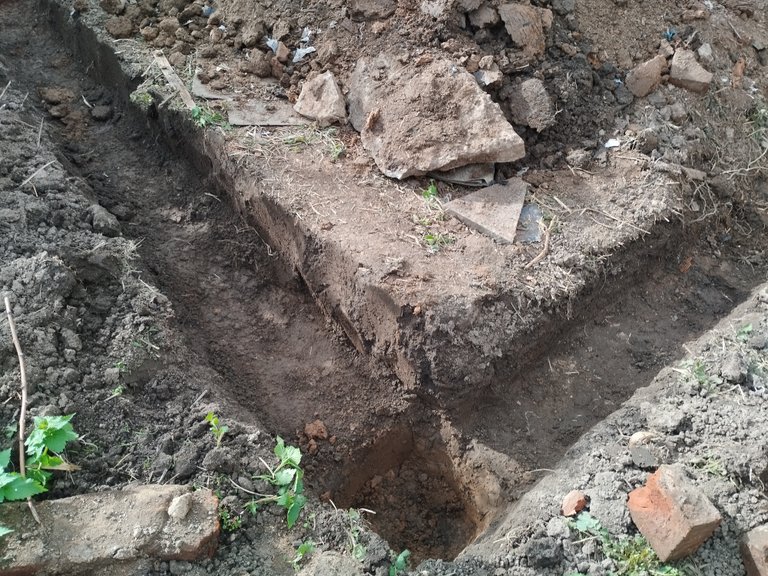
Floor & foundation of the old garden house
When the walls were done, it was the floor's turn. It was not a very pleasant job, because there were sometimes not very pleasant elements besides dirt, such as the corpses of mice that tried to get under the floor.
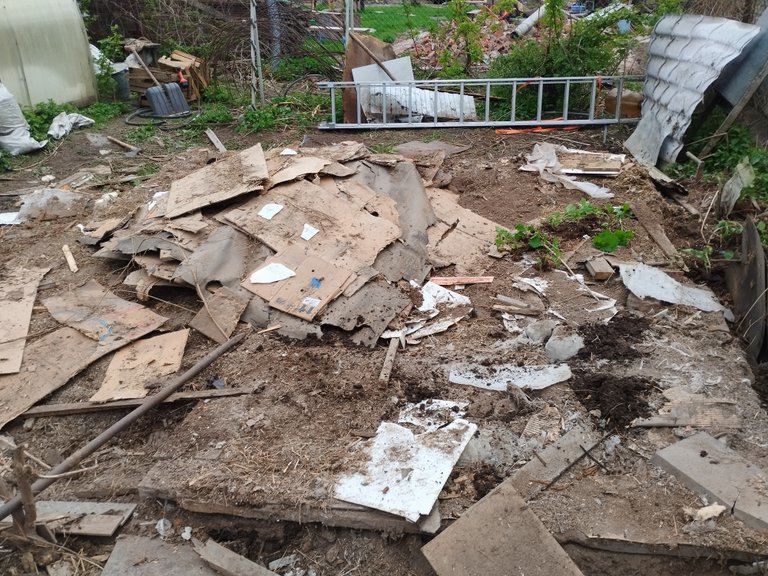
And then it was time for foundation. It also took us a few days to remove it.
And when the dismantling was over, we started preparing the trench for building the foundation for the new garden house. But more about that next time.
That's all for now! Stay tuned! Yours @travoved