As a crochet artist who has worked on numerous crochet projects, one very inevitable fact that I've come to realise is that there would always be some remaining yarn or (scrap yarns like I call them) after a project. If I'm being honest, I rather have some scrap yarn after a project than having to buy a skein of yarn when I have just two rows to go. This is where calculation and precision come in for crochet artists.
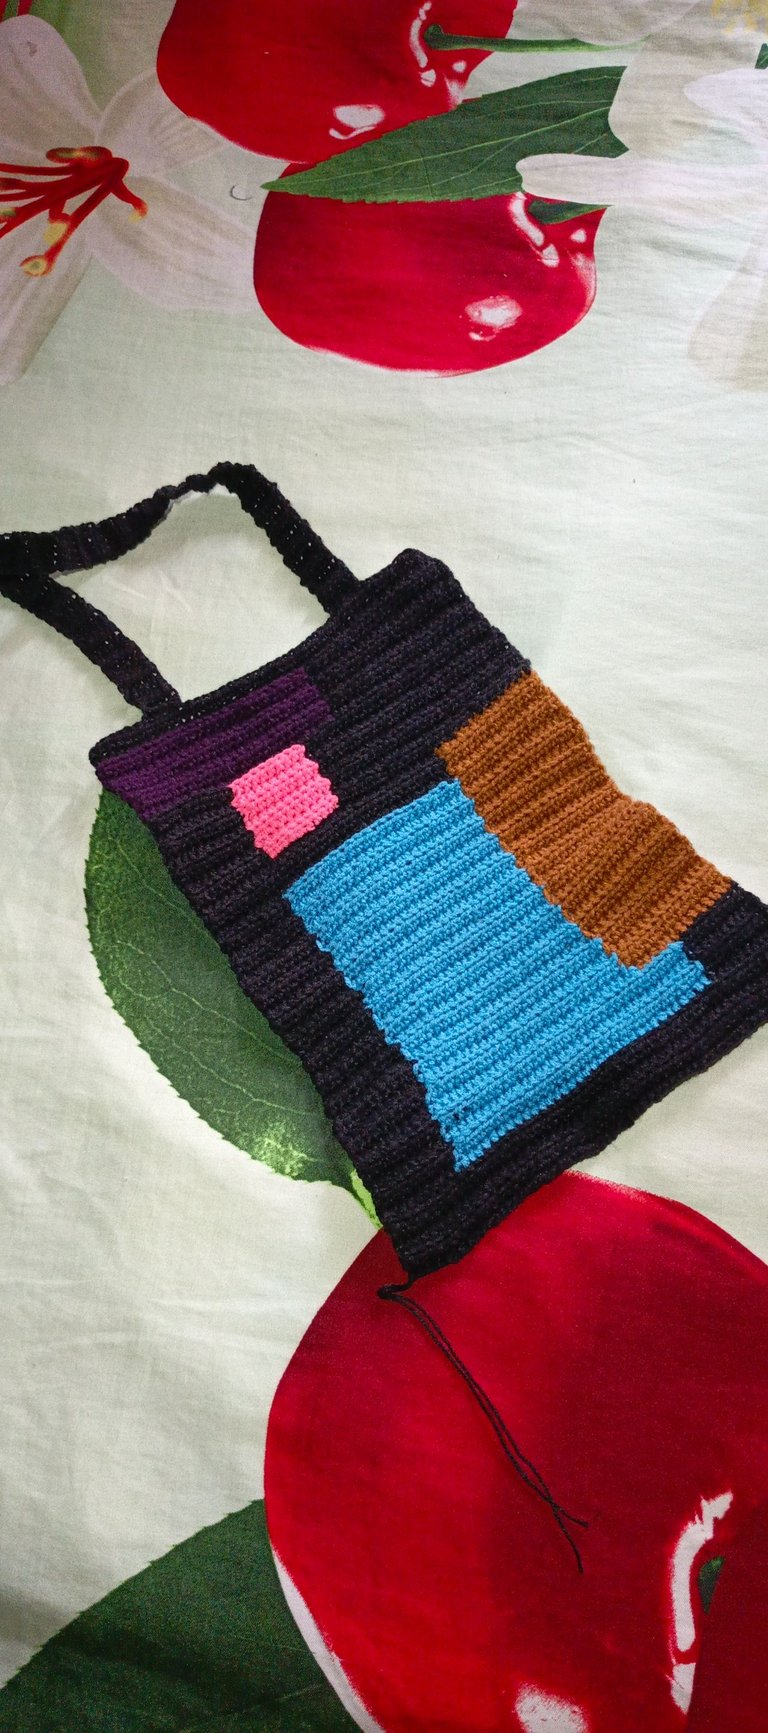
Speaking of spare yarns, I finally decided to do something with a few of my spare yarns and I'm glad I made this decision. This way, I'm able to clear up some space which the spare yarns graciously took and actually make something I would be using for a very long time.
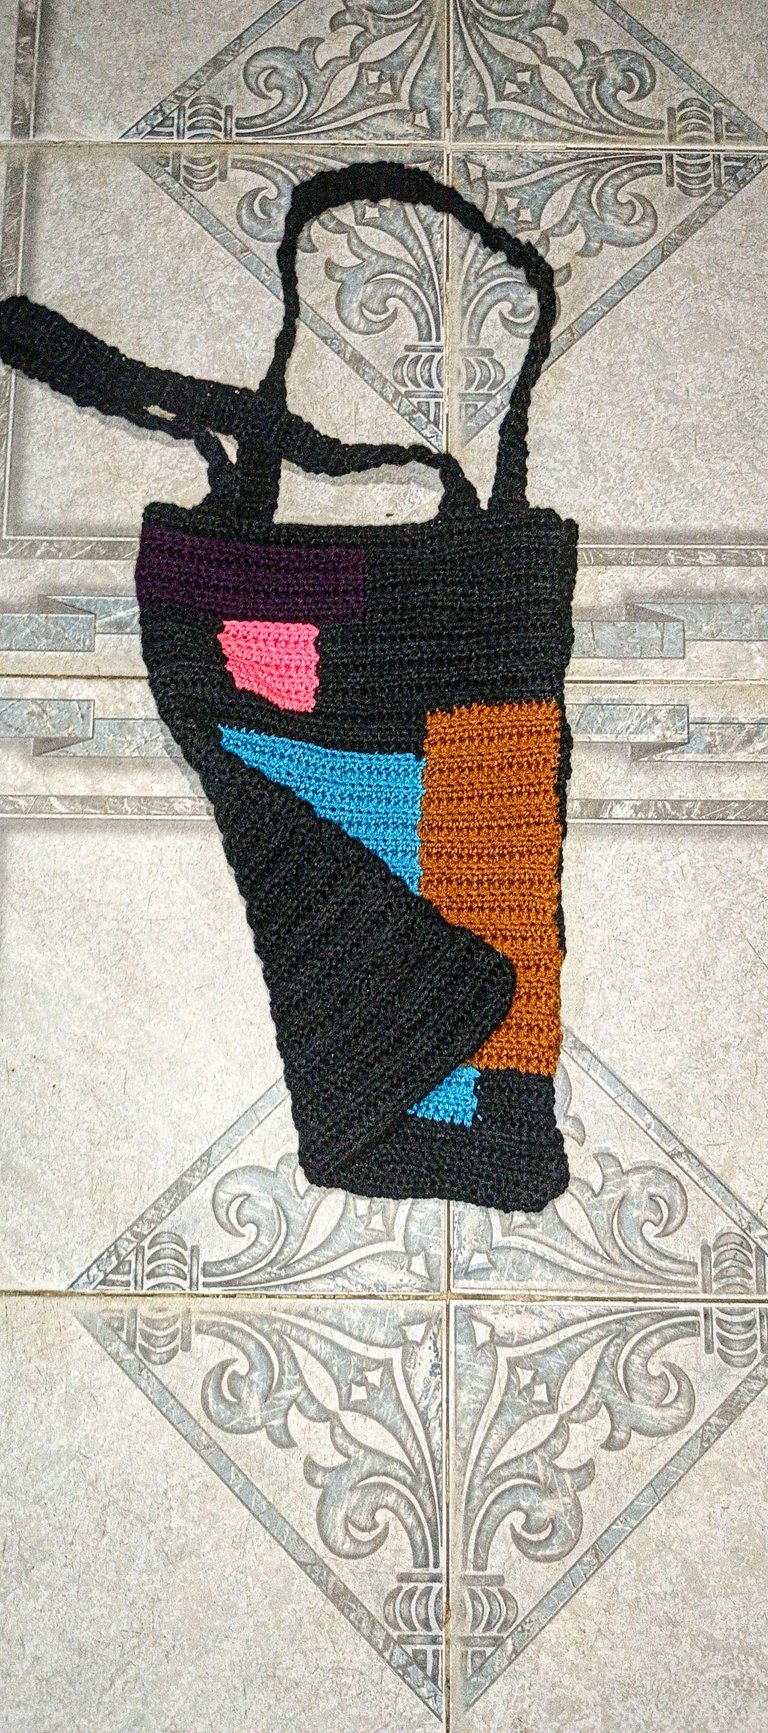
Aside from the crochet vest I made a long time ago, I haven't really tried making any crochet patchwork. While making this crochet tote bag, I had lots of second thoughts. Patchworks can get very messy at times with loose yarns flying all around. The thought of having to sew in a thousand and one loose yarns didn't seem like an interesting one and as such, I decided to work over the loose yarns as much as possible, reduce the cutting-and-joining and manually sew in the few stubborn loose yarns that didn't want to be worked over.
Materials Used
- Spare yarns.
- 4.0mm crochet hook.
- Darning needle.
- A pair of scissors.
- Measuring tape.
- Stitch markers.
Procedure
In the past, I've made a few crochet tote bags with varying designs. Each crochet tote bag project came with its shortcomings but the necessary lessons were learnt. I channelled all the learnt lessons into the making of this particular tote bag and I can say that I was able to come up with something spectacular.
For this project, I started by making a chain of sixty-one with the extra one chain as a turning chain. I didn't want this tote bag to come out looking too big or too small.
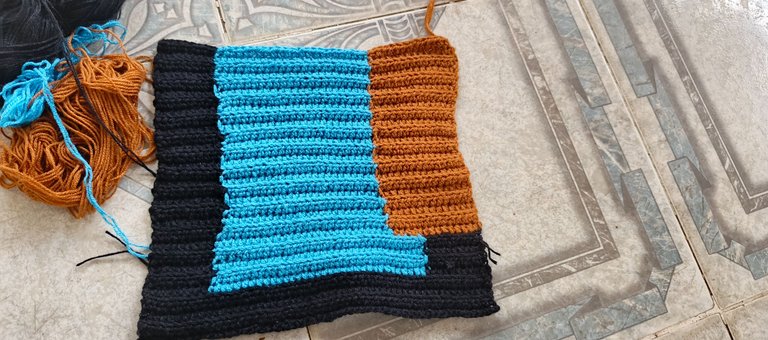
After making the chains, I started making the first row using half double crochet stitches. For the third row, I continued making half double crochet stitches but into the back loops only.
By the fifth row, I added my first colour. This was the beginning of the major patch work and the onset of my uncertainty, nonetheless, I kept going.
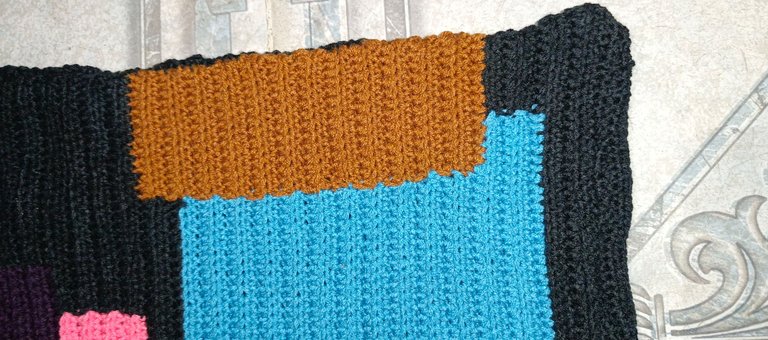
I continued with the blue and black yarns, ensuring I worked into the back loops only.
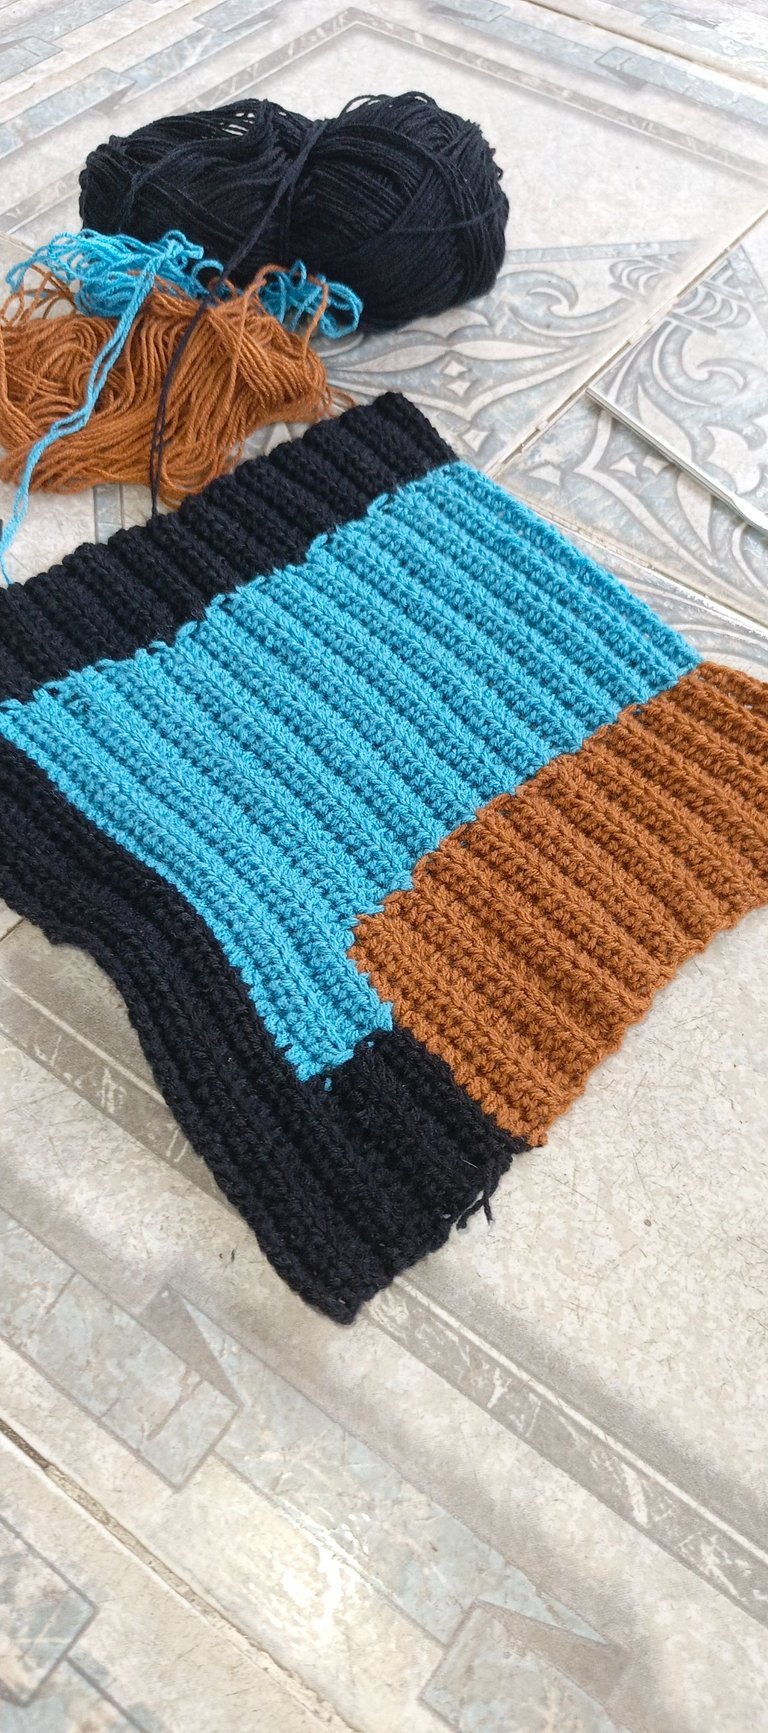
By the eighth row, I added the brown coloured yarn to the edge of the project and this is when things began getting messing. All the while, I was twisting and turning the project forgetting that the yarns were equally twisting and turning. At some point, I noticed the yarns were all tangled up and untangling then was another job on its own. It took a few minutes to do but soon enough, I was done and now more conscious.
Once I got to the thirtieth row, I stopped adding the blue yarn and just focused on the brown and black yarns.
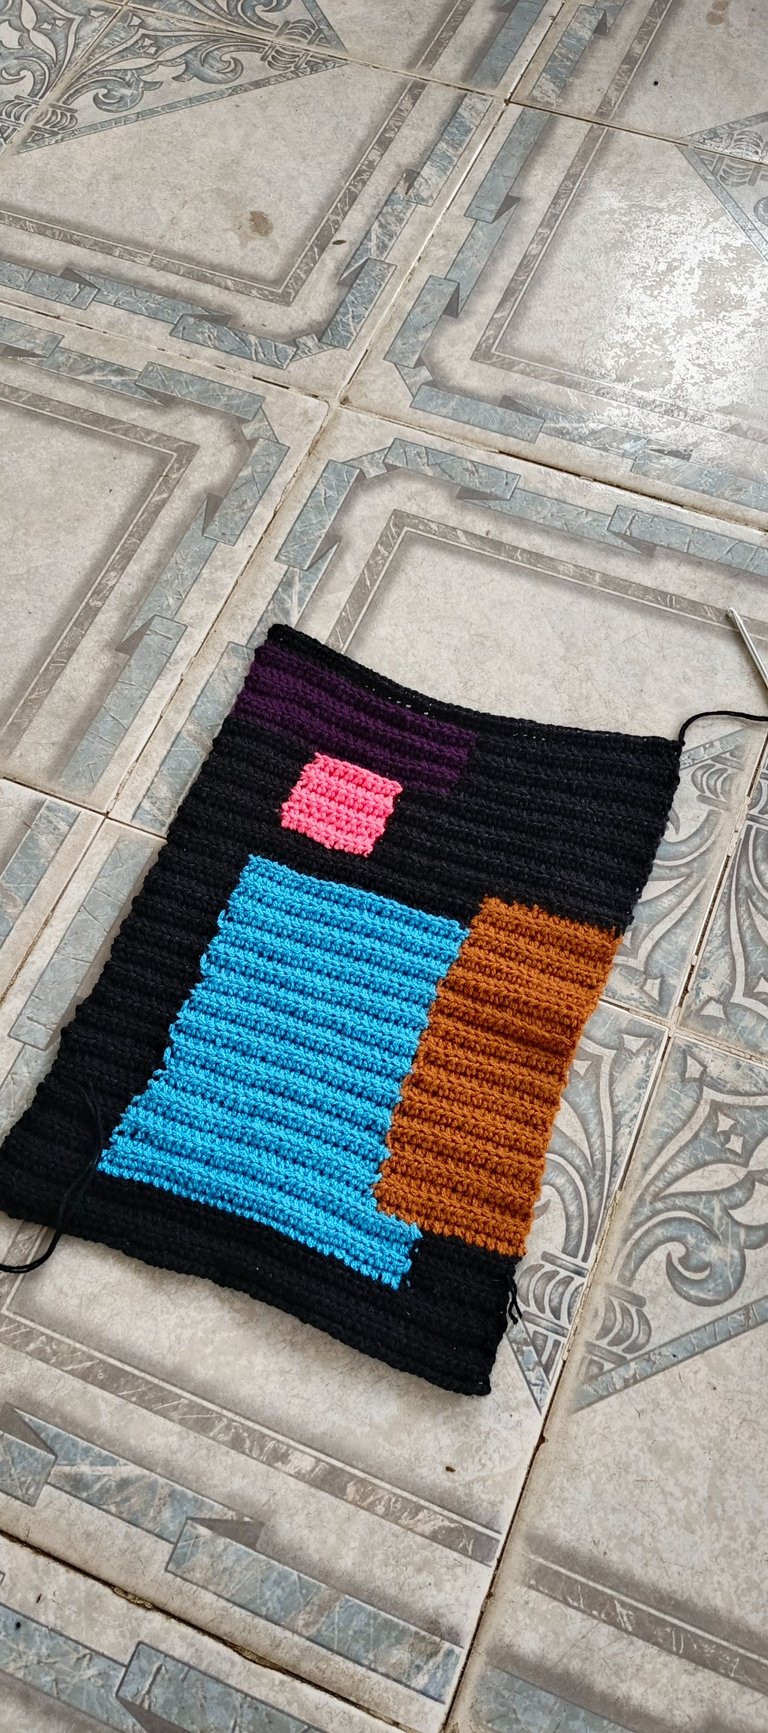
A little after that, I added a pink cube-like patch and a few rows after that, I added a purple rectangular patch.
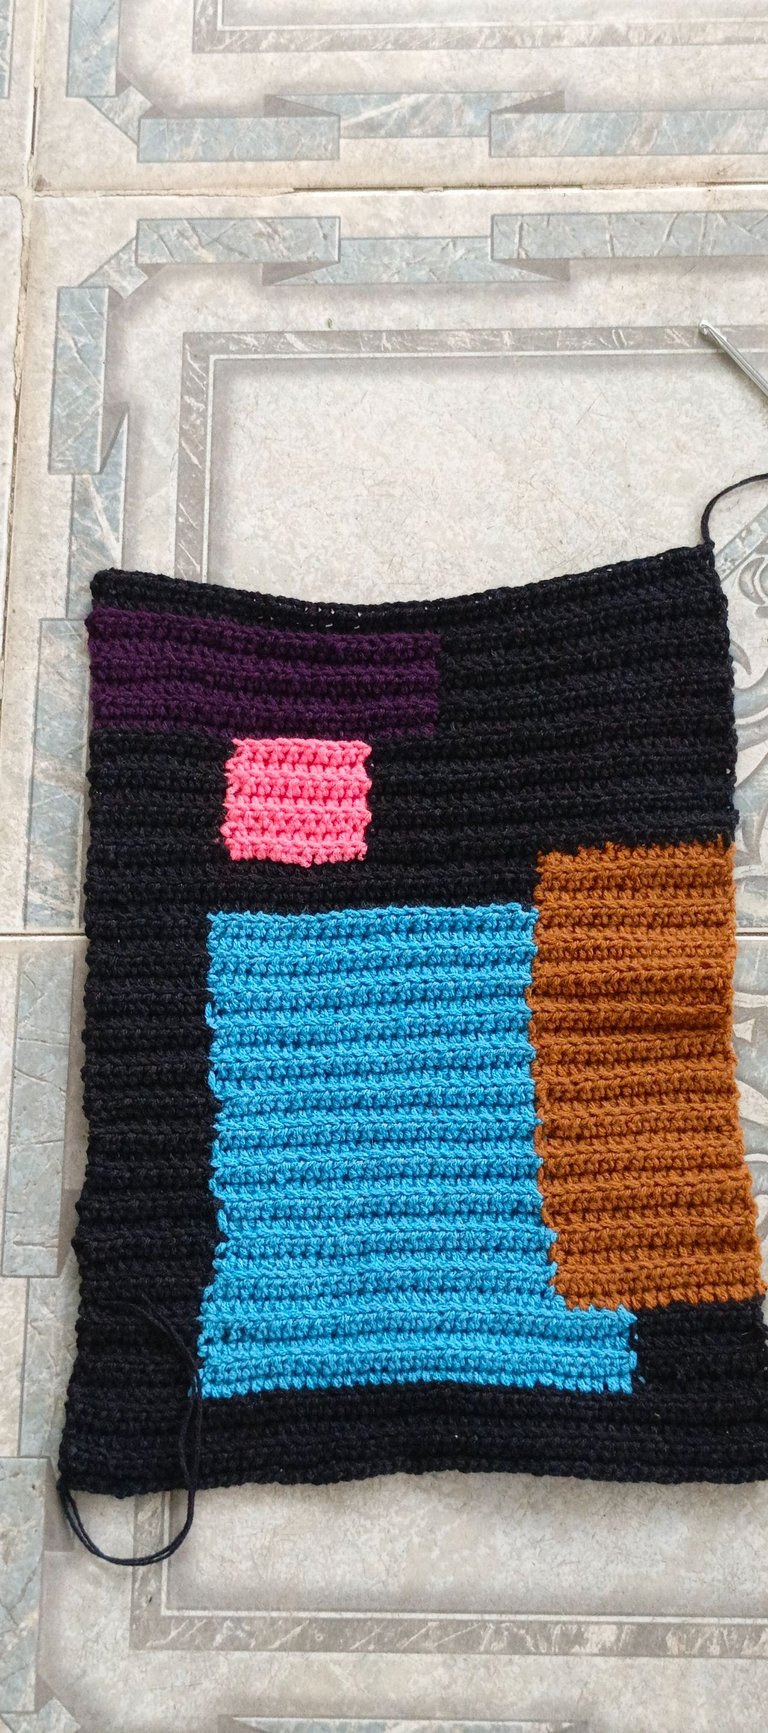
After the purple patch, I made two more rows using the black yarn only and that was it for the body of the bag.
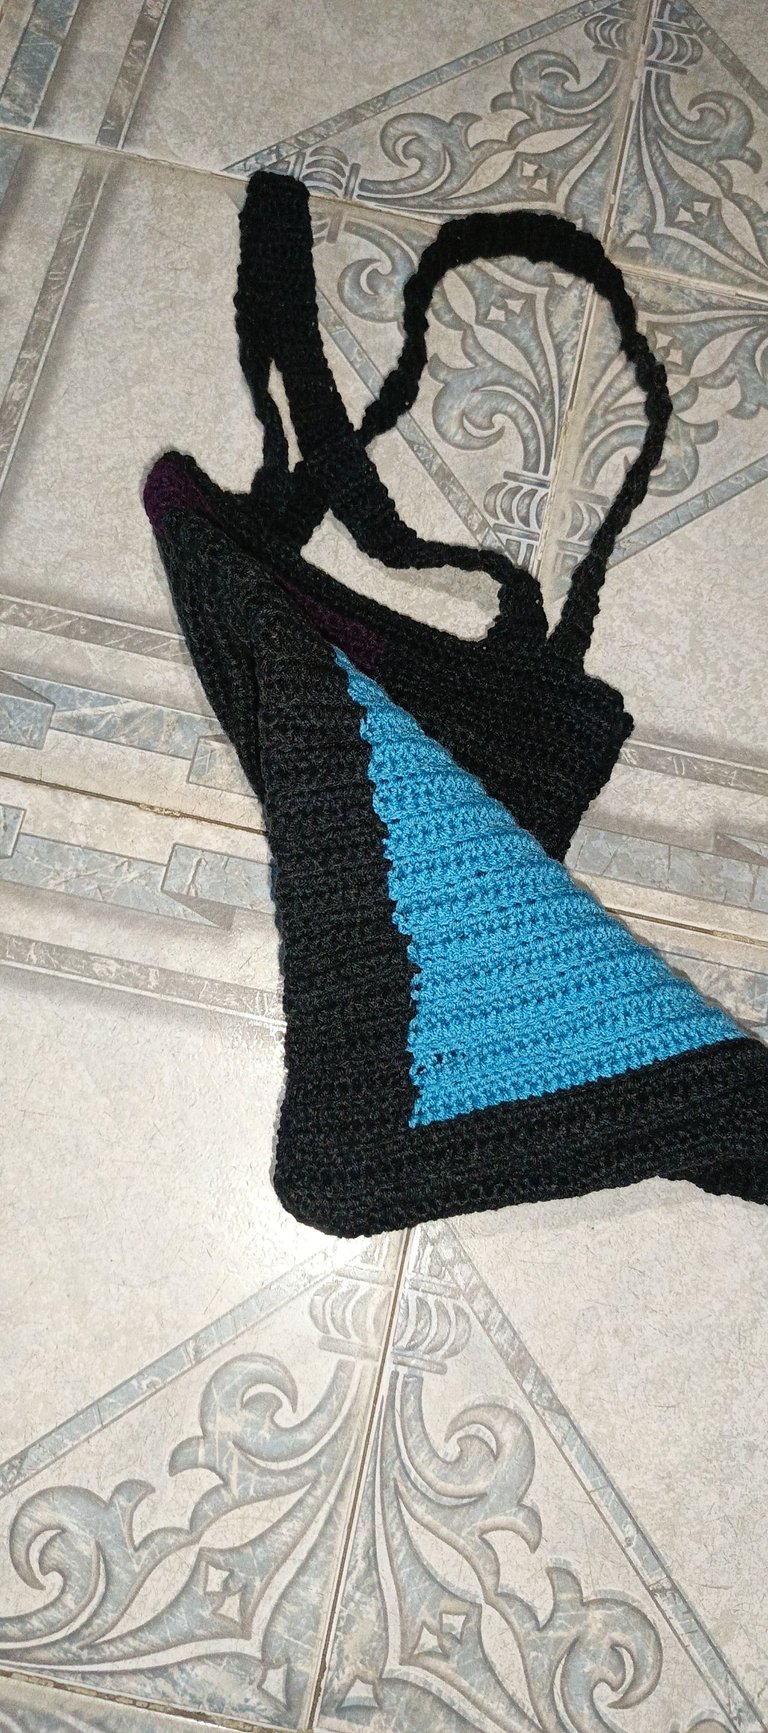
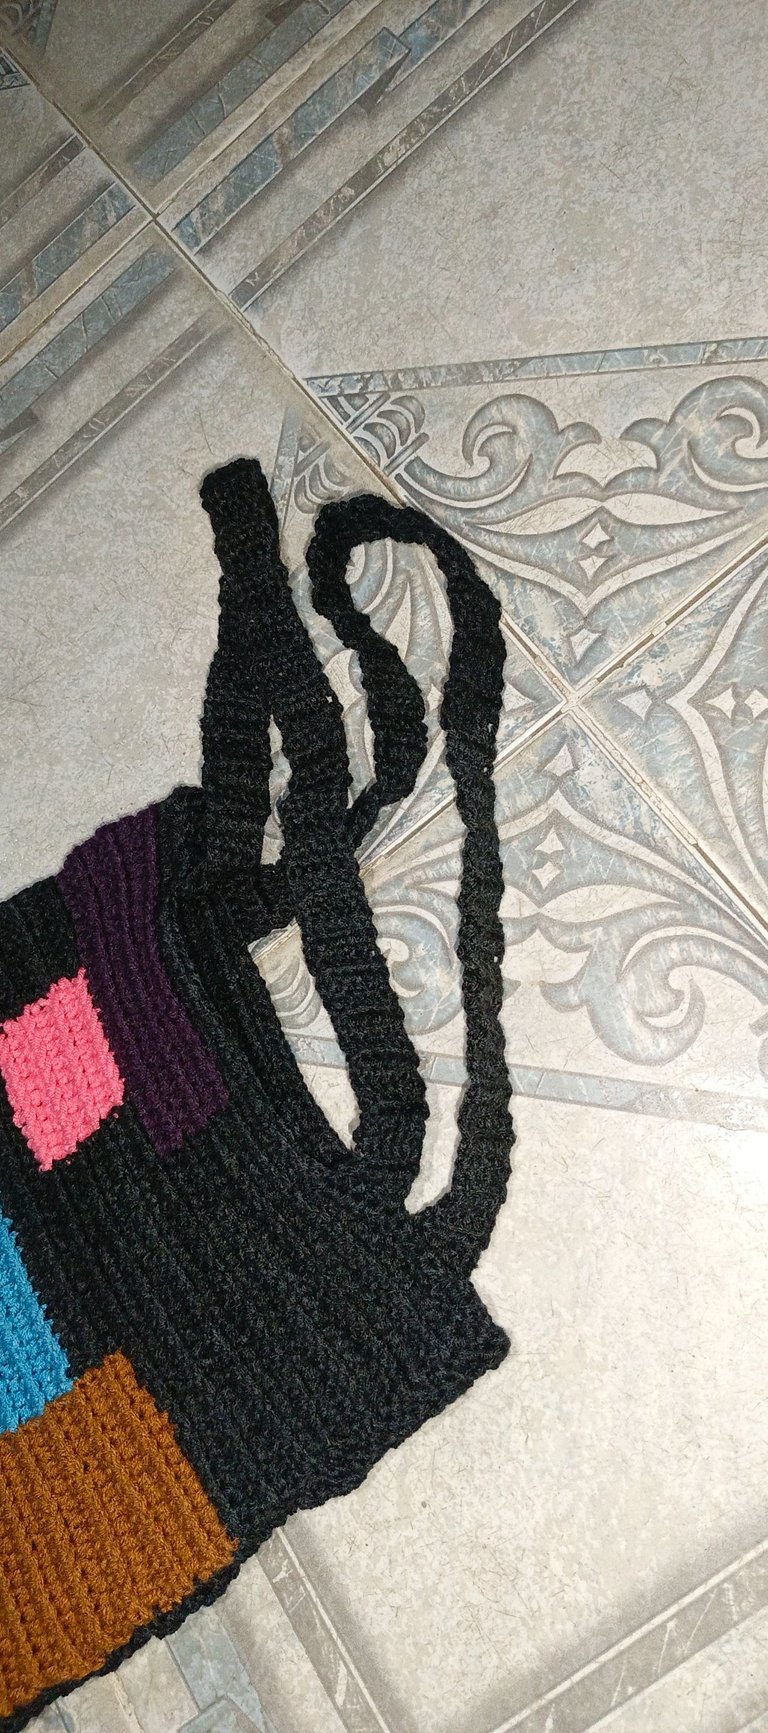
The next thing I did was make a moderate length handle for the bag. Emphasis on the moderate length because all the handles made for my previous totes always turned out a bit too lengthy.
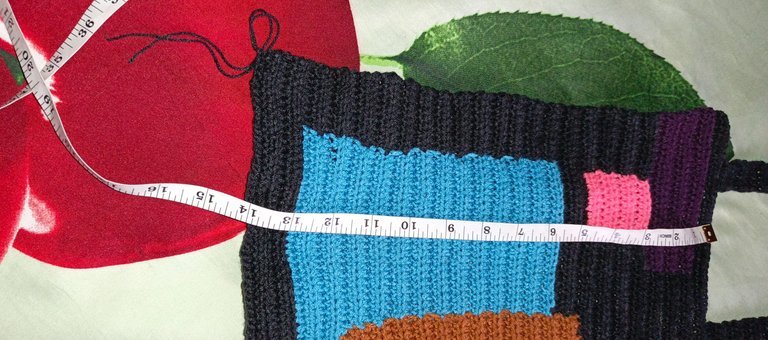
With that, I proceeded to make the back part of the tote bag which was basically a repetition of the front but without the patches. It took three days to come up with this beauty. Two days spent figuring out the front panel and one day on the back panel.
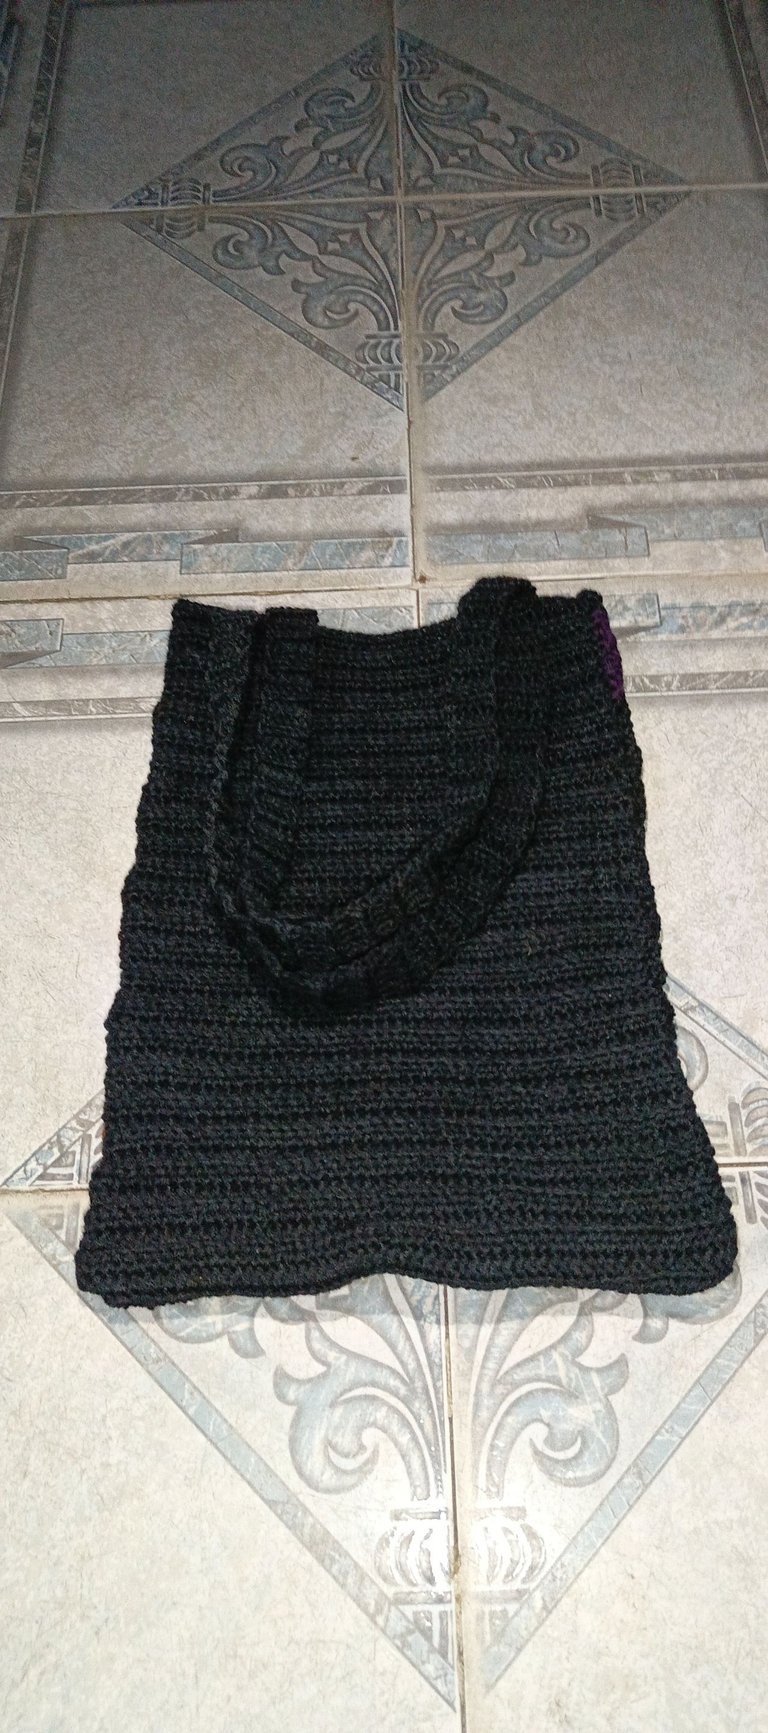
The last things I did were couple up the two halves, sew in the remaining five loose yarns I had and the bag was pretty much done.
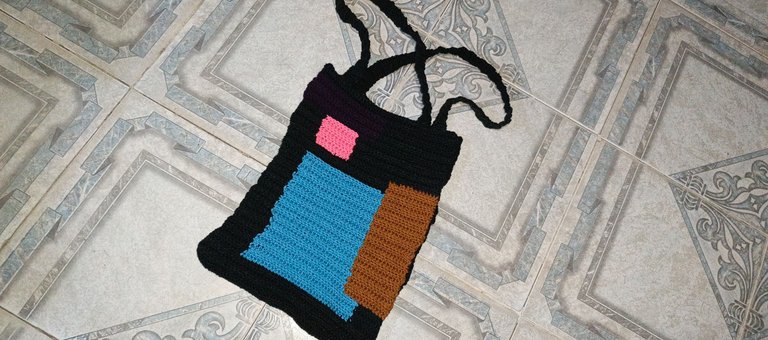
A few friends saw the front panel of the crochet tote bag prior to completion and thought it already looked unique. What do you think of this crochet patch tote bag?
All images used belong to me and were taken with my mobile device except stated otherwise.
Love🤍