🌼🐣🍃🌼🐣🍃🌼🐣🍃🌼🐣
 🌼🐣🍃🌼🐣🍃🌼🐣🍃🌼🐣
Happy and blessed new year 2024, a year full of many challenges and opportunities and that with God's favor we can come to fruition in perfect peace and harmony.
Feliz y bendecido año nuevo 2024, un año lleno de muchos retos y oportunidades y que con el favor de Dios podemos a llegar a buen término en perfecta paz y armonía.
🌼🐣🍃🌼🐣🍃🌼🐣🍃🌼🐣
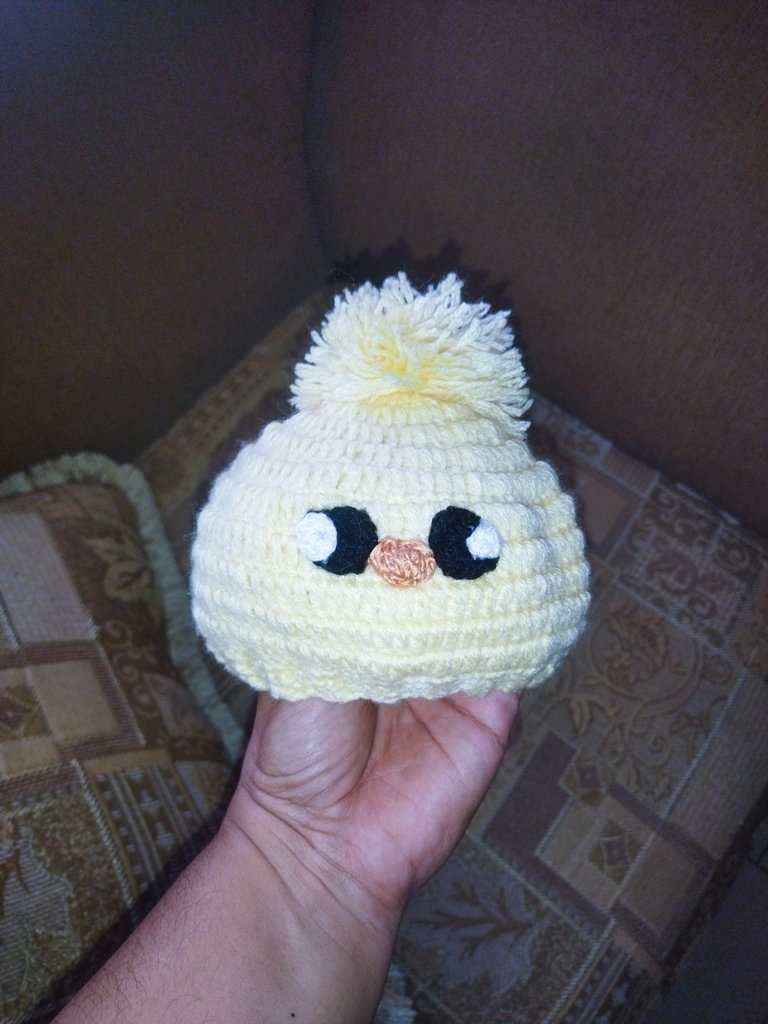 🌼🐣🍃🌼🐣🍃🌼🐣🍃🌼🐣
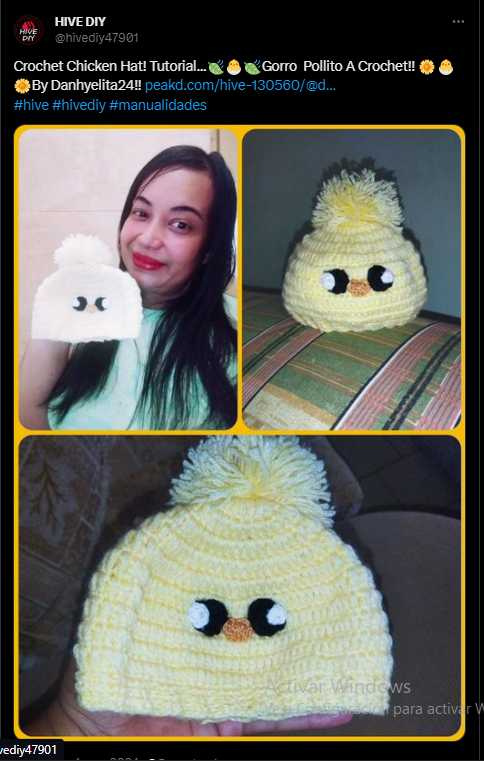
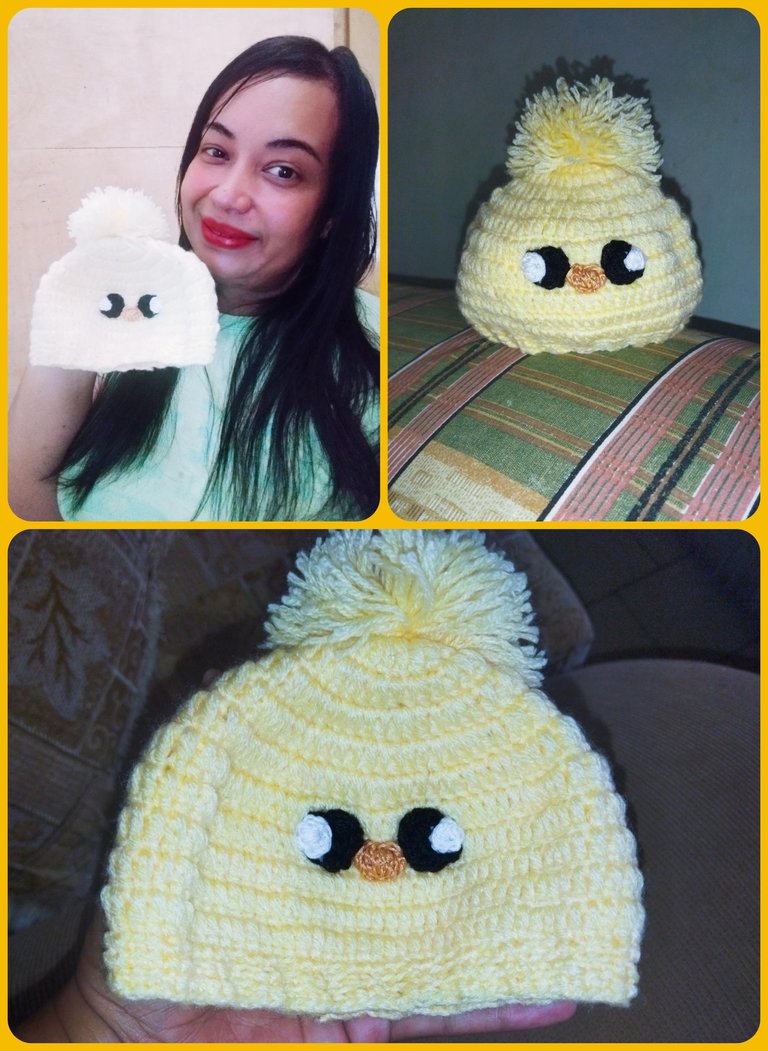
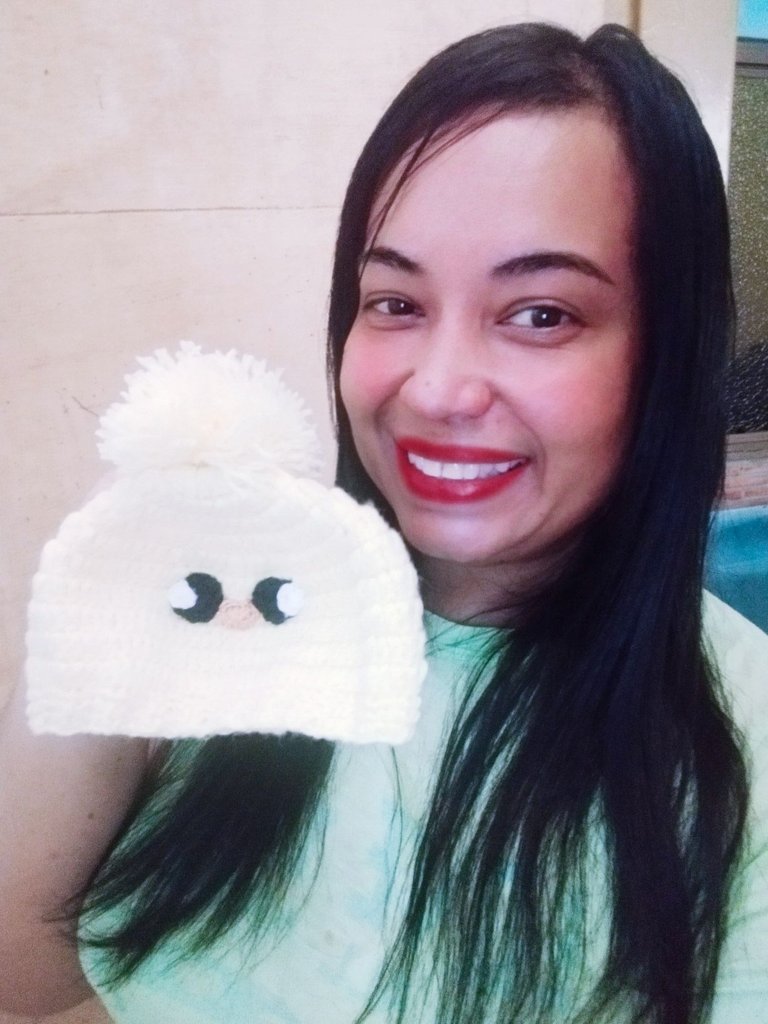
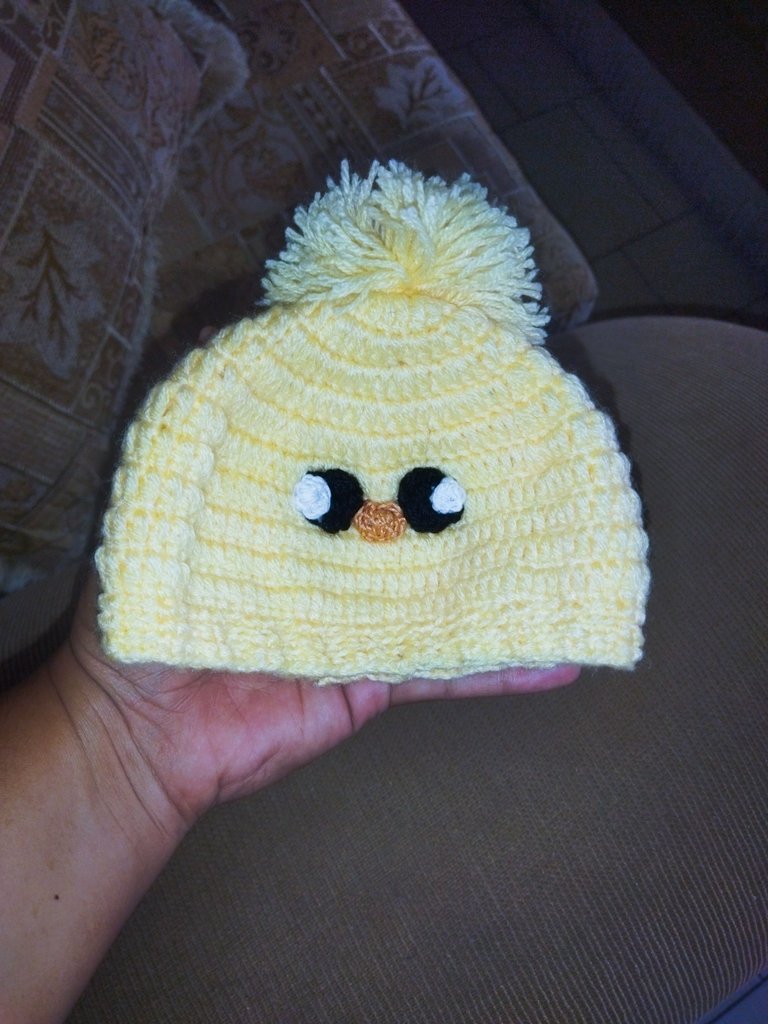
This new year I want to start it with a nice craft, and I show you here in this post, to welcome soon a very special being that comes to enlarge our family and fill us with lots of tenderness, love and affection, for this I made a nice crochet knitted hat with the image of a cute and friendly chick, ideal for those first months of life, where it should be warm and warm.
Este nuevo año quiero comenzarlo con una bonita manualidad, y se los muestro aquí en este post, para darle próximamente la bienvenida a un ser muy especial que viene agrandar nuestra familia y a llenarnos de mucha ternura,amor y cariño, para ello realicé un bonito gorrito tejido a crochet con la imagen de un tierno y simpático pollito, ideal para esos primeros meses de vida, donde debe estar bien calentito y abrigado.
🌼🐣🍃🌼🐣🍃🌼🐣🍃🌼🐣
 🌼🐣🍃🌼🐣🍃🌼🐣🍃🌼🐣
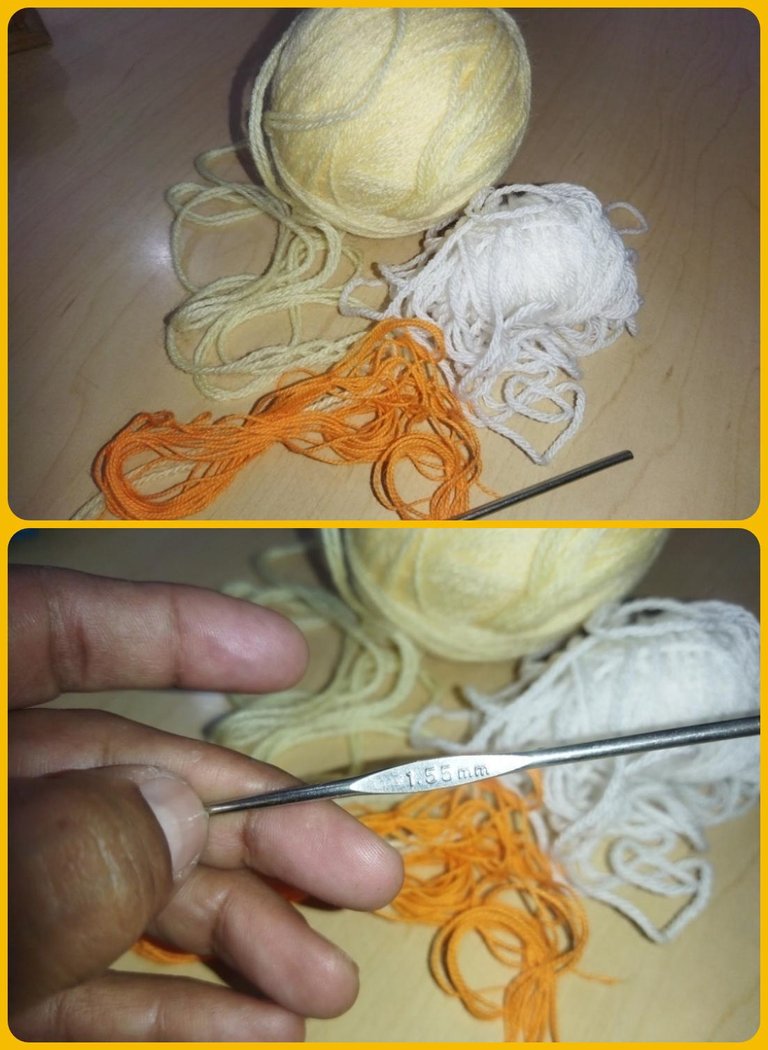
Its realization was extremely simple, ideal to start in this beautiful art of crochet, which makes it perfect for beginners. The materials used were wool yarn in yellow, white and black tones, orange embroidery thread, crochet needle, scissors and wool needle.
Su realización fue sumamente sencilla ideal para iniciar en este bello arte del crochet, lo que lo hace perfecto para principiantes. Los materiales utilizados fueron hilos de lana en tonos amarillo, blanco y negro, hilo de bordar en tono naranja, aguja crochet, tijera y aguja lanera.
🌼🐣🍃🌼🐣🍃🌼🐣🍃🌼🐣
 🌼🐣🍃🌼🐣🍃🌼🐣🍃🌼🐣
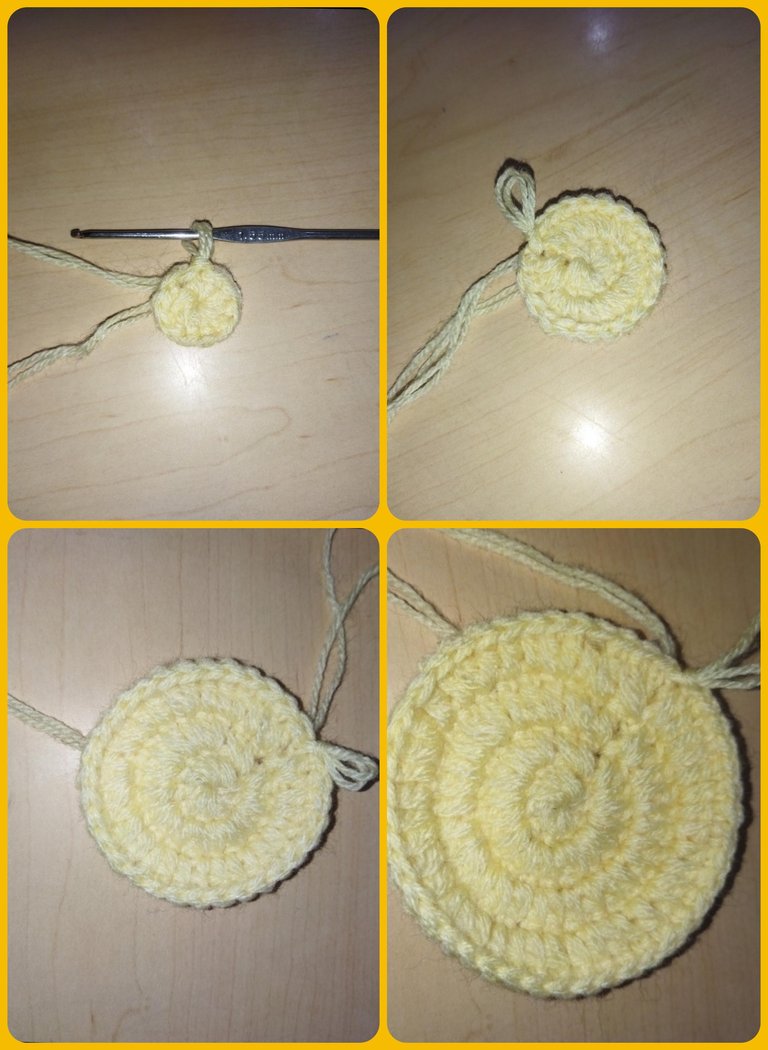
We start with a magic ring where we are going to mount 3 chains and then 9 high stitches, we close with slip stitch, we mount again 3 chains and we are going to have 1 increase for each stitch, at the end we close with slip stitch and we lift again with three chains, this operation will be done for each round in the following way, the sequence of a single crochet, a single crochet, a single crochet, we will cast on with a slip stitch, we will lift 3 chains, then repeat the sequence of two single crochets, an increase until the end, we will close with slip stitch, we will lift 3 chains and then we will do the sequence of three stitches, we will close with slip stitch, we will lift 3 chains and then we will do the sequence of three stitches, we will do the sequence of three stitches.
Iniciamos con anillo mágico donde vamos a montar 3 cadena y seguidamente 9 puntos altos,cerramos con punto deslizado, montamos nuevamente 3 cadenas y vamos a tener 1 aumento por cada punto, al finalizar cerramos con punto deslizado y levantamos nuevamente con tres cadenas, esta operación la vamos a realizar por cada vuelta de la siguiente forma, la secuencia de un punto alto 1 mento, un punto alto, serranos con un punto deslizado, levantamos 3 cadena, luego repetimos la secuencia de dos punto altos un aumento hasta finalizar, cerramos con punto deslizado, levantamos 3 cadenas y luego hacemos la secuencia de tres puntos altos y continuamos hasta obtener el ancho deseado.
🌼🐣🍃🌼🐣🍃🌼🐣🍃🌼🐣
 🌼🐣🍃🌼🐣🍃🌼🐣🍃🌼🐣
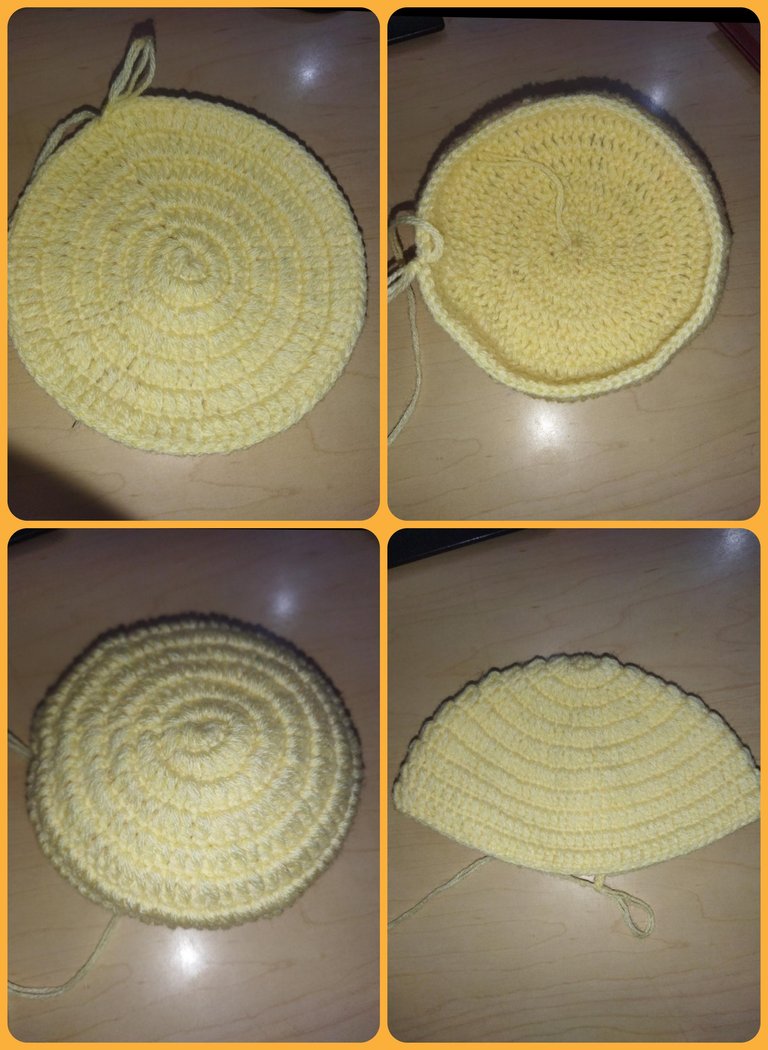
After we have width depending on the famous size make a stitch over each stitch this will give us the length, in my case as it is a size 0 to 3 months, I made a total of 7 rounds of one stitch over each stitch as I thought it was the ideal length.
Luego que tenemos ancho dependiendo de la talla famosa realizar un punto sobre cada punto esto nos va a dar el largo, en mi caso como es una talla de 0 a 3 meses, hice un total de 7 vueltas de un punto sobre cada punto ya que me pareció que era el largo ideal.
🌼🐣🍃🌼🐣🍃🌼🐣🍃🌼🐣
 🌼🐣🍃🌼🐣🍃🌼🐣🍃🌼🐣
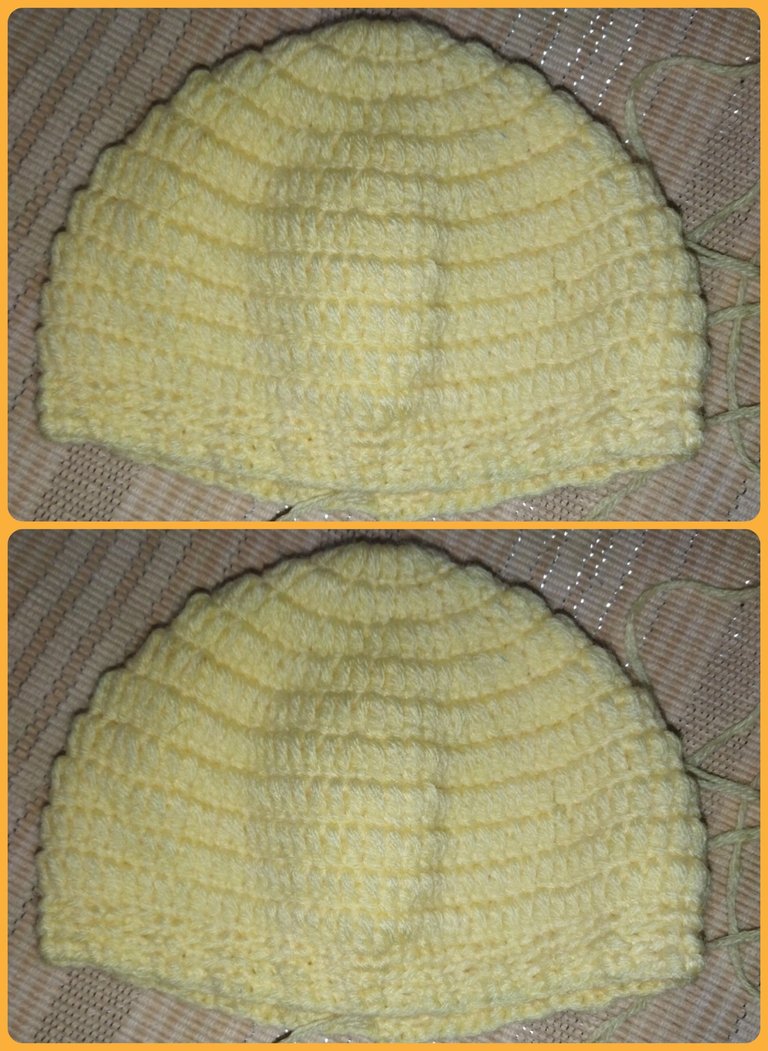
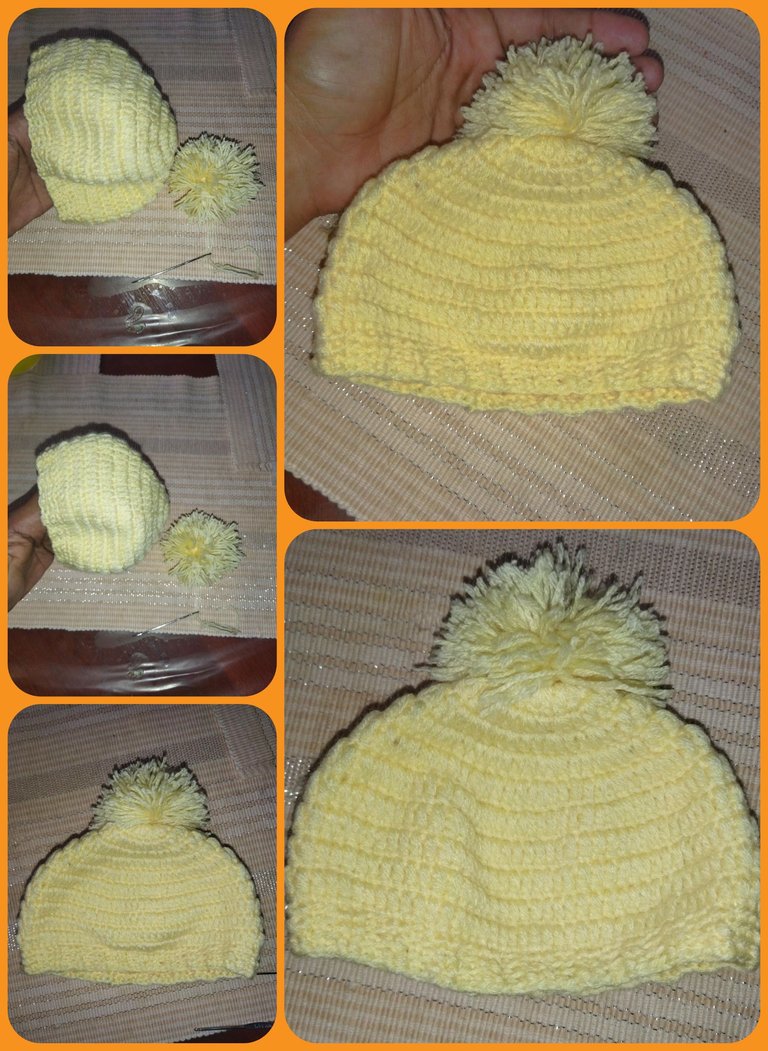
For the border part I made a ribbing stitch, which consists of taking the back part of the stitch and making a single crochet, we repeat and then I made two single crochets but this time taking the front strand, sequence that we are going to repeat for four complete rows, we make a slip stitch and cut the yarn, having finished the base hat.
Para la parte del borde hice un punto elástico, que consiste en tomar la parte trasera del punto y hacer un punto bajo, repetimos y luego hice dos puntos bajos pero está vez tomando la hebra delantera, secuencia que vamos a repetir por cuatro vueltas completas, hacemos punto deslizado y cortamos el hilo, teniendo terminado el gorro base.
🌼🐣🍃🌼🐣🍃🌼🐣🍃🌼🐣
 🌼🐣🍃🌼🐣🍃🌼🐣🍃🌼🐣
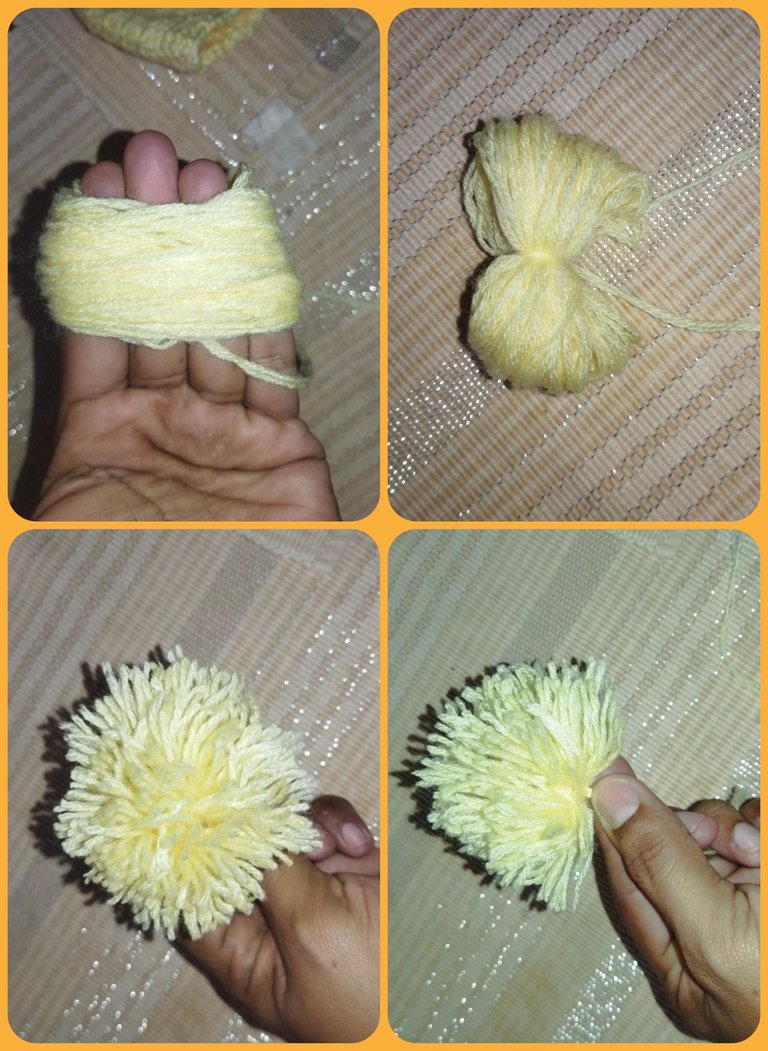
For the pompon part, I took yellow yarn and helping me with my hand I made many turns, secured it in the middle and cut the ends giving it a rounded shape with the help of a scissors and sewed it to the top of the hat.
Para la parte del pompon, tome hilo de lana amarillo y ayudándome con mi mano realicé muchas vueltas la aseguré en el medio y corté los extremos dándole la forma redondeada con la ayuda de una tijera y lo cosi a la parte superior del gorrito.
🌼🐣🍃🌼🐣🍃🌼🐣🍃🌼🐣
 🌼🐣🍃🌼🐣🍃🌼🐣🍃🌼🐣
🌼🐣🍃🌼🐣🍃🌼🐣🍃🌼🐣
🌼🐣🍃🌼🐣🍃🌼🐣🍃🌼🐣
 🌼🐣🍃🌼🐣🍃🌼🐣🍃🌼🐣
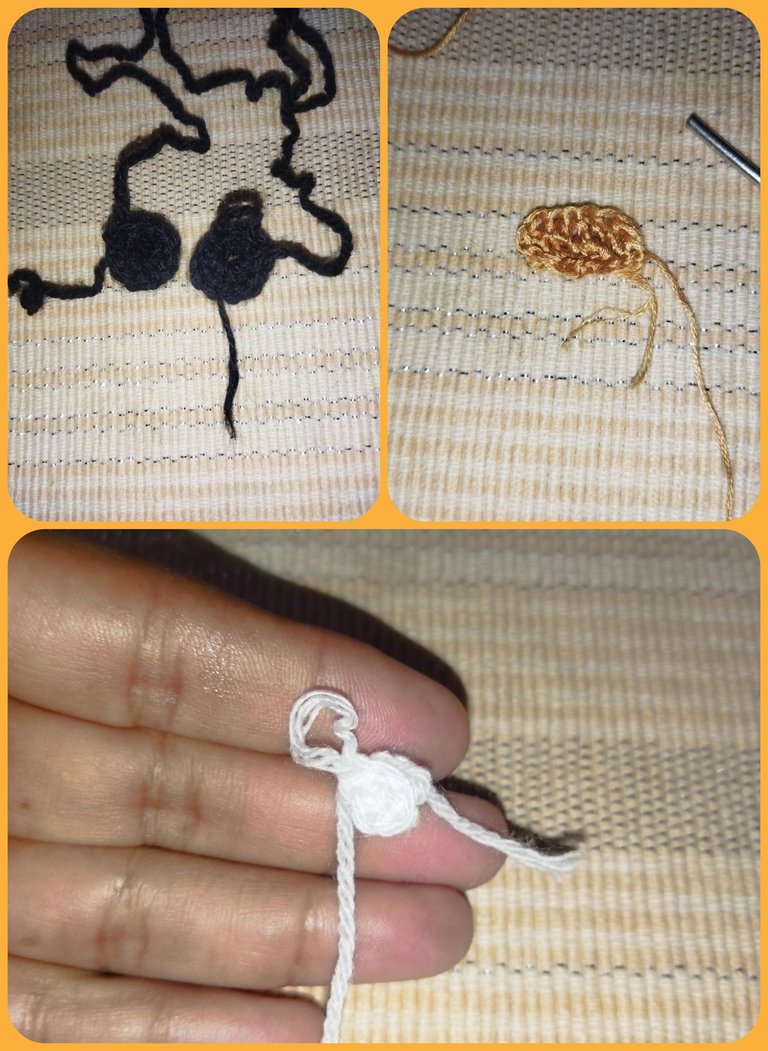
For the eyes with black yarn, I made a magic ring and three chains and a total of 9 high stitches, closed and left a long strand to sew. In the same way I made the white eyes but with a total of six high stitches.
Para los ojos con hilo color negro,hice una anillo mágico y tres cadenas y un total de 9 puntos alto cerramos y dejé hebra larga para coser. De igual manera hice los ojos blancos pero con un total de seis puntos altos.
For the part of the beak I used embroidery thread in pale orange, making a total of 9 chains, for the second round two slip stitches, six slip stitches and two slip stitches and cut yarn.
Para la parte del pico utilicé hilo de bordar en color naranja palido, haciendo un total de 9 cadenas, para la segunda vuelta dos puntos deslizados seis puntos altos y dos puntos deslizado y cortamos hilo.
🌼🐣🍃🌼🐣🍃🌼🐣🍃🌼🐣
 🌼🐣🍃🌼🐣🍃🌼🐣🍃🌼🐣
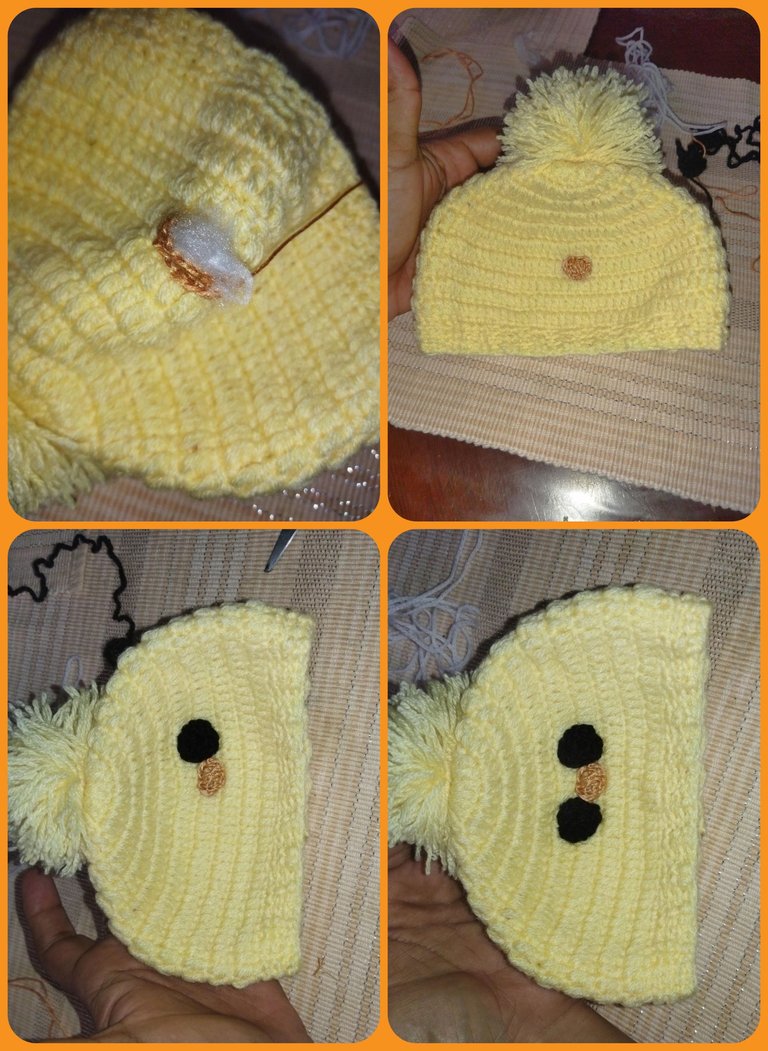
We proceed to place the two little eyes with the white part in the center and the little beak in the middle, for the part of the beak I filled it with a little cotton to give it more notoriety and in this way I had finished this line.
Procedemos a colocar los dos ojitos con la parte blanca en el centro y el piquito en el medio, para la parte del pico lo rellené con un poco de algodón para darle mayor notoriedad y de esta manera tuve culminado este lindo, gracioso y bonito gorrito de pollito, que estoy segura que al bebé y a su mamá le encantará.
🌼🐣🍃🌼🐣🍃🌼🐣🍃🌼🐣
 🌼🐣🍃🌼🐣🍃🌼🐣🍃🌼🐣
🌼🐣🍃🌼🐣🍃🌼🐣🍃🌼🐣
🌼🐣🍃🌼🐣🍃🌼🐣🍃🌼🐣
🌼🐣🍃🌼🐣🍃🌼🐣🍃🌼🐣
I thank you from the bottom of my heart for reading my post and, God willing, we will meet again through these spaces, until next time!
Greetings and blessings ☺️
Te agradezco de corazón haber leído mi post y Dios mediante, volveremos a coincidir a través de estos espacios, hasta la próxima!!
Saludos y bendiciones ☺️
🌼🐣🍃🌼🐣🍃🌼🐣🍃🌼🐣
 🌼🐣🍃🌼🐣🍃🌼🐣🍃🌼🐣


