After I was ambushed and my previous crochet keyholder ripped off of me, It took me quite a while to make another one. This is because my schedule hasn't really been accommodating of any crochet project. All this while, I walked around with the fear of losing my keys because they are so minute and any slight disturbance during the day can lead to them vanishing.
Yesterday, I had to squeeze out time to make a key holder that could easily put smiles on the face of those who see it, myself included. With some of the remaining yarn I had, I got to work. Let me take you through the process of making this smiley face key holder in less than ten steps and with limited materials.
Materials Used
- Yarn (two different colours)
- 2.5mm crochet hook
- Darning needle
- A pair of scissors
Procedures
Step 1: Make a magic ring.
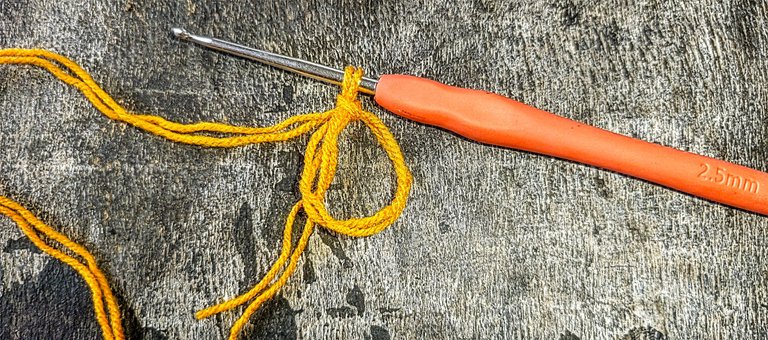
Making a magic ring is similar to making a slip knot but instead of fully closing up the knot, a chain one is used to hold the open ring in place. A simple test to verify if you have a magic ring would be by dragging the tail of the yarn to check if it glides easily.
Step 2: Make a chain of three, insert twelve double crochet stitches into the magic ring and close up with a slip stitch.
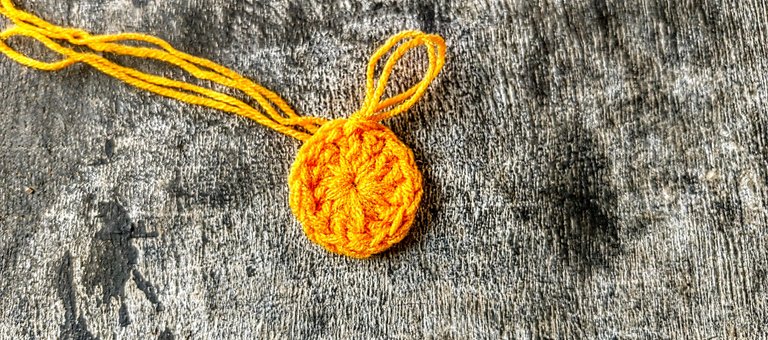
This marks row one. By the end of row one, you should have thirteen stitches because the initial chain three counts as a stitch. When closing off with a slip stitch, do so to ensure there is no visible hole below the row.
Step 3: Make a chain of three and an increase into every other stitch and end with a slip stitch.
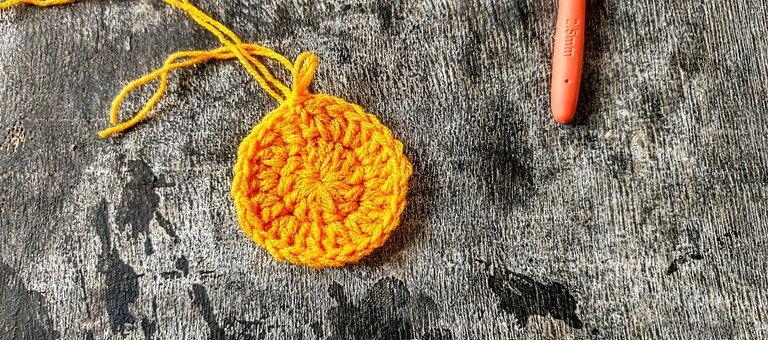
Into the chain three spaces, an increase is also made. This marks row two. At the end of row two, one should have twenty-six stitches.
Step 4: Make a chain of three and alternate the increases.

For row three, we start off with a chain of three and into the next space, we make an increase. Increase, no increase, increase. Repeat this pattern till the end of the row and fasten off with a slip stitch and a chain one. Cut off the yarn
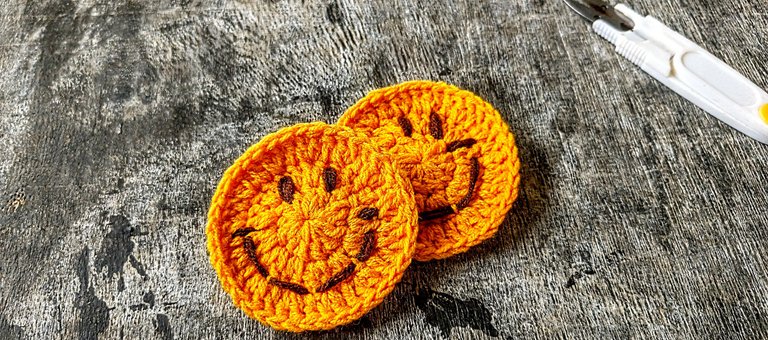
Step 5: Repeat Steps one to three
This is done to have another half of the project. The two halves looked like a base for a beautiful crochet earring. Am I the only one seeing this?
Step 6: Using a threaded darning needle with a different colour, sew in the eyes and the smile.
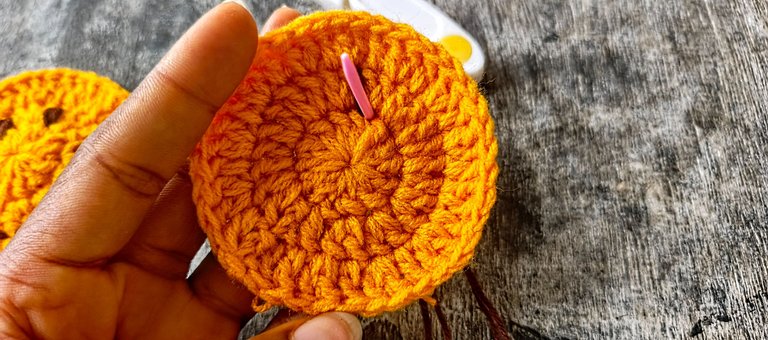
I started with the eyes and then proceeded to sew the smile through. Sewing a straight line would produce a better smile but that line would be wonky, so I opted to sew the smile one step after the other.
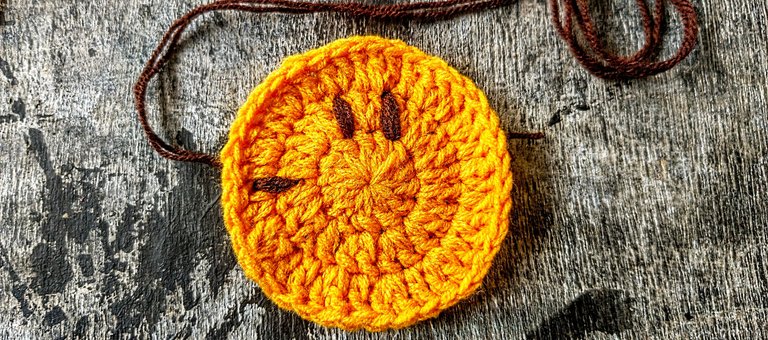
I did this for both halves of the project.
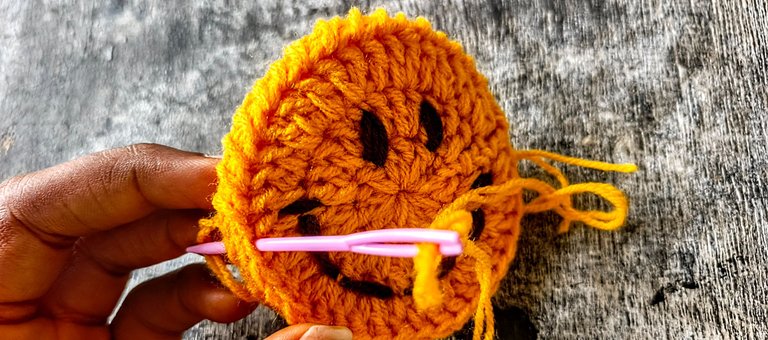
Step 7: Join the two halves together using a threaded darning needle.
I joined both halves and this gave a detail that I love very much. I like how the yarn gives a zig-zag, rough edge.
This may not be very visible because it's in the same colour with the base yarn. Nonetheless, I still love this detail.
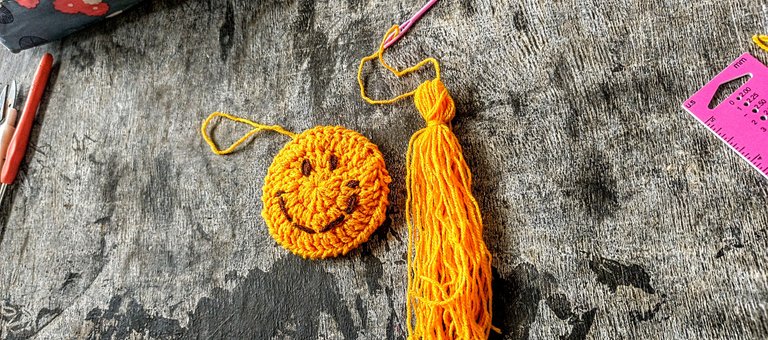
Step 8: Make the tassels.
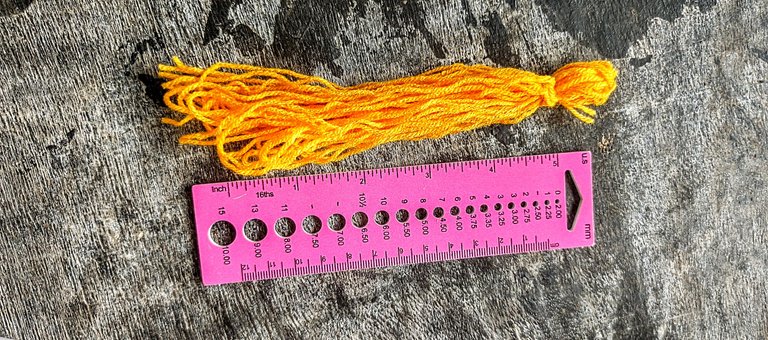
Instead of making a very thick tassel, I opted for something light and scanty, it's a key holder after all. To make this, I wound the yarn over my hand about twenty times and then proceeded to tie another strand of yarn around my head. Next, I trimmed off the excesses and the tassel was ready.
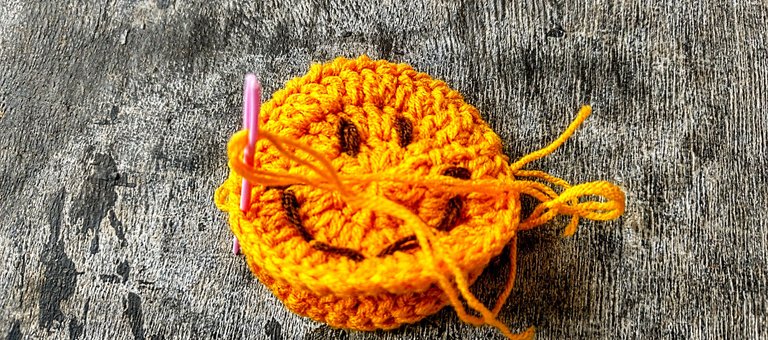
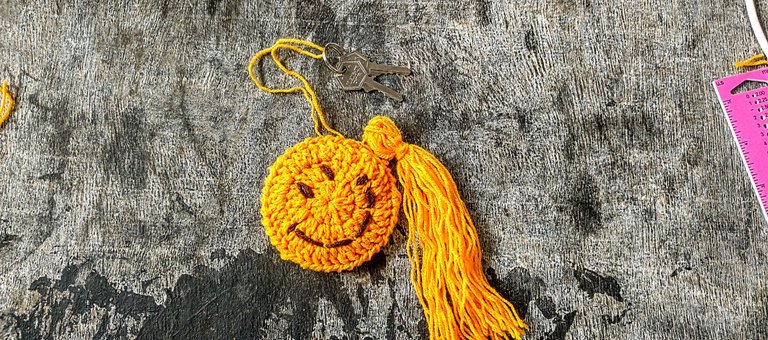
Step 9: Couple the project.
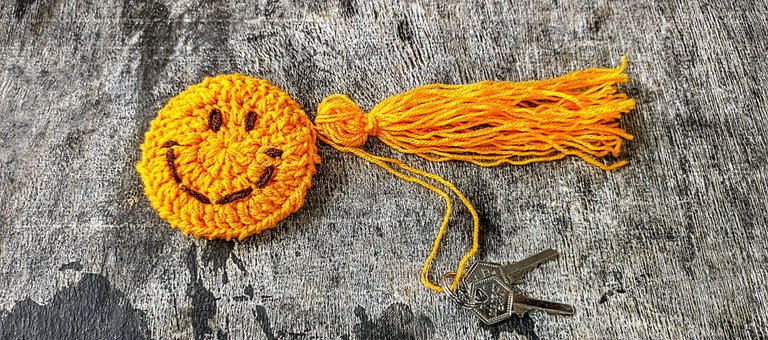
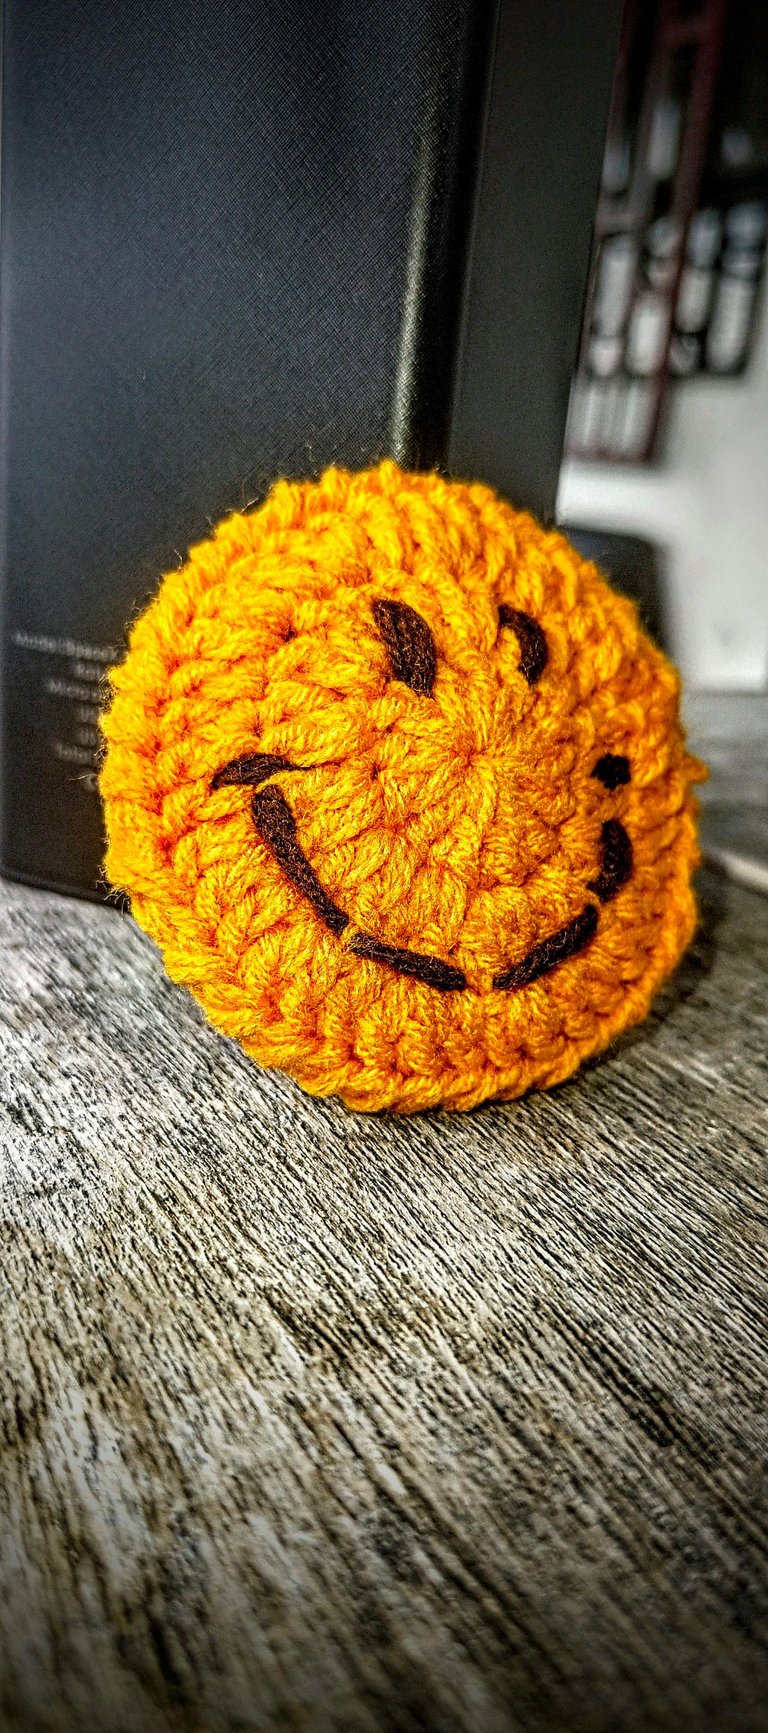
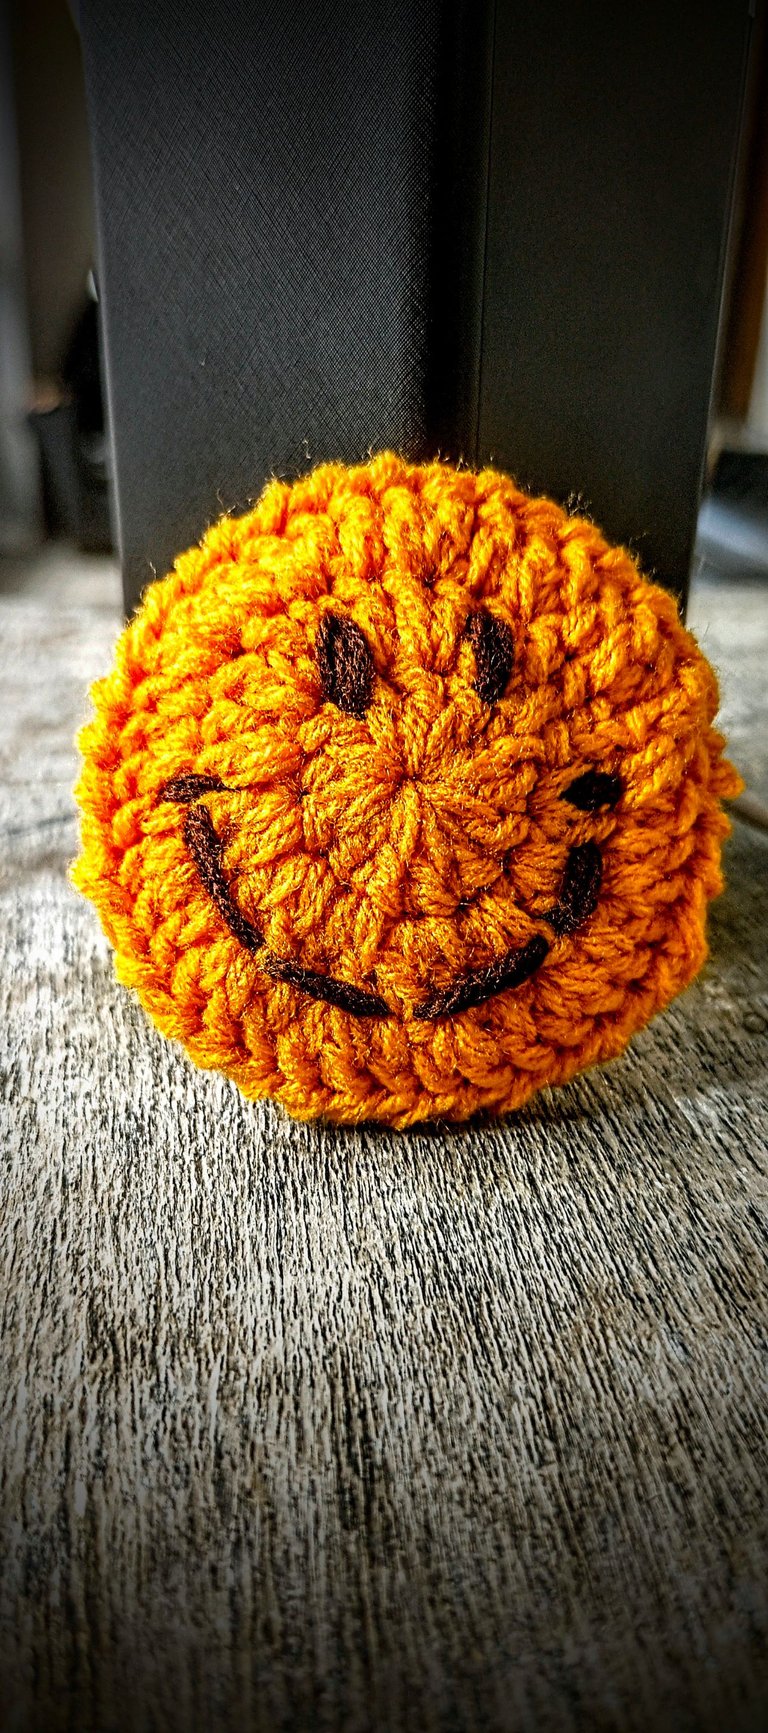
I attached the tassel to the smiley face and while at it, I created a strand that could serve as a loop for my keys. This pretty much finalized the entire project.
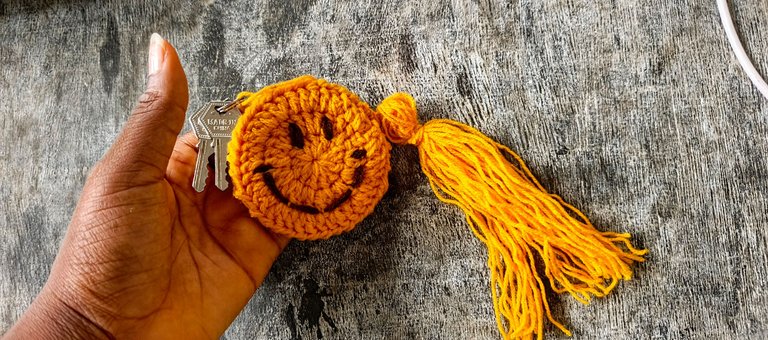
I liked how this keyholder turned out. For the prototype, I chose a very bright colour to make the key holder easily spottable. However, If I'm recreating this design again, I may be making it in s darker colour.
Images belong to me.