Hello Hello
I recently got my hair done with some hair extensions and after the hair do, my hair stylist sat me down to give me tutorials on how to style my hair. This was one of the most hilarious tutorials I've been part of but it was worth it.
According to her, she was tired of watching me either wear my braids down or wrap them in a messy bun as those are the only styles I know how to do with braids. She is right. Having to go through the hassle of twisting and turning my braids every morning before leaving the house isn't something I do. Instead, I wrap my braids in a bun and I'm good to go.
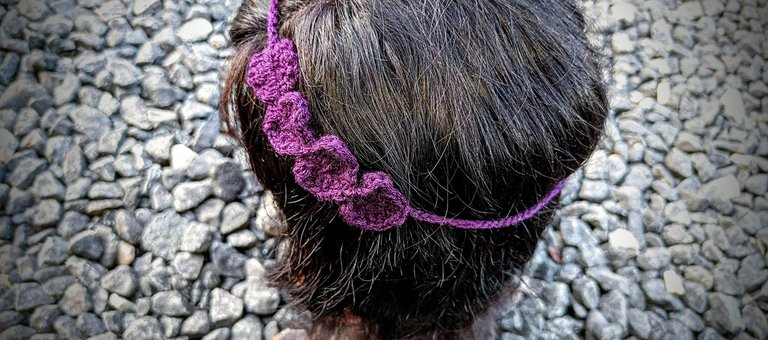
After the tutorial by the hair stylist, I discovered a thousand and one ways to style my braids and this includes hair accessories. She introduced me to some hair accessories and how they are applied. Stylish headbands were part of the accessories she introduced me to, giving me yet another opportunity to make something good for myself.
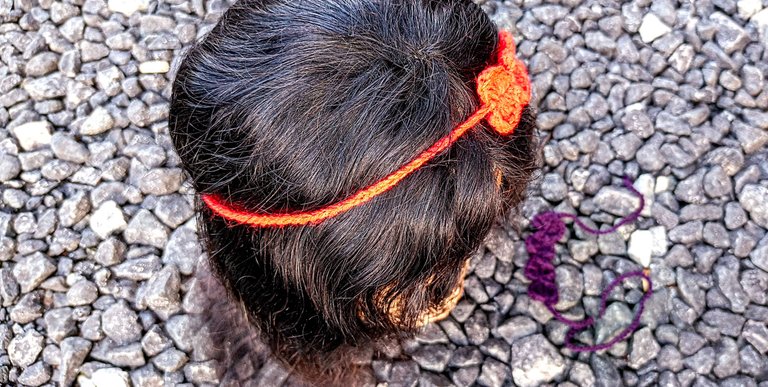
In the past, I've made a few crochet headbands but they have been the regular full coverage headbands. Today, I would like to share with you the process of making crochet heart headbands courtesy of my amiable hair stylist who only wants the best for me:)
Materials Needed
- Yarn
- 3.0mm crochet hook
- Darning needle
- Measuring tape
- A pair of scissors
Procedure
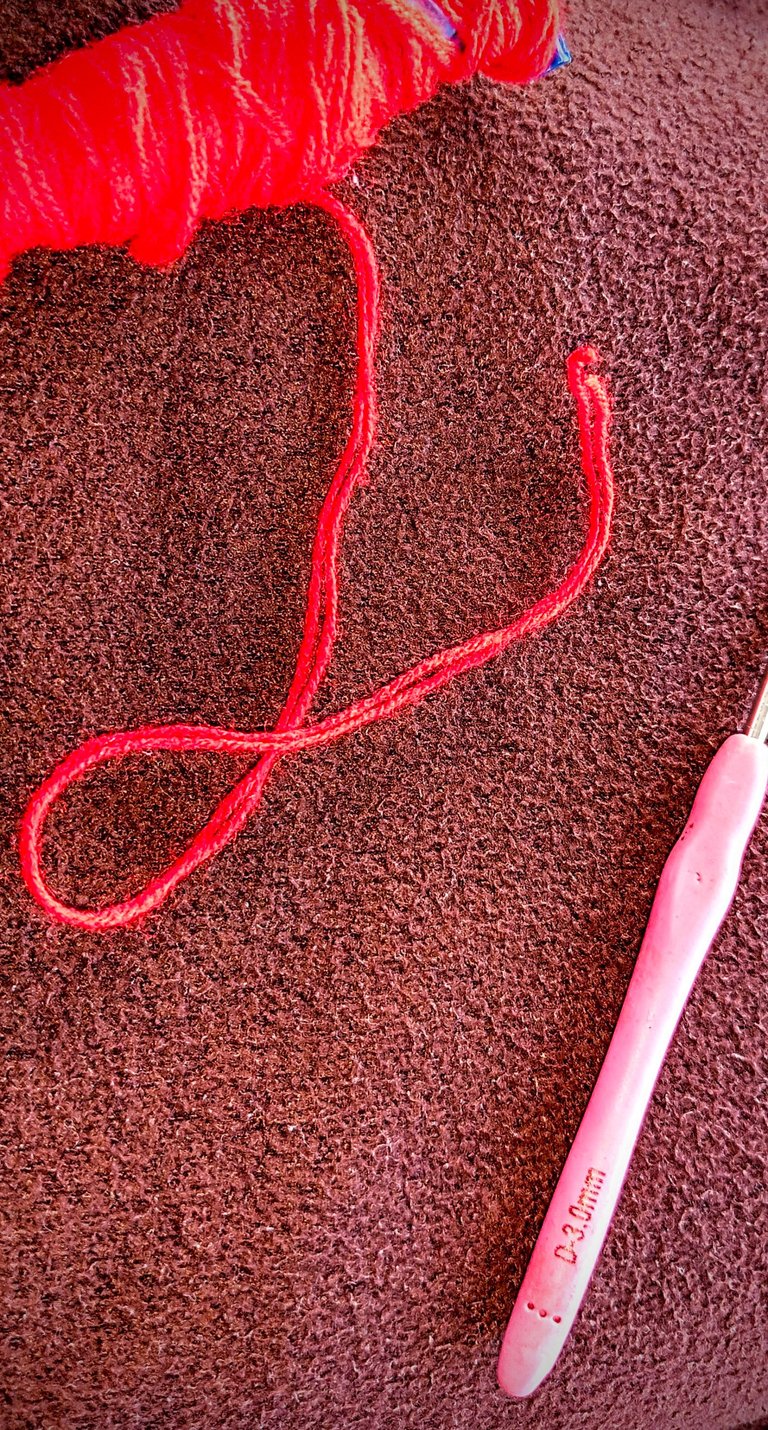
To make this headband, I started by crocheting a chain of thirty plus six. The additional six chains were to mark off the point I was going to start making my heart.
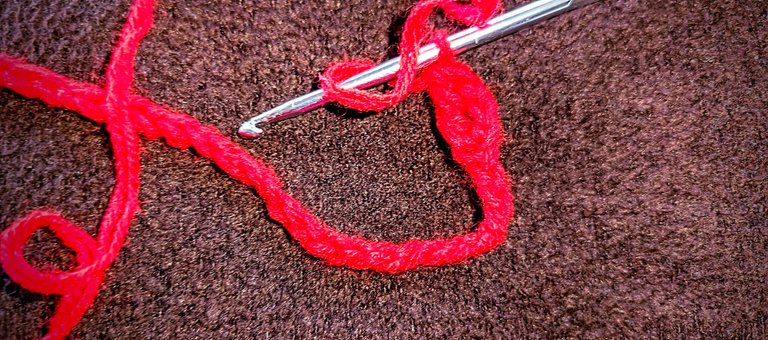
After making the chains, it was time to begin making the hearts. Before now, I had never thought of the idea of hearts on hearts.
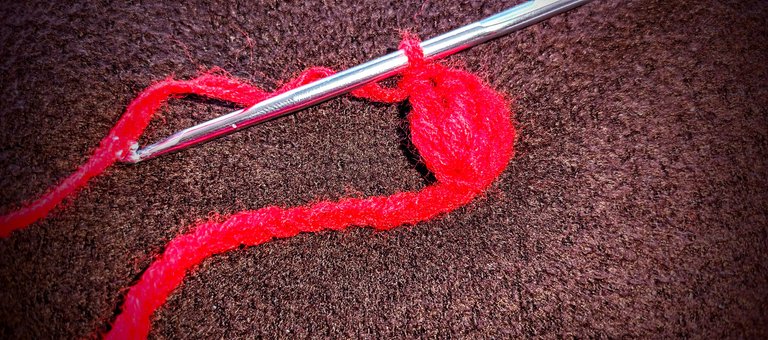
For the heart, I wound my yarn two times on the crochet hook to make a treble crochet stitch.
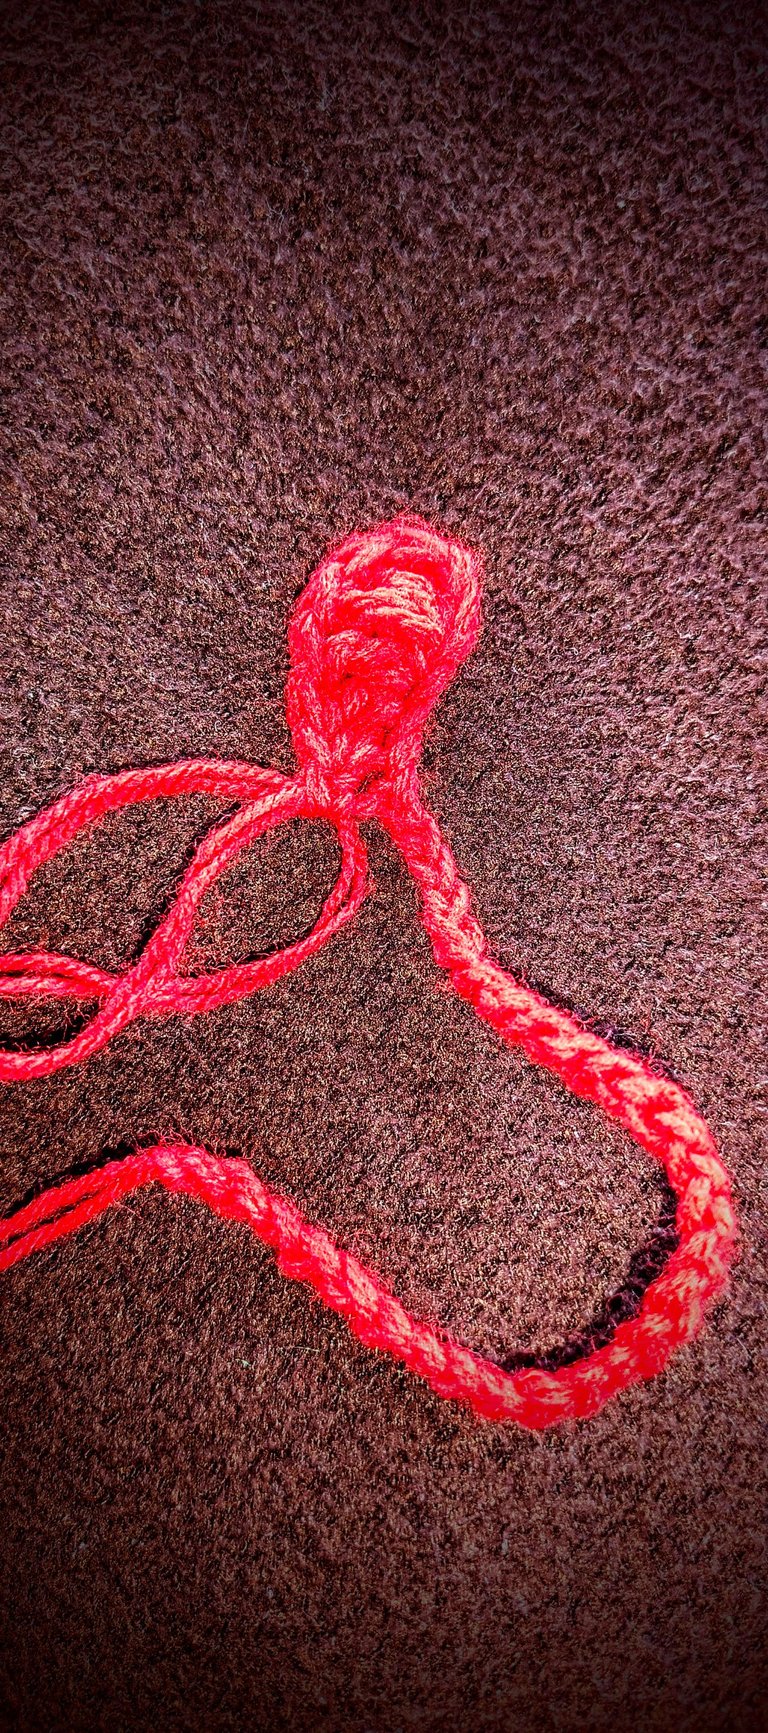
I made three treble crochet stitches into the same chain which was the fourth chaun from the crochet hook.
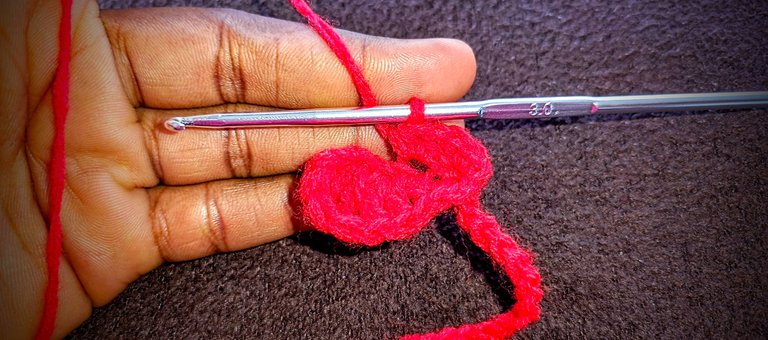
After making the three treble crochet stitches, I went ahead to make two double crochet stitches into the next chain.
The treble crochet stitches and double crochet stitches in decreasing order forms the border of the crochet heart.
Into the next stitch, I made one half double crochet stitch and one single crochet stitch.
Afterwards, I chained one, slip stitched into the next loop and chained one again.
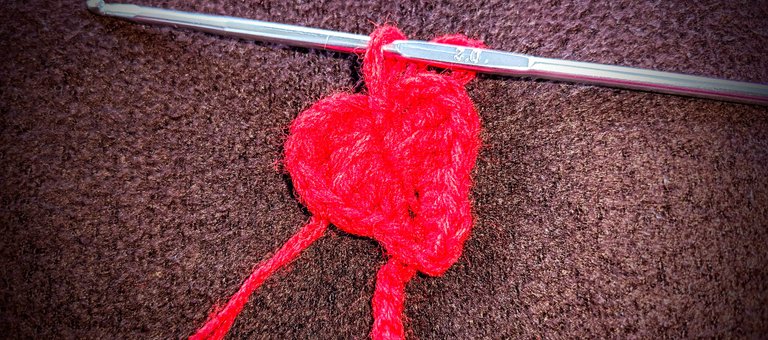
After this, I basically repeated the same process but on the opposite side. I started with a single crochet stitch, half double crochet stitch, two double crochet stitches, three treble crochet stitches and finally a chain of three which I slip stitched.
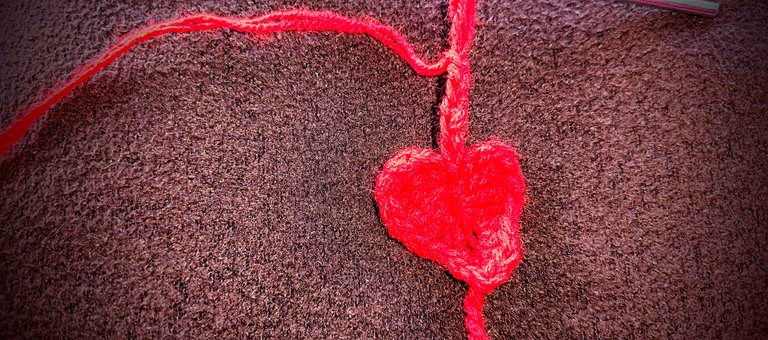
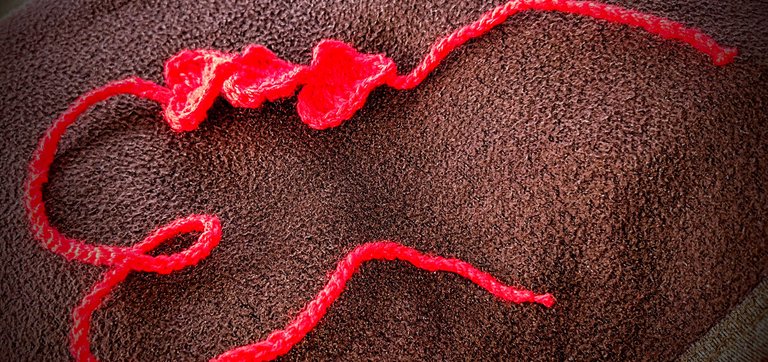
This concluded the process of making the first crochet heart. For the second crochet heart, I made a chain of six. Three stitches from the chain, I inserted the crochet hook to begin making another heart.
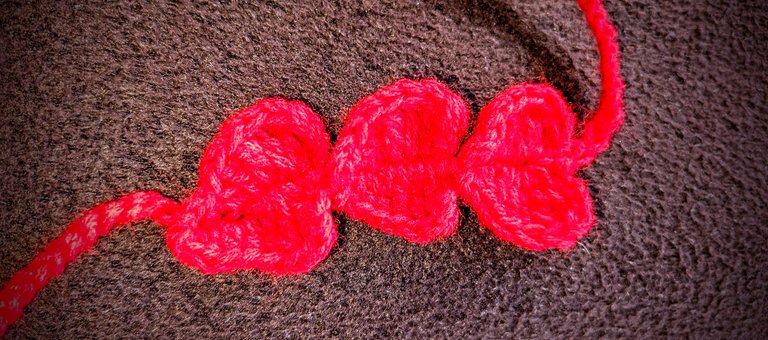
I basically followed the same pattern till I got three functional crochet hearts. With that, the main part of this project was done.
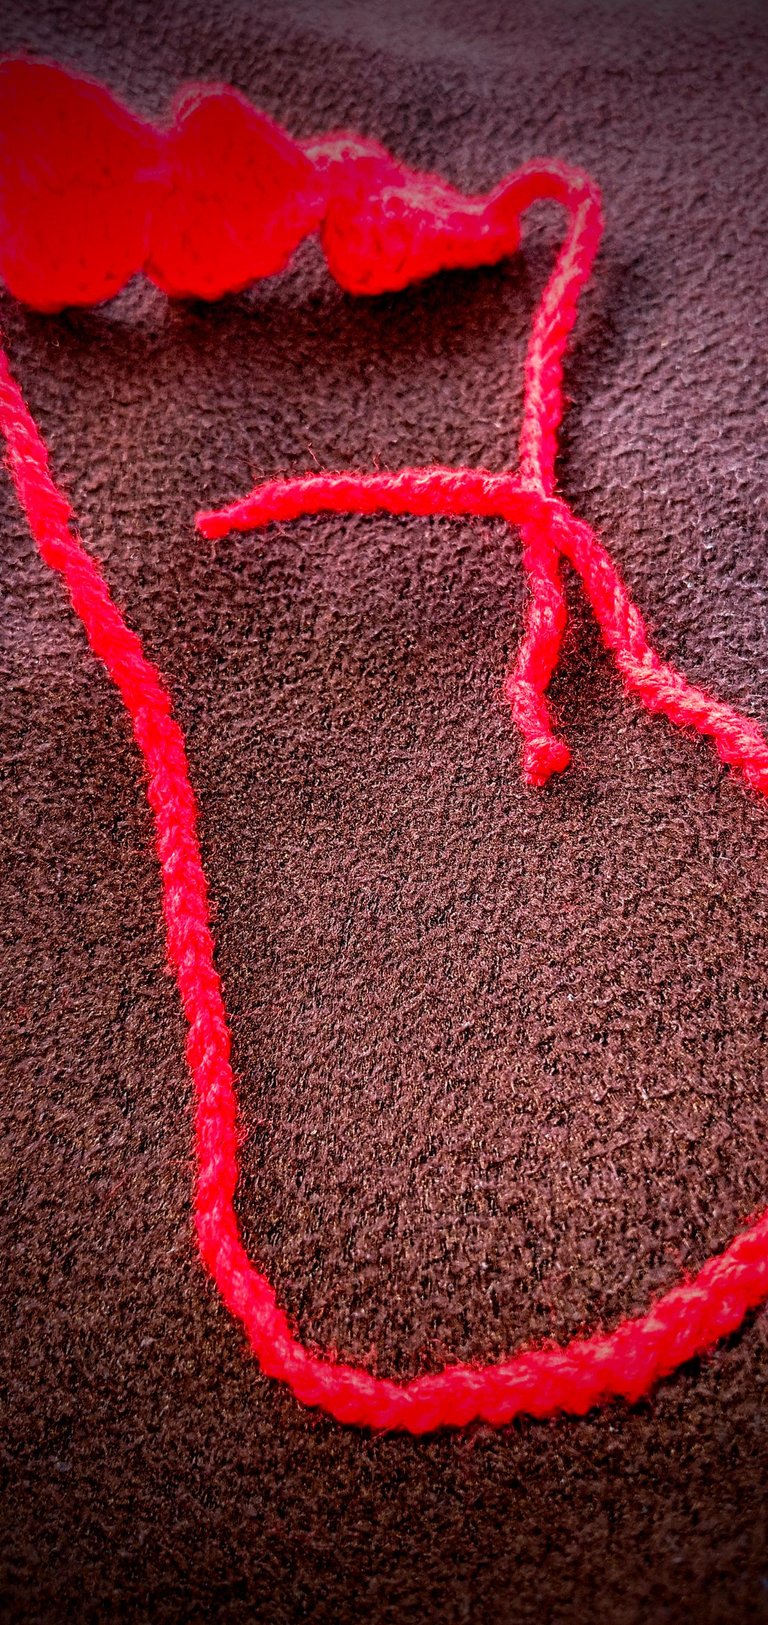
The next thing I did was to crochet a chain longer than the initial thirty six chains I made. I made the second part of the chain longer because this crochet headband is to be worn sidewards. As such, one long complementing a short would make it easier to tie the knot at the back of the head instead of by the side opposite the crochet hearts.
With that, my crochet heart headband was ready. Such headbands are best made in various colours if one wants to constantly pair them with their dresses. I wouldn't be using these headbands every single day but they would certainly come in handy from time to time.
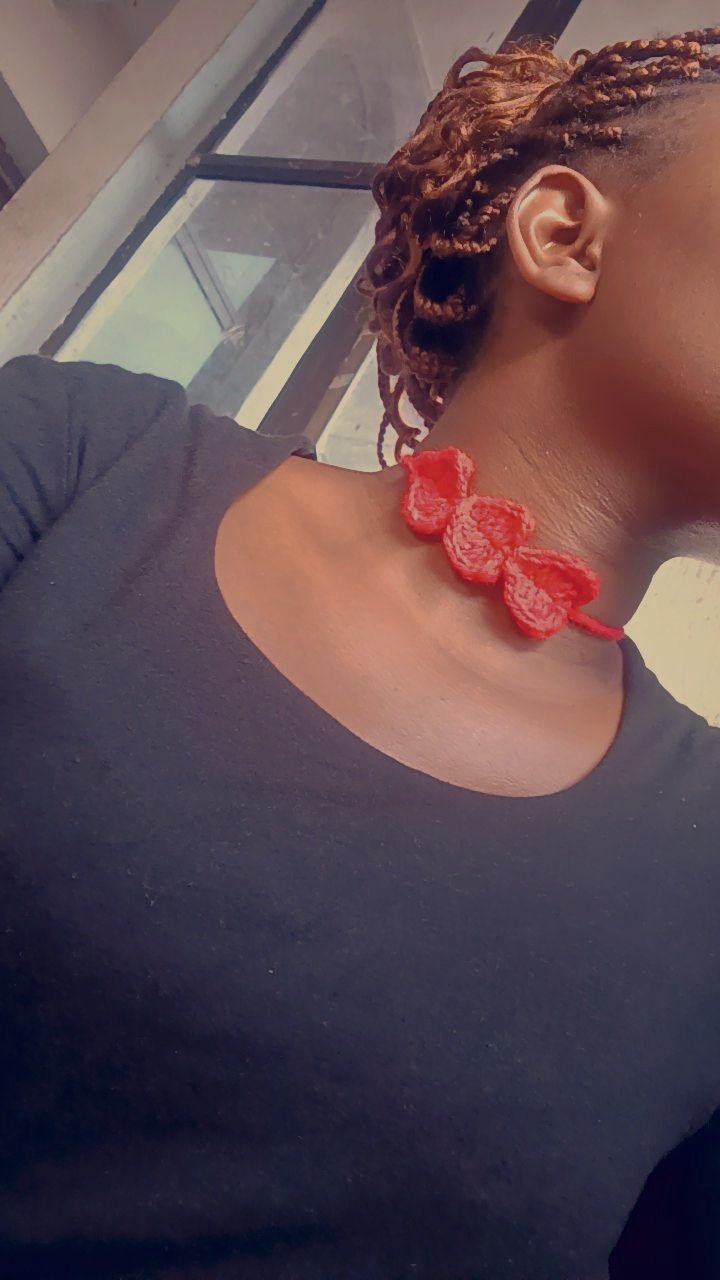
During the photoshoot, I realized that these headbands could come in handy on days when I need a neck piece. I guess I created a two in one crochet project
Photo Exhibition.
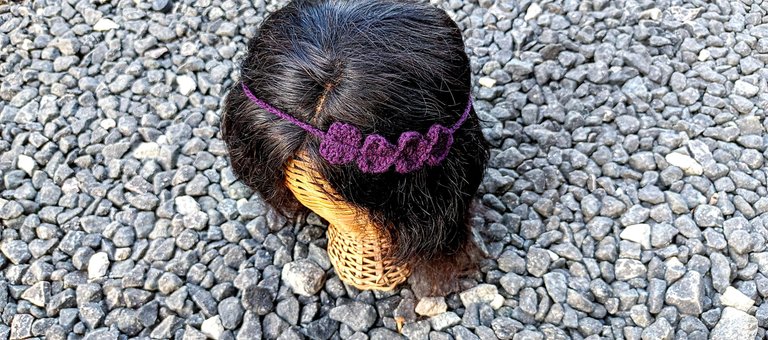
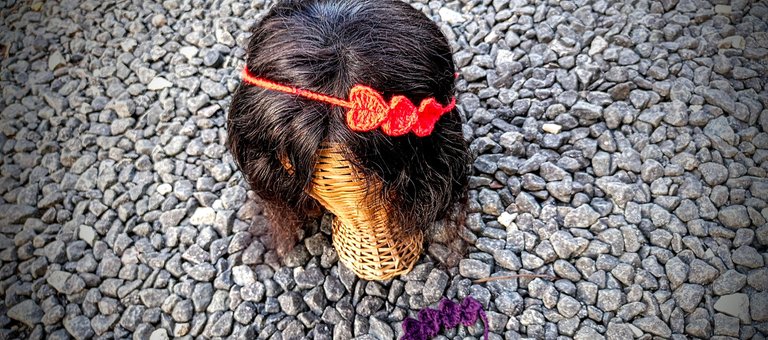
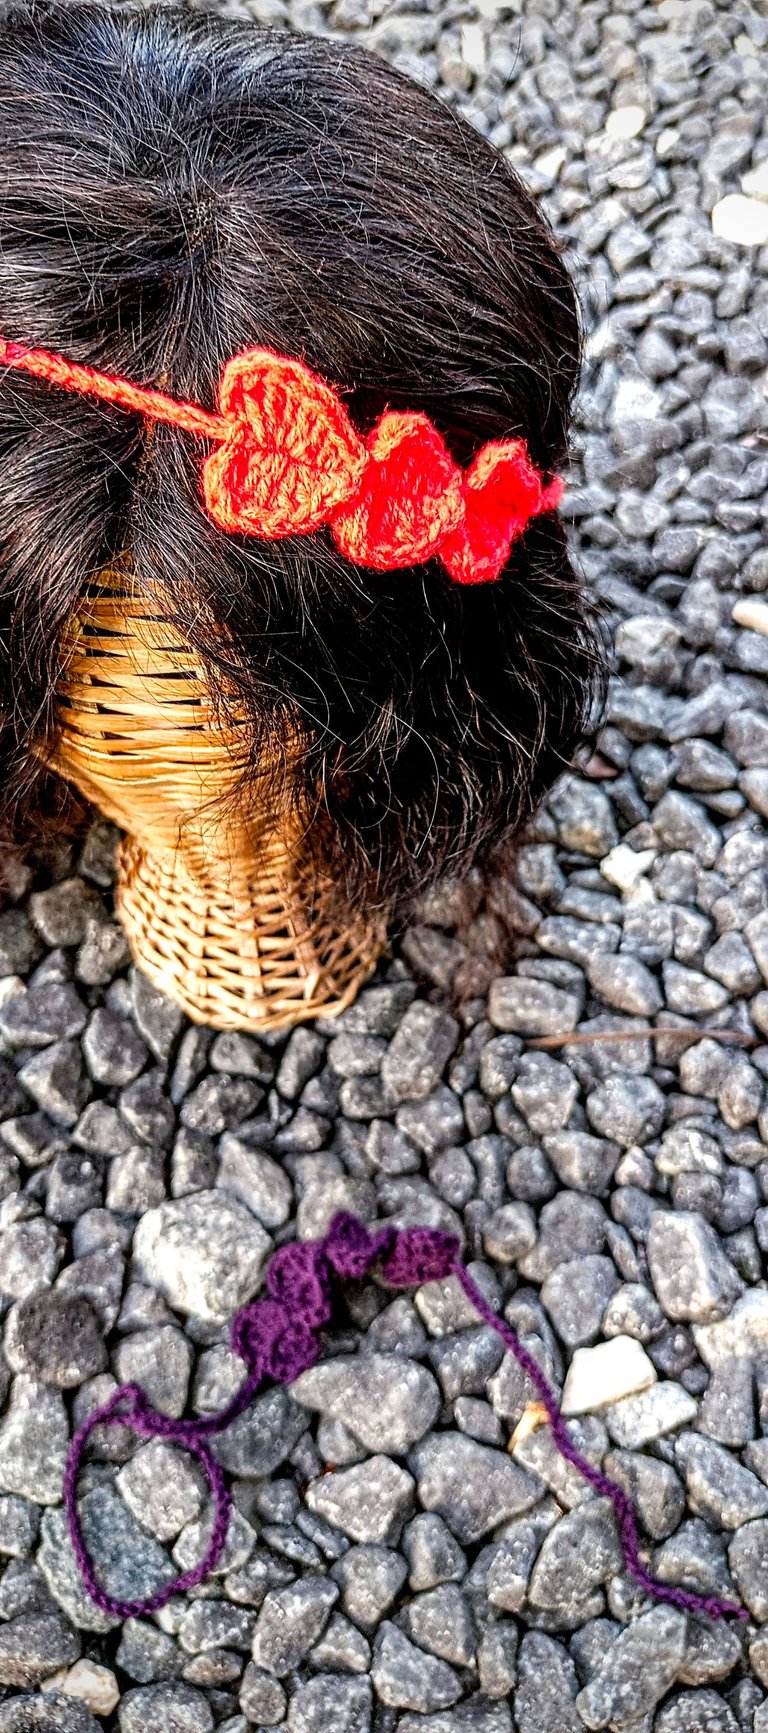
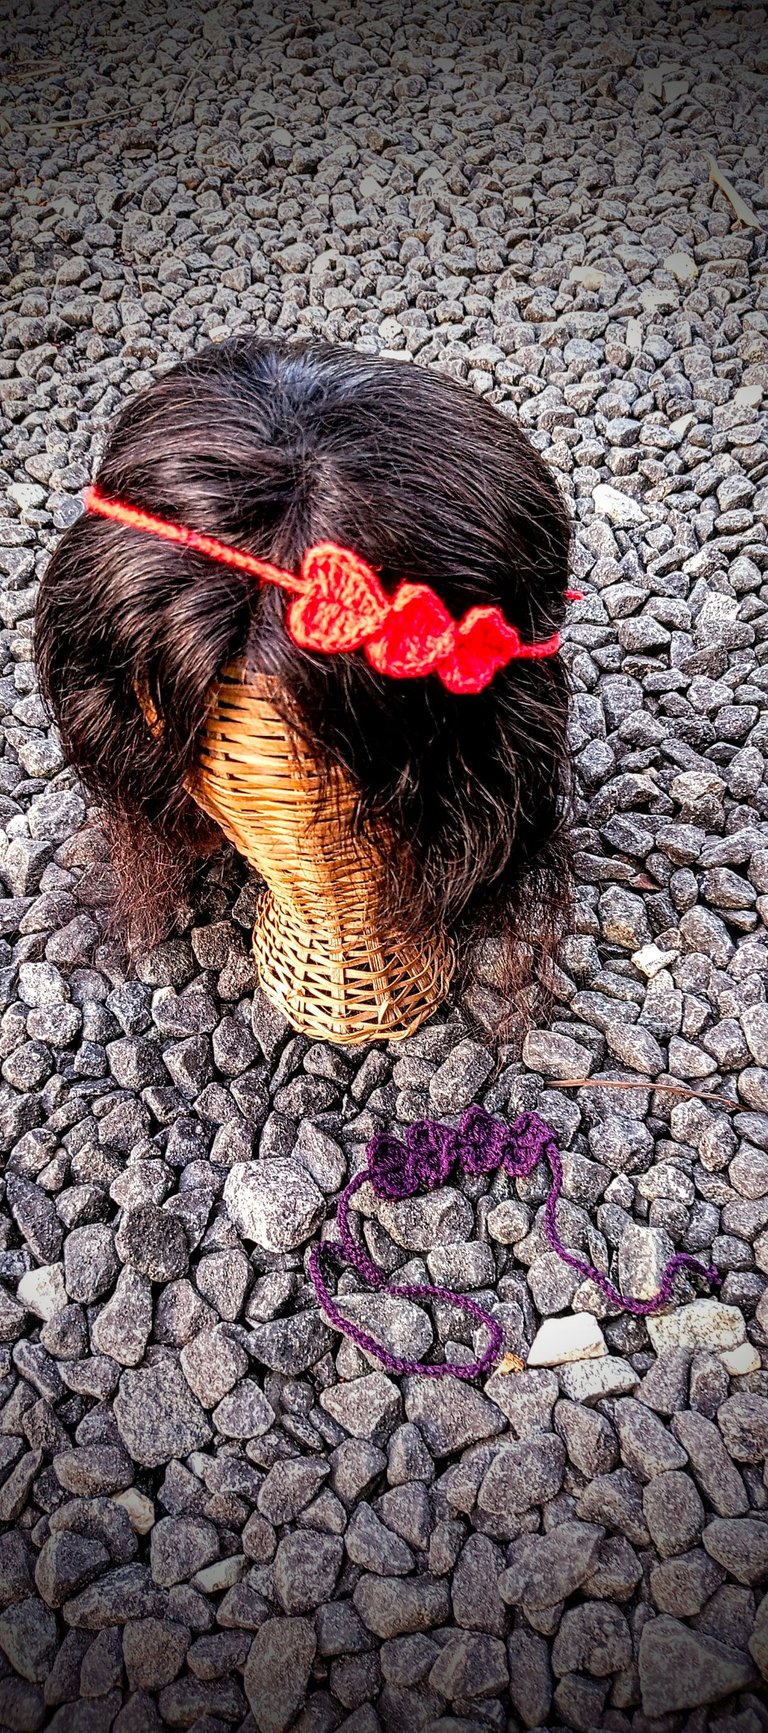
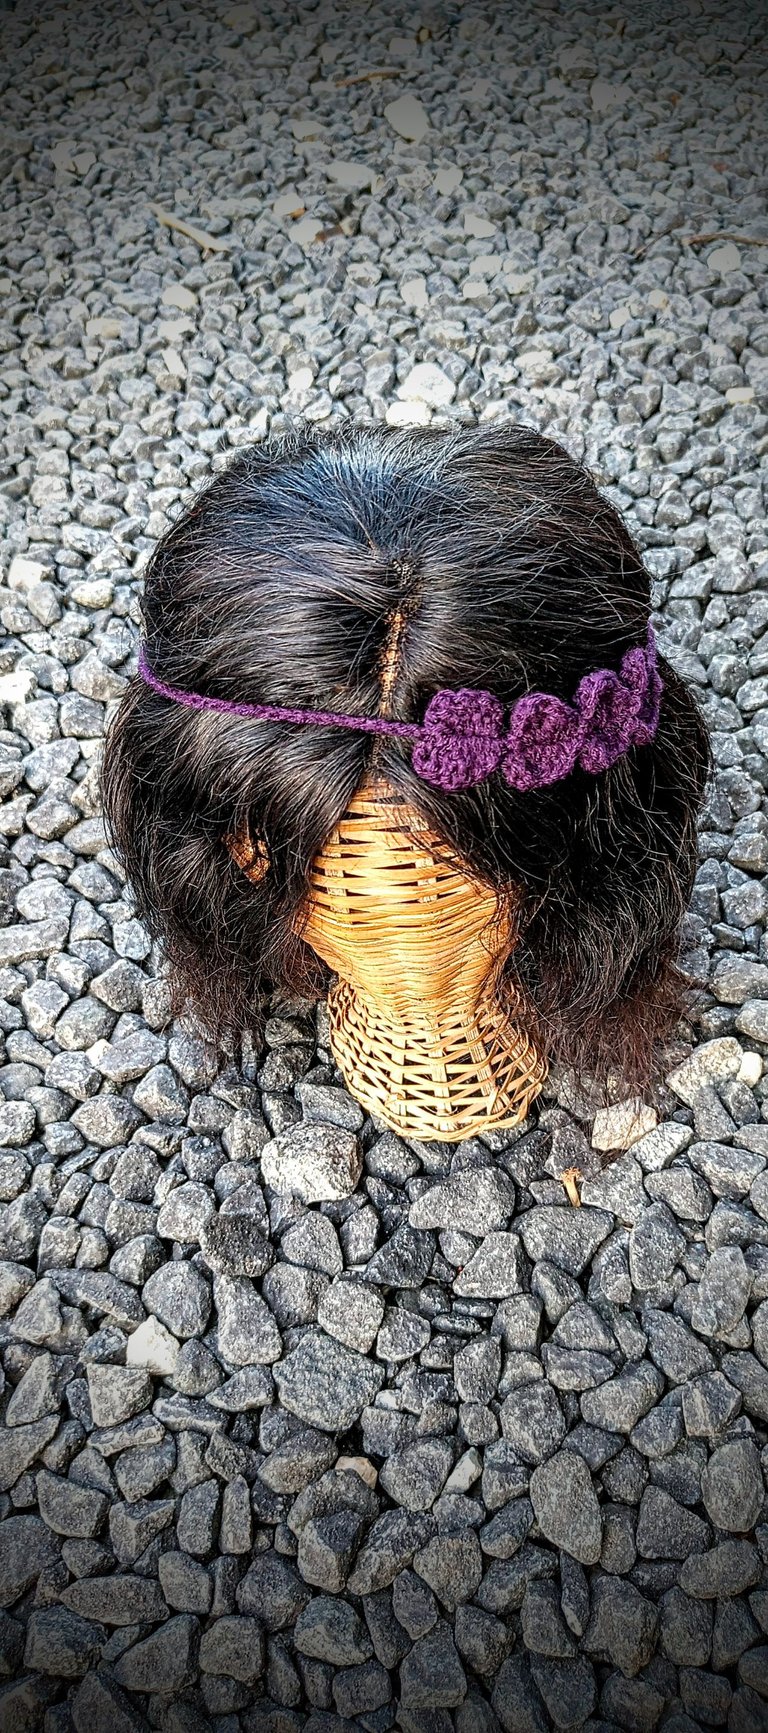
What do you think of these simple crochet heart headbands?
All images used belong to me and were taken with my mobile device except stated otherwise.
Love🤍

