
Recently I saw a post on Pinterest where someone used pipes to make clothes hanger. So I decided to try it out and see how it will turn out.
I went to the market and asked them to sell me some pipes and the connectors so I can use it to construct mine. I met the sellers and told them what I wanted to do with them so they helped me gather everything I needed as I showed them from the inspo pic.
I carried the pipes home and got to work. I got the knife and started to cut them to my desired measurements.
Below is the list of the materials needed for this project:
Materials needed
- Pipes
- Connectors. One is curve, one is T shape as you see in the photos below:
 |  |
|---|
So I used 6 curves and 2 T shaped ones.
We also need a saw 🪚 or knife, anything that can cut through the pipes
Black spray paint

Procedure
Start by cutting the pipes to the desired lengths you need.
 |  |
|---|
The two long poles that will face each other I used 60 inches each
The top one is also 60 inches.
The ones that will be down I used 18 inches into four
- Next take 2 of the 18 inches ones and use a T connector to join both of the so the upper part of the T is where the long 60 inches pole will go in
 |  |
|---|

I repeated the same process for the second part, connected both 18 inches pipes with a T connector and then put the long 60 inches pipe to the upper side of the T. And so now I had to of those!

So for the down part of each of those 18 inches that I had already connected to each other with the T, I fixed the curves facing down so they can stand.

After fixing the curves on both sides for the two, I also fixed a cuve each on the top side so that the pipe for the upper side will fit in

So I just had to slide in the upper part to the curves and there I had it already in shape and standing
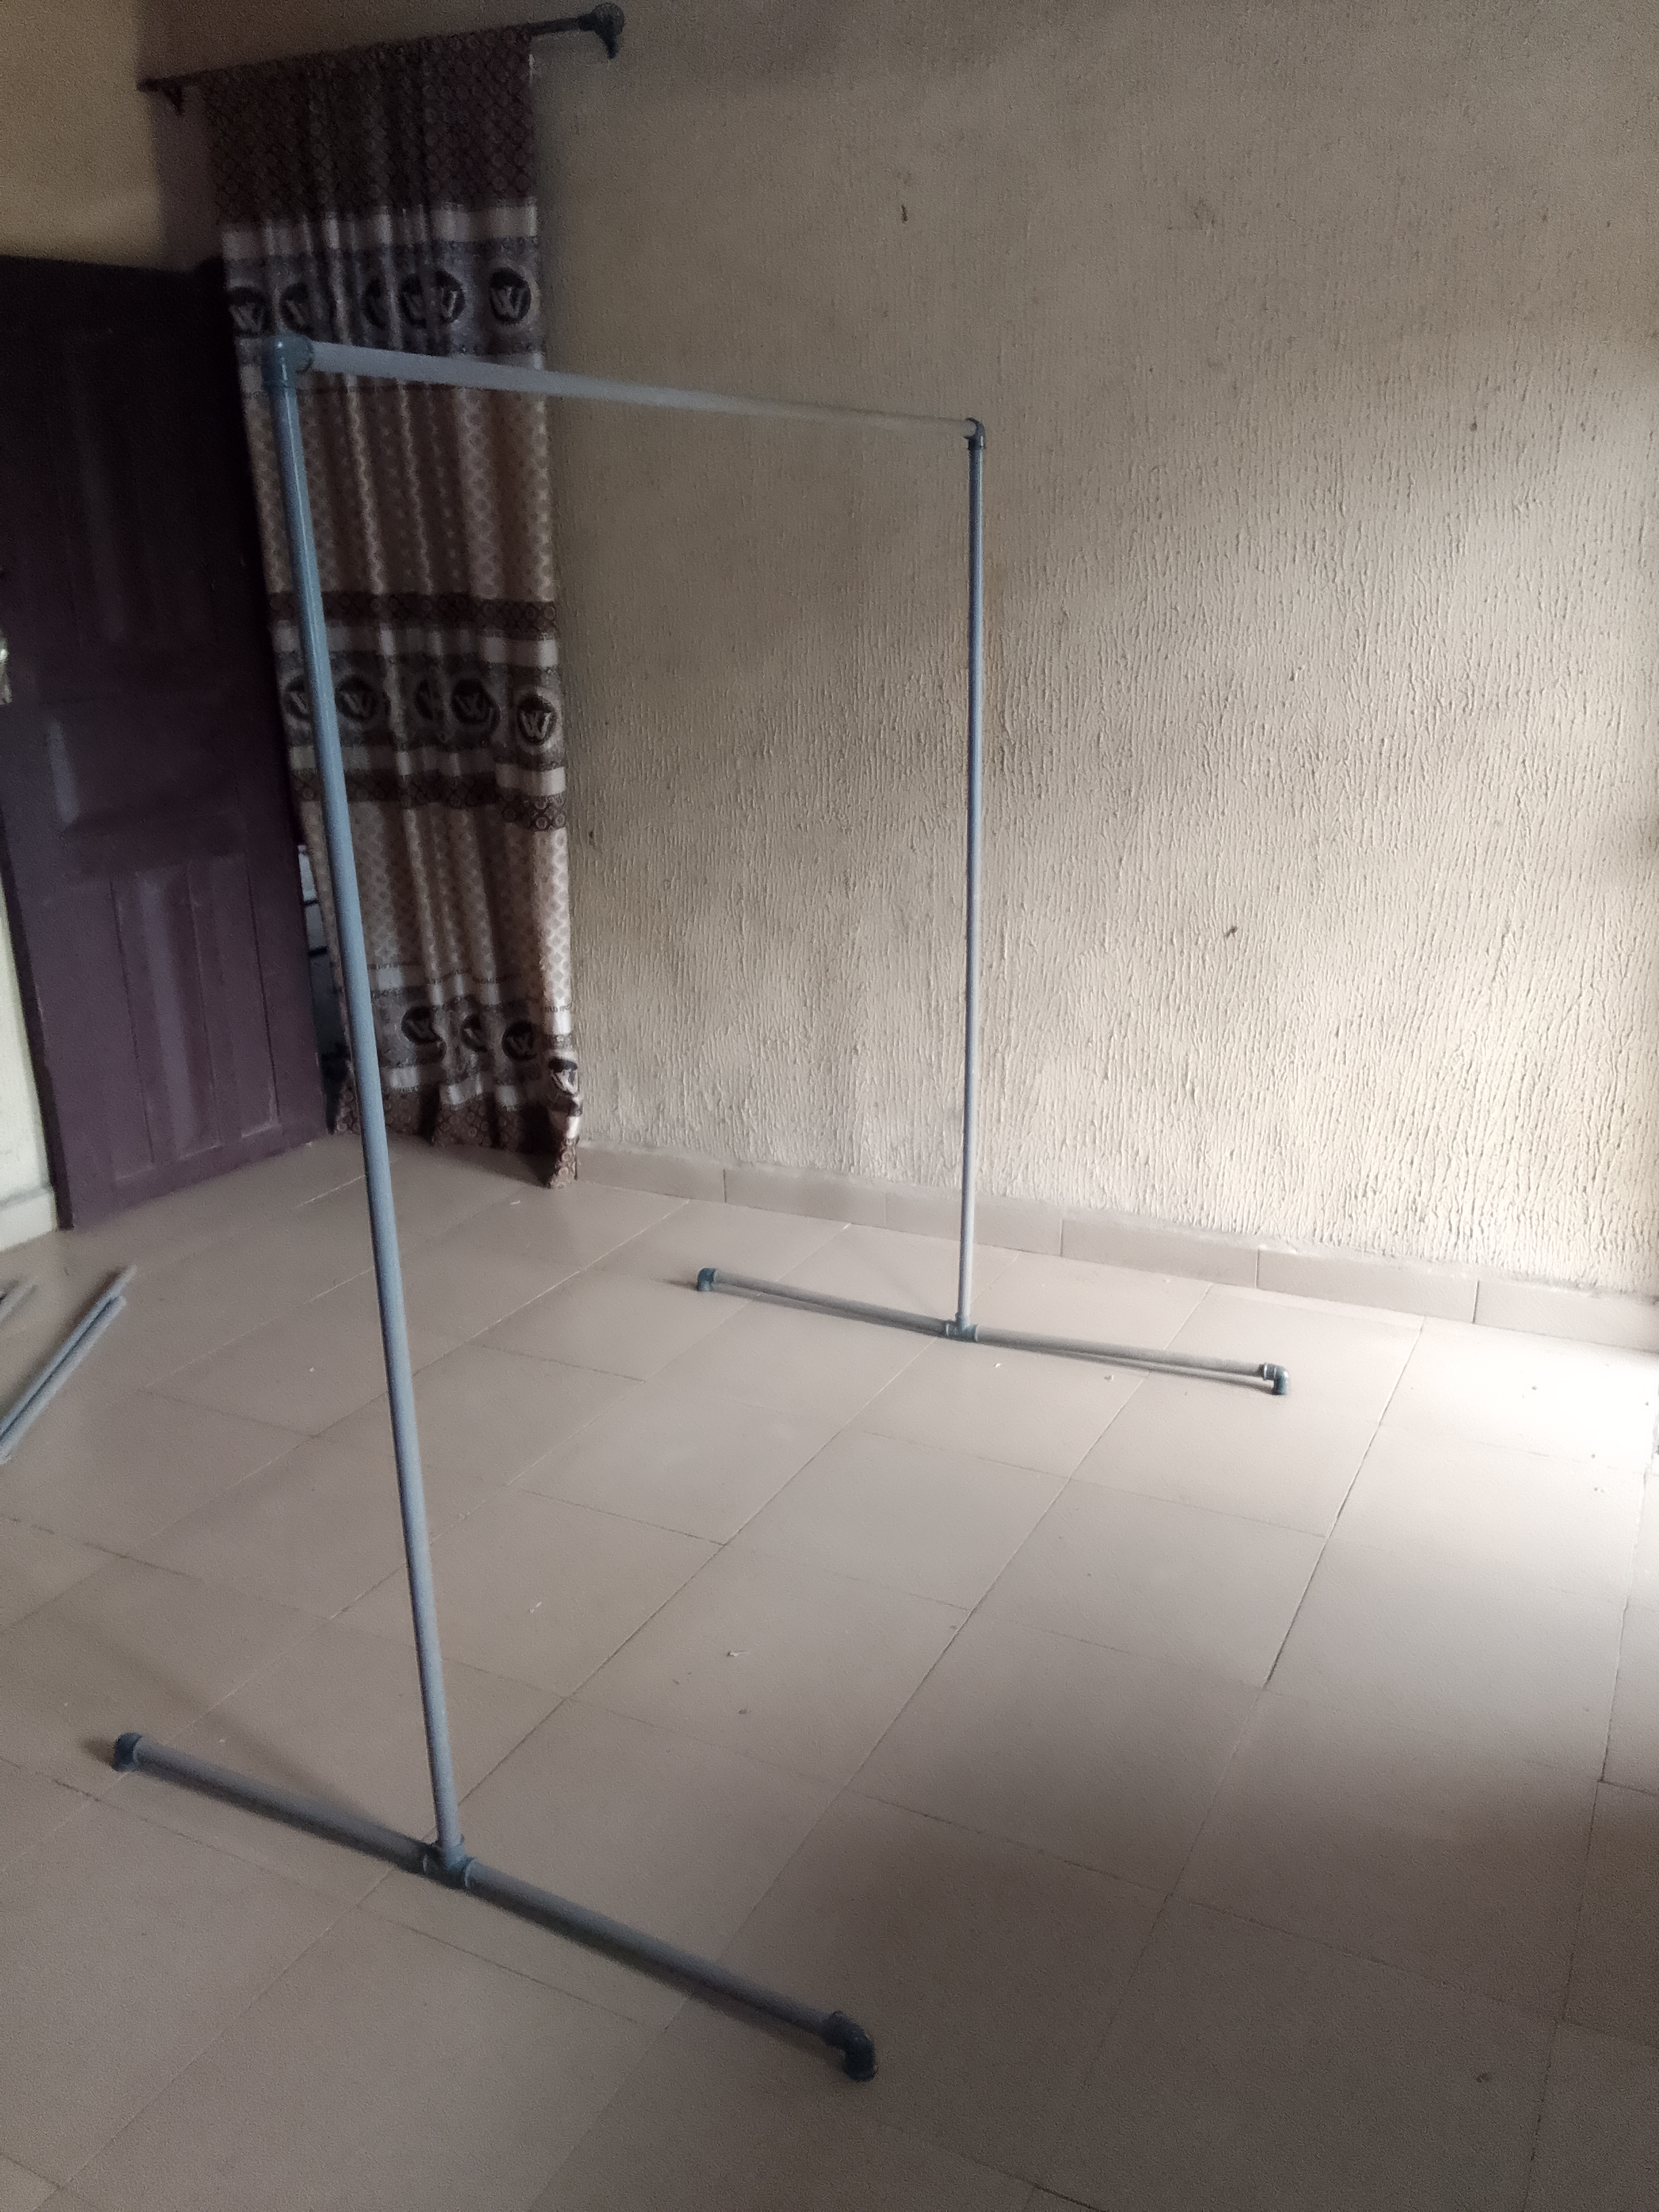
So I used the black spray paint and sprayed to give it a nice smooth surface.

And there I had it! It was nice and ready. And looking really good too.

I liked how it turned out but my problem with it is it not being too firm, maybe it's from my measurement or cutting, also pipes aren't so strong so this won't be able to carry so much heavy weight fabrics. Apart from that this was a lovely diy project, and it's serving it purpose well. I hope y'all liked it and let me know what you think in the comments!


