Hello everyone, 😊 look who's back from a little bit of hibernation, lol; there was Ramadan and the Eid al-Fitr Celebration, during which time my online activity was usually minimal as I like to take my time to engage in religious activities and as well unplug and recharge my energy.
So, guys, it's good to be back, and this time, I'm trying something fun and exciting. I decided to bead this Coca-Cola bottle, and I so much love how it turns out.

Simply come with me, and let me show you the process.
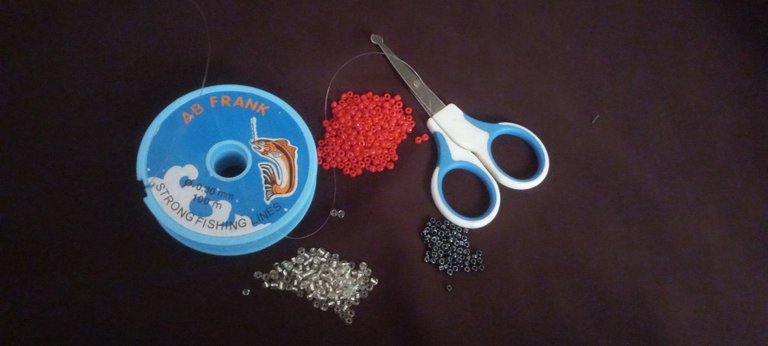
I started by arranging the materials I needed to bead the bottle on my beading surface. They are: Black seed beads, Red seed beads, Silver seed beads, and 0.3 fishline plus Scissors.
Step-by-step process:Making the Coca-Cola bottle is straightforward. Even a beginner won't have a hard time with it.
Step 1:
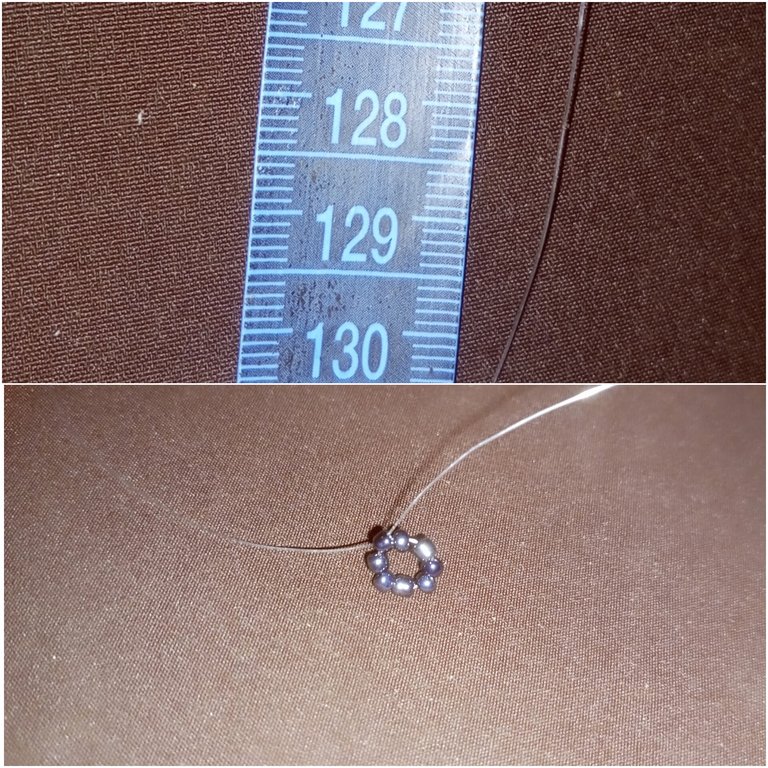
To start beading the bottom of the bottle, I cut a 130 cm fishline, put 8 black beads into it, and crossed both fishlines with the eight beads.
Step 2:
I put 4 black beads on my left fishline and crossed both fishlines with the fourth bead. 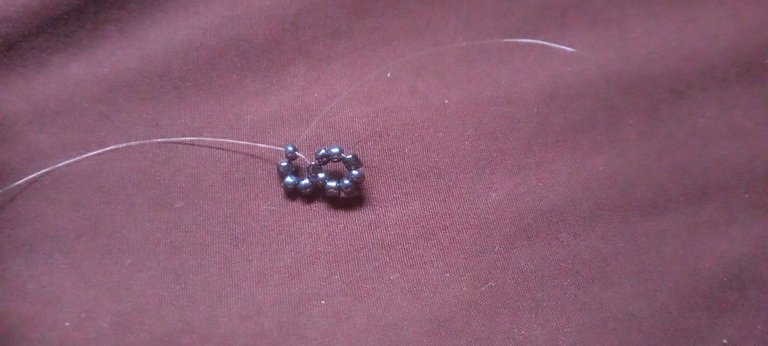
Step 3:
I passed my right fishline through the next bead, put three beads on the left fishline, and crossed both fishlines with the third bead. 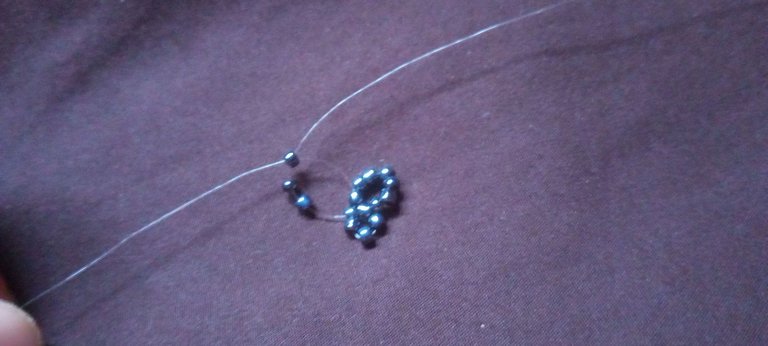
Step 4:
I continued to three beads until I got to the last one, where I passed my right fishline through the next three beads, put two beads on my left fishline, and crossed both fishlines with the second bead.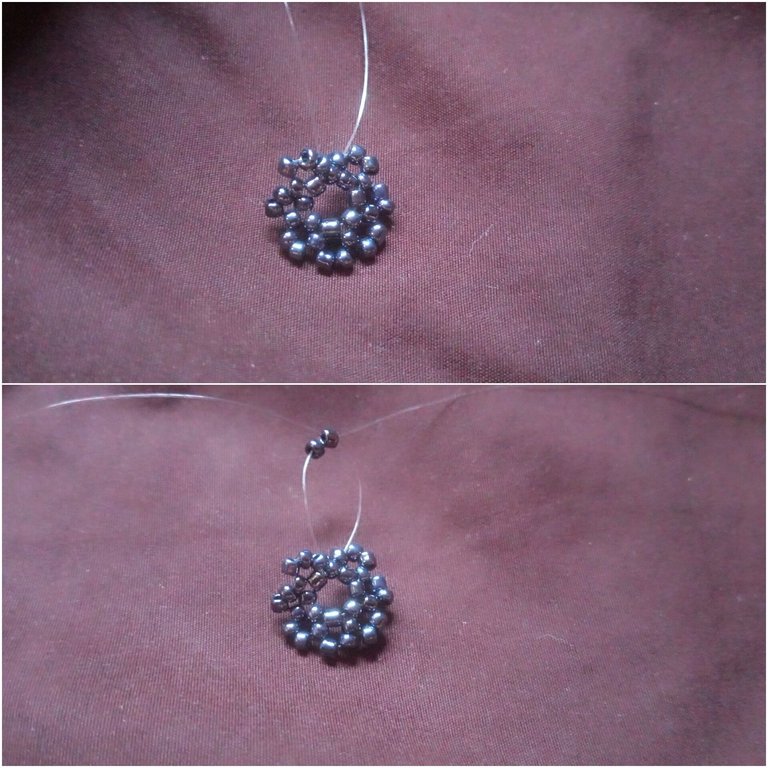
Step 5:
I passed my right fishline through the next bead, put 4 beads on my left fishline, and crossed both fishlines with the fourth bead. 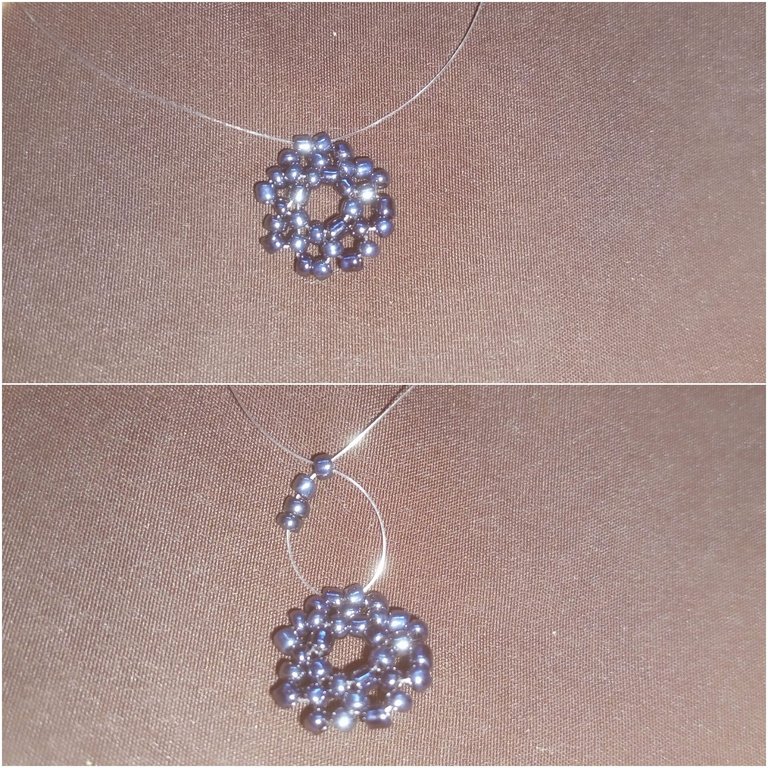
Step 6:
Here I passed my right fishline through the next beads, put 3 beads on my left fishline, and crossed both fishlines with the third bead.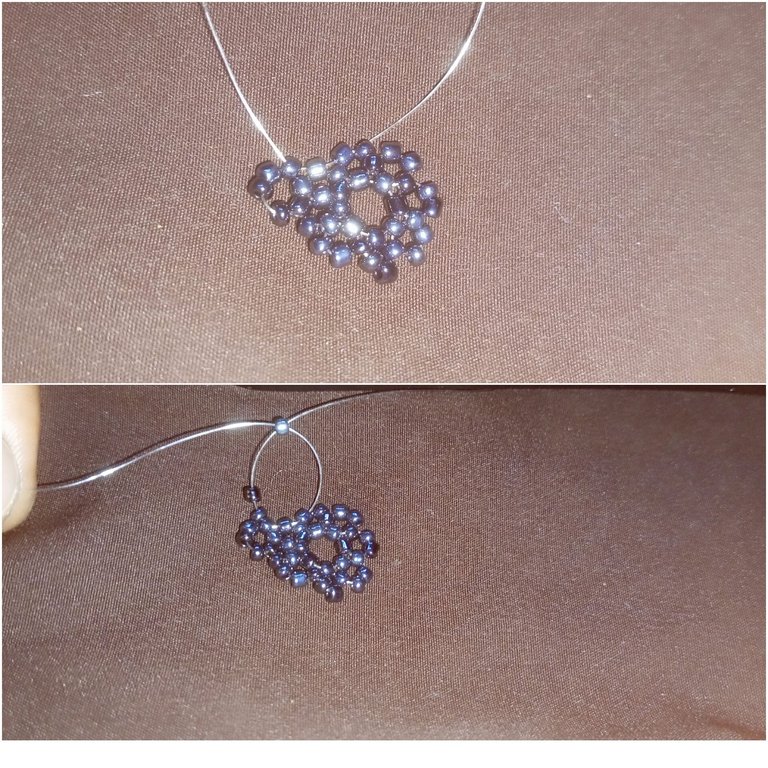
Step 7:
I continued to repeat step 6 above until I reached the last of this line, where I passed my right fishline through the next three beads, put two beads on my left fishline, and crossed both fishlines with the second bead. With that, I was done with the bottom of the bottle. I went ahead and built the body.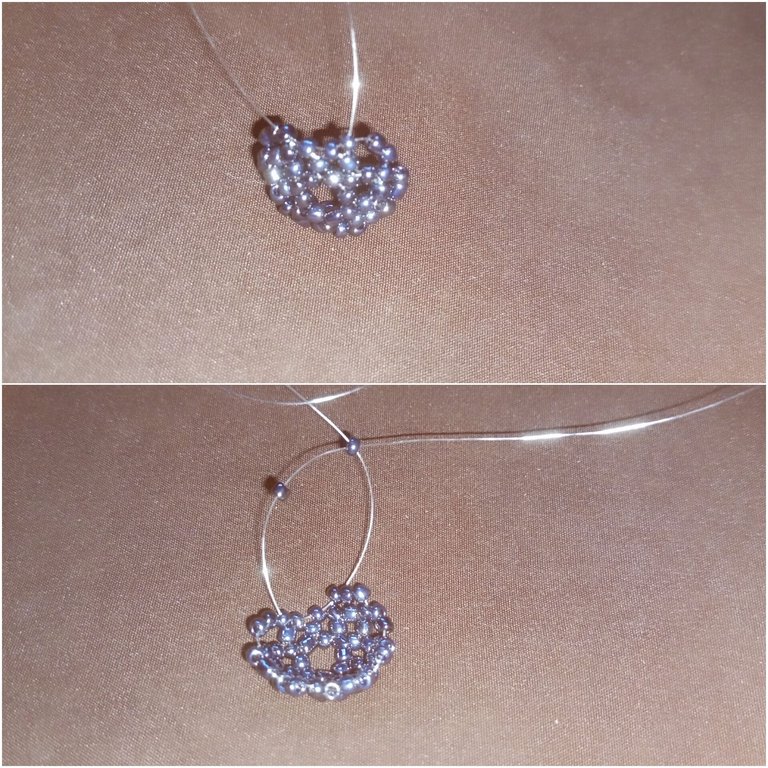
Step 8:
Here, I introduce the red label part by passing my right fishline through the next bead, putting 4 red beads on the left fishline, and crossing both fishlines with the fourth bead.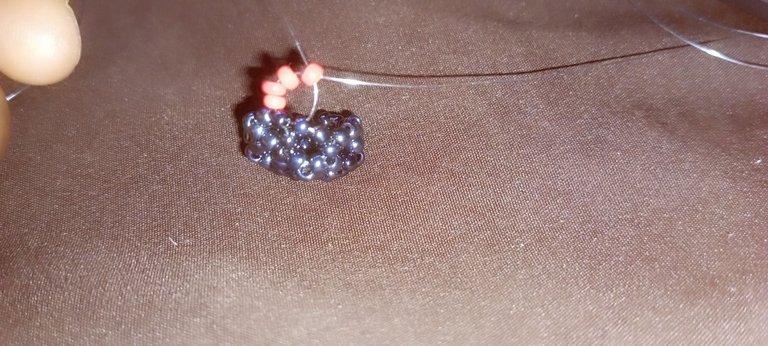
Step 9:
I passed my right fishline through the next two beads, put 3 beads on the left fishline, and crossed both fishlines with the third bead.
Step 10:
I continued to add three red beads until I got to the end part of this line, where I passed my right fishline through the next three beads, put two beads on my right fishline, and crossed both fishlines with the second bead.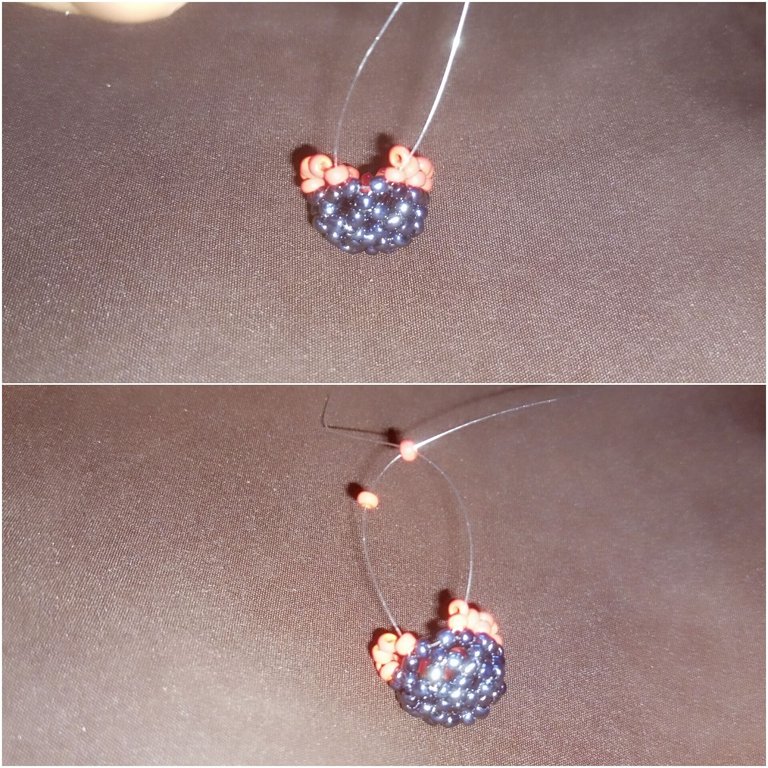
Step 11:
I repeated steps 9 and 10 above to add another line of red beads.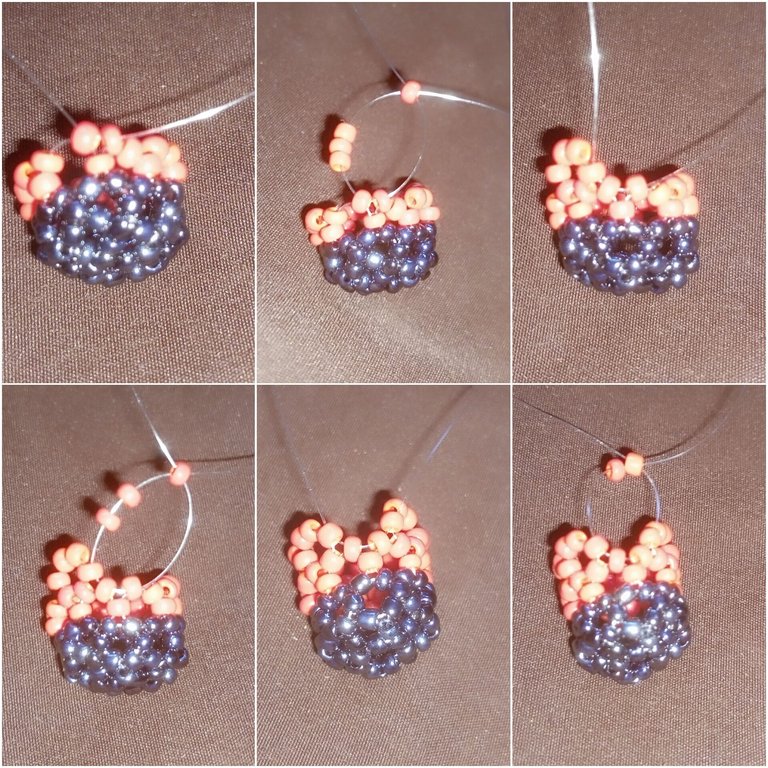
Step 12:
Here to create the black color on the upper part of the bottle, I added another row with black and red beads. I started by passing my right fishline through the next two beads, then I put one red, two black, and one red bead on my left fishline and crossed both fishlines with the fourth bead. Then I finished the row with two red and one black bead.
Step 13:
I went ahead and added one more row of black beads.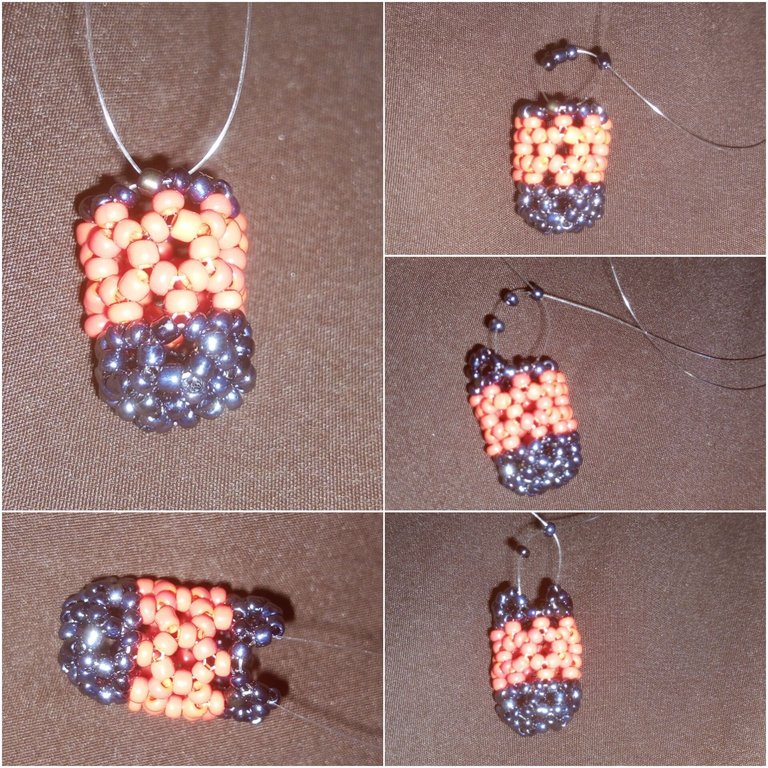
Step 14:
For the white color in the upper part of the bottle, I introduce the silver color bead. By passing my right fishline through the next bead, I put two beads on my left fishline and crossed both fishlines with the third bead.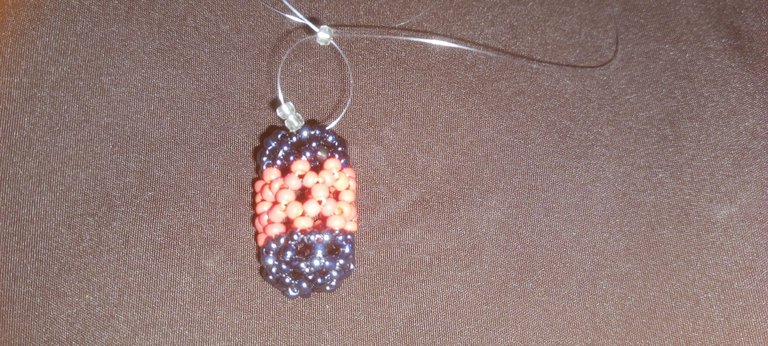
Step 15:
I put my right fishline through the next two beads, put three beads on my left fishline, and crossed both fishlines with the third bead. 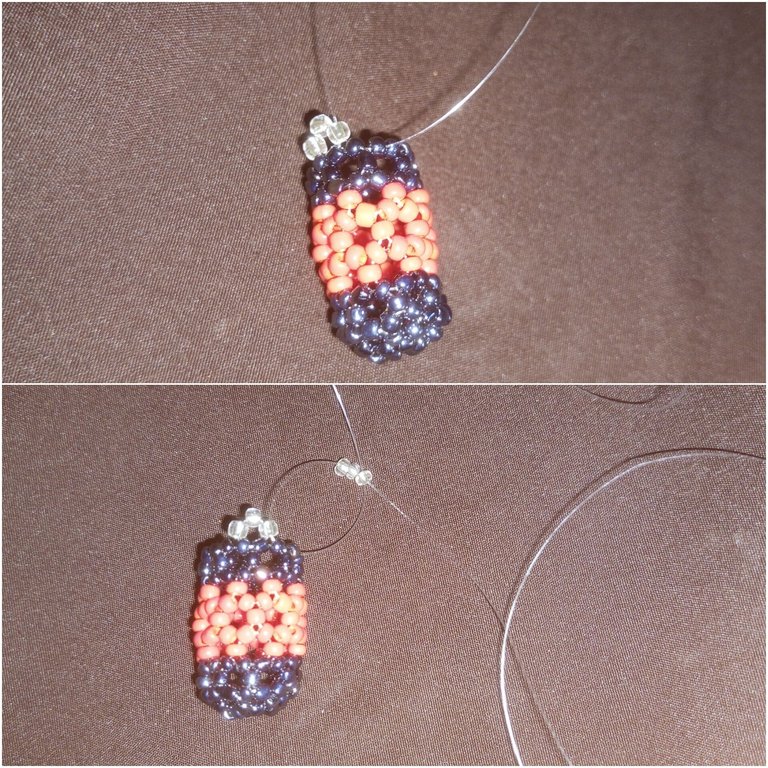
Step 16:
I put my right fishline through the next two beads, put two beads on the left fishline, and crossed both fishlines with the second bead.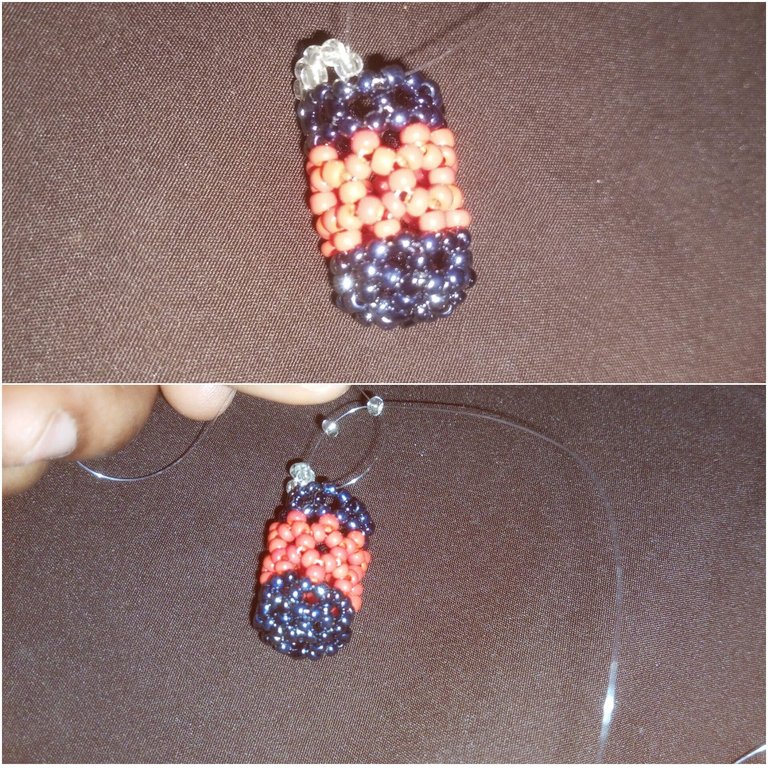
Step 17:
I continue to add three beads, then two beads, interchangeably until the end of this row.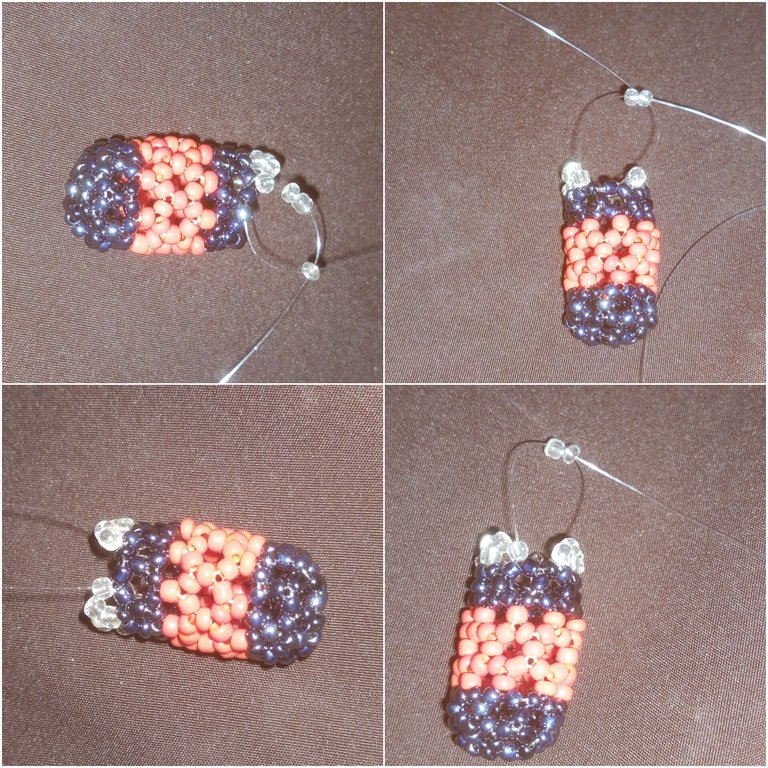
Step 18:
Here, I started a new row, where I tried to close the neck of the bottle. I passed my right fishline through the next two beads, put three beads on my left fishline, and crossed both fishlines with the third bead. 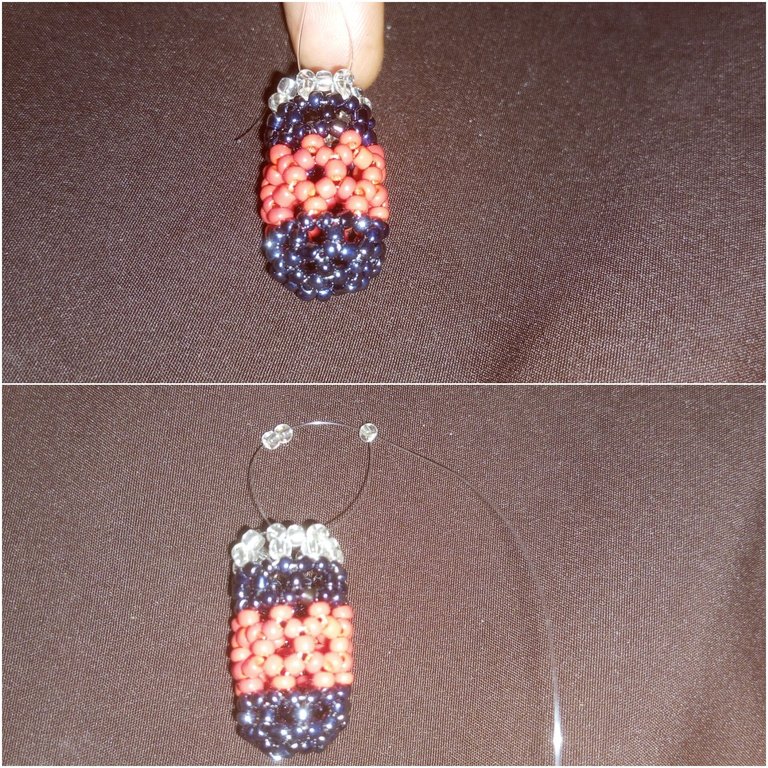
Step 19:
I passed my right fishline through the next three beads, put two beads on my left fishline, and crossed both fishlines with the second bead.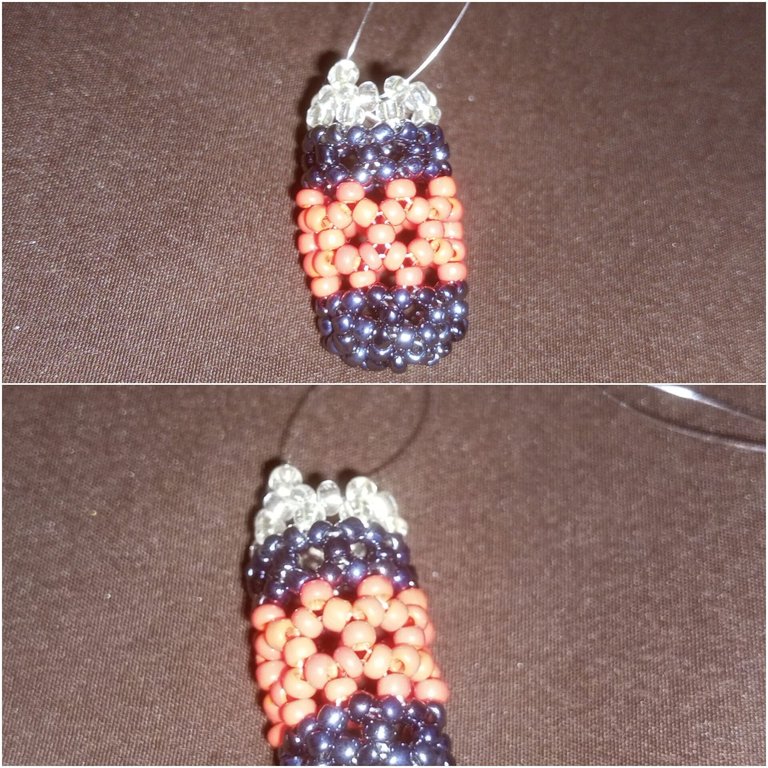
Step 20:
I passed my right fishline through the next three beads, put two beads on the left fishline, and crossed both fishlines with the second bead.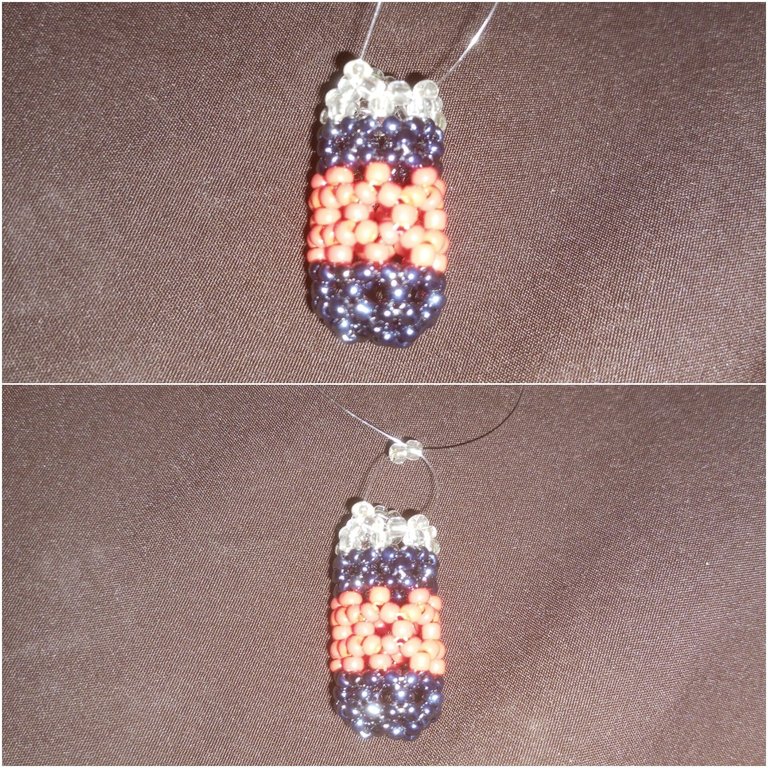
Step 21:
To end this row, I passed my right fishline through the next four beads and crossed both fishlines with one bead.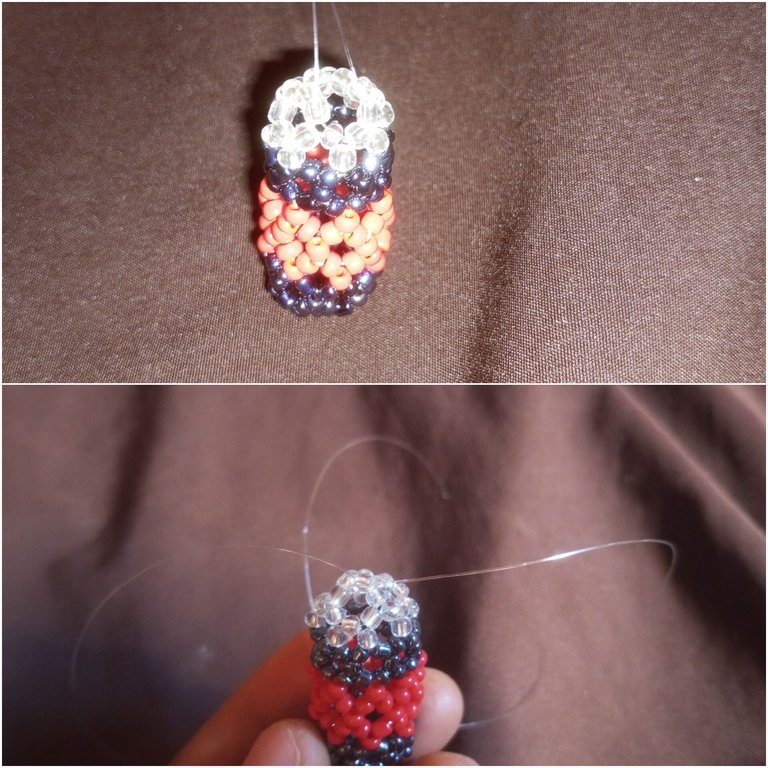
Step 22:
I added another row of white beads.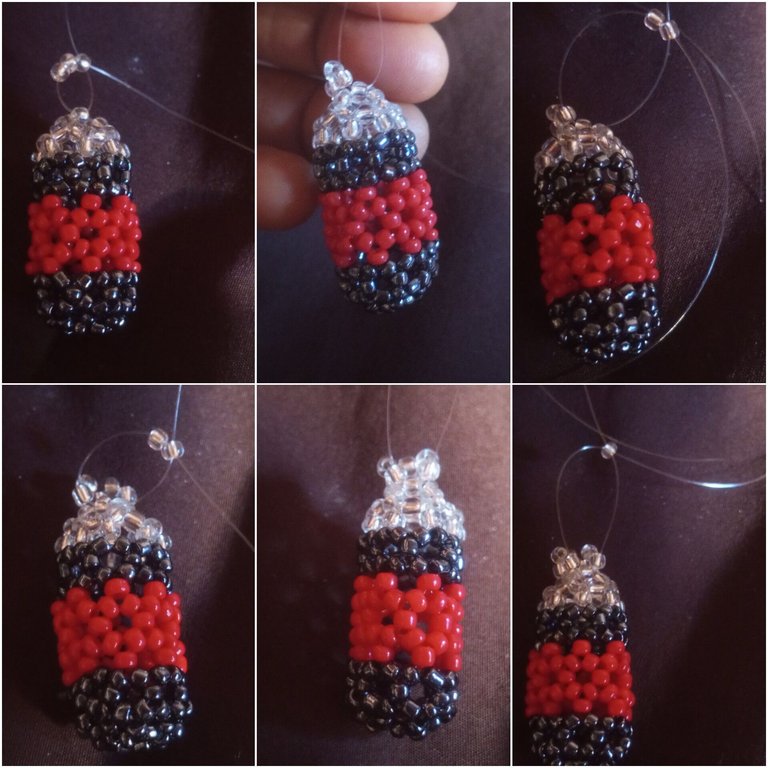
Step 23:
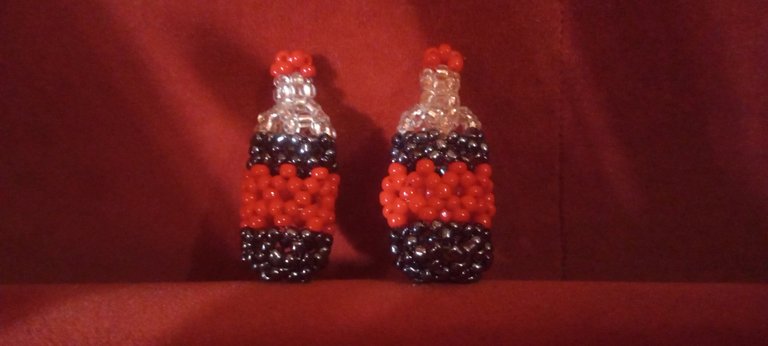
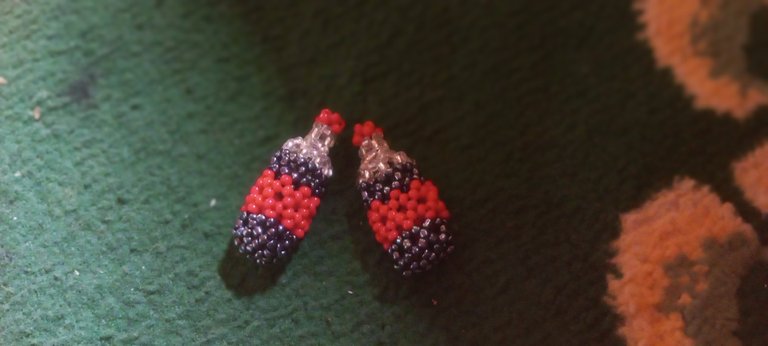
I added one row of red beads to make the cap of the bottle. And that is the end of the process.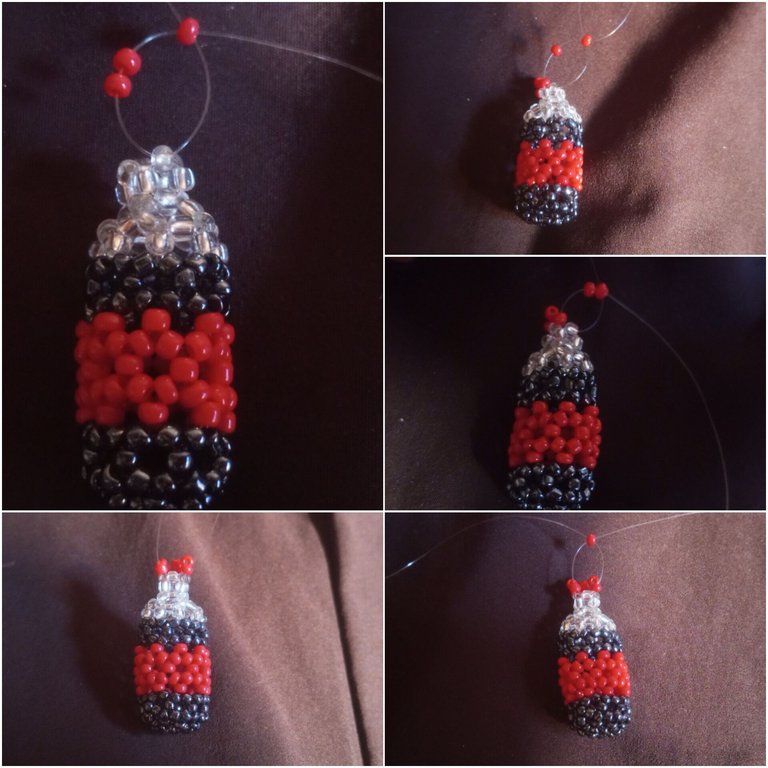 This is the final look. What do you think? Let me know in the comment section.
The end, Thank you so much. Note that all images were taken with my Tecno Spark 8 phone.@funshee❣️😊