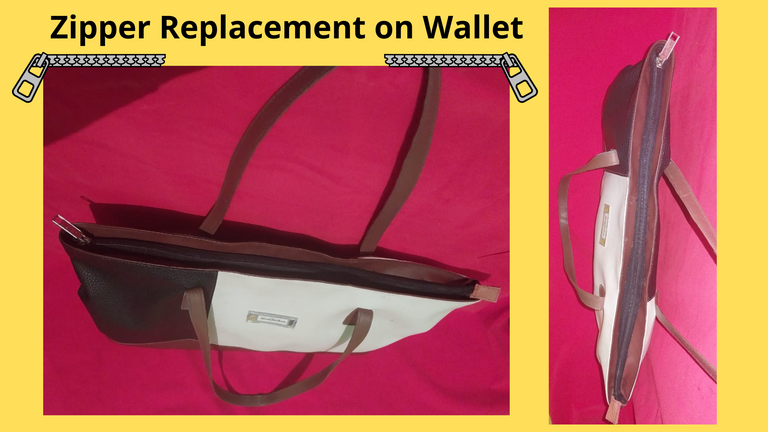
Hello Hive family, I hope you are doing well. Being able to repair things is a way to give a second life to our belongings. This bag that I present to you today despite having the leather material in good condition, could not be used because the zipper was damaged! so I decided to replace it.
Here I show you the step by step of the zipper replacement, I hope you like it!
Materials
- Blade
- Zipper
- sewing machine
- Thread
- Piece of leather
Step by Step
1
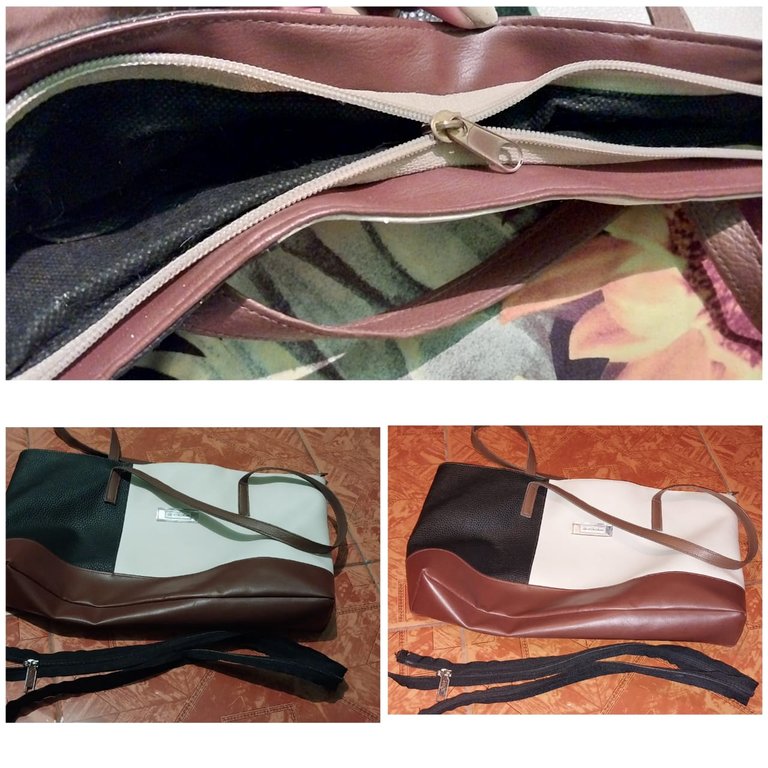
Remove the channel of the damaged zipper with the help of a seam ripper, I particularly used a stitching knife, and here is the zipper, this must have a length equal to or greater than the horizontal length of our wallet.
2
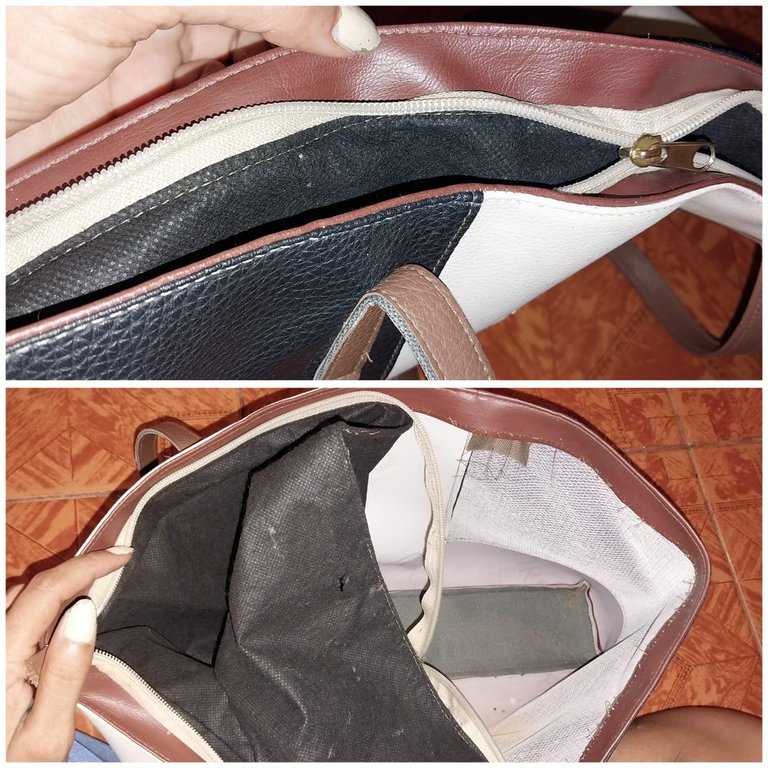
The seam allowance is removed little by little together with the lining.
3
After the whole channel is removed, the zipper should be fixed with pins and then with stitching. Then over the channel of the zipper that has been formed we must sew the lining.
4
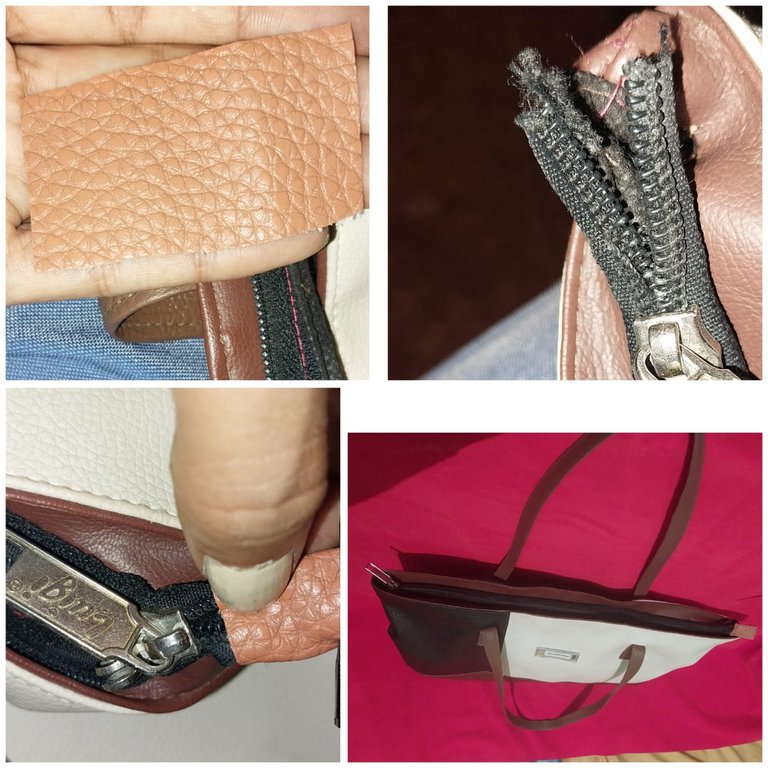
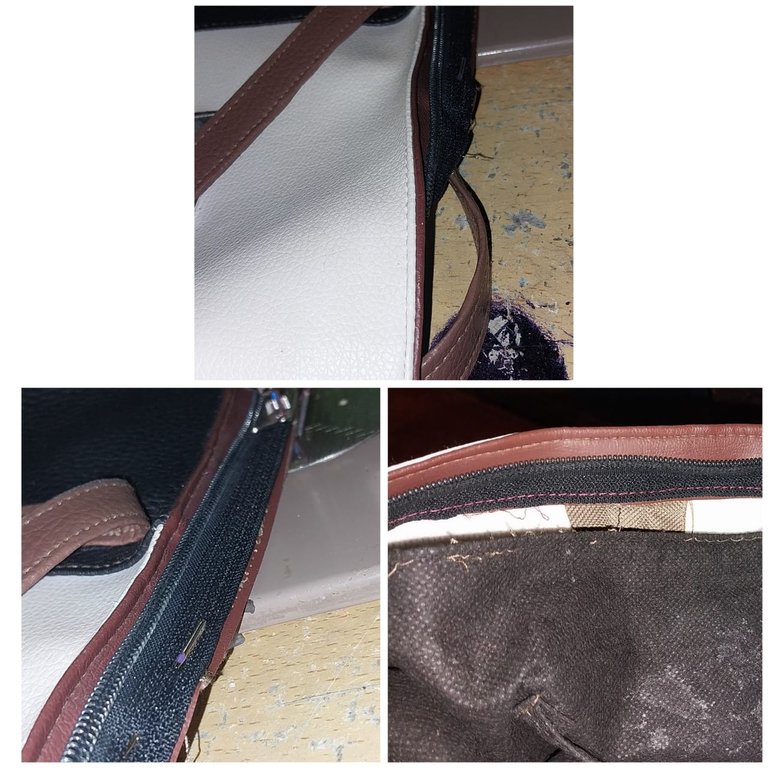
Finally we take a piece of leather and sew it to the end of the zipper, as you can see in the picture. We fold the little piece of leather and then we have to sew it!
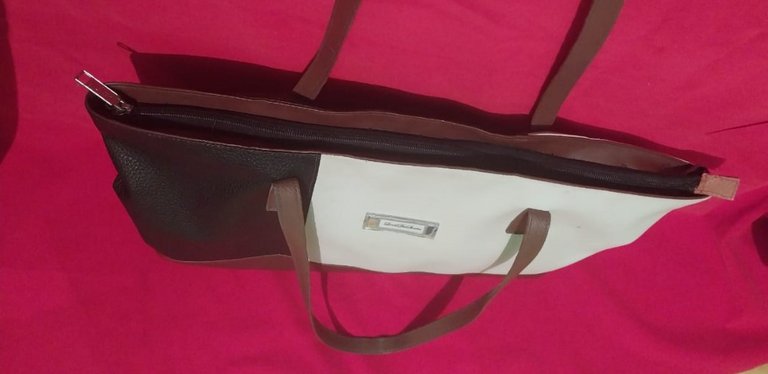
I hope you liked the final result! Thank you very much.
- Images belong to me
- Translator: Deepl Traslator
- Editing: Canva
Hola familia de Hive, espero que se encuentren muy bien. Poder reparar las cosas es una forma de darle una segunda vida a nuestras pertenencias. Este bolso que les presento hoy a pesar de tener el material de cuero en buen estado, no se podía usar debido a que el cierre estaba dañado! así que decidí reemplazarlo.
Aquí les muestro el paso a paso de el cambio de cremallera, espero que les guste!
Materiales
- Hojilla
- Cierre
- maquina de coser
- Hilo
- Pedacito de cuero
Paso a Paso
1
Se debe retirar el canal del cierre dañado con la ayuda de un saca costura, particularmente utilicé una hojilla, y aqui les presentó el cierre, este debe tener un largo igual o mayor que el largo horizontal de nuestra cartera.
2
Se va retirando poco a poco el canal de la costura junto con el forro.
3
Luego que se retira todo el canal se debe fijar el cierre a través de alfileres y luego con costura. Después sobre el canal del cierre que se ha formado debemos de coser el forro.
4
Finalmente tomamos un pedazo de cuero y este lo vamos a coser en la terminación del cierre, como pueden apreciar en la imagen. Doblamos el padecidito y luego debemos coser!
Espero que les haya gustado el resultado final! Muchas gracias.
- Images belong to me
- Translator: Deepl Traslator
- Editing: Canva