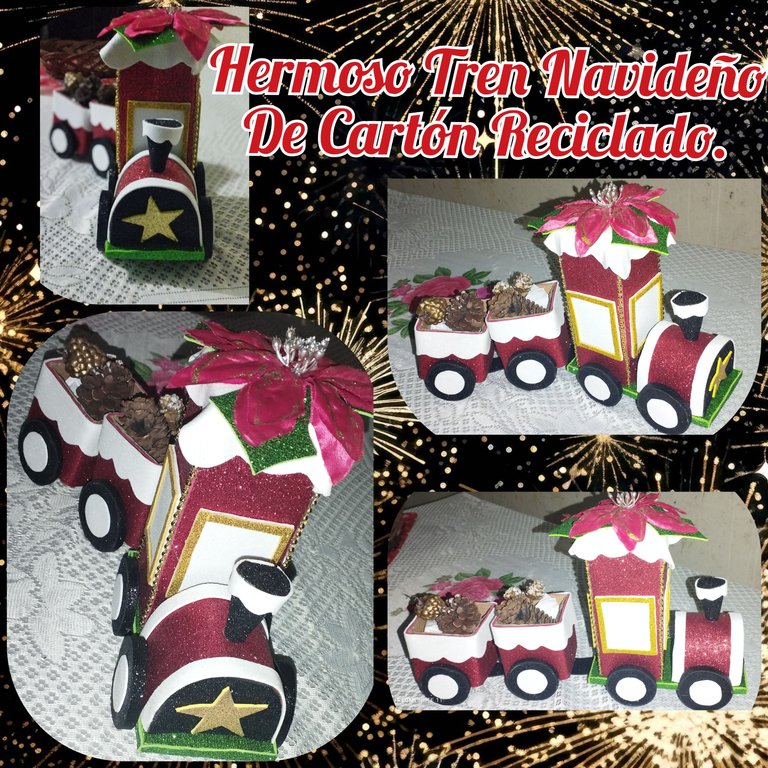
Saludos mis queridos amigos creativos de @diyhub y a todos mis compañeros de @hive.. deseandoles una hermosa navidad y que el próximo año que se aproxima sea de muchas bendiciones y lleno de salud, paz y amor.
Aquí aún yo sigo trabajando y sigo practicando mucho más mis técnicas de manualidades ya que para el próximo año tengo muchos proyectos en esta plataforma.
Me animé y tenía unos cartones por ahí de un aro de luz que le regale a mi hija por su cumpleaños y decidí utilizarlos.
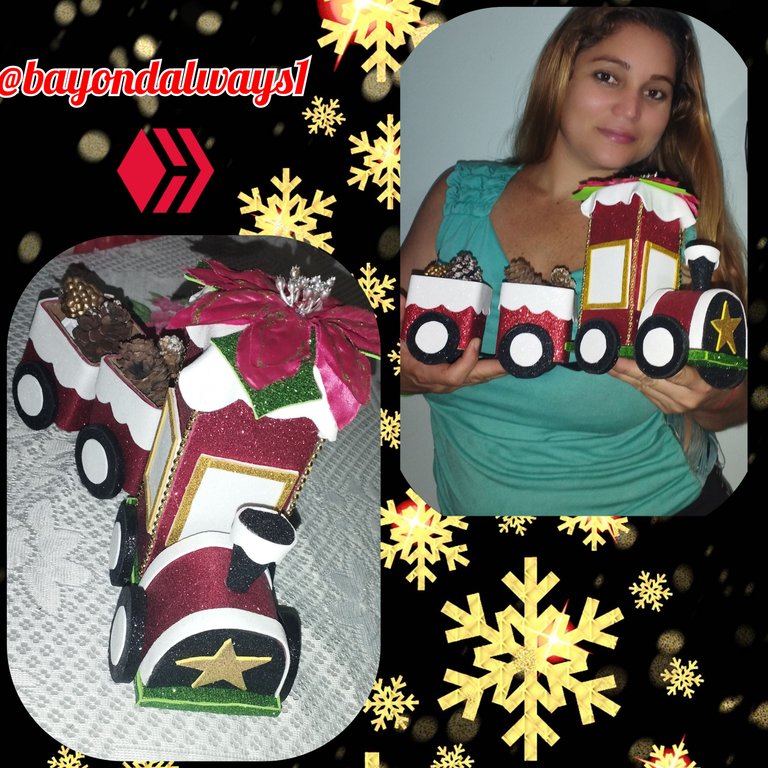
Por eso realice este hermoso ten con estos materiales y es un hermoso centro de mesa, adorno o hasta lo podemos utilizar para colocar en los vagones algunas florecitas.
Los materiales que utilice prácticamente los tenía en casa de algunos otros proyectos que he elaborado anteriormente.
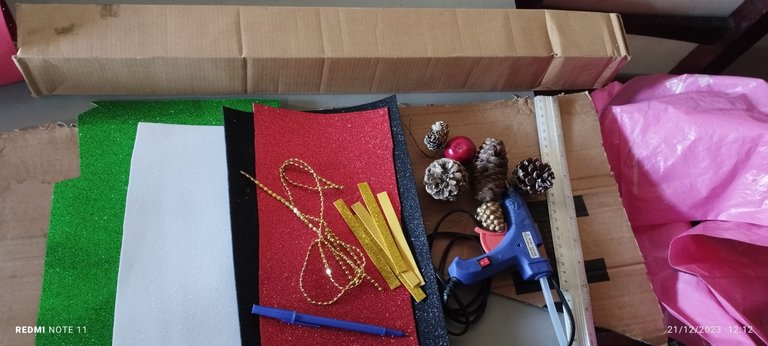
Materiales:
- Foami escarchado.
Colores: Rojo, Verde, Negro, Dorado y Blanco. - Cartón.
- Cubos de cartón.
- Silicón caliente.
- Tijera.
- Regla.
- Adornos Navideños.
Paso a Paso:
Paso 1:
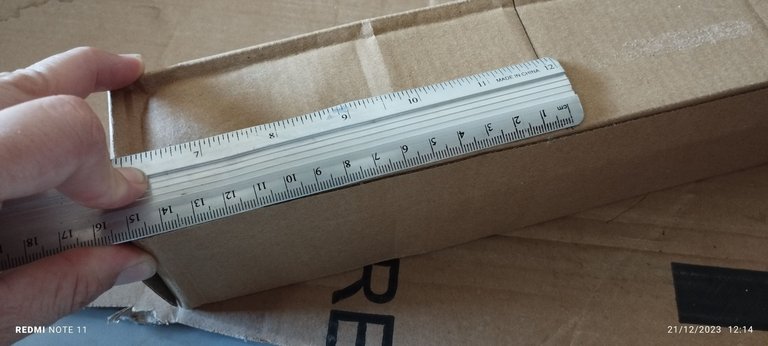
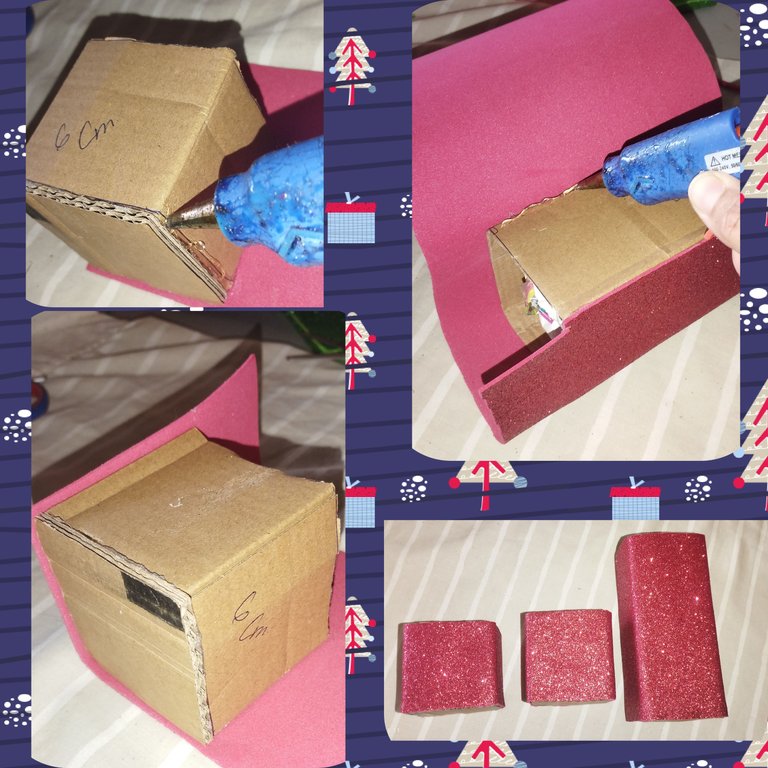
Medimos el cubo en tres partes. La primera parte tendrá 15 centimetro de largo, Este será la cabina principal. Es decir nuestra trompa del tren. El segundo vagón tendrá 6.50 centimetros y el tercer vagón 6 centimetro. Una vez tengamos lo dejamos apartado.
Paso 2:
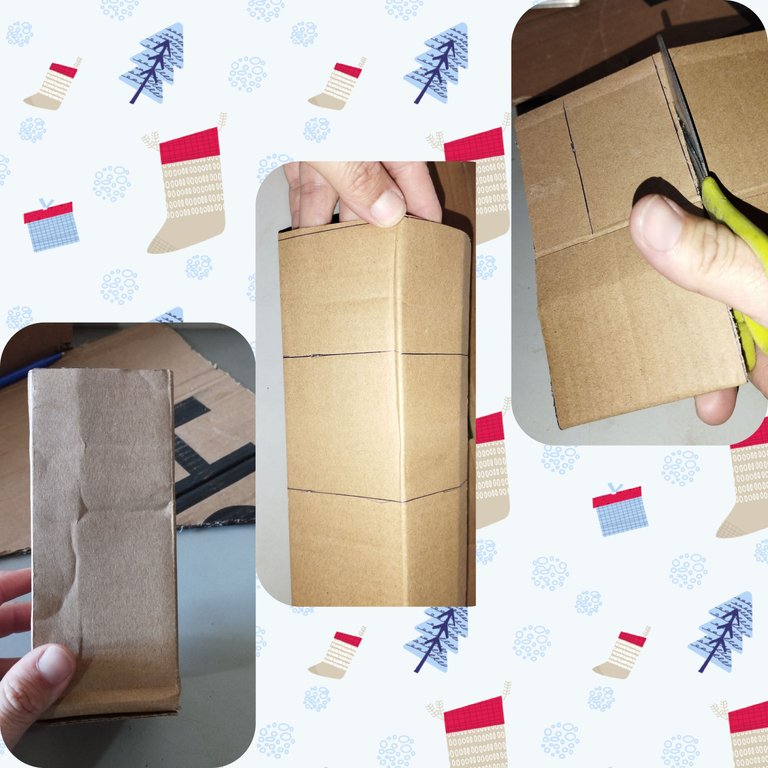
Recorté tres piezas una de 15 centimetro de largo por 7 centimetro de ancho. También pueden medirlo con el cubo de 15 centímetros ya que podemos tomar las mismas medidas. Las otras dos medidas son las tapas de los vagones de 6 y 6.50 lo que hacen es colocar el cartón y crearle una base, es decir una tapa porque ya está no tendría y tuve que hacerla.
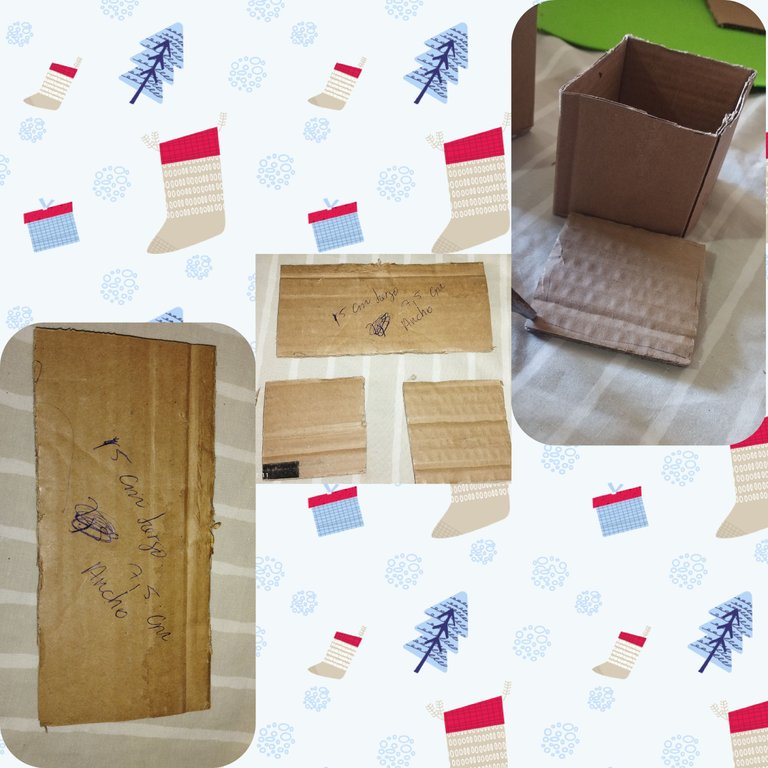
Paso 3:
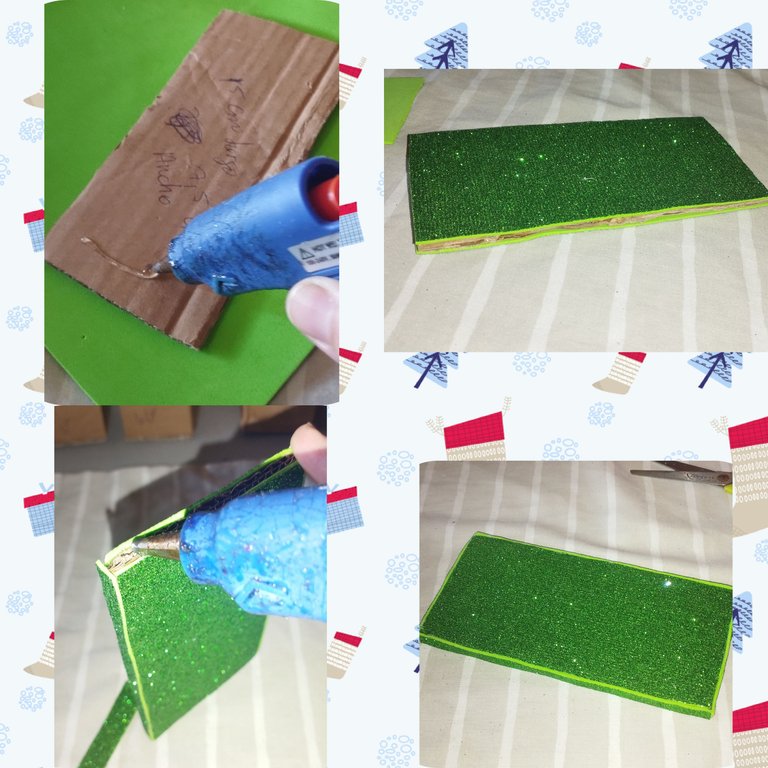
Ahora el cartón que recortamos de 15 centimetros lo vamos a forrar con foami verde y este será nuestra base para colocar la cabina principal. Tapamos sus dos lados y le colocamos alrededor también listones de foami para que no se vea el carton.
Paso 4:
Vamos a cortar otra pieza y lo vamos a pegar en el foami rojo este será el complemento perfecto para la cabina principal le colocamos foami negro de un lado y nos dará la forma de una casa a este le colocamos listones de foami blanco para que esté convinado con las das piezas
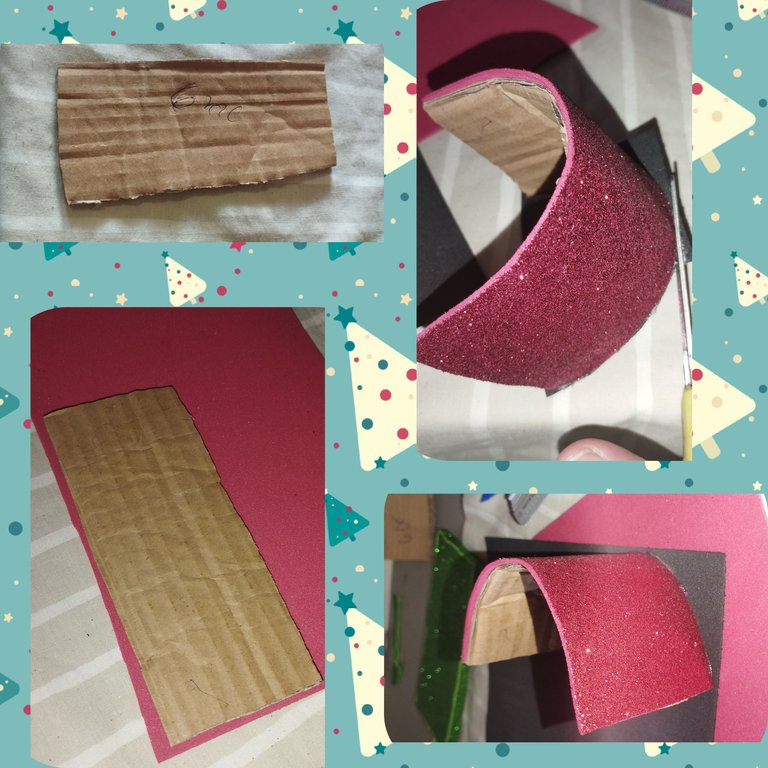
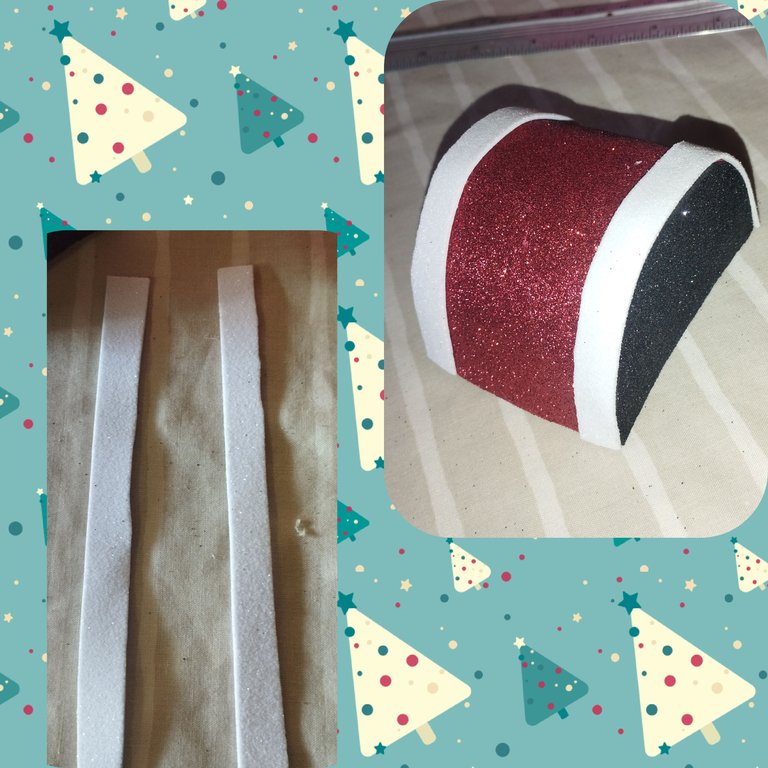
Paso 5:
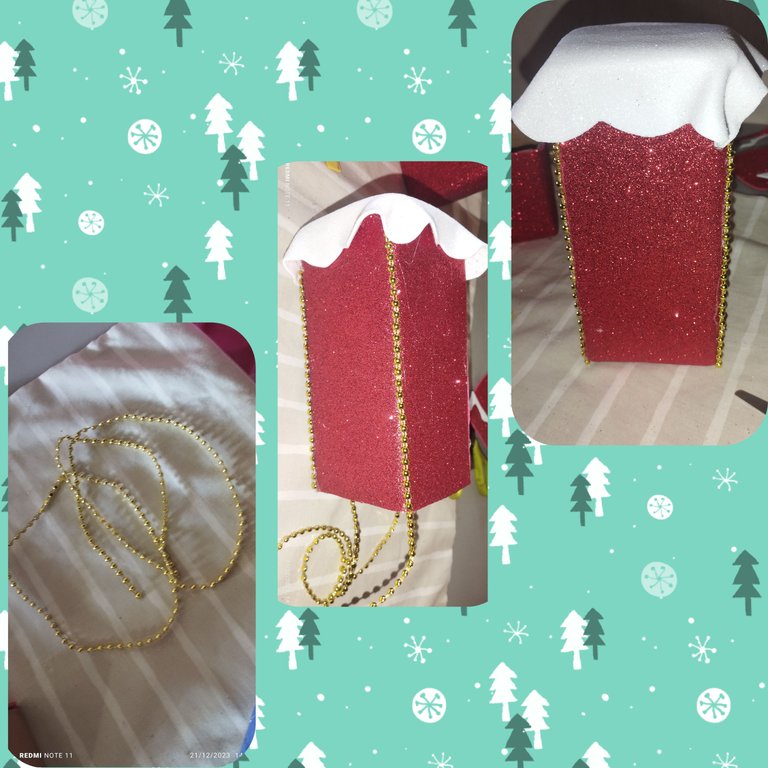
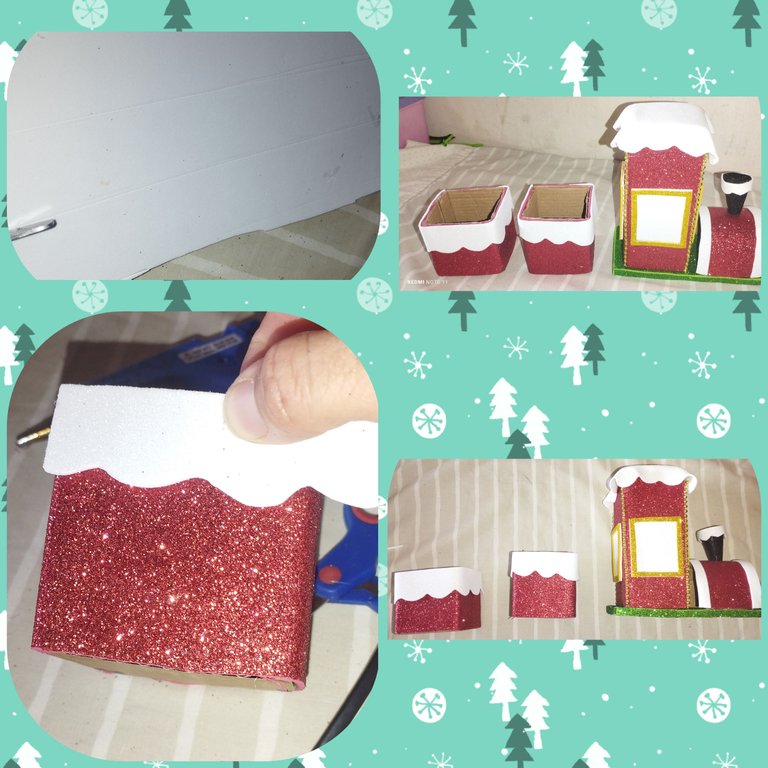
Voy a forrar las 3 piezas que serán los vagones con el foami rojo. Vamos a cortar un cuadrado de 7 centimetro aproximadamente para elaborar la tapa de la cabina principal le ponemos foami blanco y en los bordes le hacemos una pequeña decoración, ahora cortamos pequeños pedazos de foami blanco esto Seran las ventanas las cuales decoraremos con foami dorado en los bordes. En los bordes de la cabina le podemos colocar también foami dorado pero poco yo tenía está decoración guardas se la coloque.
Paso 6:
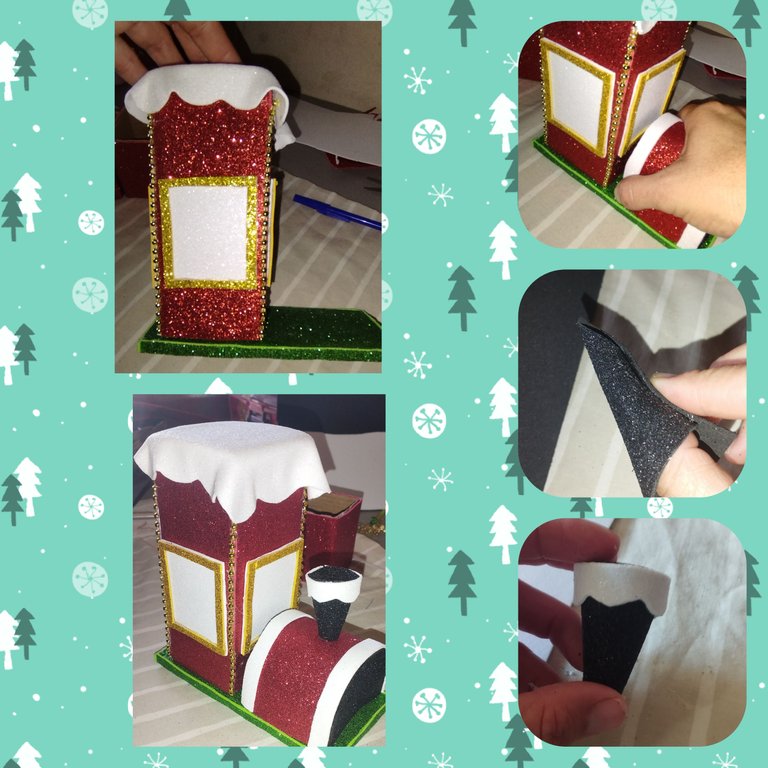
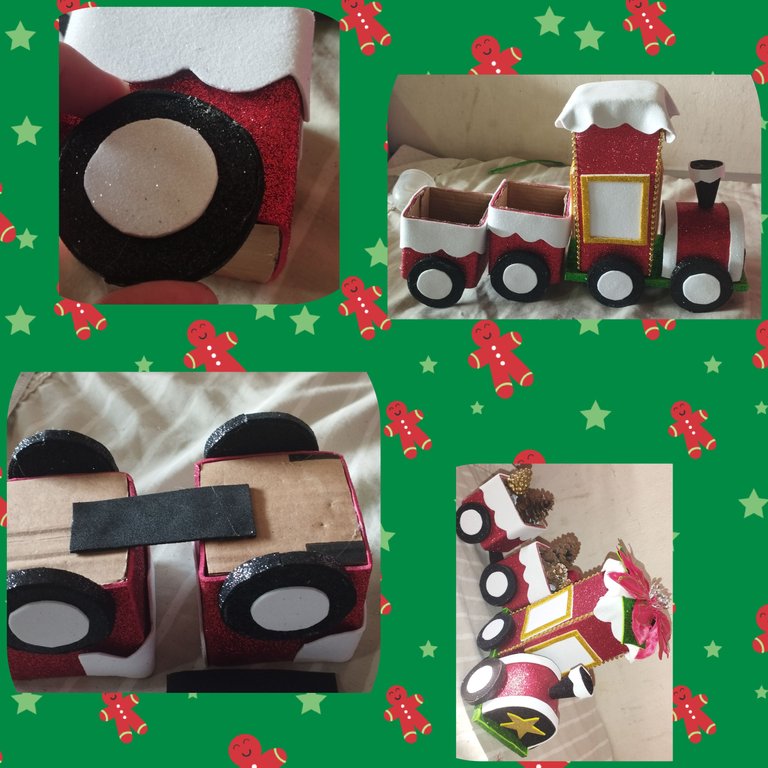
Una vez todo esto este listo, unimos las piezas para completar la cabina. Con foami negro hacemos un pequeño gorro que será la chimenea del tren. En los otros vagones cortamos listones de foami de 5 centimetros aproximadamente Y le damos formas en las puntas.
Paso 7:
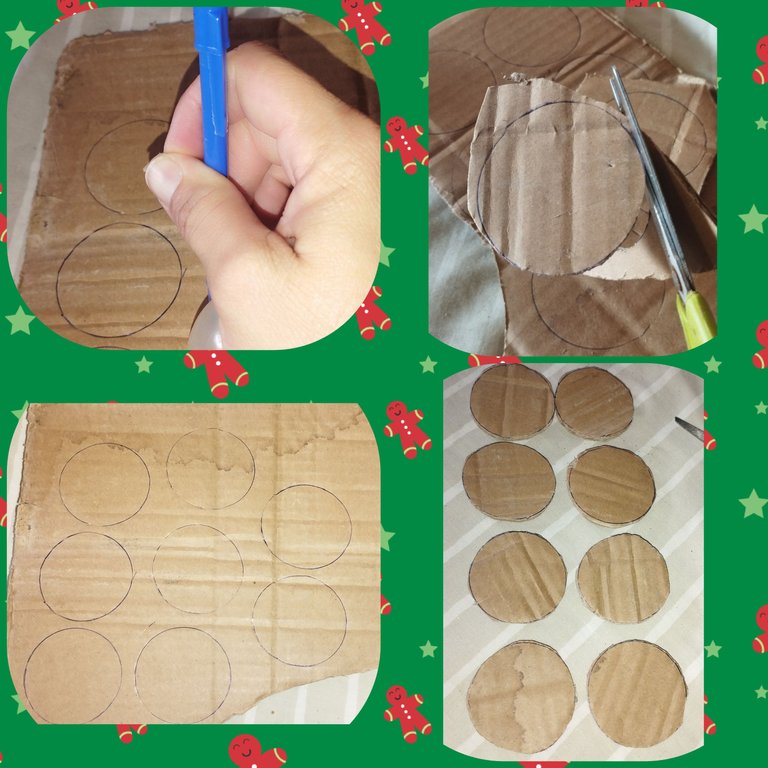
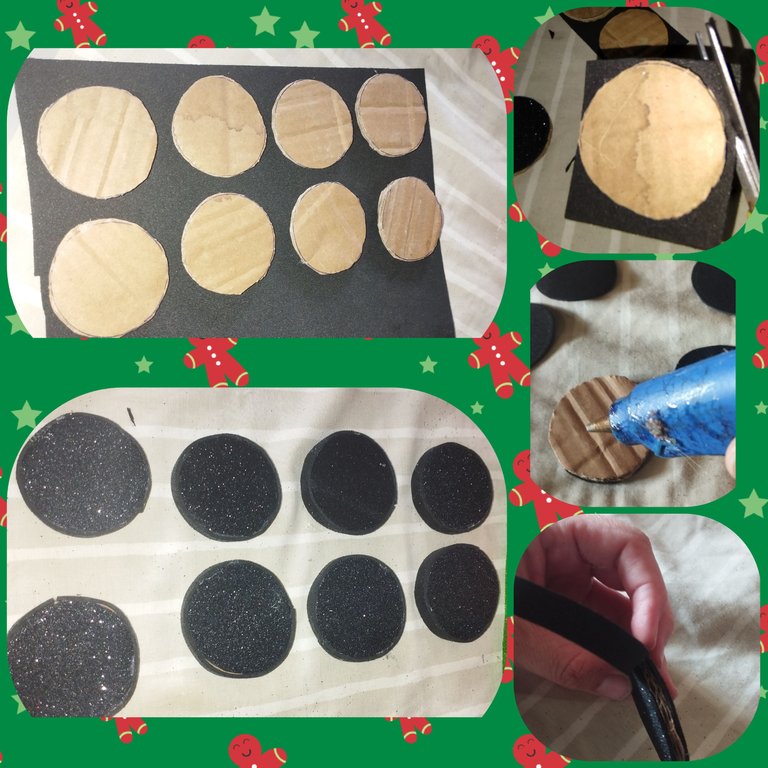
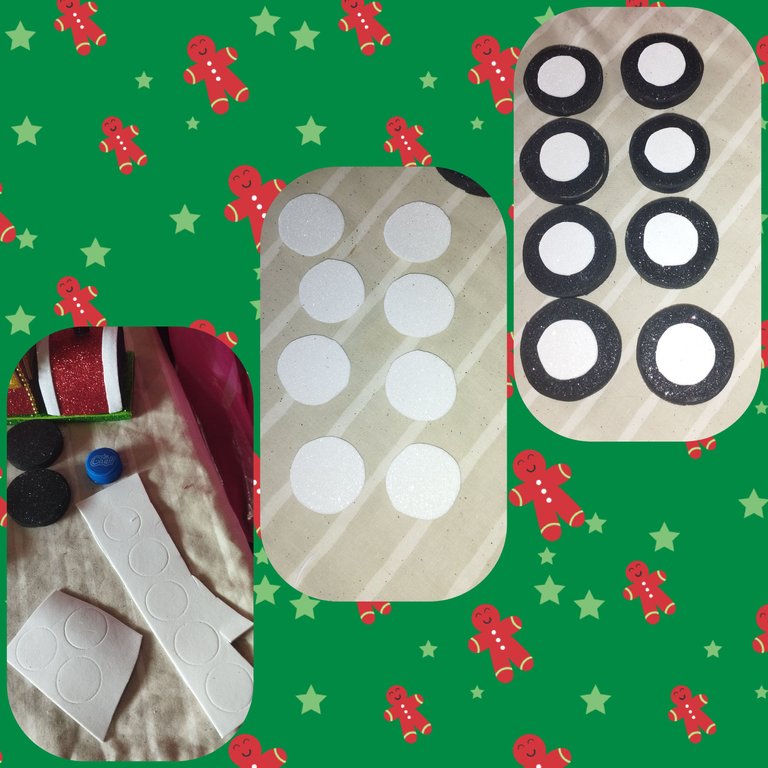
Vamos a elaborar circulos en el cartón aproximadamente de 6 centimetro yo utilice una tapa de un biberón pequeño ustedes pueden utilizar por qué más se le haga referencia esto para que tengan una medida exacta y todos queden de una misma medida. Luego que lo recortemos los pegamos en el foami negro lo vamos a forrar de los dos lados. Y luego le pasamos un listón al rededor para tapar el cartón y hacer la rueda de nuestro tren. En total serían 6 ruedas forradas por los dos lados. Luego en el foami blanco con una tapa de refresco hacemos círculos más pequeño para colocarlos en las ruedas de color negro y simular el rin. Una vez todo listo pegamos nuestras ruedas en la misma dirección y a la misma altura. Para unir los vagones se colocan un pedazo de foami y listo, luego se le colocan las decoraciones en el frente le puse una estrella dorada, arriba una flor navideña y en los vagones frutas de Navidad.
Espero les guste mi post.
Los espero en una nueva oportunidad, les envio infinitas bendiciones.
PD: Ya casi termina la navidad y por eso mis fotos las edite en varios diseños Navideños, y por eso hay que aprovechar jajaja.
¡Saludos!
Las imagenes me pertenecen, fueron tomadas de mi teléfono Redmi Note 11.
Las imágenes fueron editadas por programa de editor de fotos Polish.
traductor: Deepl Traslator.
English

Greetings my dear creative friends of @diyhub and all my colleagues of @hive... wishing you a beautiful Christmas and that the coming year is full of blessings and full of health, peace and love.
Here I am still working and practicing a lot more my crafting techniques because for next year I have a lot of projects on this platform.
I was encouraged and I had some cardboard from a light ring that I gave to my daughter for her birthday and I decided to use them.
So I made this beautiful ten with these materials and it is a beautiful centerpiece, ornament or we can even use it to place some flowers in the wagons.
The materials I used I practically had at home from some other projects I have done before.
Materials:
- Frosted Foami.
Colors: Red, Green, Black, Gold and White. - Cardboard.
- Cardboard cubes.
- Hot glue.
- Scissors.
- Ruler.
- Christmas ornaments.

Step by Step:
Step 1:
We measure the cube in three parts. The first part will be 15 centimeters long, this will be the main cabin. That is our train horn. The second car will be 6.50 centimeters and the third car 6 centimeters. Once we have it we leave it aside.


Step 2:
I cut three pieces one 15 centimeter long by 7 centimeter wide. You can also measure it with the 15 centimeter cube since we can take the same measurements. The other two measures are the covers of the cars of 6 and 6.50 what they do is to place the cardboard and create a base, ie a lid because it is already would not have and I had to do it.

Step 3:
Now we are going to cover the 15 centimeters cardboard we cut out with green foami and this will be our base to place the main cabin. We cover its two sides and place around it also foami strips so that the cardboard is not seen.

Step 4:
We will cut another piece and we will paste it on the red foami this will be the perfect complement to the main cabin we place black foami on one side and will give us the shape of a house to this we place white foami strips to be combined with the other pieces.


Step 5:
I am going to line the 3 pieces that will be the wagons with the red foami. We are going to cut a square of 7 centimeters approximately to make the cover of the main cabin we put white foami and on the edges we make a small decoration, now we cut small pieces of white foami this will be the windows which we will decorate with gold foami on the edges. On the edges of the cabin we can also place gold foami but little I had this decoration I put it.


Step 6:
Once all this is ready, we join the pieces to complete the cabin. With black foami we make a small cap that will be the chimney of the train. In the other cars we cut foami strips of approximately 5 centimeters and give shapes at the ends.


Step 7:
We are going to make circles in the cardboard of approximately 6 centimeters I used a lid of a small bottle you can use what else you refer to this so that they have an exact measurement and all are of the same size. After we cut them out we glue them on the black foami we are going to line it on both sides. And then we pass a ribbon around it to cover the cardboard and make the wheel of our train. In total there would be 6 wheels lined on both sides. Then in the white foami with a soda cap we make smaller circles to place them on the black wheels and simulate the wheel rim. Once everything is ready we glue our wheels in the same direction and at the same height. To join the wagons place a piece of foami and ready, then place the decorations on the front I put a gold star, above a Christmas flower and Christmas fruit in the wagons.


I hope you like my post. I look forward to seeing you again, I send you infinite blessings. PS: Christmas is almost over and that's why I edited my photos in various Christmas designs, and that's why we have to take advantage hahaha.

Greetings!
The images belong to me, they were taken from my Redmi Note 11 phone.
Images were edited by Polish photo editor program.
translator: Deepl Traslator.


