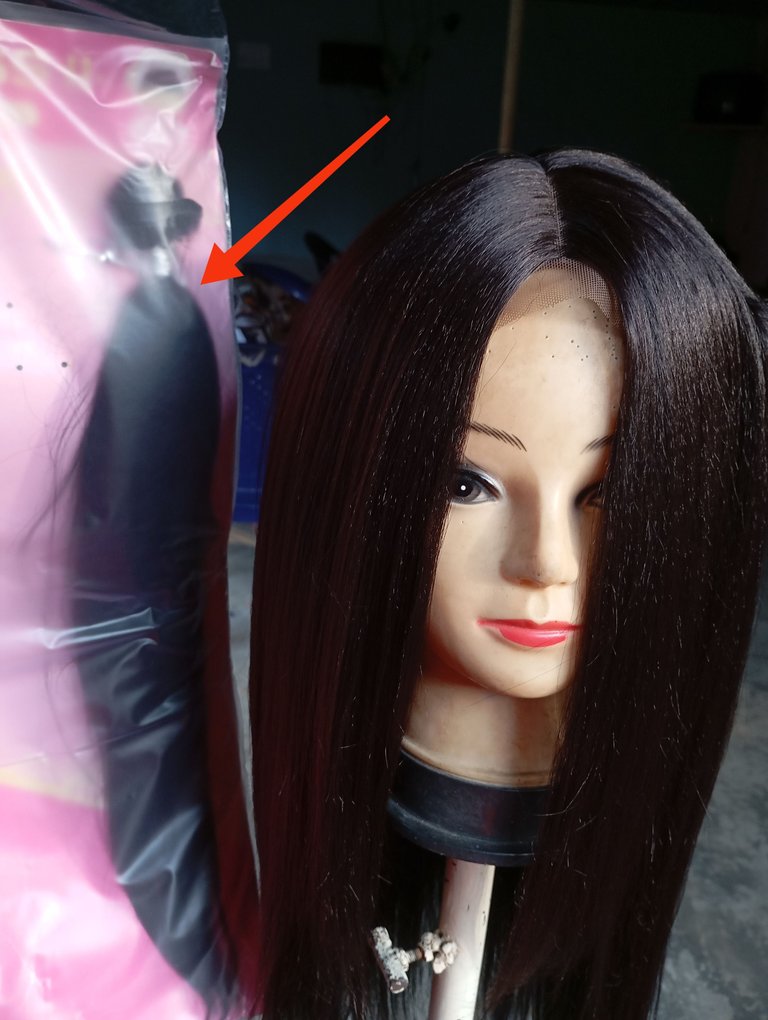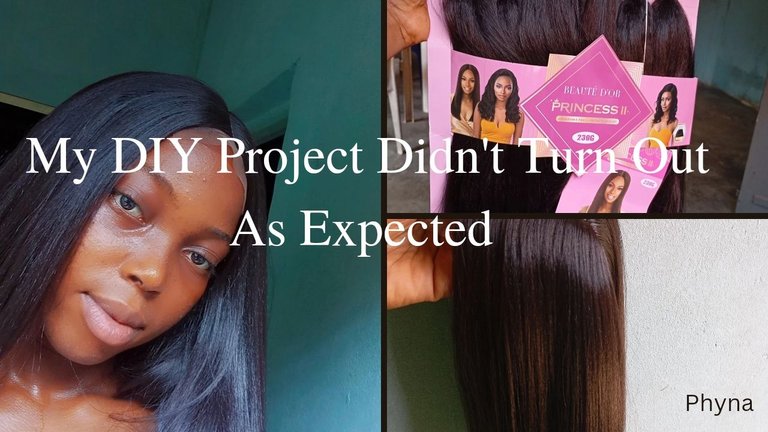
Today I bring to you one of the skills I learned a few years ago. I was supposed to monetize it, but my admission to the university interrupted my learning period so I was only able to learn for two months.
But that not withstanding, I was a bit smart, and since it was one of the things I loved doing, I was able to grab some things in that short period. Ever since then, I have not laid my hands on a needle or touched a maniquin. So there was room for confusion and mistakes when I tried to sew a wig for myself.
I really wanted to do it myself because buying an already-made one would be very expensive.
These are the Materials I used:
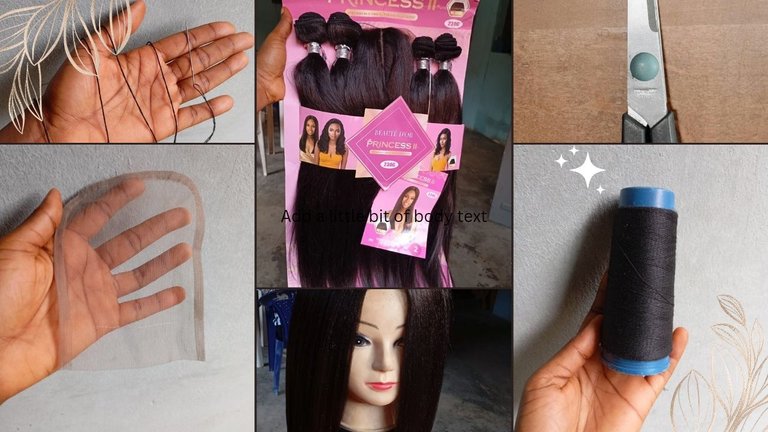
Hair
Needle
Thread
Wig cap
Scissors
Pins
Detangling brush
Step One
Using pins, secure the wig cap on the maniquin's head. The purpose of the pins is to keep the wig cap in place while stitching.
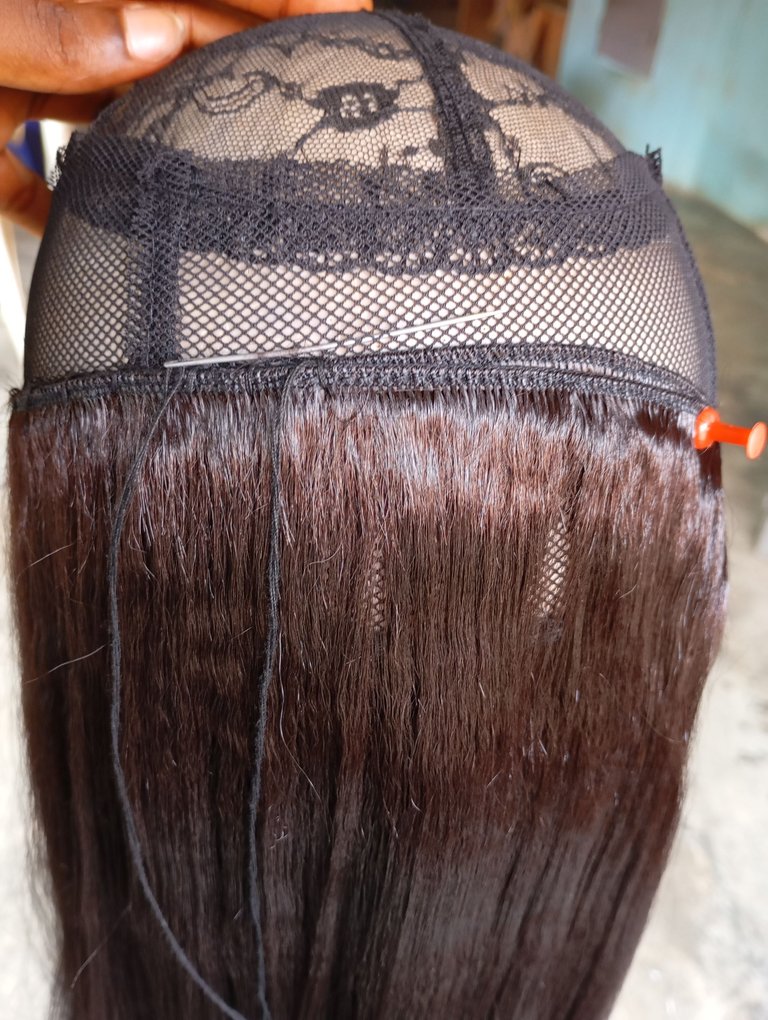
Step Two
After using four threads total to thread the needle, knot the tip.
Then sew the hair to the wig cap in thin lines towards the front, starting from the back.
To keep the hair from tangling, I make sure to brush it every time I make a turn.
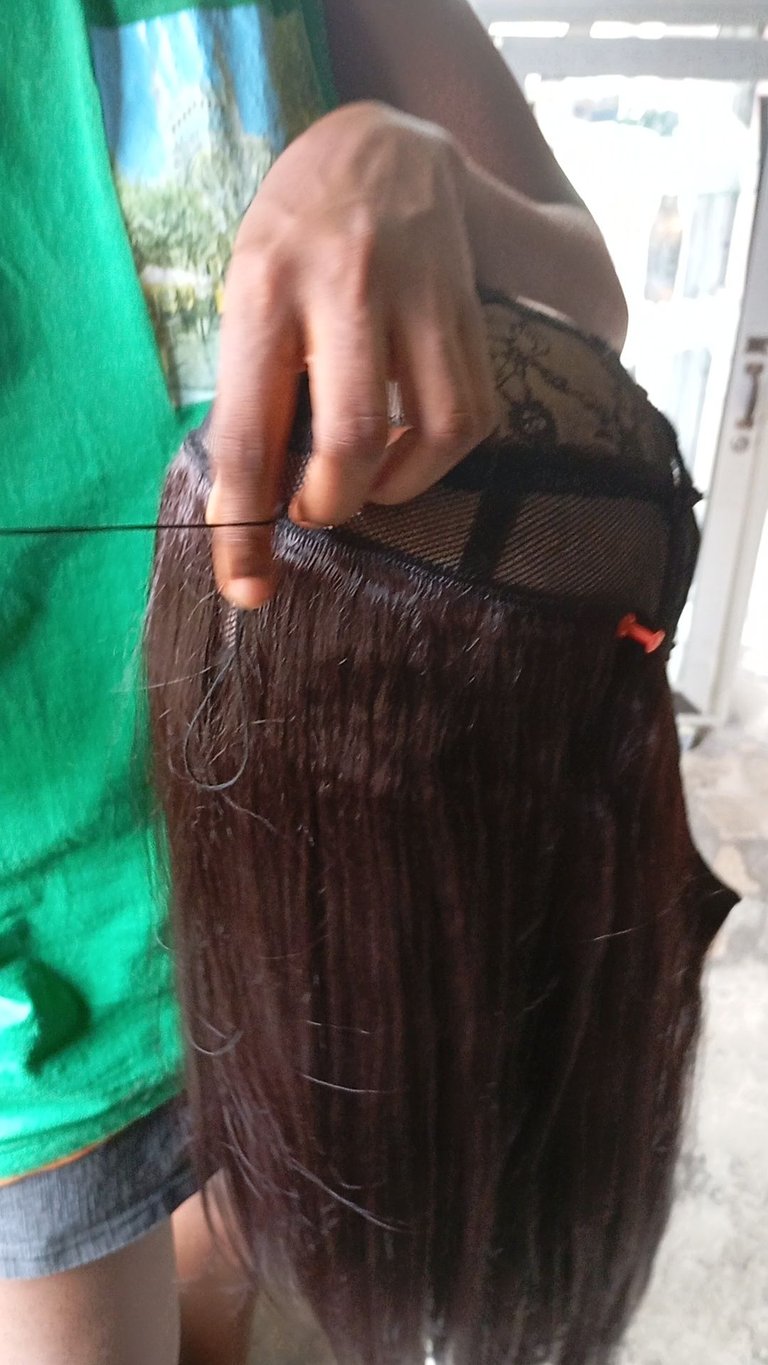
Step 3: Fixing in Closure
Here, you align the closure correctly with the cap's front and secure it with pins. To make sure the closure is really flat, I only used two threads this time instead of four while sewing it.
The closure is stretched while sewing to prevent it from folding.
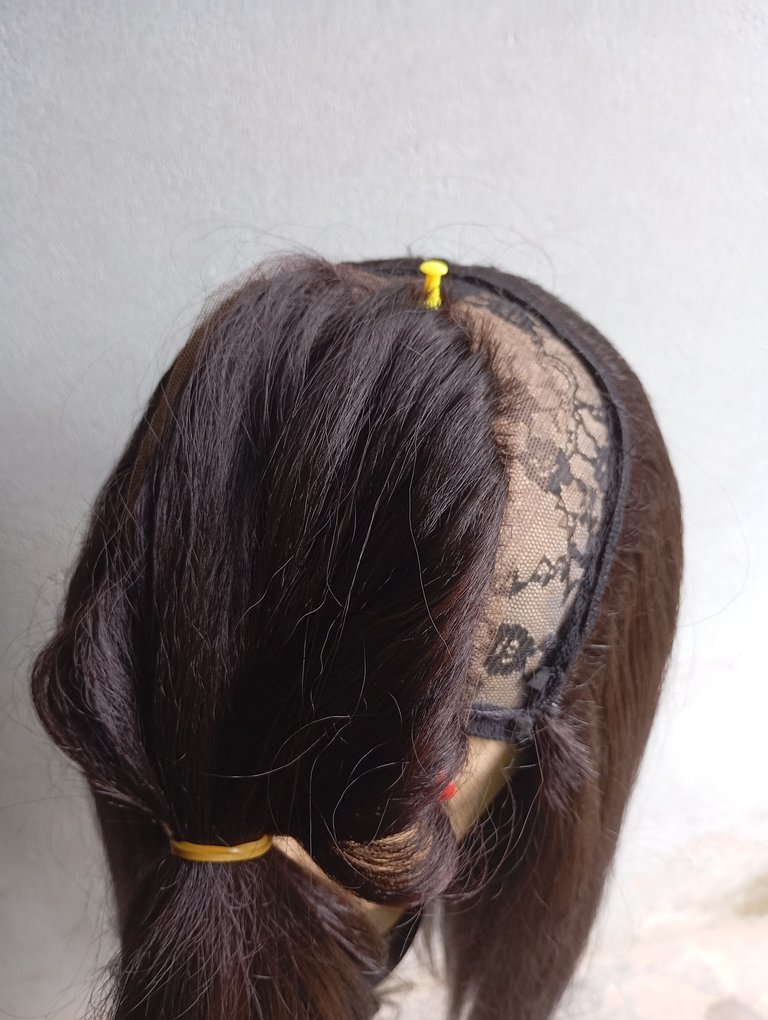
I had one full fold of the hair remaining after sewing. This made the wig to look light and spacy. I should have managed my cap and ensure that all the hairs fit in. This would have given me a full wig without visible spaces.
2.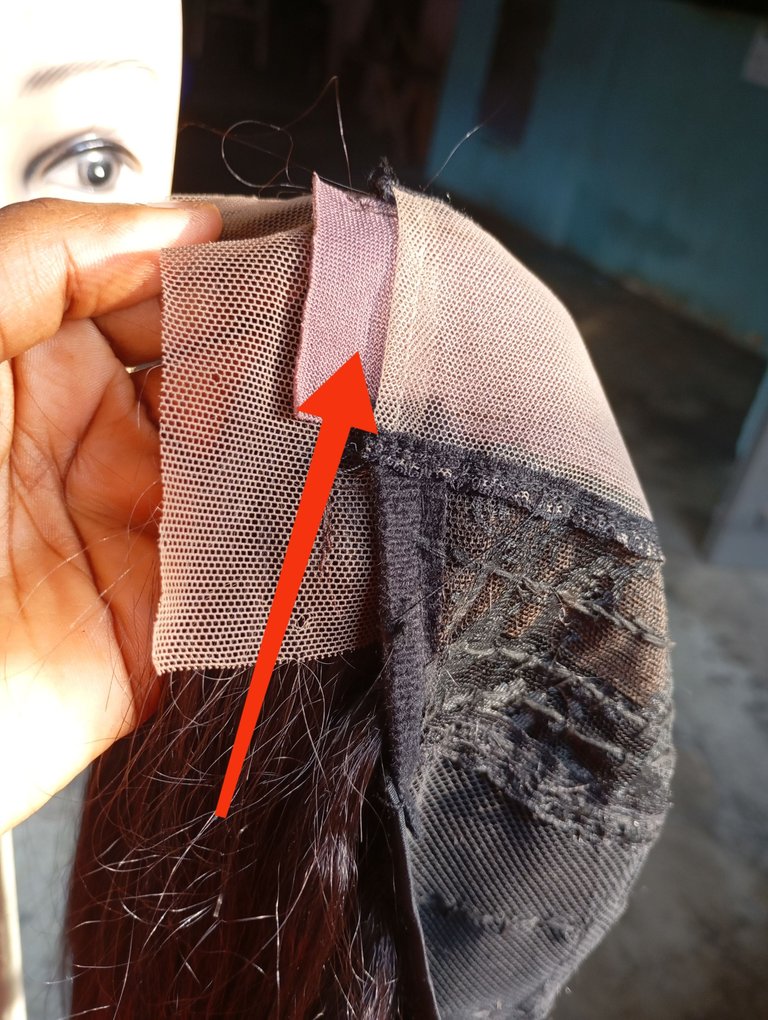
I should have ventilated a new closure since the one that came with the hair had a heavy rubber at the back. This made the wig to look bulky on my head, it's supposed to be flat to my head (especially the parting), just like our natural hair is.
Ventilating takes a lot of time, that was the reason I avoided it.
3)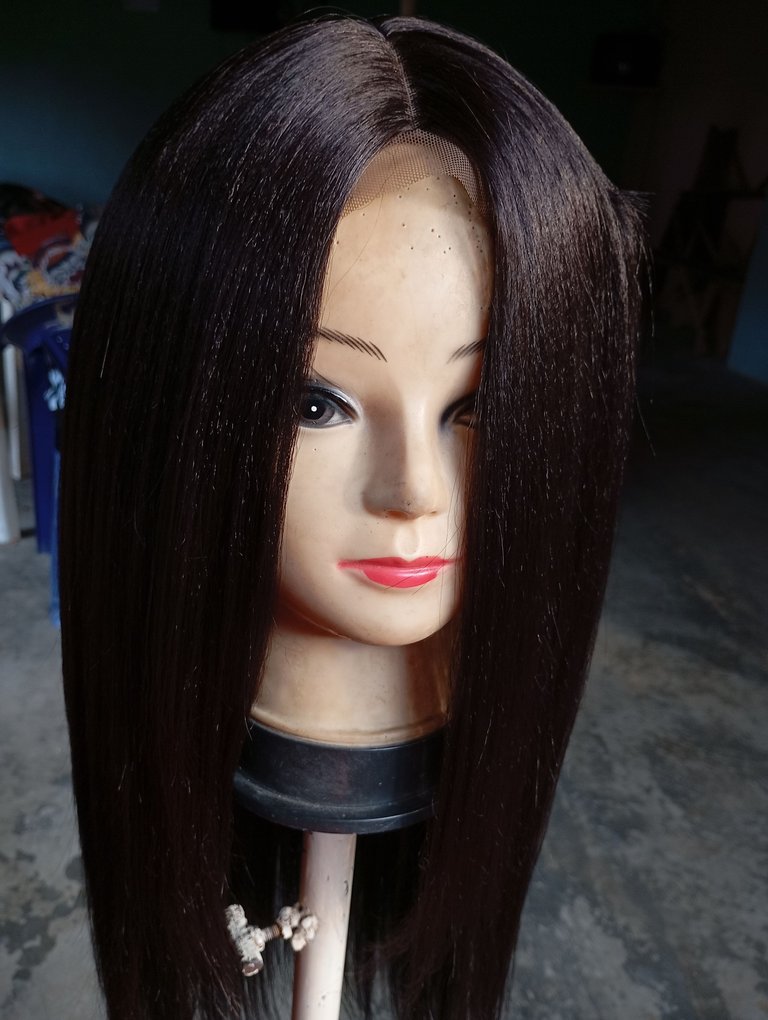
I didn't stretch the closure well while sewing. Thus, it wasn't straight when I put it on my head . This was because I didn't have enough pins with me.
4.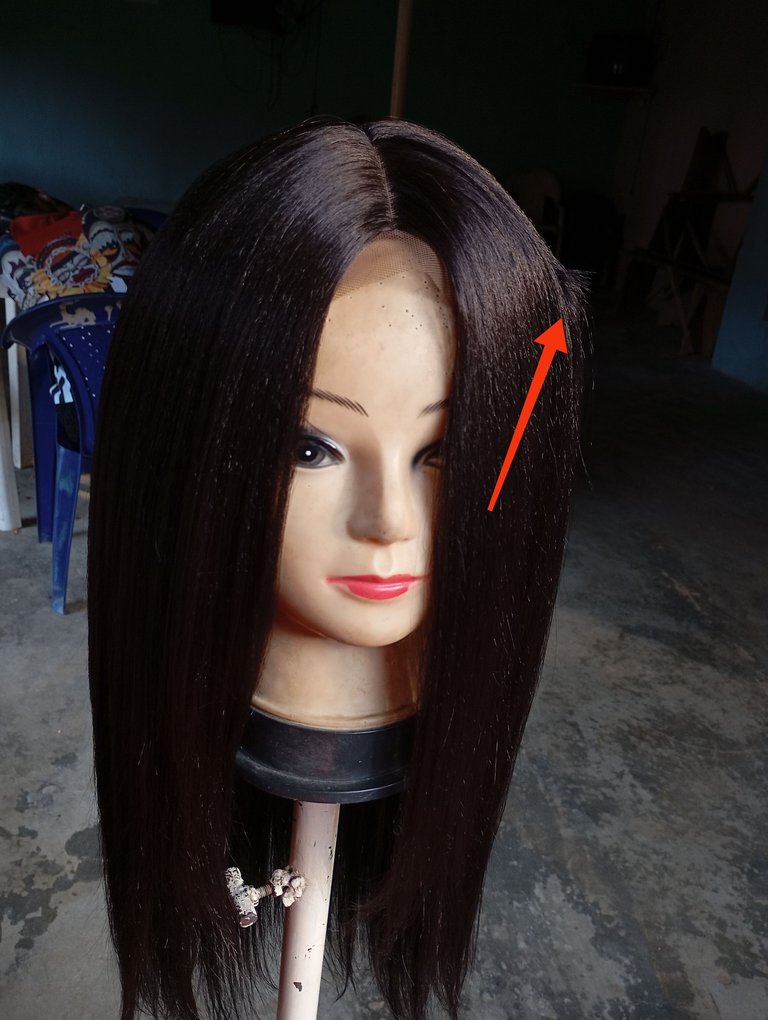
There was this bump that wouldn't go away no matter what I did:(
I was in a hurry to make the hair because I wanted to wear it to a seminar in school, but I couldn't wear it at the end of the day. There were so many mistakes I could not just overlook.
Lesson Learned
I learned to take things simple, one step at a time.
Slowing down would have saved me the stress of starting all over again.
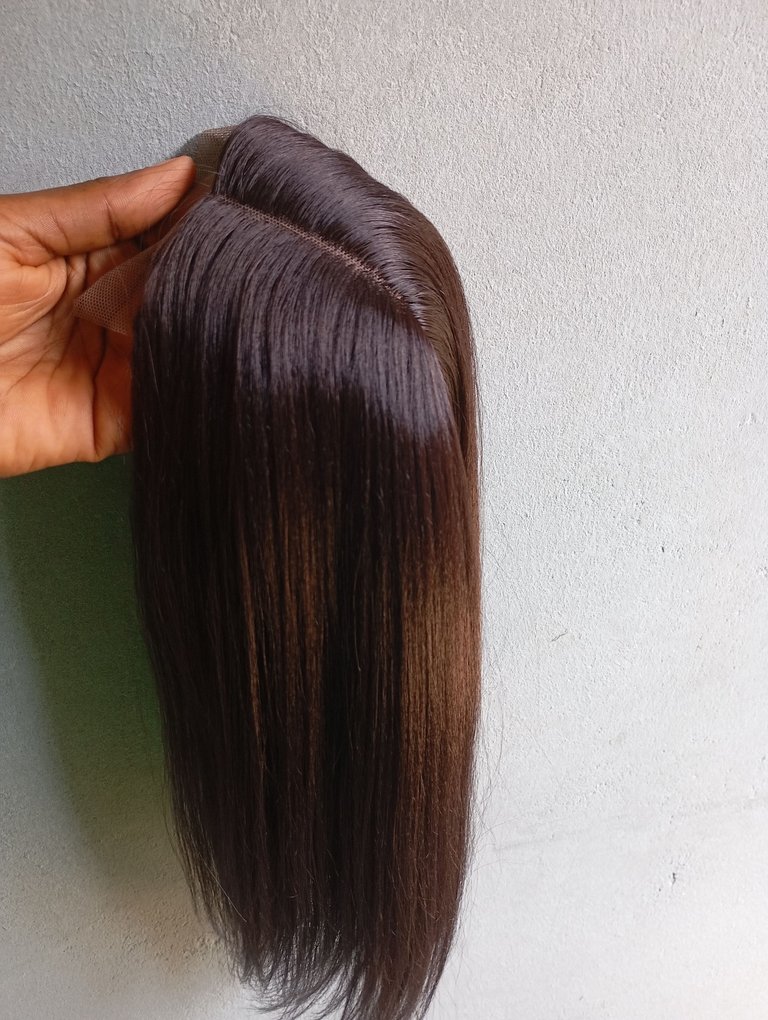
I'm sorry I don't have pictures for the whole process, I never thought I would share it here.
My plan is to purchase more pins, pull down the whole wig to start afresh, and this time I will ventilate the closure and avoid repeating the above mistakes. I will share it here when I'm done, with a full tutorial and photos.
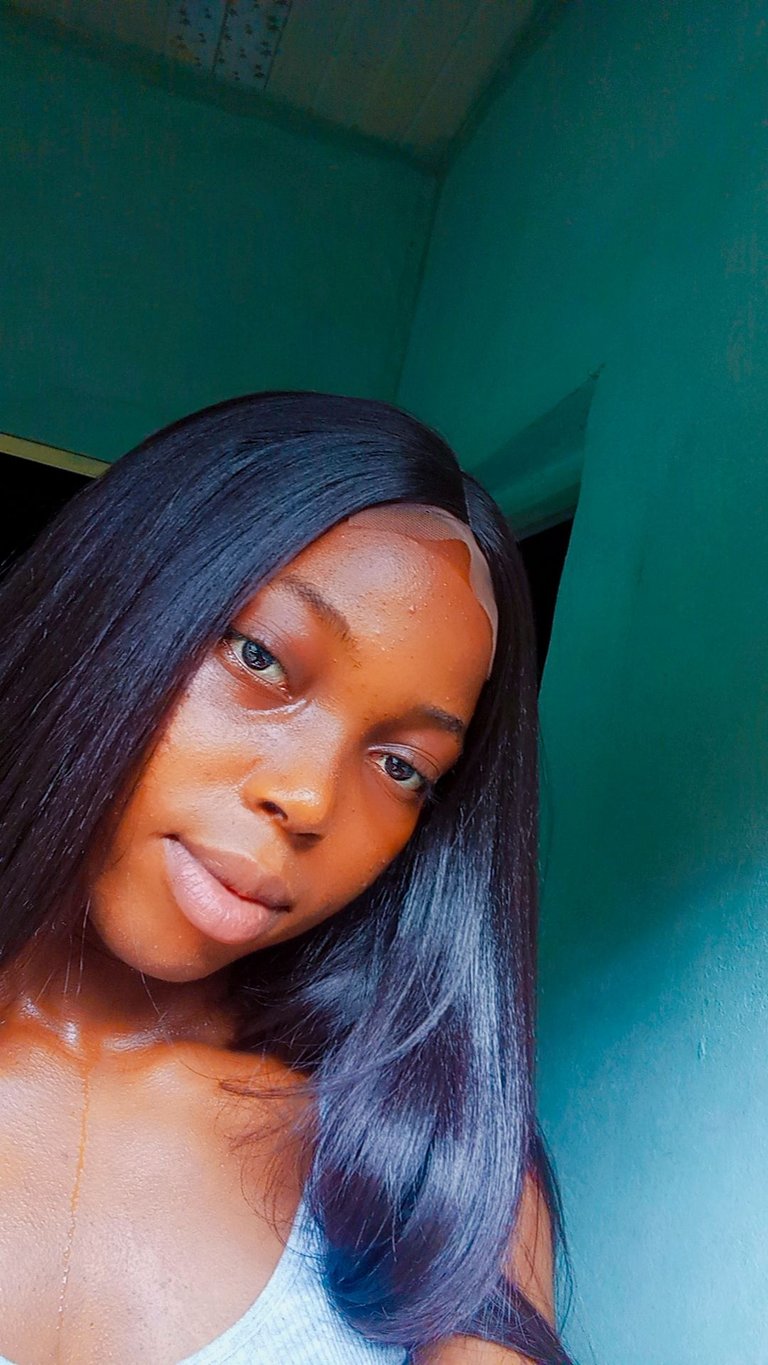
This was how the hair looked like on me.
Thank you so much for reading. I truly appreciate it.
Post in response to #mayinleo prompt: DIY project that went wrong.
Feel free to check out and join the prompt here.
I'm sure you will have something exciting to share concerning your crafts @wongi and @lizizoo . Would love to see you join the prompt☺️.
Posted Using InLeo Alpha
Posted Using InLeo Alpha
