Greetings to the entire Hive DIY community. I sincerely hope you're all well, healthy, and continue creating great content for the community.
It's been a while since I last shared with you. I came down with severe labyrinthitis, so I've been bedridden for the past few weeks. I'm already in a little better health and I hope to slowly catch up.
This time, I'm sharing a simple modification to eliminate the annoying firefly effect that occurs with some LED bulbs.
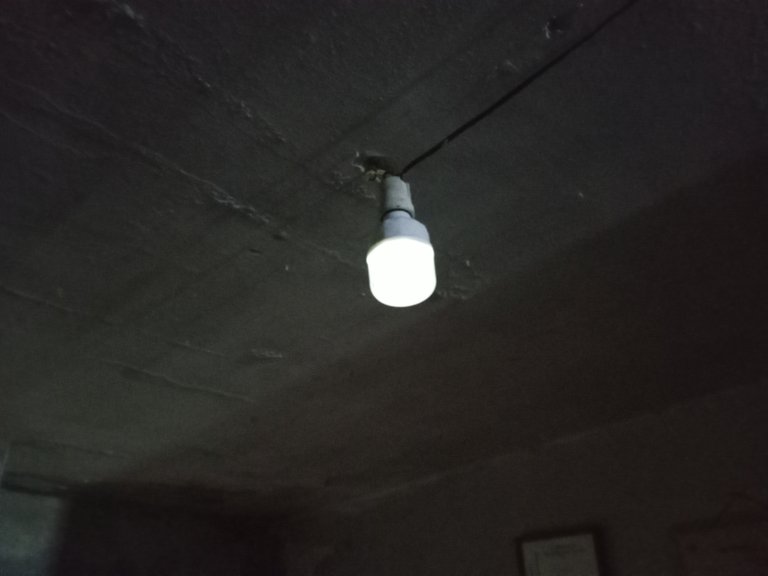
We refer to the firefly effect with LED light bulbs, which means that when you turn off the light switch, the bulb doesn't turn off completely; it remains dimly lit.
The firefly effect can be caused by using switches with LED or neon indicators (neon indicators are very rare these days).
It can also be caused by a faulty electrical installation, since a minimal return of electricity is enough for the LEDs to light up.
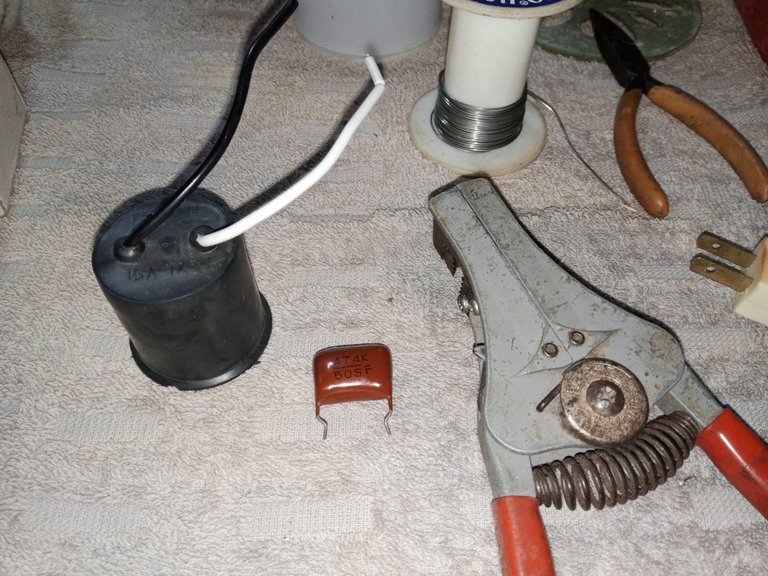
The method I'll use is really simple. We'll just need a 0.47 Uf ceramic capacitor, or we can also use a 0.56 Uf capacitor. It has to be the appropriate voltage. In my case, I'll use 220-volt capacitors, which I have in my recycling bin.
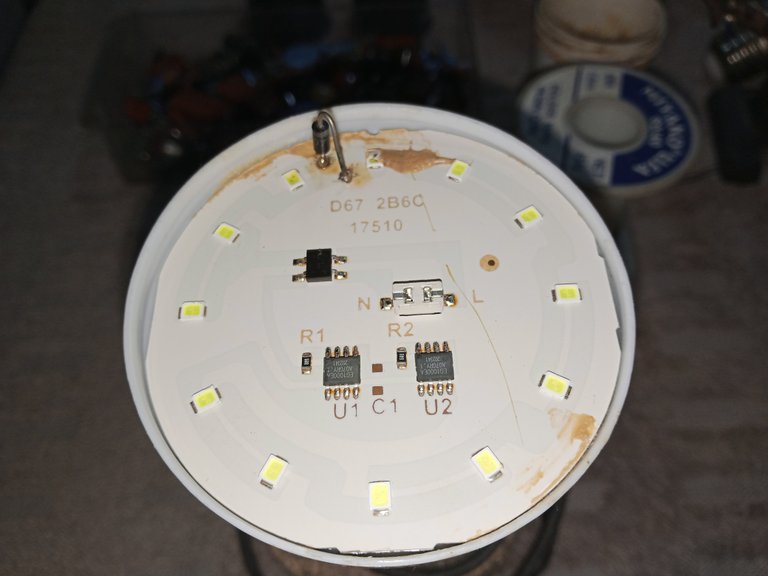
And since you already know I'm into recycling, in this project I'll be using an LED light bulb that I'm going to recover and use.
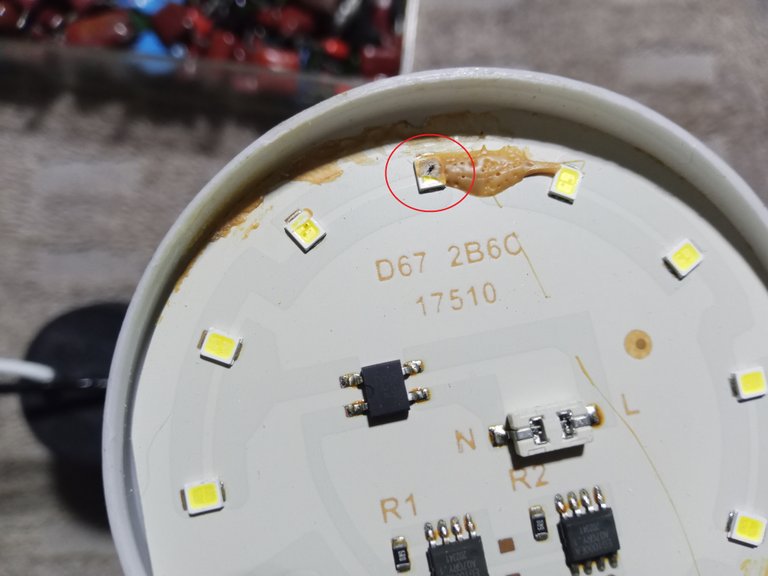
It's usually easy to identify a damaged LED by the black burn on its surface, but I've found LEDs that had no signs of damage and were burned out, so I check them with an LED tester.

The rule is that if you have three or more damaged LEDs, they are not repaired, and that bulb is used as a replacement for another bulb.
For the repair, I used a recycled 1N4007 diode from an old electronic circuit board. I removed some of the paint from the copper track next to the damaged LED. I applied soldering paste, heated it thoroughly, and applied the solder. I also applied solder to the ends of the diode before soldering it, then soldered it onto the LED tracks.
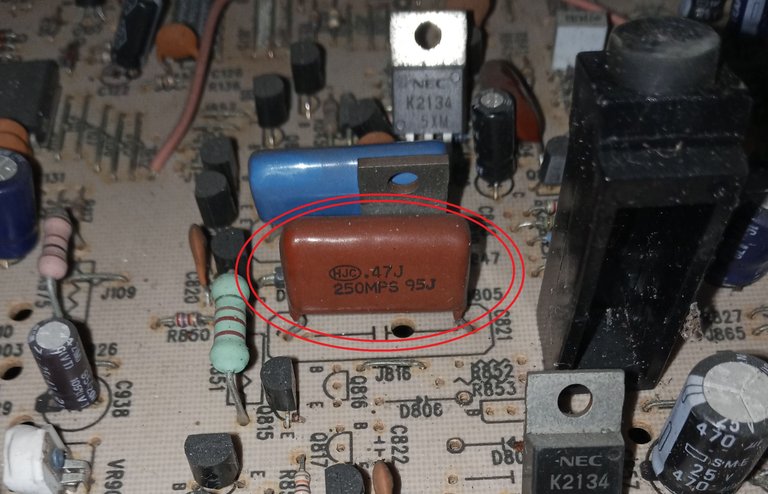
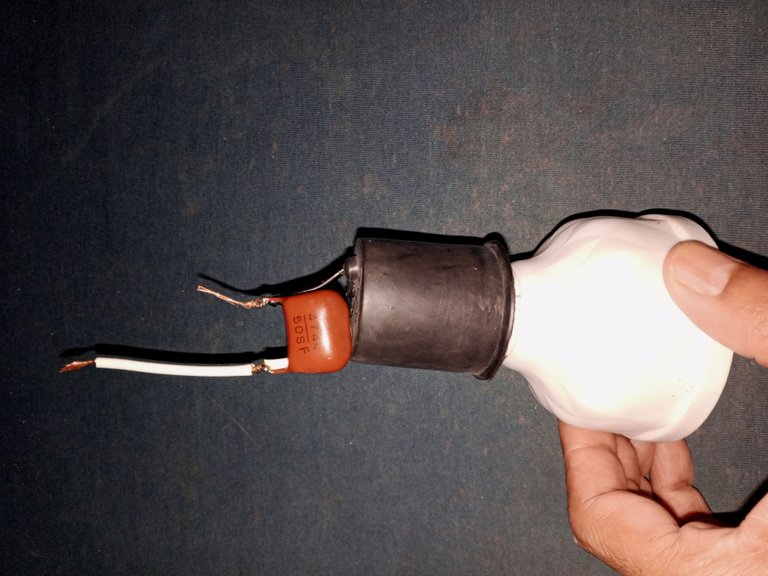
Now we have the light bulb, the other component we need is the high-voltage ceramic capacitor.
We can find the code for the 0.47 Uf capacitor, indicated as 474.

You can also find the code indicated as .47.
We test that the capacitor is in good condition, it must be discharged for safety, before verifying with the tester.
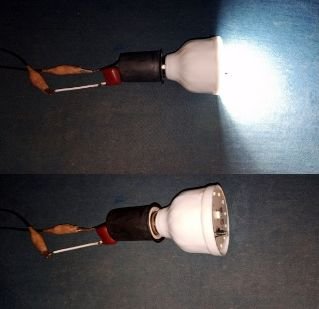
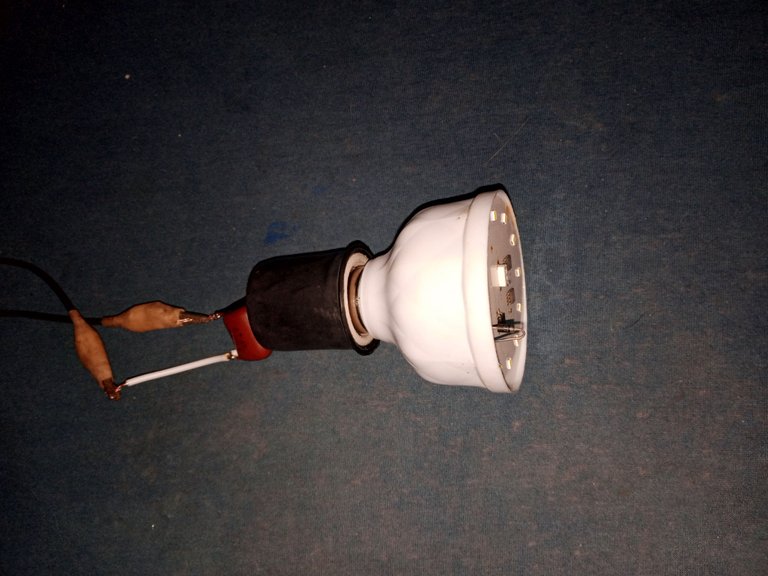
I use a tool made from a 110-volt microwave bulb to discharge capacitors and circuit boards before working.
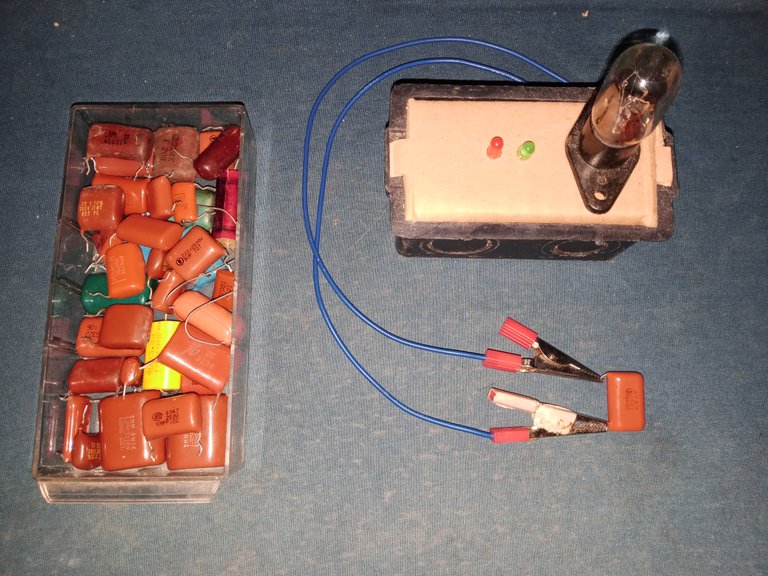
It's not the best way to do this, but you can short the capacitor terminals to discharge it.
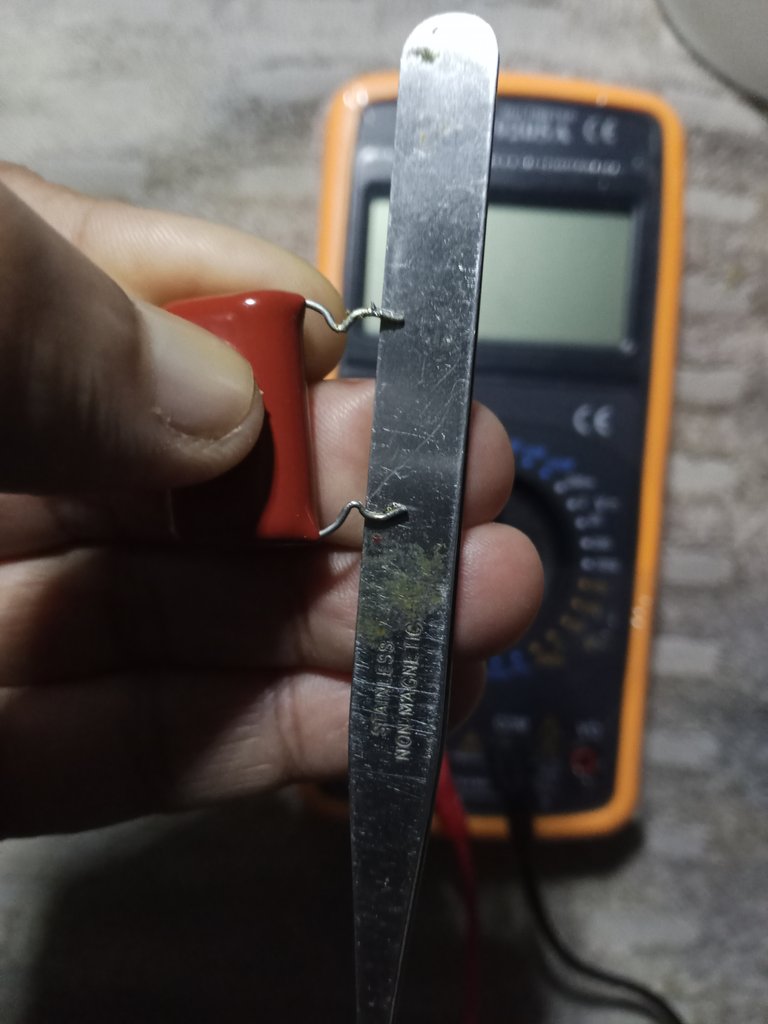
We check that the capacitor is in good condition with a tester that measures Farads or with a capacitance meter. Usually, you have to change the position of the red wire and leave the common wire (the black wire) in place. It depends on the tester used.
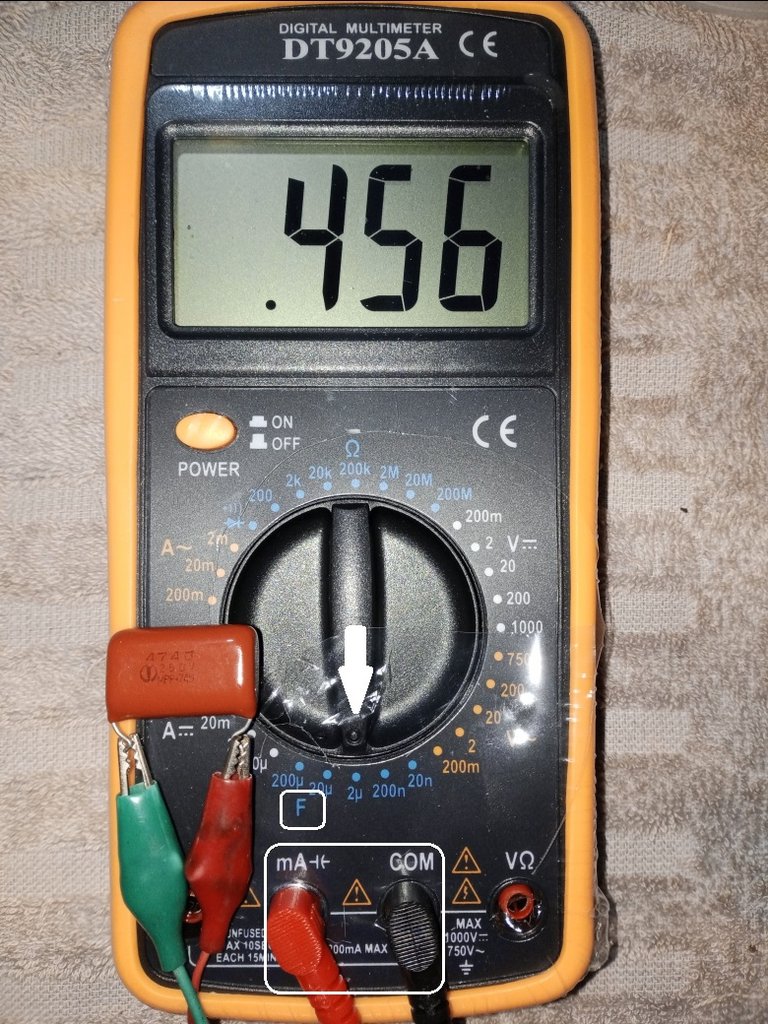
The measurement of 0.45 UF is acceptable and within the working error range.
With everything ready, we mount the capacitor in parallel with the electrical power connection of the lamp or LED bulb.
The bulb socket was new, but it's not of good quality. The black wire was too short because it was damaged, so I had to cut it until I got some good copper wire.
We tested the bulb.
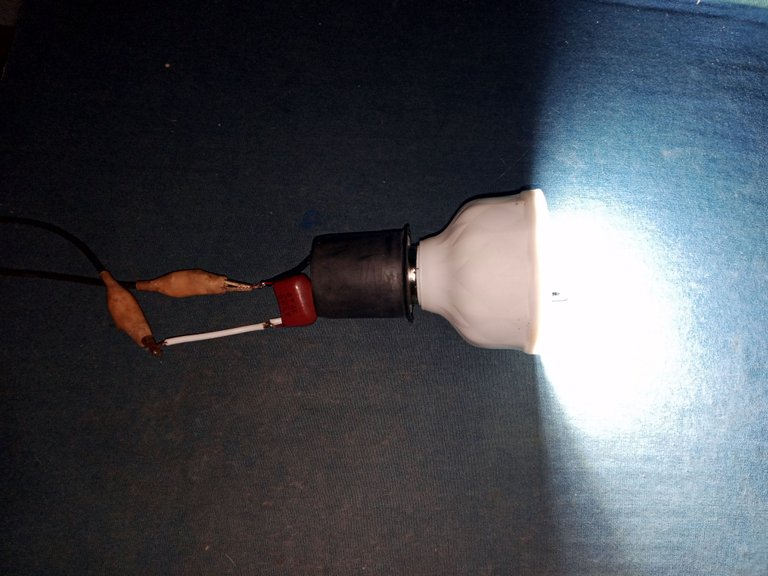
I now verify that the LEDs turn off completely.
I'll take a minute at this final part to tell you that recycling cards from old equipment greatly helps the environment and allows you to complete projects and repairs at minimal cost.
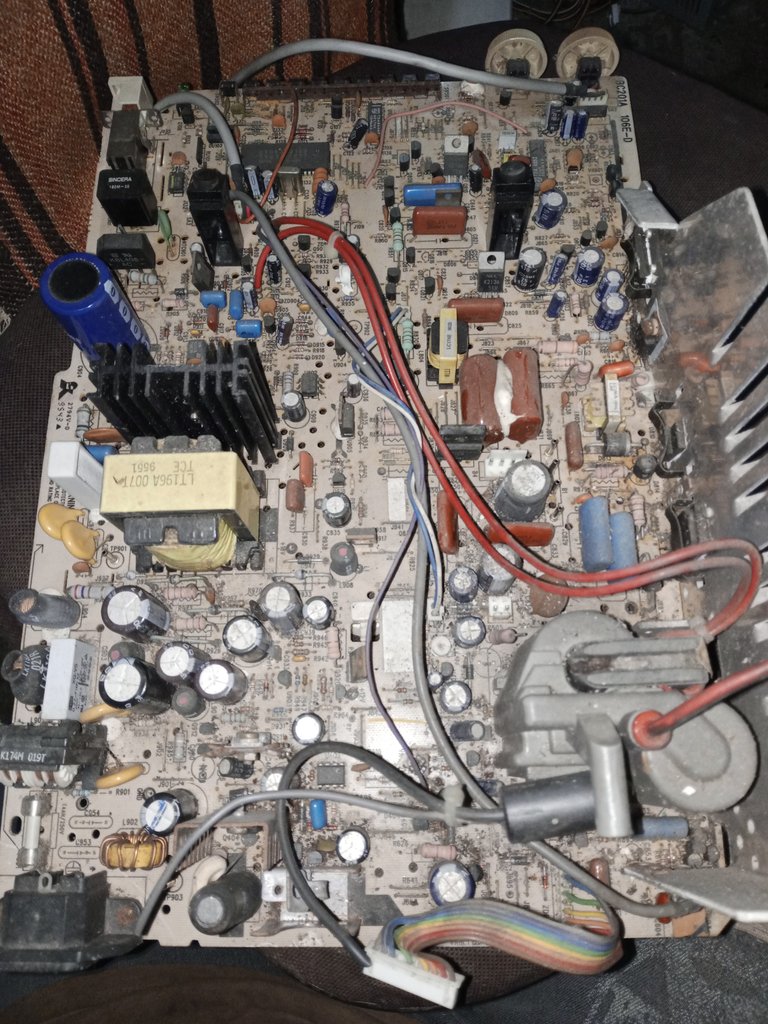
This card from an old CRT monitor has been a source of a good number of spare parts and has allowed me to repair other equipment. We reduce pollution and help our economy.
You just have to remember that electrolytic capacitors cannot be recycled, they have a useful life limit.
I'm still having a bit of trouble concentrating on writing. If you see any mistakes, please correct me.
I'd really appreciate it.
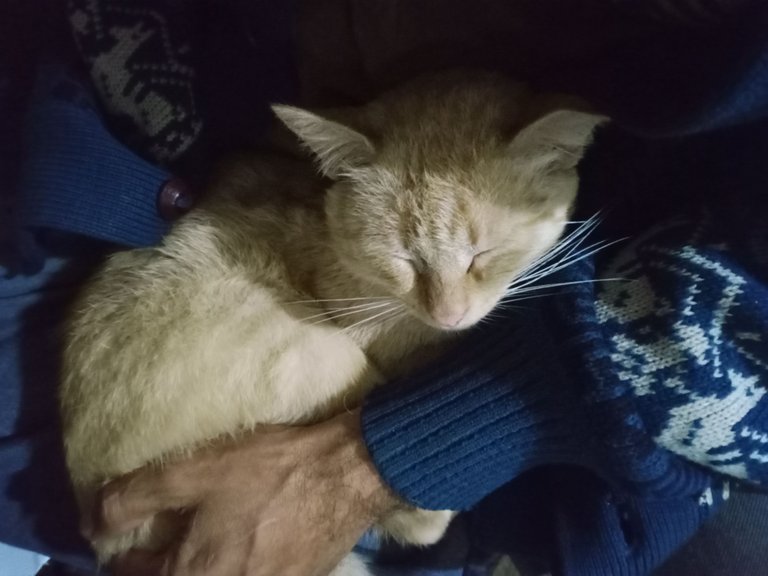
The supervisor fell asleep at the end.
Thank you so much for stopping by and reading.
Have a great week.
Peace.
- I used Google Translate for the English language.
- I used TextStudio for the Spanish header.
- The images, unless otherwise noted, are screenshots of my work in the workshop.

Saludos para toda la comunidad de Hive DIY, espero de todo corazón que estén bien, con mucha salud y que sigan creando muy buen contenido para la comunidad.
Ha pasado un tiempo desde la última vez que he compartido con ustedes, lo que me paso es que caí enfermo de una fuerte laberintitis, así que estuve las últimas semanas en cama. Ya estoy un poco mejor de salud y espero poco a poco poder ponerme al día.
En esta ocasión les comparto una modificación sencilla para eliminar el molesto efecto luciérnaga que se presenta en algunas bombillas de led.
Nos referimos a efecto luciérnaga en los bombillos de led, a que al apagar el interruptor de la luz, el bombillo no se apaga totalmente, queda encendido de forma tenue.
El efecto luciérnaga puede ser causado por usar interruptores con indicadores led o de neón (los indicadores de neón son muy escasos hoy día).
También puede ser causado por una instalación eléctrica con fallas, ya que con un mínimo retorno de electricidad es suficiente para que los led se iluminen.
El método que usaré es realmente simple, solo necesitaremos un capacitor del tipo cerámico de 0.47 Uf o podemos usar también un capacitor de 0.56 Uf, tiene que ser del voltaje apropiado, en mi caso usaré capacitores de 220 volts, que tengo en mí deposito de reciclaje.
Y como ya saben que me dedico al reciclaje, en este trabajo usaré un bombillo led que voy a recuperar y a usar.
Es fácil identificar la mayoría de las veces el led dañado por la quemadura negra en su superficie, pero he encontrado led que no tenía signos de daño y estaban quemados, así que verifico con el probador de led.
La norma es que si tiene tres o más led dañados, no se repara y se usa ese bombillo como repuesto para otro bombillo.
Para la reparación uso un diodo 1N4007 reciclado de una vieja tarjeta de circuitos electrónicos, retiro un poco de la pintura sobre la pista de cobre, junto al led dañado, aplico pasta para soldar, caliento bien y aplico la soldadura, también aplico soldadura a los extremos del diodo antes de soldarlo, luego sueldo sobre las pistas del led.
Ya tenemos el bombillo, ahora el otro elemento que necesitamos es el capacitor cerámico de alto voltaje.
Podemos encontrar el código del capacitor de 0,47 Uf está indicado como 474.
También pueden encontrar el código indicado como .47.
Probamos que el capacitor esté en buen estado, hay que descargarlo por seguridad, antes de verificar con el tester.
Uso una herramienta hecha con un bombillo de microondas de 110 volts para descargar los capacitores y las placas de circuitos antes de trabajar.
No es lo más indicado, pero se puede hacer cortocircuito entre los terminales del capacitor para descargarlo.
Comprobamos que el capacitor esté en buen estado con un tester que tenga la función que mida Faradios o con un capacímetro, por lo general hay que cambiar el cable rojo de posición y dejar el común (el cable negro) en su lugar. Depende del tester que se use.
La medida de 0,45 Uf es aceptable, está dentro del margen de error para trabajar.
Con todo listo montamos en paralelo el capacitor con la conexión de alimentación eléctrica de la lámpara o del bombillo de led.
El sócate del bombillo era nuevo, pero no es de buena calidad, el cable negro quedo muy corto porque estaba dañado, tuve que cortar el cable hasta conseguir cobre en buen estado.
Probamos el funcionamiento del bombillo.
Verifico que ahora los led si se apaguen por completo.
Les tomo un minuto en esta parte final, para comentarles que el reciclar tarjetas de equipos antiguos ayuda mucho al medio ambiente, te permite hacer proyectos y reparaciones con un costo mínimo.
Esta tarjeta de un viejo monitor TRC ha sido una fuente de buena cantidad de repuestos y me ha permitido reparar otros equipos, reducimos la contaminación y ayudamos nuestra economía.
Solo hay que recordar que los capacitores electrolíticos, no se pueden reciclar, tienen un límite de vida útil.
Todavía me cuesta un poco concentrarme para escribir, si ven algún fallo, agradezco que me corrijan.
Lo agradeceré mucho.
El supervisor se quedó dormido al final.
Muchas gracias por pasar y leerme.
Que tengan una excelente semana.
Paz.
- He usado el traductor de Google para el idioma inglés.
- Use el programa de TextStudio para el encabezado en español.
- Las imágenes a menos que lo indique son capturas de mi trabajo en el taller.