Hello Hive family, I'm happy to be back here. I am pleased to share with you the step-by-step process of making a mini greenhouse that I made with a plastic bottle for my trinitaria plant cutting.
Greenhouses are structures that allow us to optimally control growing conditions and our plants. Often, when we want to plant cuttings or germinate seeds, using greenhouses is very good for them.
The materials used were as follows:
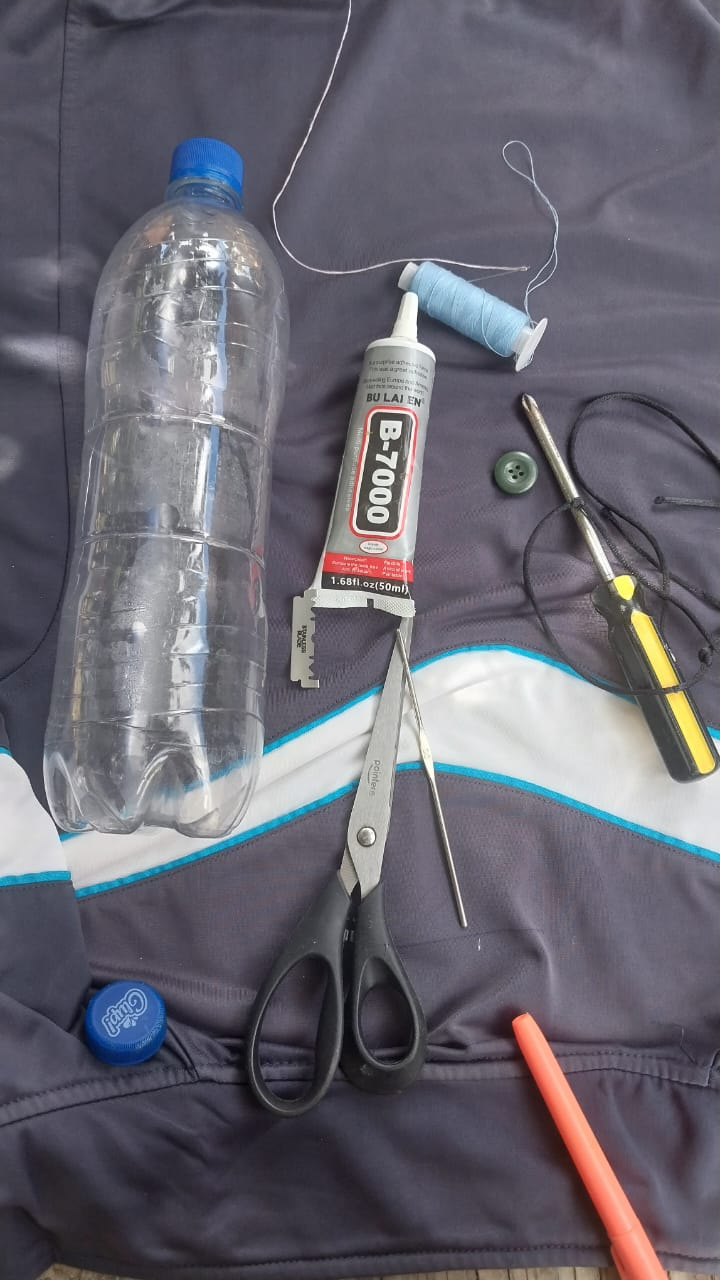
- Plastic bottle
- Scissors
- Razor blade
- Needle
- Soil or substrate
- Button
1
2
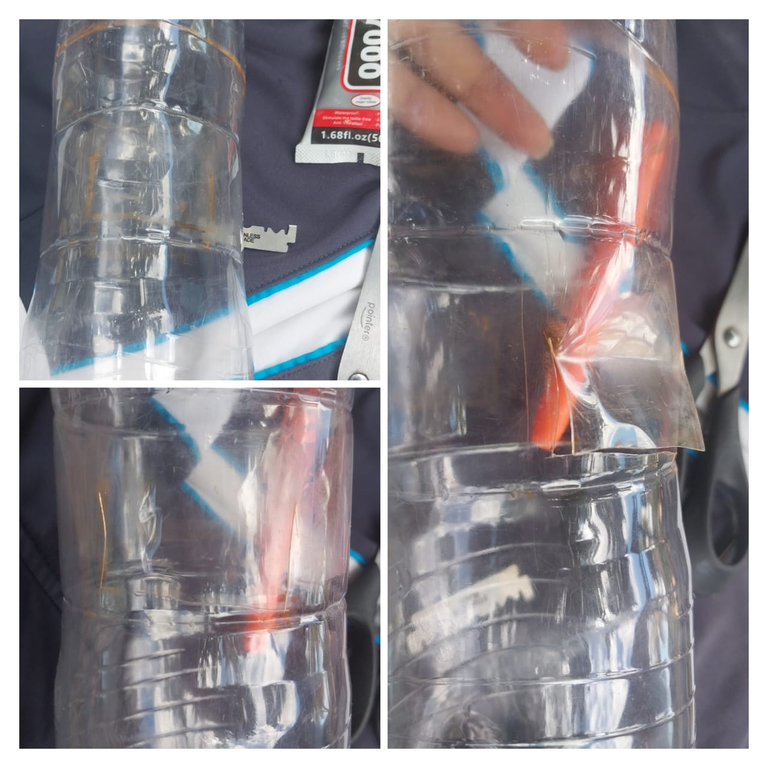
Using a craft knife or razor blade, cut small windows in the surface of the bottle.
3
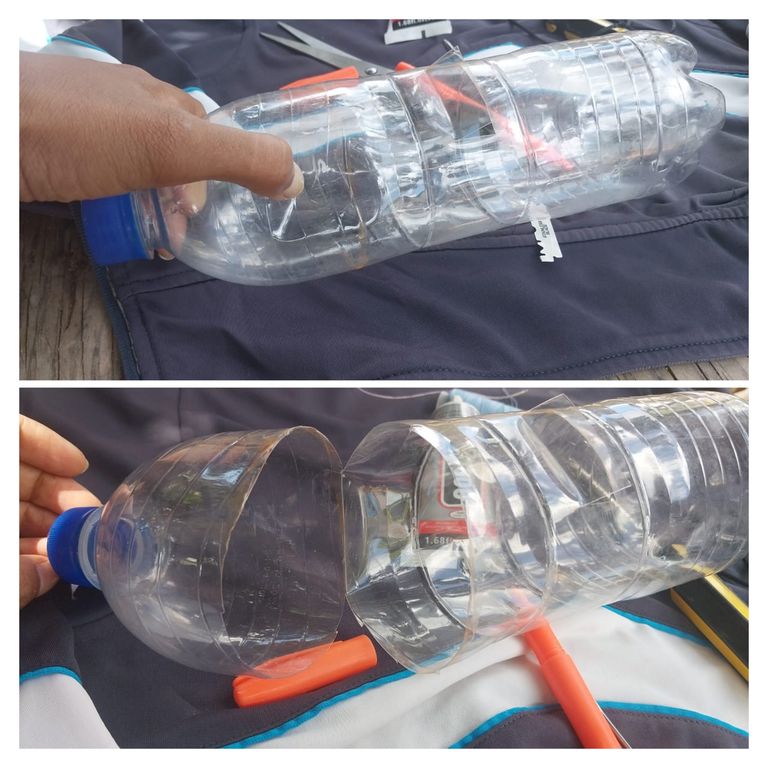
Then, at the top, we must open the bottle, leaving an uncut area about 4 cm long that allows the bottle to be opened and closed.
4
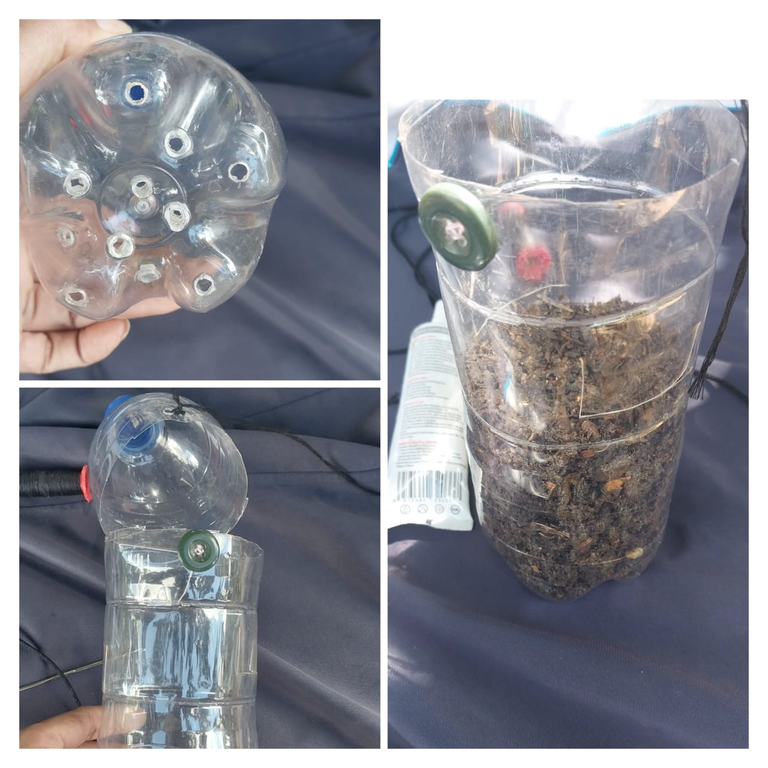
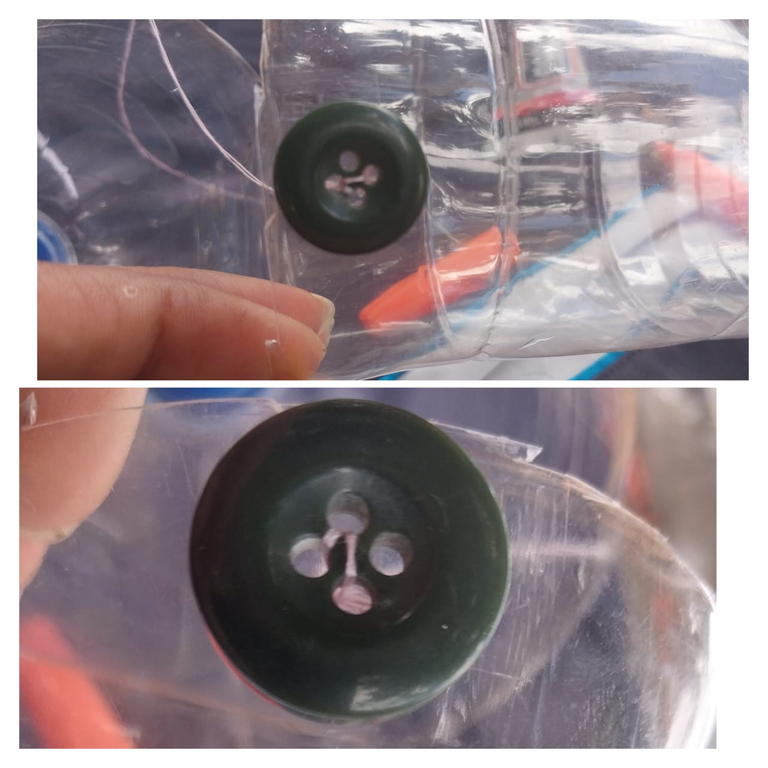
To keep the bottle closed, use a needle and a button to close the bottle tightly. I made some holes in the bottom so that the water can drain out. Then we add the substrate.
5

Next, add aloe vera to the bottom of the stake, bury it in the substrate, and finally close the lid.
This is the final result. I hope you like it!
Hola familia de Hive, feliz de regresar a este espacio. Tengo el gusto de compartir con ustedes el paso a paso de un mini-invernadero que hice con una botella de plástico para mi estaca de planta de trinitaria.
Los invernaderos son estructuras que nos permiten un control óptimo de las condiciones de cultivo y de nuestras plantas. Muchas veces cuando queremos sembrar estacas o hacer germinar una semilla usar invernaderos es muy bueno para ellas.
Los materiales utilizados fueron los siguientes:
- Botella de plastico
- Tijera
- Hojilla
- Aguja
- tierra o sustrato
- Boton
1
2
Debemos hacer en la botella con la ayuda de un exacto o una hojilla abrir unas pequeñas ventanas en la superficie de esta.
3
Luego en la parte superior debemos abrir la botella dejando una zona sin cortar de unos 4 cm de largo que permita abrir y cerrar la botella.
4
Para que al cerra la botella quede fija utilice una aguja y un boton para poder cerrar bien la botella. En la parte baja abri unos agujeros para que el agua pueda salir. Luego añadimos el sustrato.
5
Luego vamos a agregar sabila a la parte baja de la estaca y luego enterramos esta en el sustrato y cerramos finalmente la tapa.
Este es el resultado final. Espero que les guste!
- Las imágenes me pertenecen
- Traductor: Deelp traslator
- Edicion: Canva