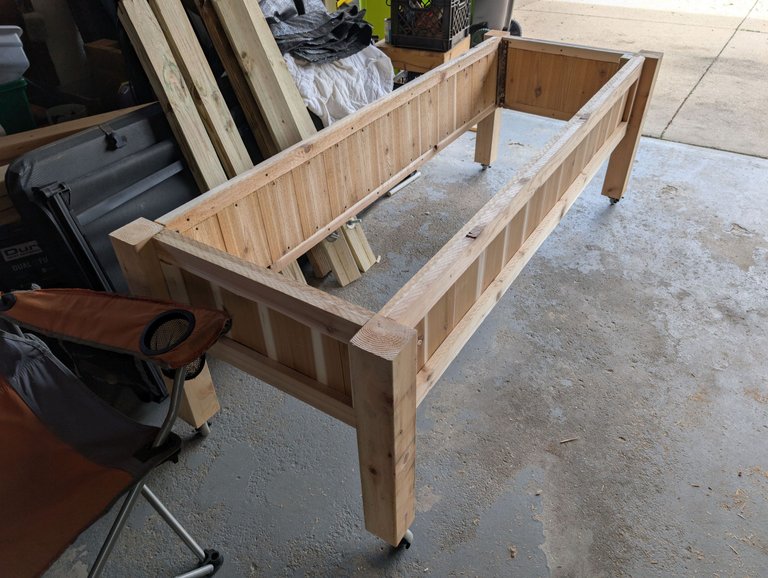
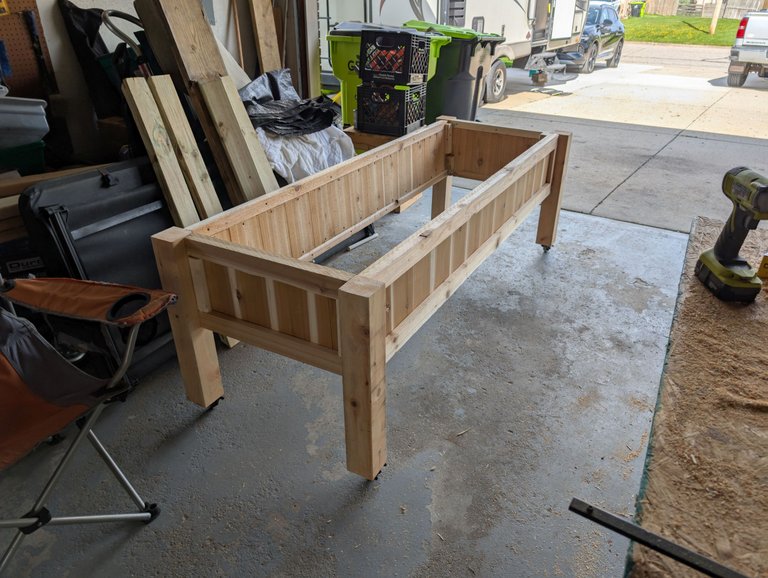
I've been hinting at this post for just over a week now, so I figured instead of saving the reveal for later I would just throw it all out there in the opening photo. If you want to continue to read on, please feel free. If seeing the photo is enough for you, I totally understand! The planter box actually isn't completed quite yet, there are still a couple of things I need to add to it and to be honest, I am not exactly happy with the way it turned out.
I call it a planter box, but the main reason I built it wasn't as much to plant something as it was to create a privacy screen. That's part of the reason I went so big with it and if you look closely at the bottom, that's also part of the reason I put wheels on it.
You see, the house that @mrsbozz and I live in is a bi-level house, while the houses on either side of us are ranch style homes. If you don't know what those terms mean, go ahead and do a quick Google search, I will wait... Okay, so now that you understand, the deck from our bi-level house sits quite a bit higher than even our privacy fence, thus giving us a feudal lord style view over the neighbors yards.
It wasn't such a big deal until our one neighbor decided to put in a hot tub in their backyard. Then, on top of that they decided to install a TV outdoor so they could watch while in the hot tub. The key probably being they installed it on the wall so it faces right into our yard. This makes it much less enjoyable for my wife and I to sit on our deck in the evening if we have to deal with them in their hot tub watching TV. So, @mrsbozz asked me to build something fix it, and now here we are.
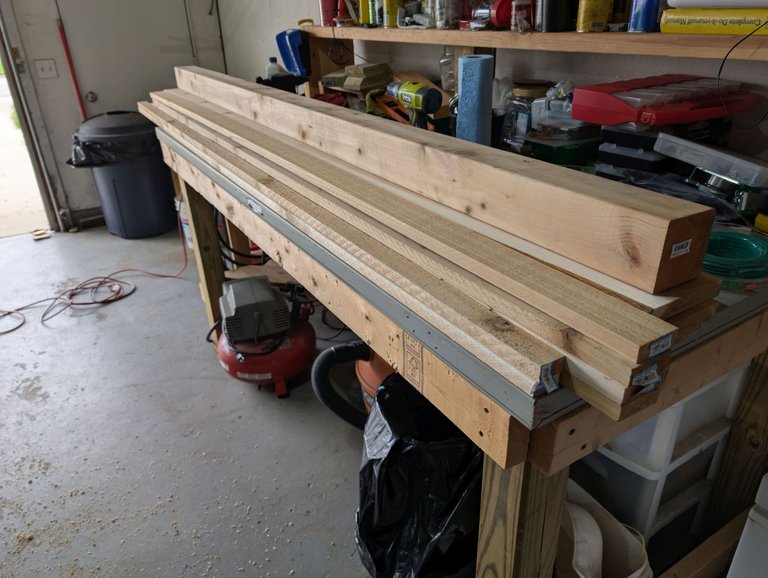
As I said in a previous post, the wood for this project cost about $200 to $250. The most expensive piece was the 4x4 cedar post that cost $50. I decided to go with cedar over treated lumber because it just looks nicer and it isn't quite as heavy.
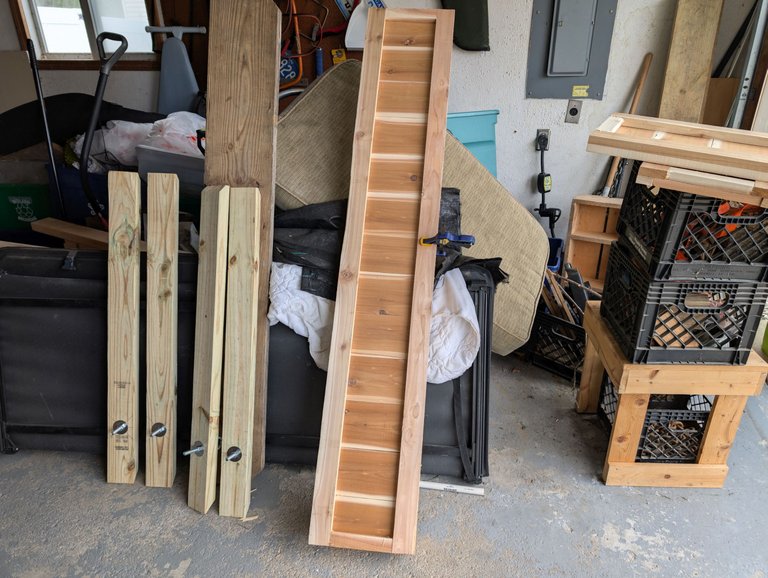
I started off by creating the frame for my six foot long sides. I wanted to make it long enough that it would give us a good privacy screen.
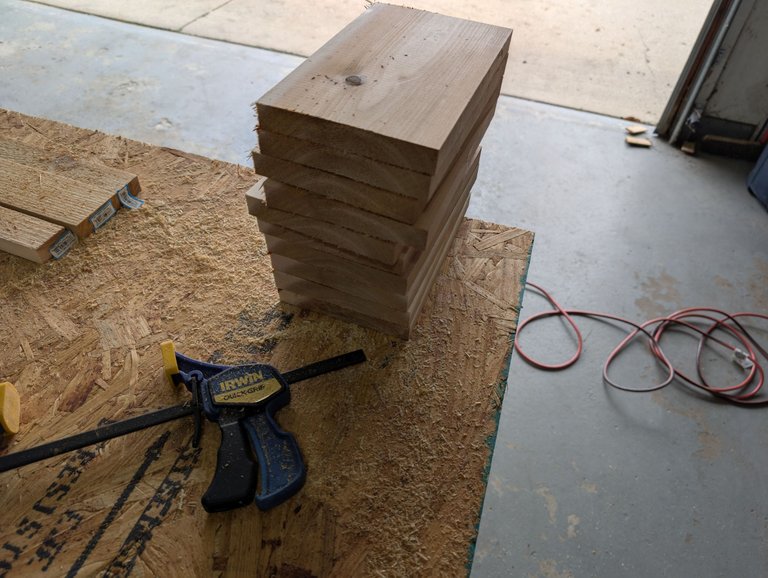
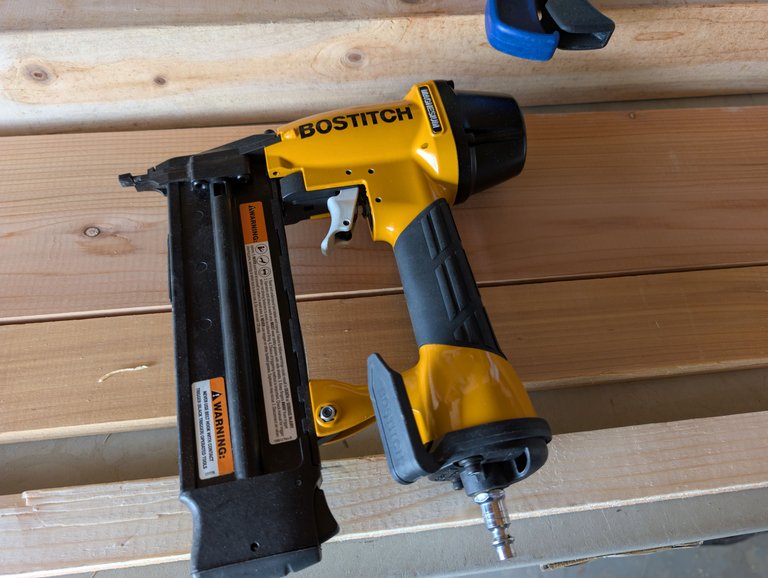
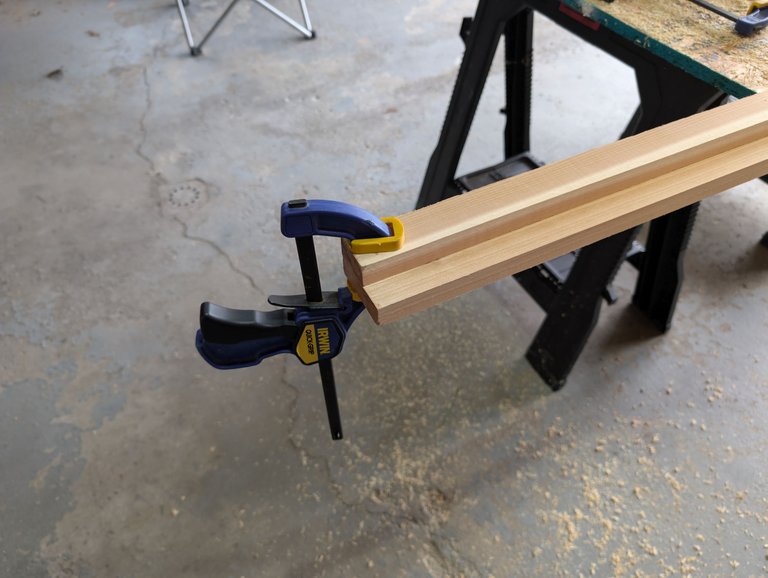
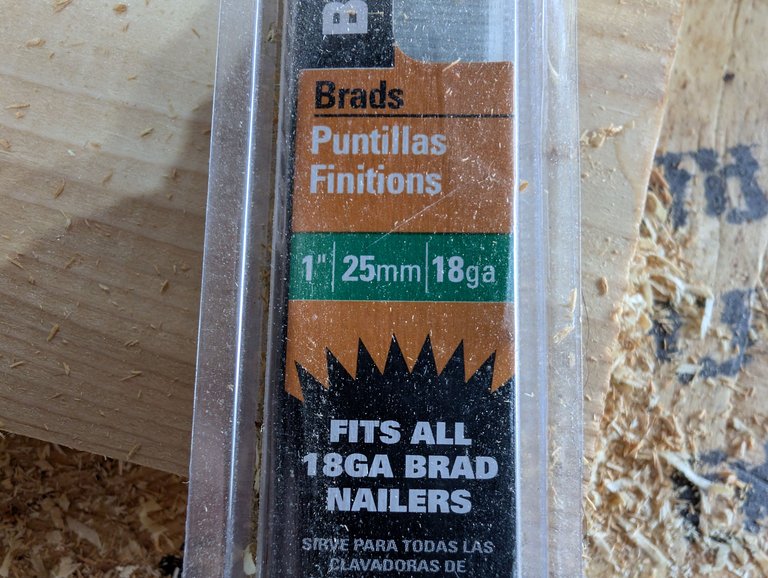
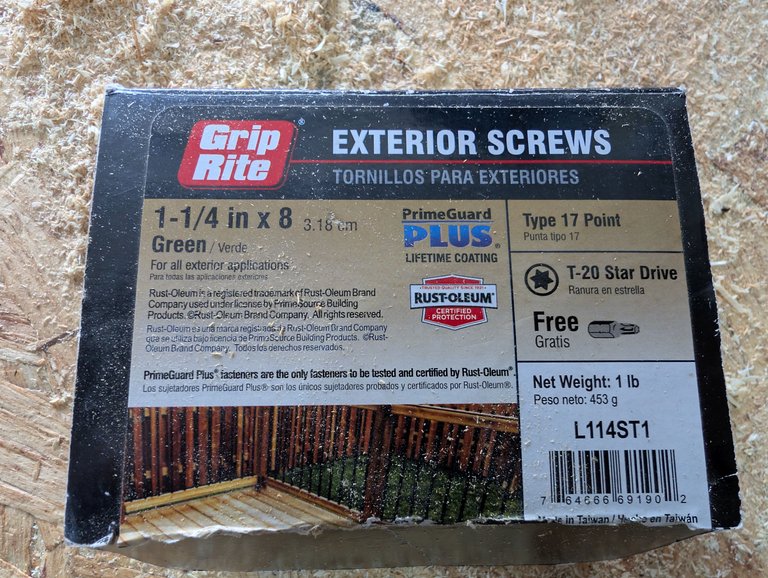
With the frames created for the sides, I then started to cut the pieces that I would be sliding into the frame and I used a combination of my dad's pneumatic brad nailer and screws to keep them in place. I'm sure the brads might have held, but I wanted to make sure nothing was going anywhere, so I splurged on screws as well.
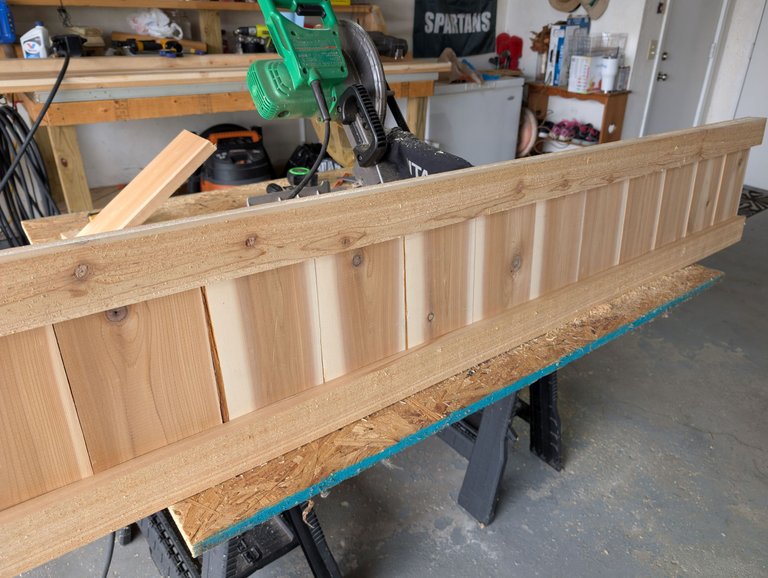
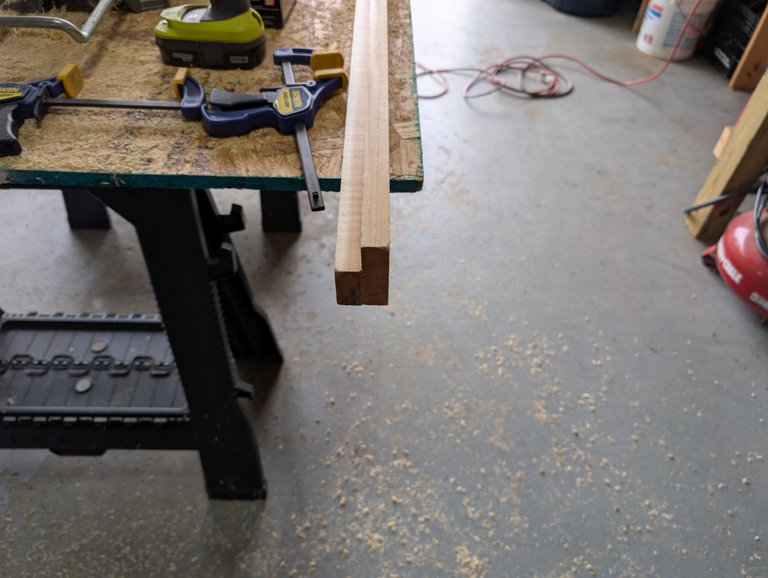
In typical Bozz fashion, I didn't measure very well and the end turned out to be too long for the size of boards I was using. It wasn't a bit deal, I just ended up cutting it off with a hand saw so that it was flush like the other end. With one side done, I was actually feeling pretty good about my project so far. It looked really good if I do say so myself!
Also in typical Bozz fashion, it turns out I didn't have all the materials I needed for the project, so halfway though I had to drive the 15 minutes to the hardware store to pick up some more wood, and some more fasteners. I was able to return about $40 worth of materials that I didn't need from another project, but then I proceeded to purchase another $100 USD in wood and other hardware. Ouch! This project is getting pretty expensive!
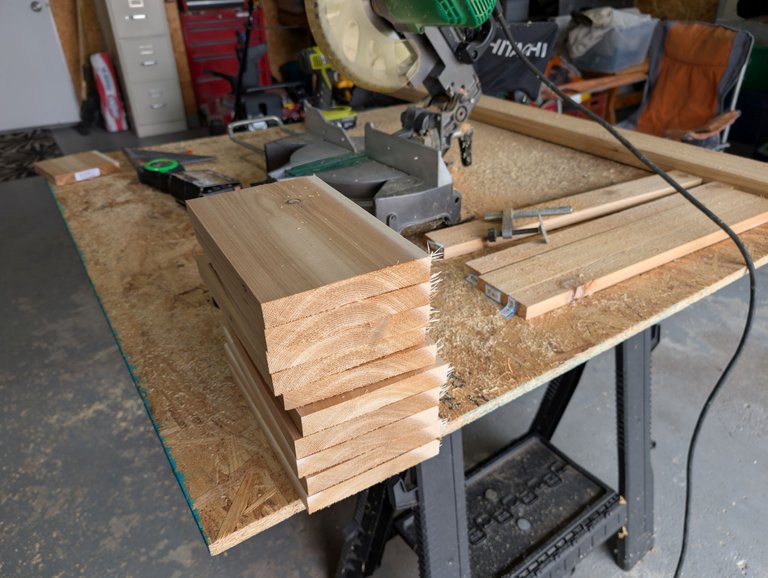
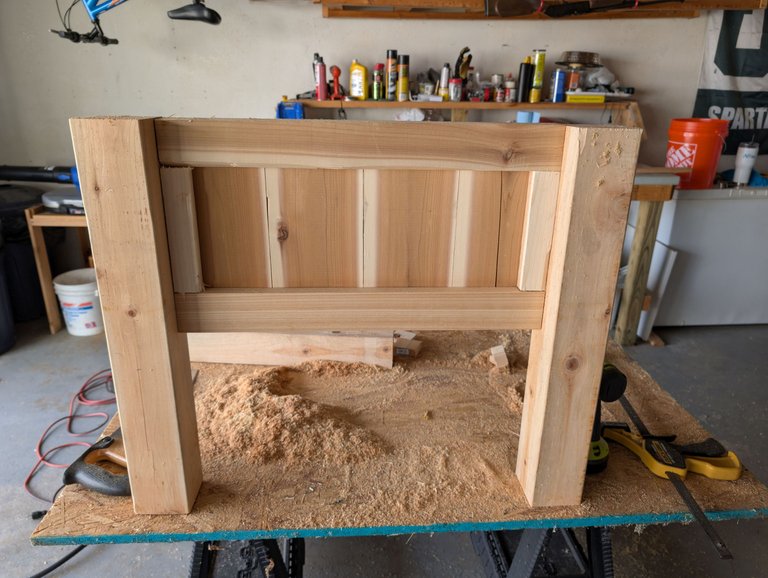
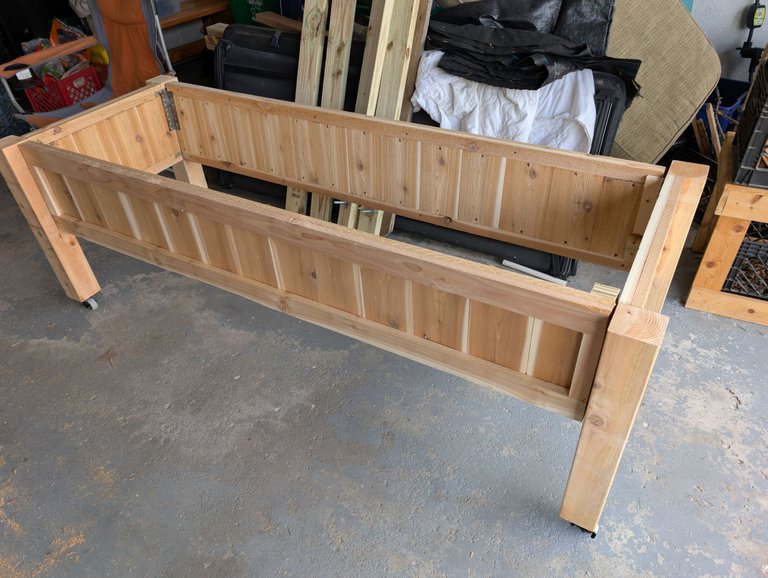
With the rest of the materials I needed, the other three sides came together quite easily. I do have to admit though that somehow my measurements were a bit off and things weren't quite as square as I had planned. That always seems to happen when I use the miter saw to do projects. I often wonder if things would come out a bit better if I had a table saw. Even when I measure twice and cut once, I always seem to have things be just a little off.
For example, these are the two six foot sides. You would think they should be square and even right? Nope, somehow the one ended up at an odd angle on one end from the other. I don't even know how I accomplished that massive screw up!
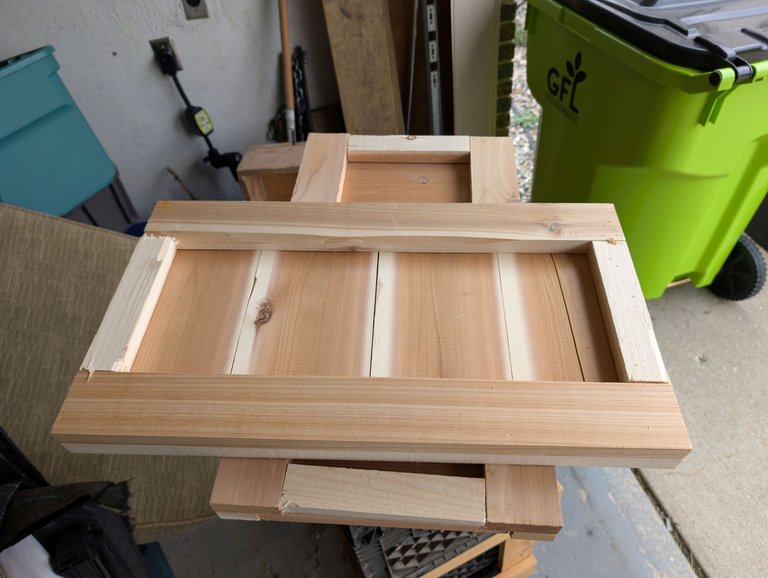
My biggest fear was cutting that $50 4x4 because it was exactly the length I needed. That meant if I screwed up even a little, there would be on leg that was totally different from the other three. Thankfully, I was able to not screw it up too badly, and here is what one of the short sides looked like.
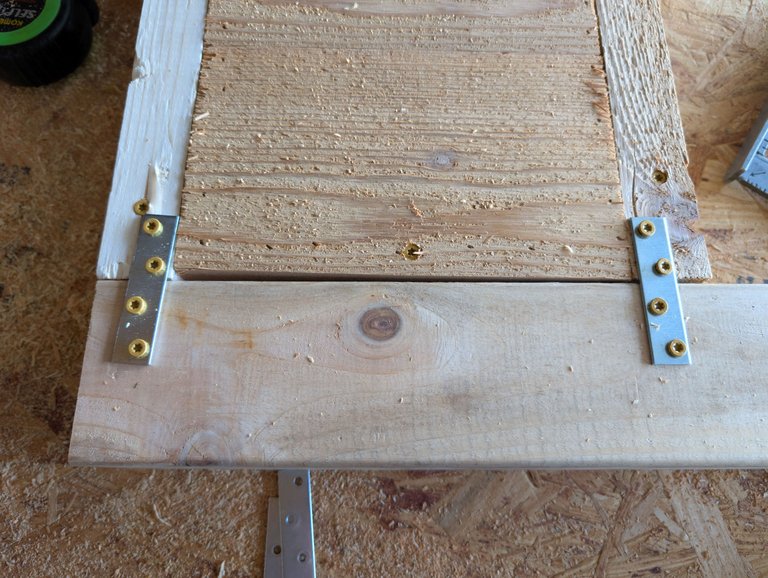
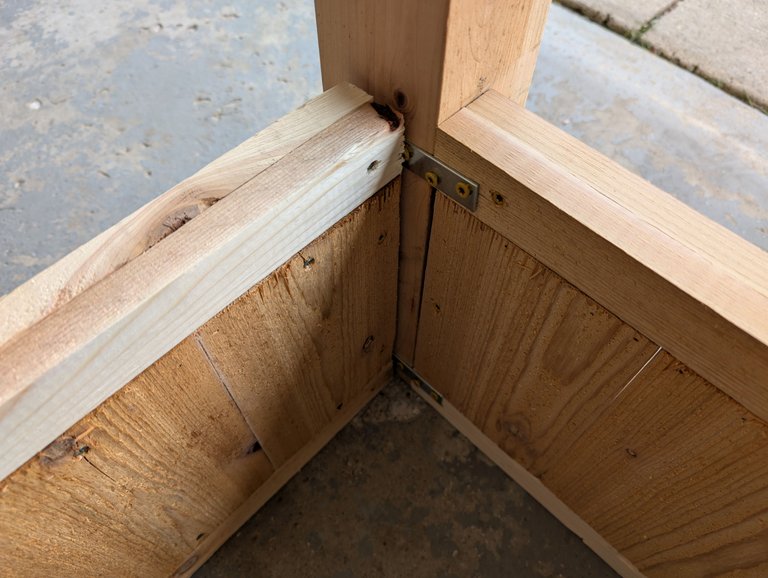
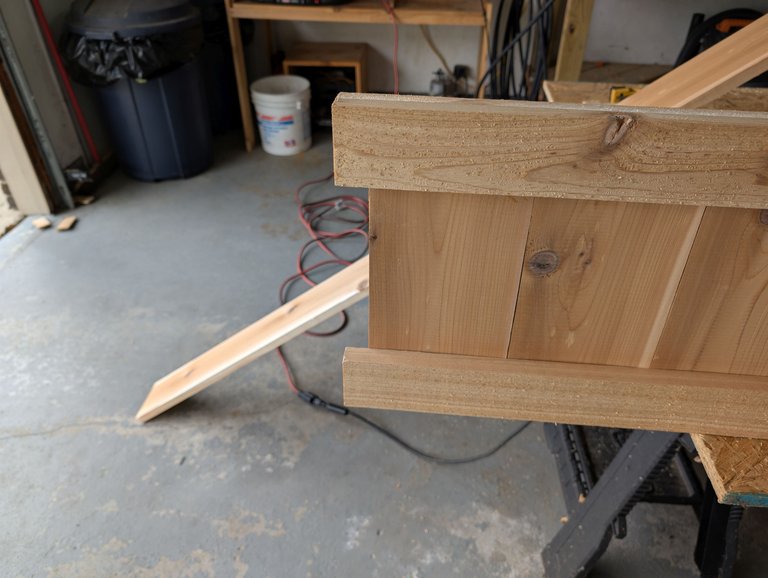
I thought I was being clever using these metal joining plates to attach the side to the 4x4, and it worked fine for one side, but then when I tried to add the other, I realized I had no way of accessing the board to fasten it to the 4x4 side. You can see my dilemma in the second photo above.
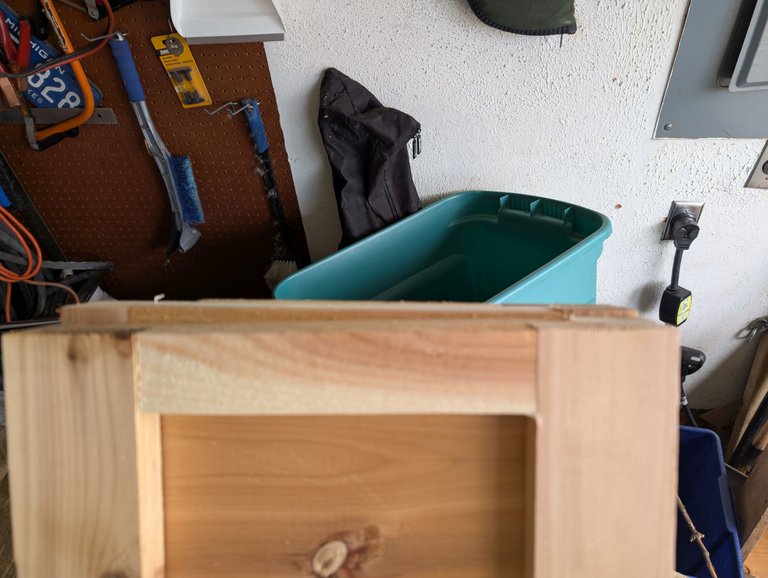
Luckily, I had some random metal sitting around that I was able to use to attached the long sides to the 4x4, but I can't say I am really happy with how I slapped it together. It feels a lot like I half assed it at the end.
It still turned out pretty good. I want to get some wood to put along the top as a finish to cover the gaps between the sides and the 4x4. I also need to figure out a way to put a bottom in it. I haven't decided yet what that is going to look like, but I know it is going to take some more wood. Meanwhile, @mrsbozz has been looking at artificial plants that we can put in the planter box that sit high enough and are dense enough to block the view into the neighbors yard.
So far she hasn't found a single plant that is less than $100, so this simple DIY solution is looking like it is going to turn into a $500+ project. Isn't it funny how that happens. That planter on Wayfair for $300 isn't looking so bad now!
Maybe we will just end up putting real plants in it. Who knows!
Sports Talk Social - @bozz.sports
