Hello friends... I hope you are doing well. These days I have been reading the book Rich Dad - Poor Dad, it is an exceptional book that guides us by comparing the financial advice of his biological father (public worker) and his friend's father (entrepreneur and investor). The book allows to simplify self-taught concepts of financial terms.
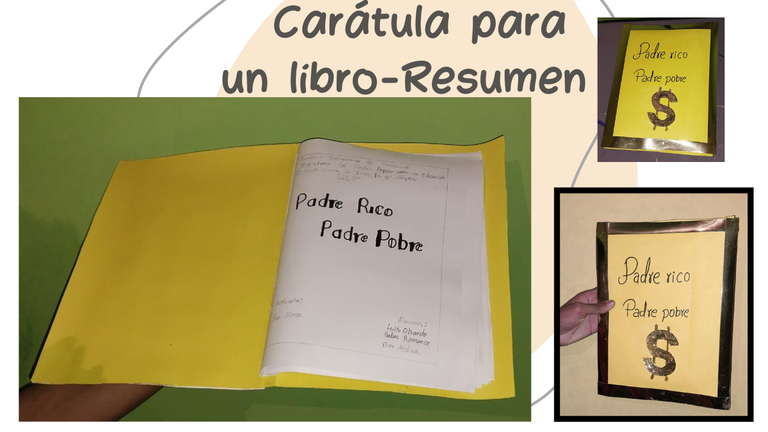
Now, I made a summary of the book and for this I used a cardboard and in a very simple way I made the cover to protect this book-summary. I hope you like it!
Step by Step
1
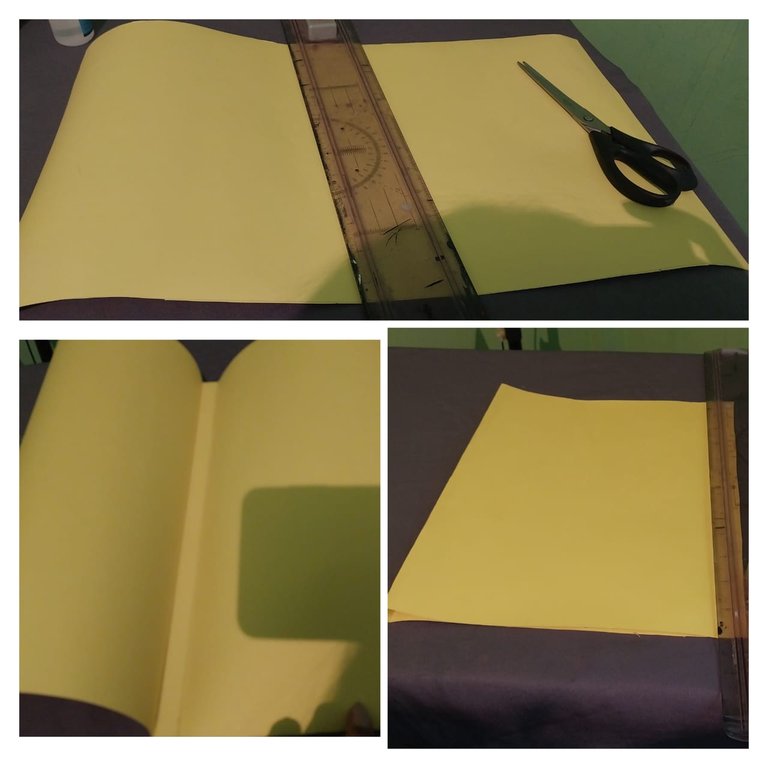
I used a rectangle to create the cover and right in the middle of the cardboard I used the ruler to measure a centimeter wide right in the middle. Then using the ruler we folded one side of the cardboard and then the other.
2
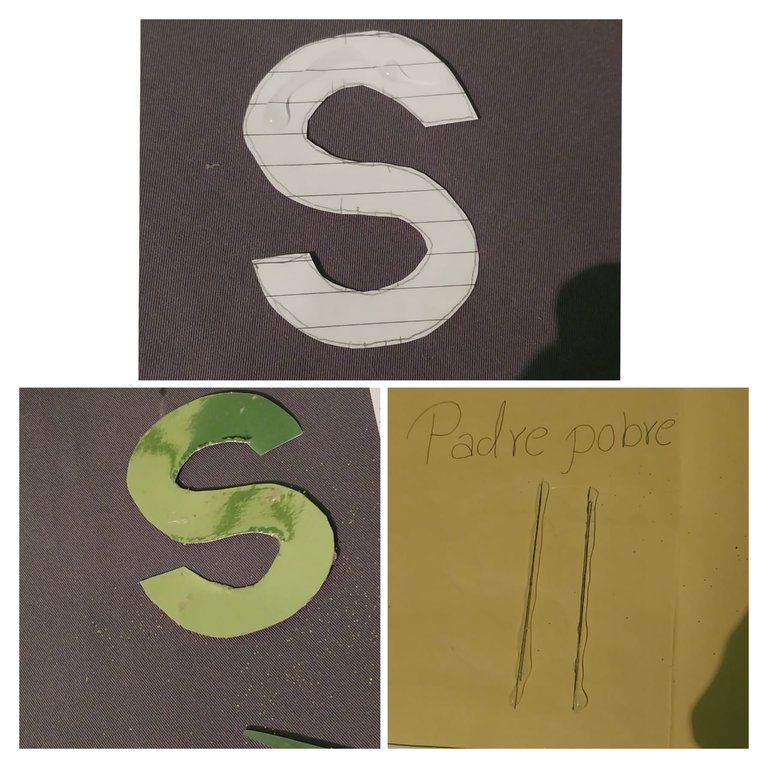
Next I made the $ symbol for it I took a sheet of paper and marked the shape of the "S", then on the gold cardboard I marked the $ pattern. Then on the cardboard I draw two parallel lines as you can see.
3
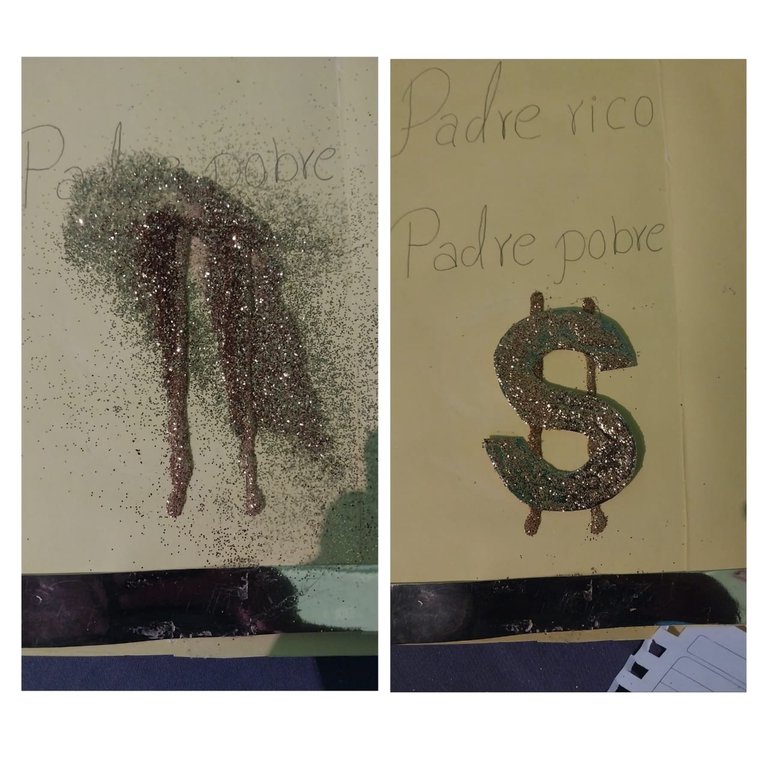
On the parallel lines I apply a little bit of silicone, then I add the frosting on these lines. I remove the frosting residue and also do the same process with the letter "S". This way I can finally glue the $ symbol.
4
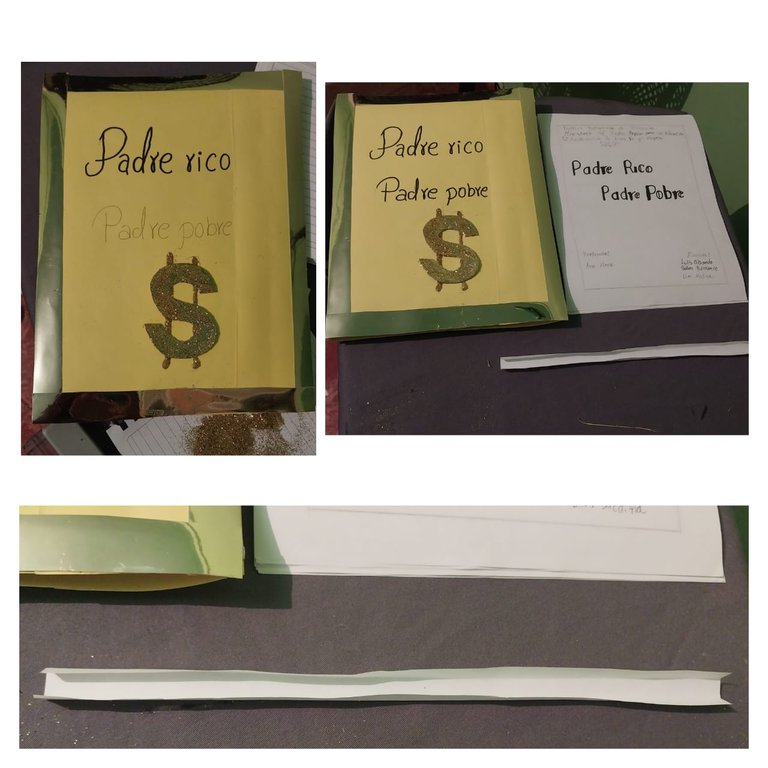
Then I mark with black marker the main title. Then I use a sheet paper tape to paste it on the machine sheets.
5
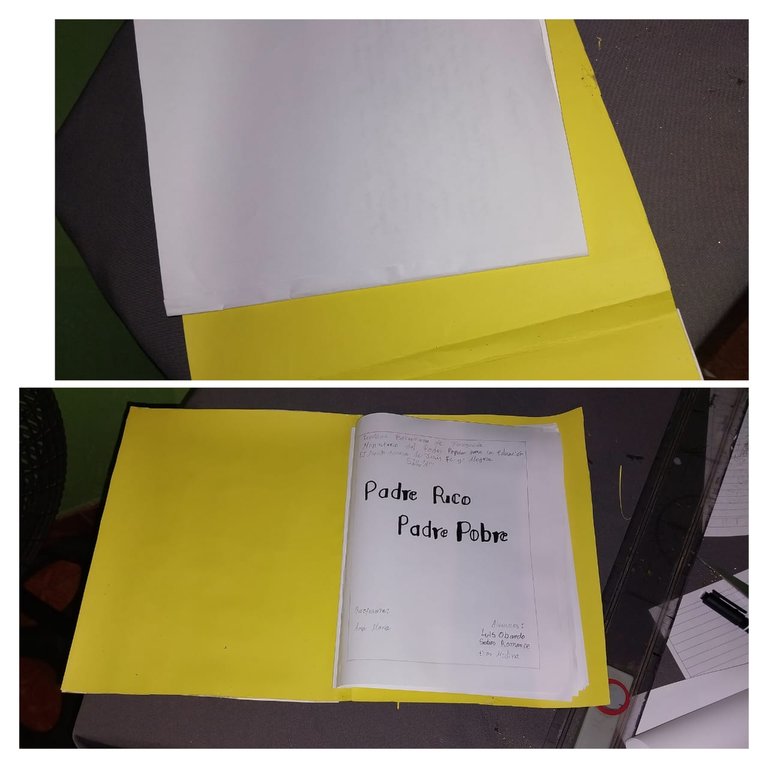
Then I glue the spine of the machine sheets with cold silicone and glue it on the cardboard!
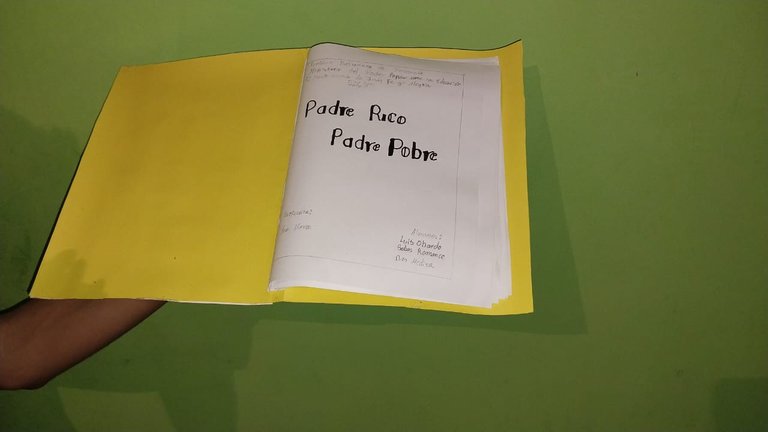
This is the final result! Thank you very much!
- Images belong to me
- Translator: Deepl Traslator
- Editing: Canva
Hola que tal amigos... Espero que se encuentren muy bien. En estos dias he estado leyendo el libro de Padre Rico - Padre Pobre, es un libro excepcional que nos orienta partiendo de la comparación de los consejos financieros de su padre biológico (trabajador público) y el padre de su amigo (emprendedor e inversionista). El libro permite simplificar conceptos autodidactos de términos financieros.
Ahora bien, hice un resumen del libro y para este utilicé una cartulina y de forma muy sencilla hice la caratula para proteger este libro-resumen. Espero que les guste!
Paso a Paso
1
Utilicé un rectangulo para poder crear la caratula y justo en la parte central de la cartulina utilicé la regla para medir un centimetro de ancho justo en la parte del medio. Luego utilizando la regla doblamos una cara de la cartulina y luego la otra.
2
Seguidamente hice el simbolo del $ para ello tomé una hoja y marqué la forma de la "S", luego sobre la cartulina dorada marco el patron del $. Luego sobre la cartulina marco dos lineas paralelas como pueden ver.
3
Sobre las lineas paralelas aplico un poco de silicon, luego agrego la escarcha sobre estas lienas. Elimino el residuo de la escarcha y tambien hago el mismo proceso con la letra "S". Asi por ultimo logro pegar el simbolo de la $
4
Luego marco con marcador negro el titulo principal. Luego utilizo una cinta de papel de hoja para pegar esta en las hojas de maquina.
5
Luego pego el lomo de las hojas de maquinas con el silicon al frio y asi pego esta en la cartulina!
Este es el resultado final! Muchas gracias.
- Las imágenes me pertenecen
- Traductor: Deelp traslator
- Edicion: Canva
