Hello DIYers!
This is my first time posting in this community and i'm excited to share and learn from you here. I hope you like what i have put together today.

Today, i decided to make a beaded card holder.
I liked the idea of owning one and was even excited about making it because i love to bead. Then, i thought it a good idea to document the process and share on this platform.
I wanted a card holder because i lost my ATM card last week. I don't go everywhere with my wallet or hand bag. Alot of times, I like to just walk freely, with my phone and sometimes my ATM card in my pocket. Then it fell on my way home from the store where i had gone to get a few items. I didn't know it had fallen until i got to my destination. Thankfully, I found it laying just beside the road after i had retracted my steps. It must've fallen when i removed my phone from my back pocket to pick a call. Card holders are much smaller and fit nicely into the pockets. Its easy to notice when it falls than when the card itself falls. So i thought, why not?. After all, i can make it.
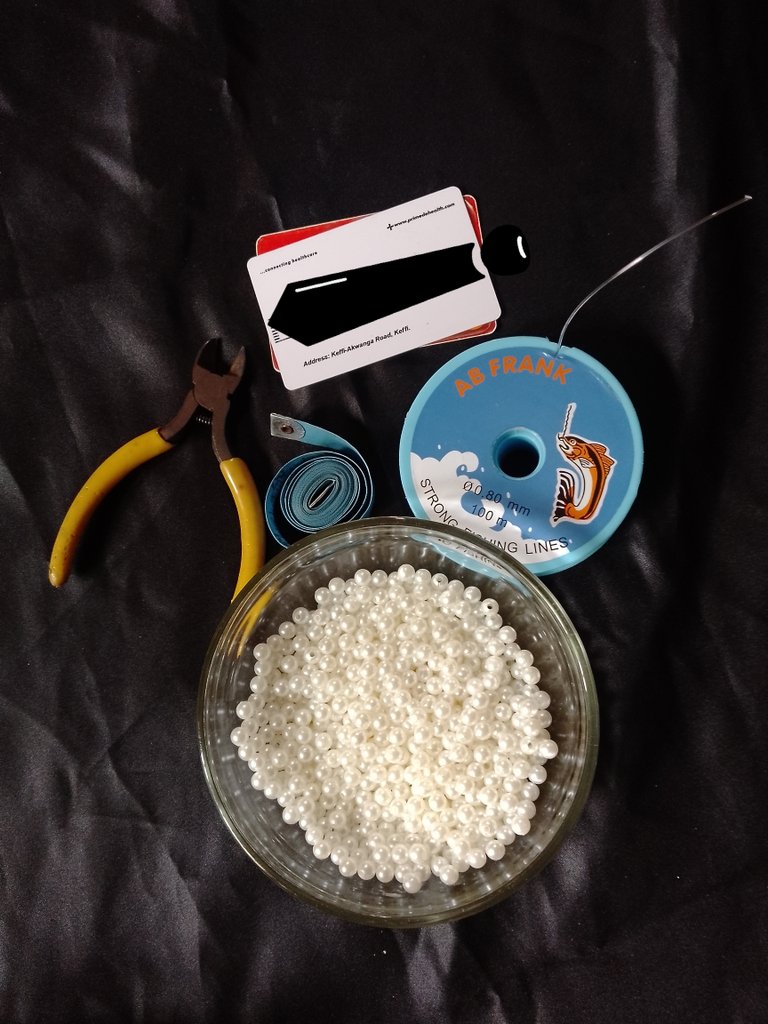
Materials needed
- 6mm crystal bead
- 0.8mm fishing line ( i suggest you use a 0.6mm or a 0.7mm for size 6mm bead. 0.8mm line is quite thick and better used for bigger beads, but it was the only size available in the house at the time i made this holder).
- A measurement tape
- A cutter
The process
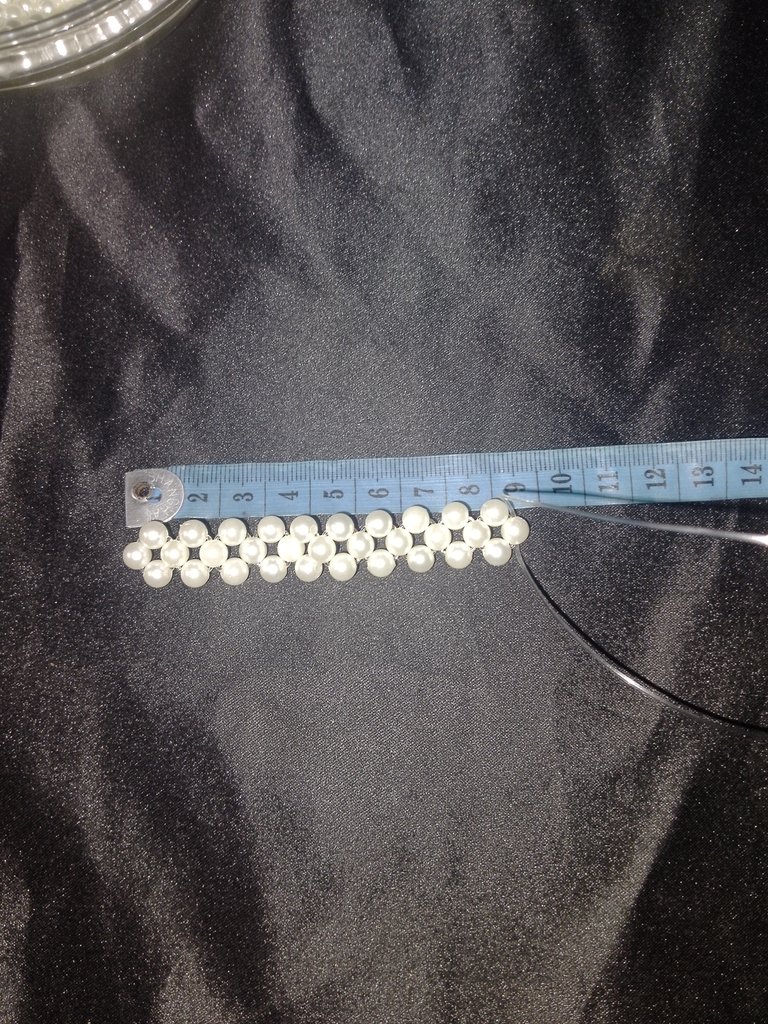
I started by taking the measurements of a standard ATM card (the length; 8.5cm and the breadth; 5.5cm respectively). This measurements guided the dimensions of the card holder. I added 0.5cm extra to serve as allowanceto each side making the length 9cm and the breadth 6cm.
(The plan is to create a single beaded mat which folds in the middle to form the front and back and when joined on both sides to creates the holder).
To calculate the size of the full beaded mat before folding,i multiplied the width by 2 to account for the the front and back( i.e 6cm *2= 12cm and added a little extra allowance to serve as the fold in middle) and the length remains 9cm.
Next was to cut about 1.5meters of the fishing line with the cutter ( long fishing line tangle easily, slowing your work)
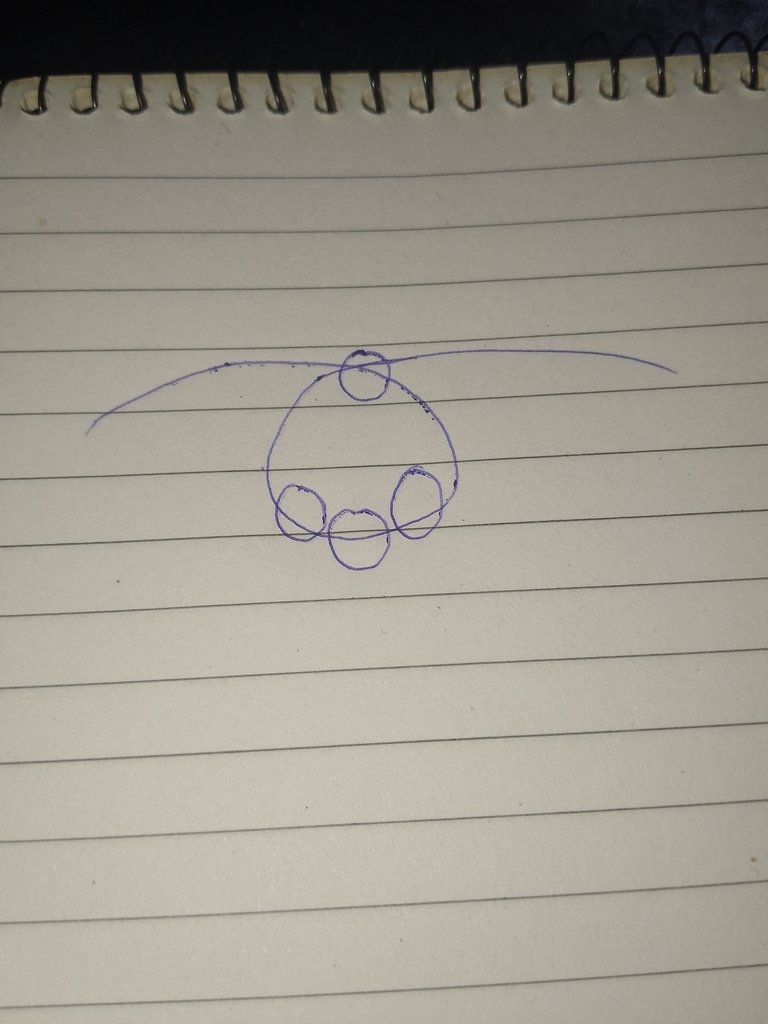
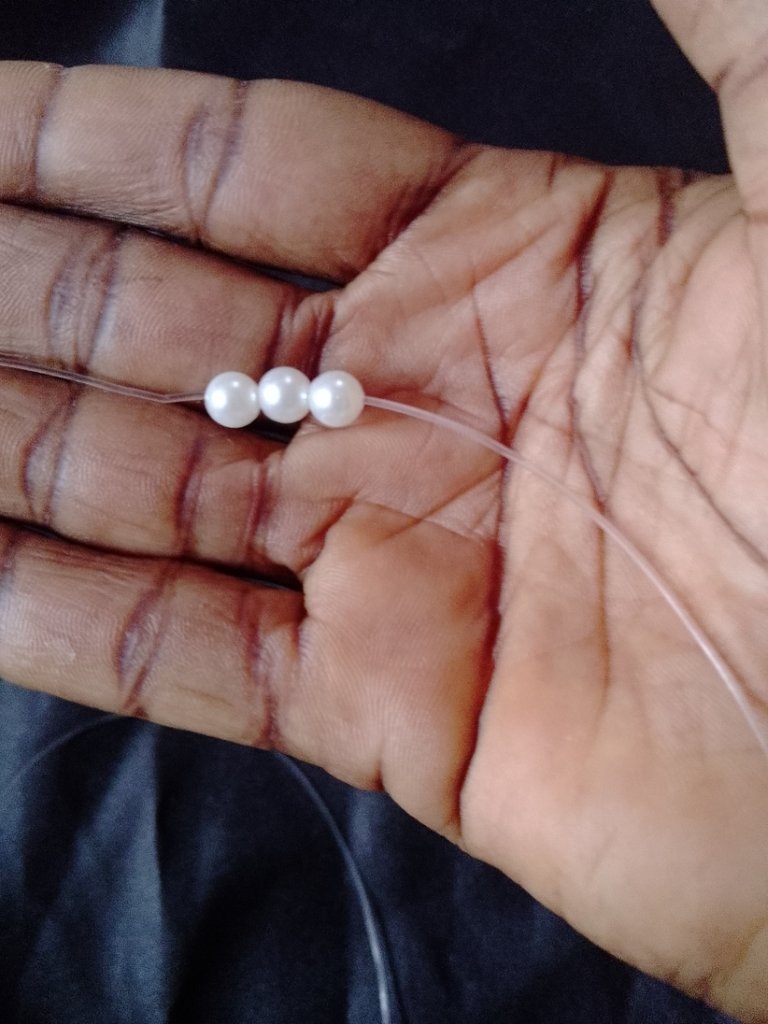
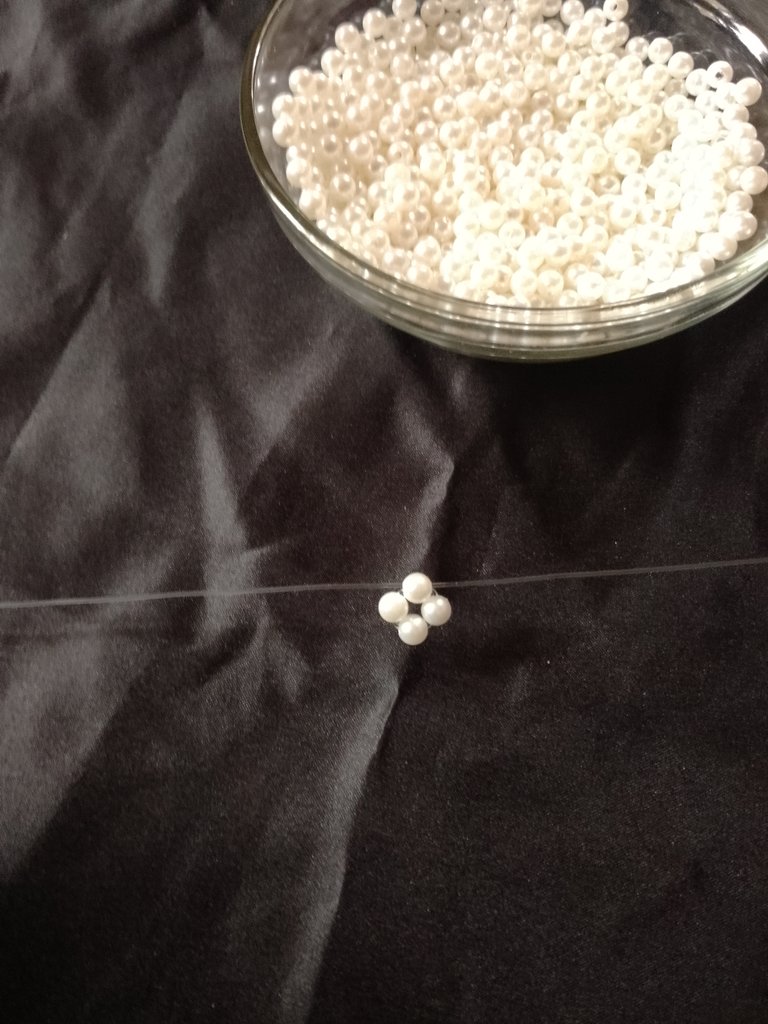
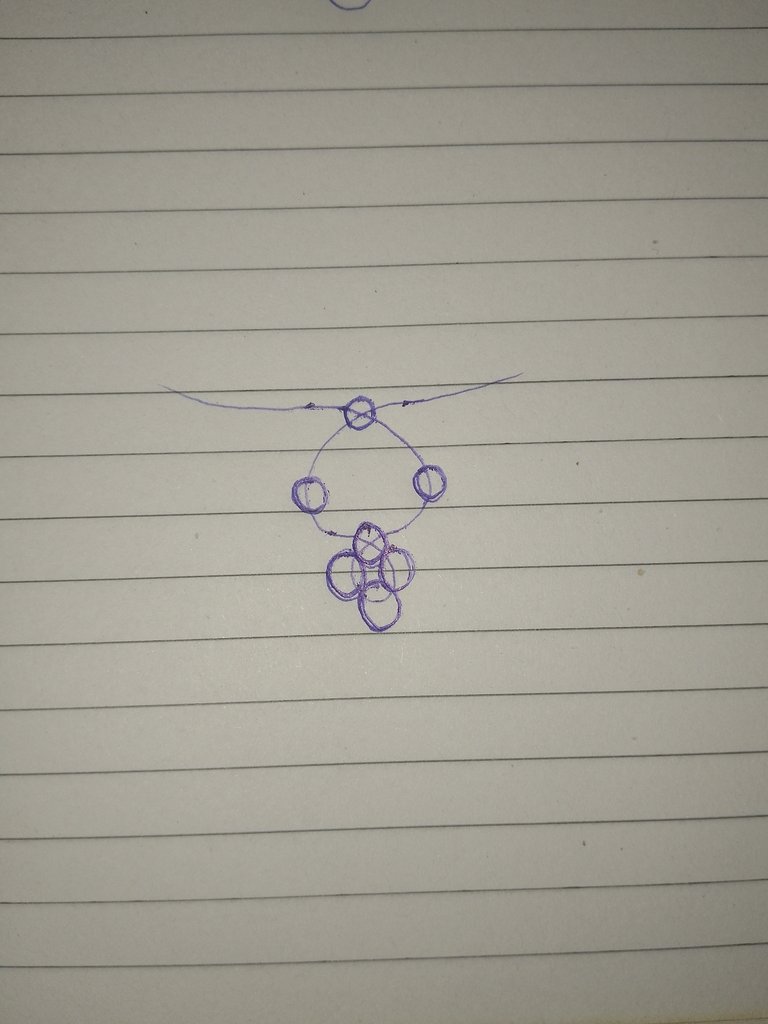
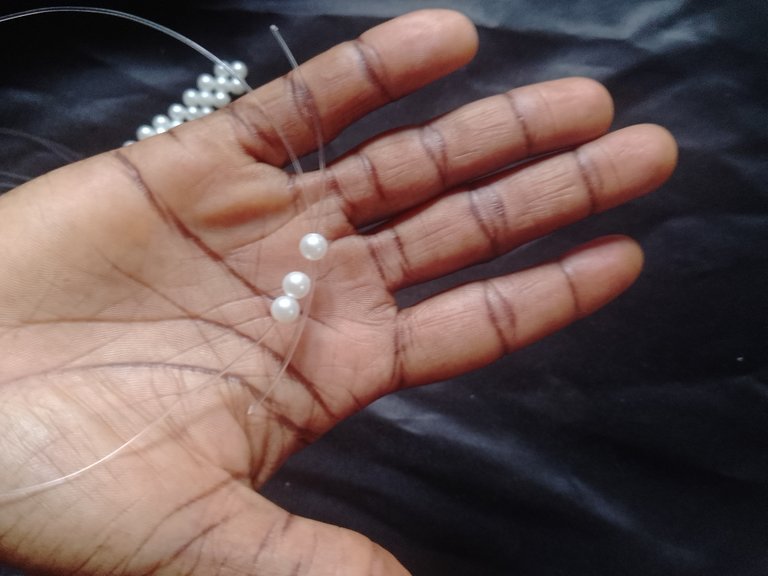
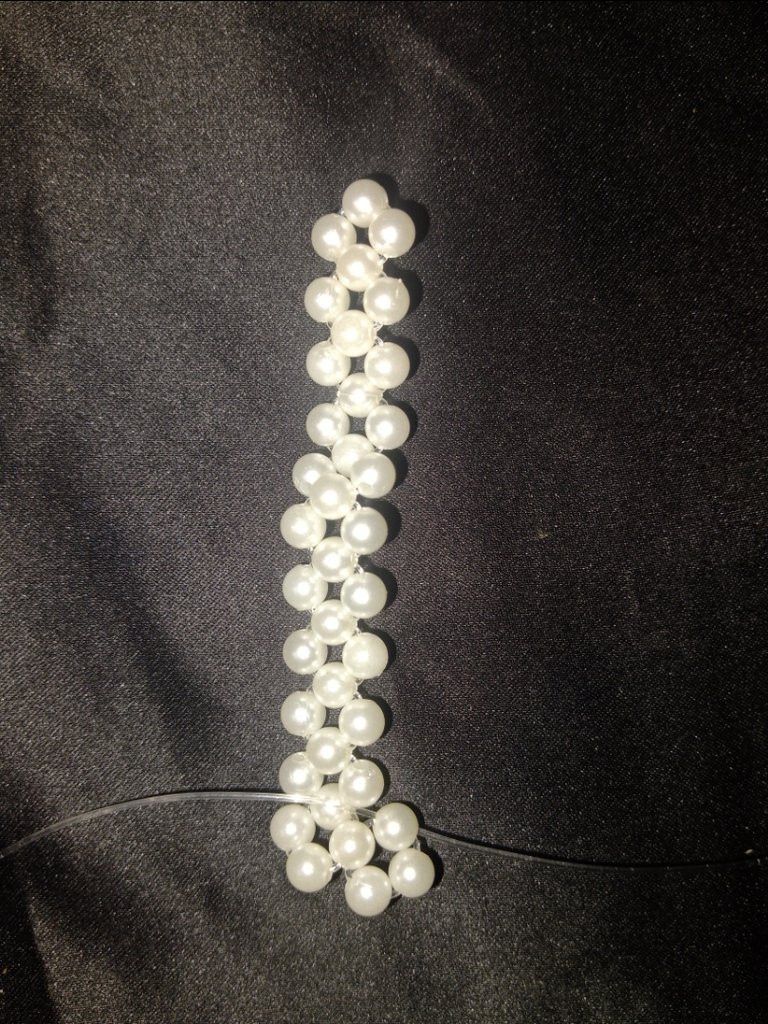
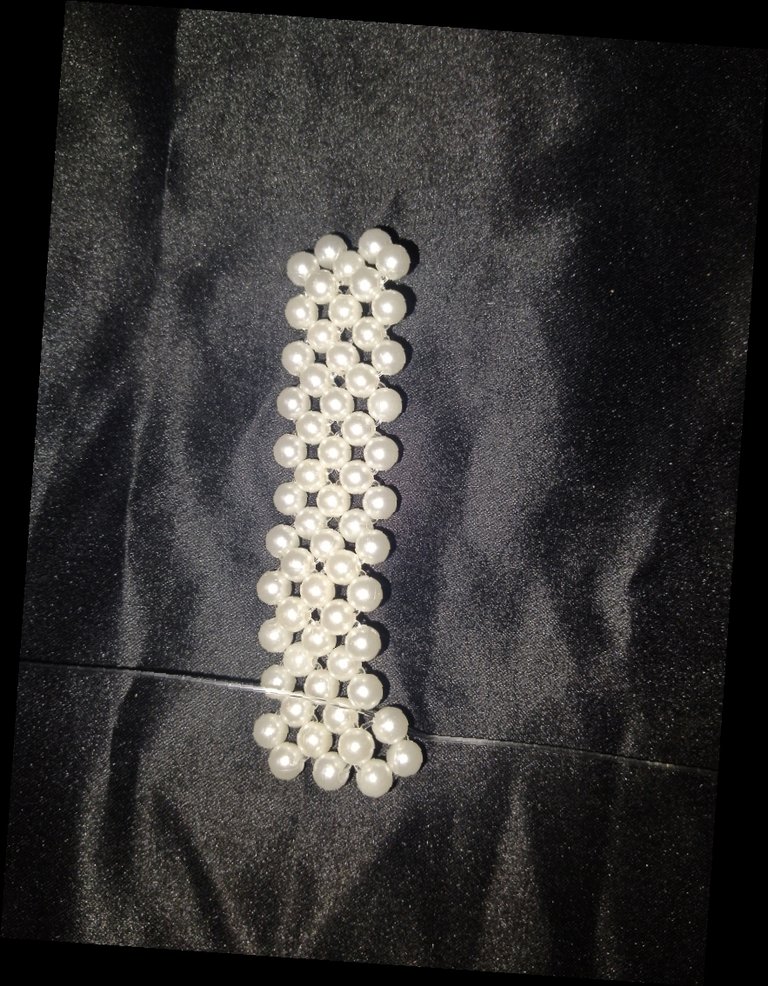
Afterwards, I threaded three of the beads on the fishing line and used a fourth bead to cross both end of the line from opposite directions making a square. Pull both ends tight. This is called the "crossing technique" in beading.
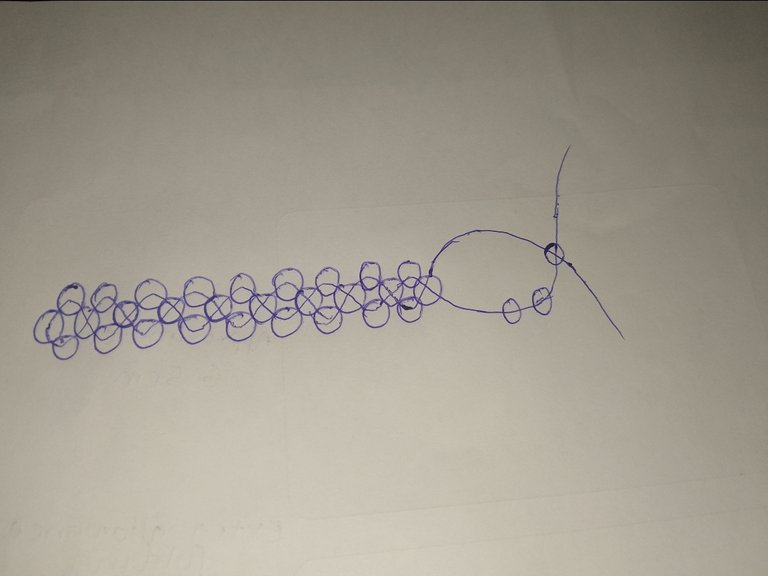
(I have included a few hand-drawn illustrations of the process to make it easier to understand.)
The next thing I did was to add one bead each on the left and right fishing line and use a third bead to cross the end of the lines from both directions.
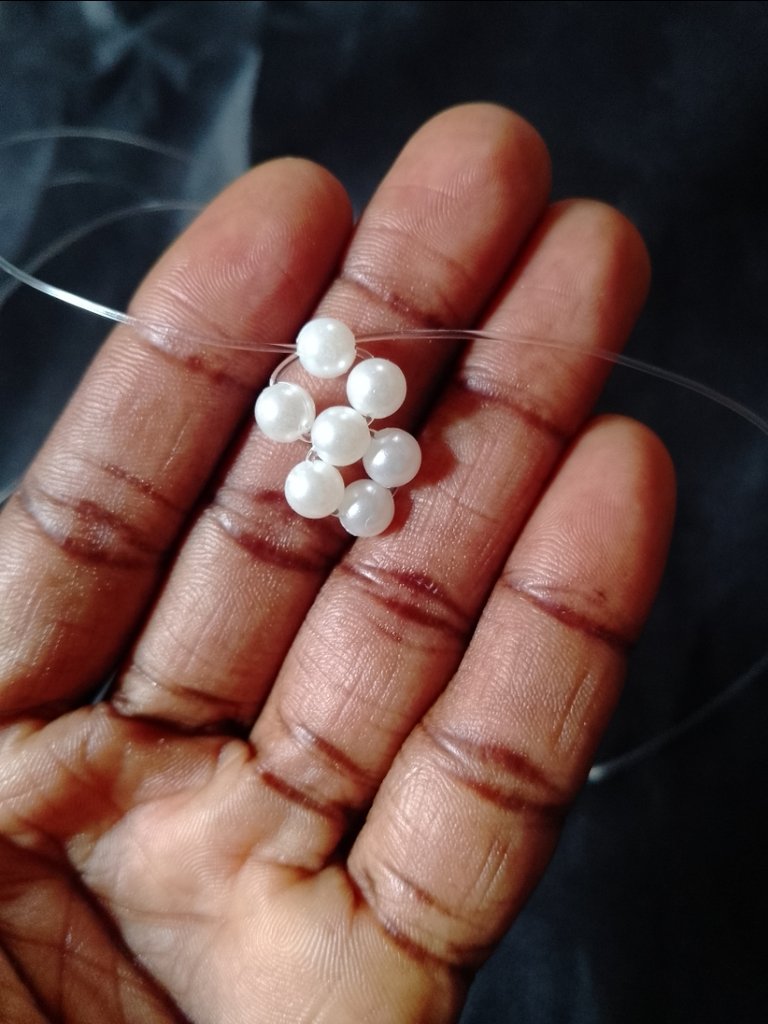
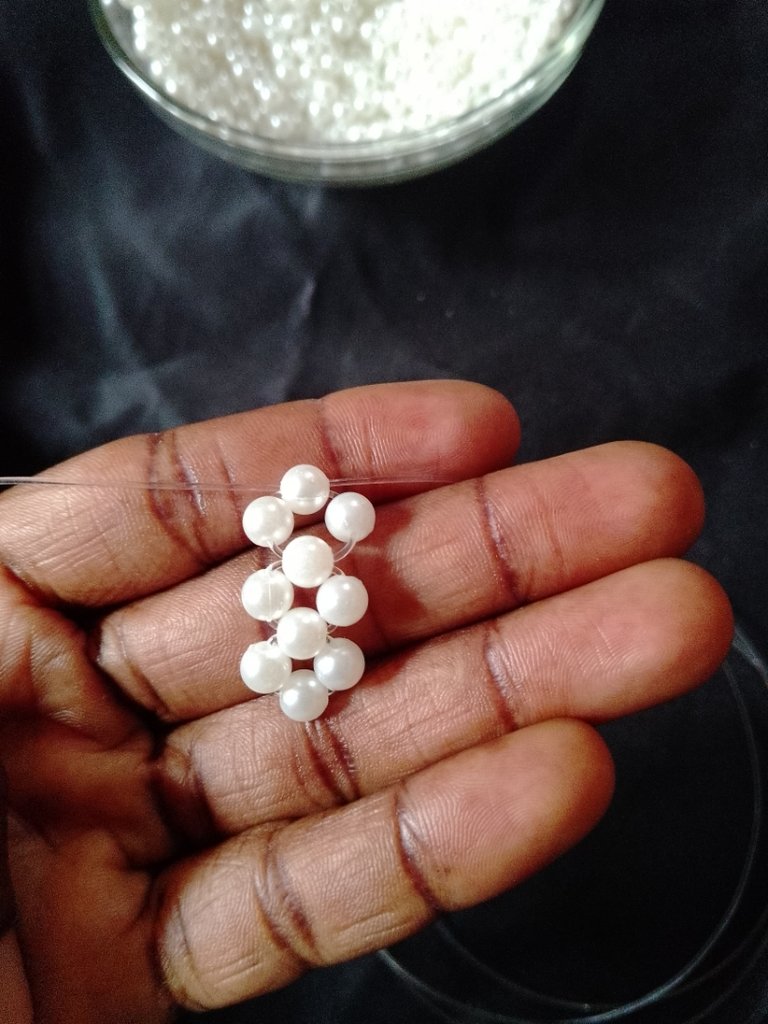
I repeated the above process
Kept repeating until i was one step away from my desired length (9cm)
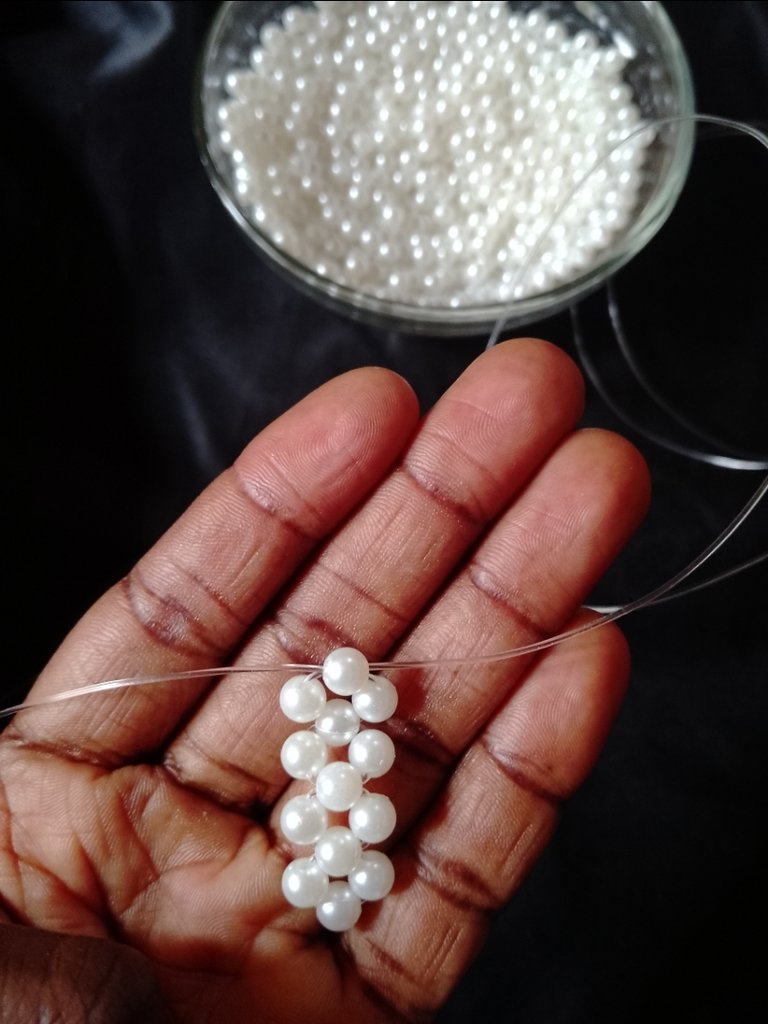
At this point, i added 3 beads to one end, then crossed the line through the third bead
To the line by my right, i added 3beads and crossed the second line on the third bead to form the first unit of the second row
I passed the fishing line by my left through the side bead of the previous row to interlock. Then, added two beads to the line by my right and crossed the second line on the second bead to form the next unit
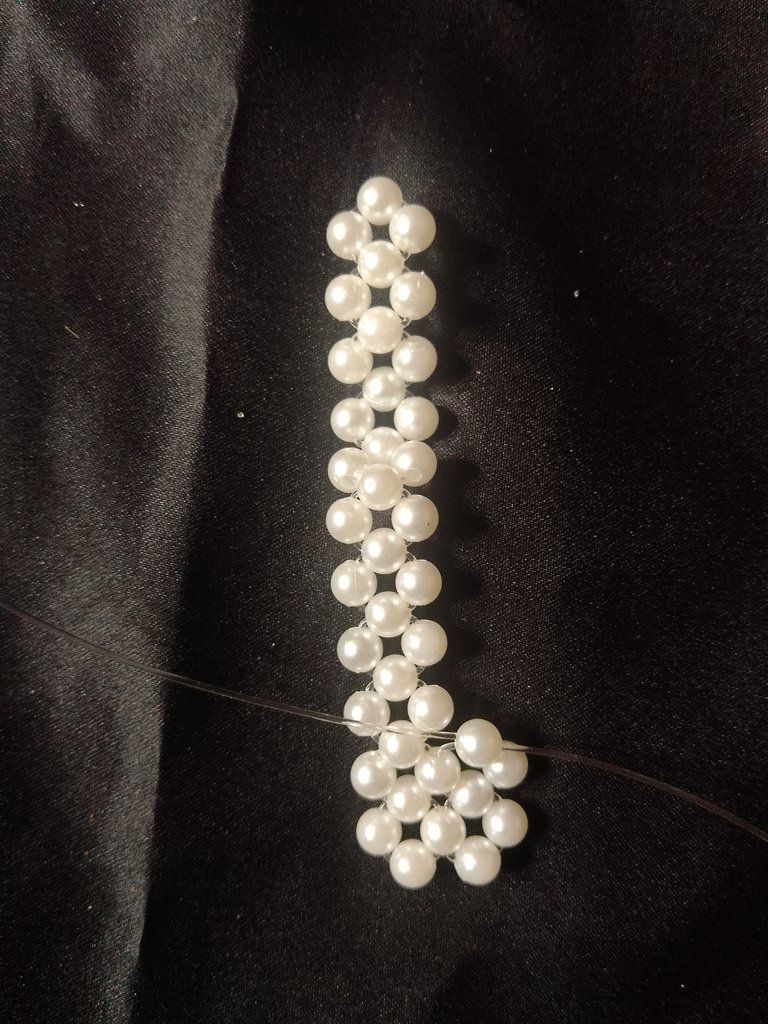
Repeated the above process

Kept repeating until i was one unit away from completing this row
After passing the fishing line by my left through the side bead of the previous row, i added 2beads to the same line and crossed the other line on the second bead
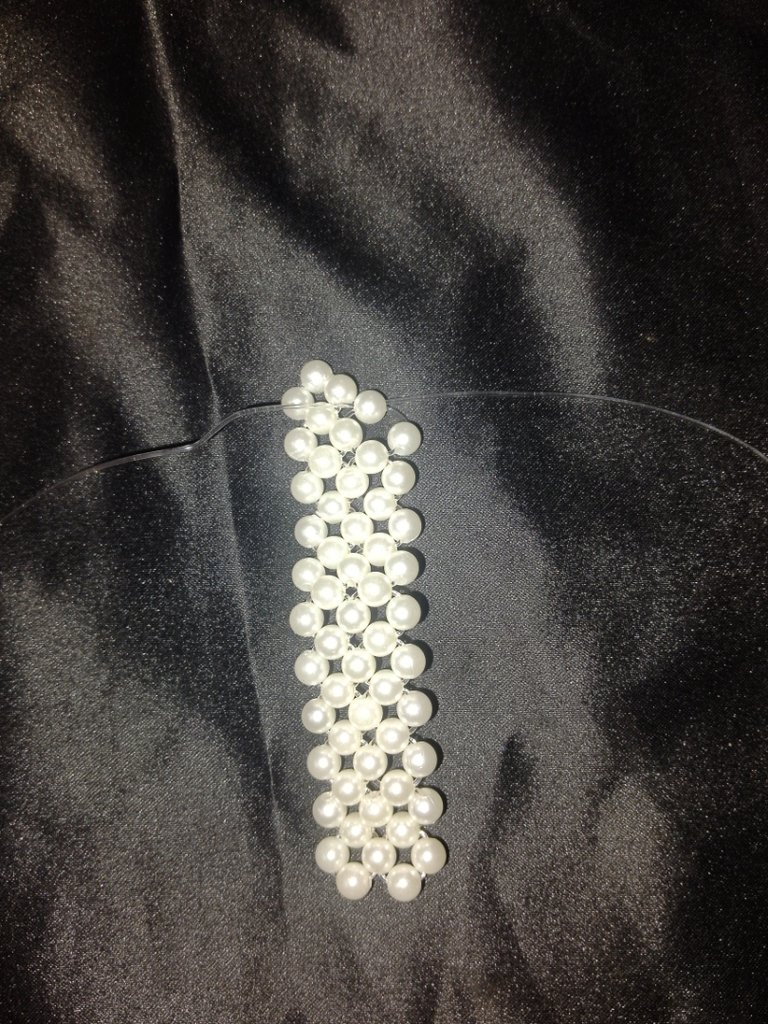
To start the third row, i added 3 beads to the line on my right and crossed the second line on the third bead to form the first unit on this row
Kept repeating the interlocking pattern until i arrived at beaded mat my desired length
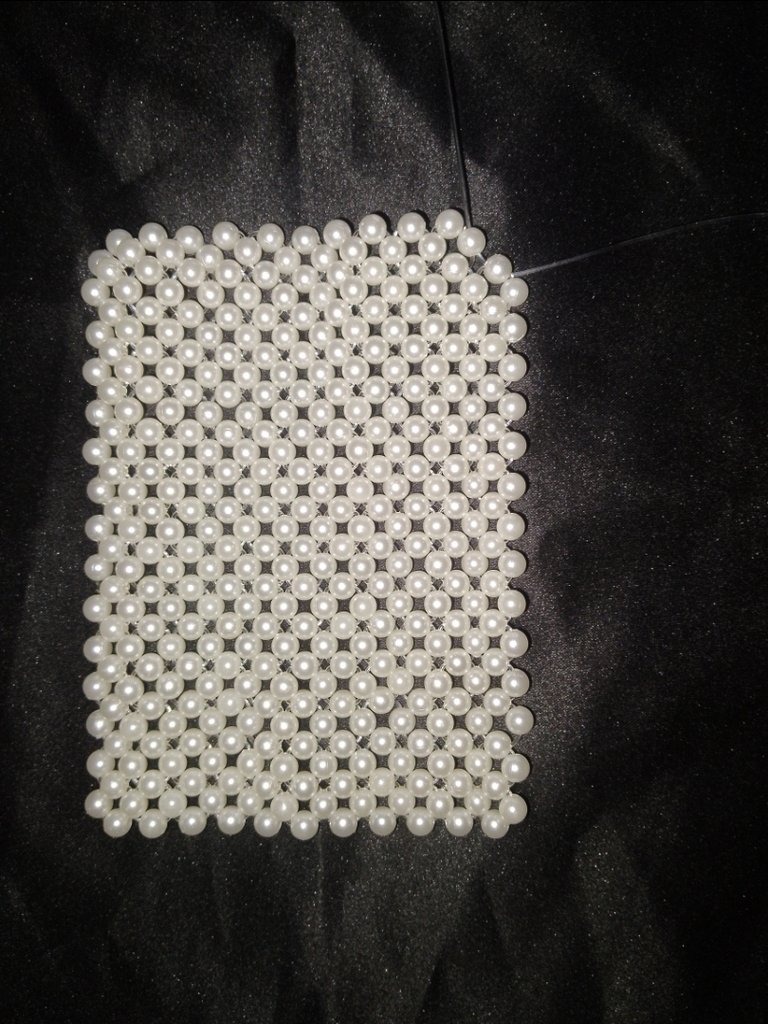
To secure the final unit, i added two beads to the line on my right
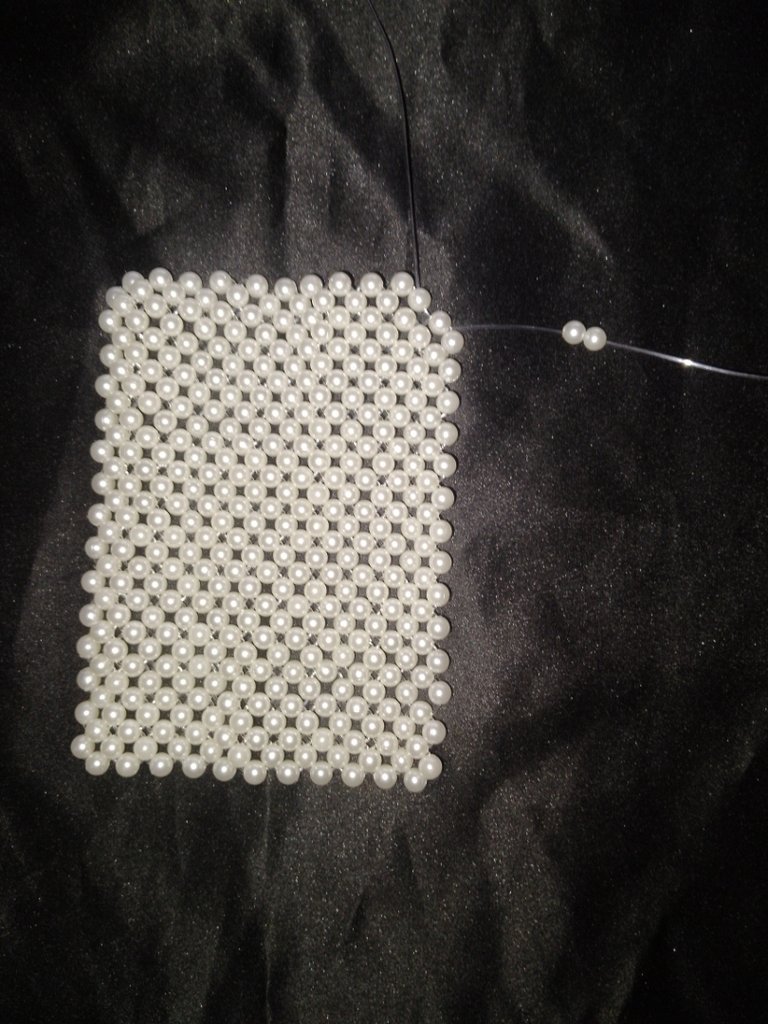
Passed the same line back into the second bead through the opposite direction forming a loop. Then, i passed the second line which was on my left through the loop and pulled to tighten and secure properly
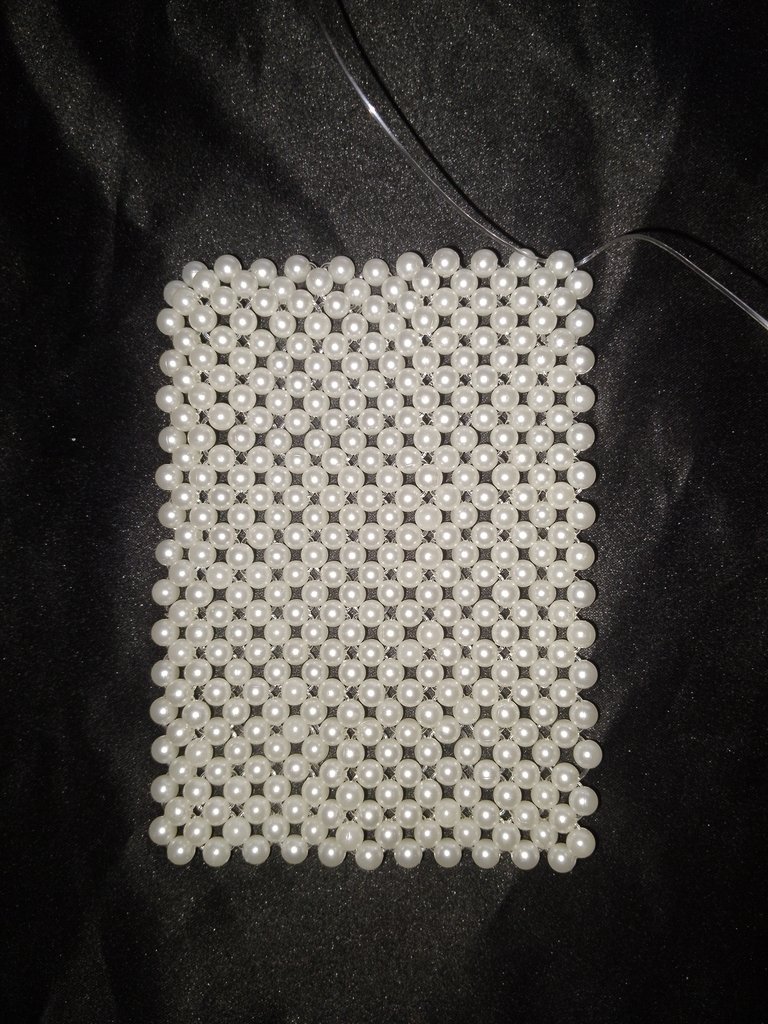
I went ahead to pass the lines back through the interlocked beads in my mat before cutting with the cutter.
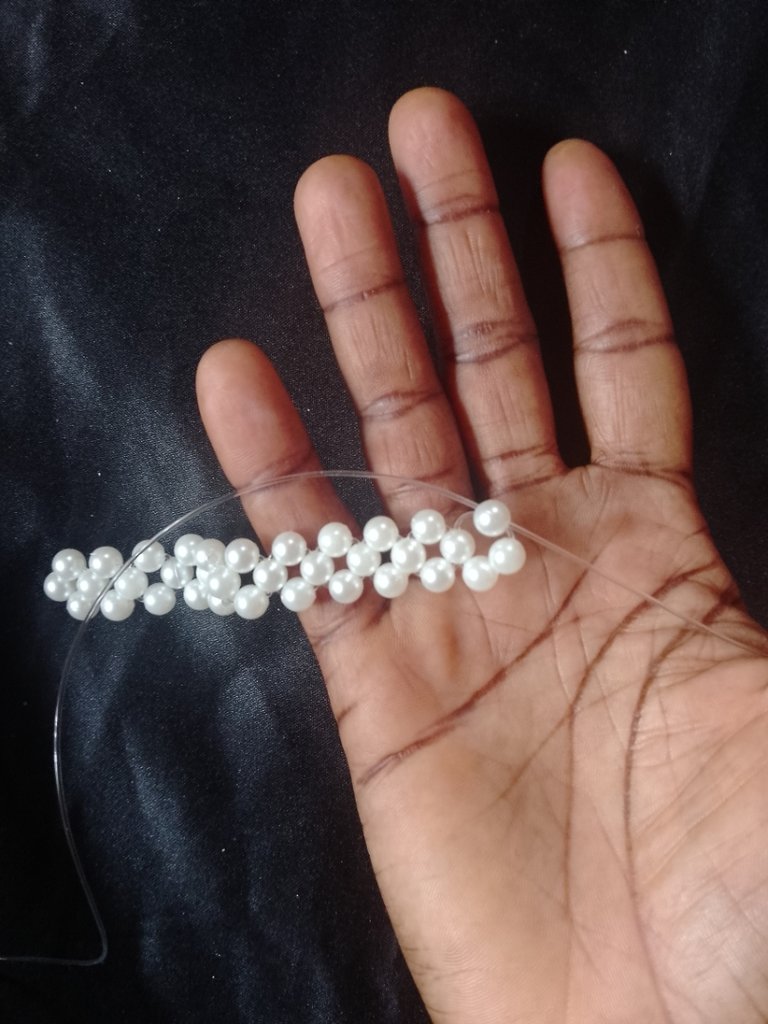
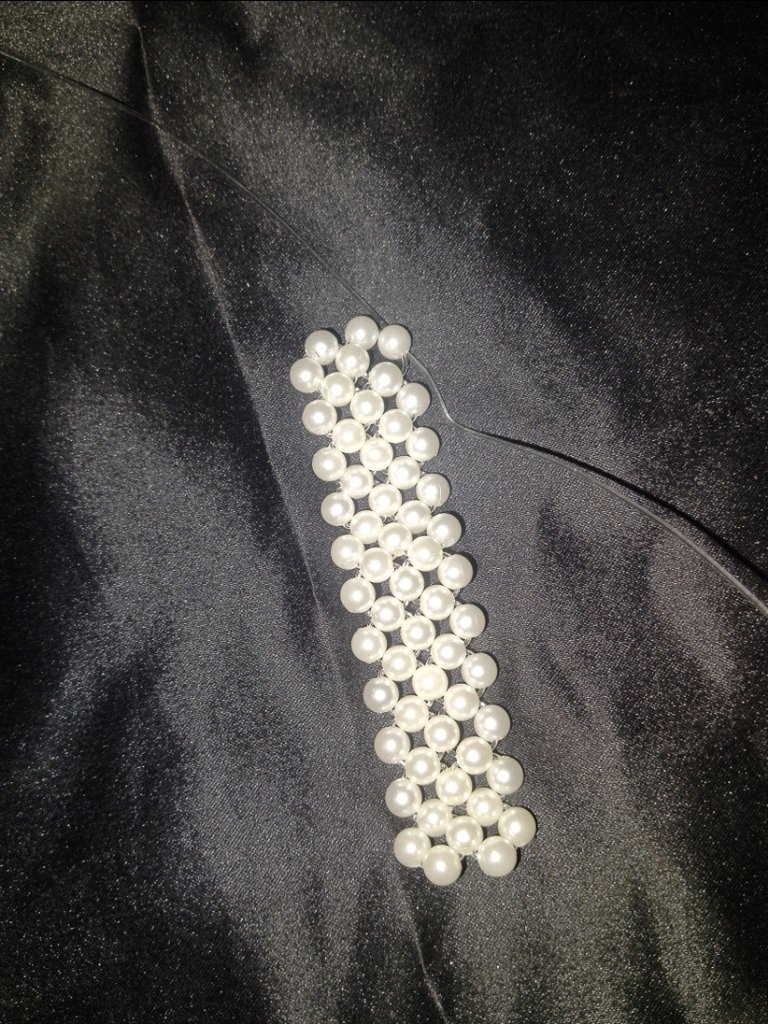
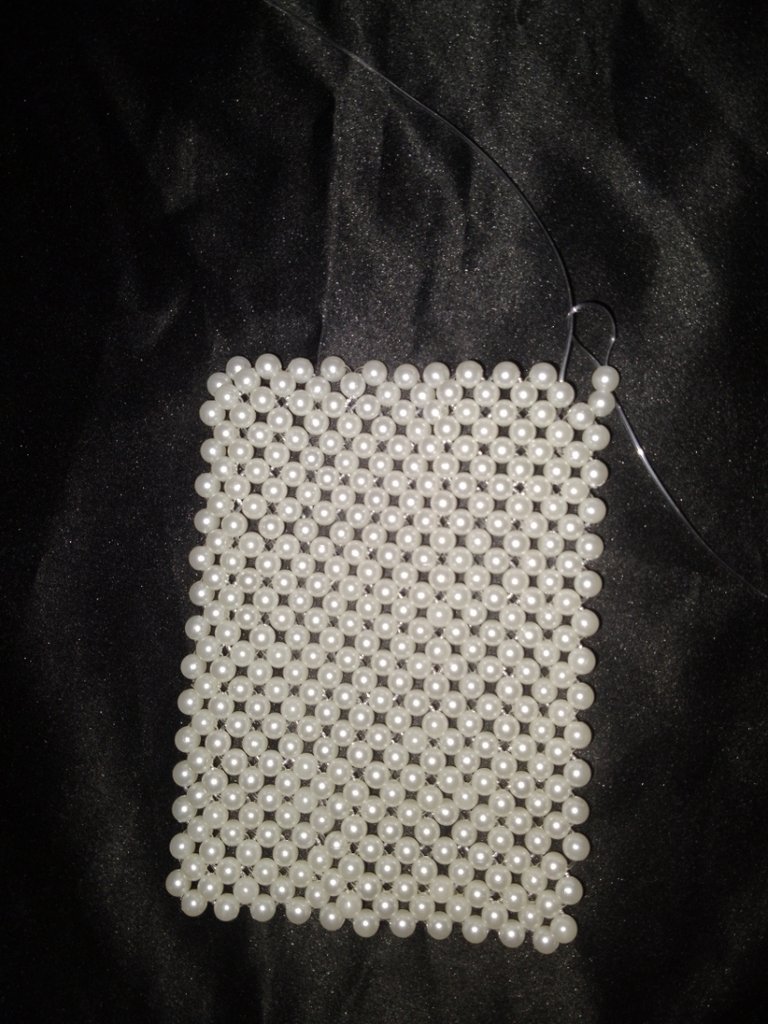
Now my beaded mat was complete, i folded it in half
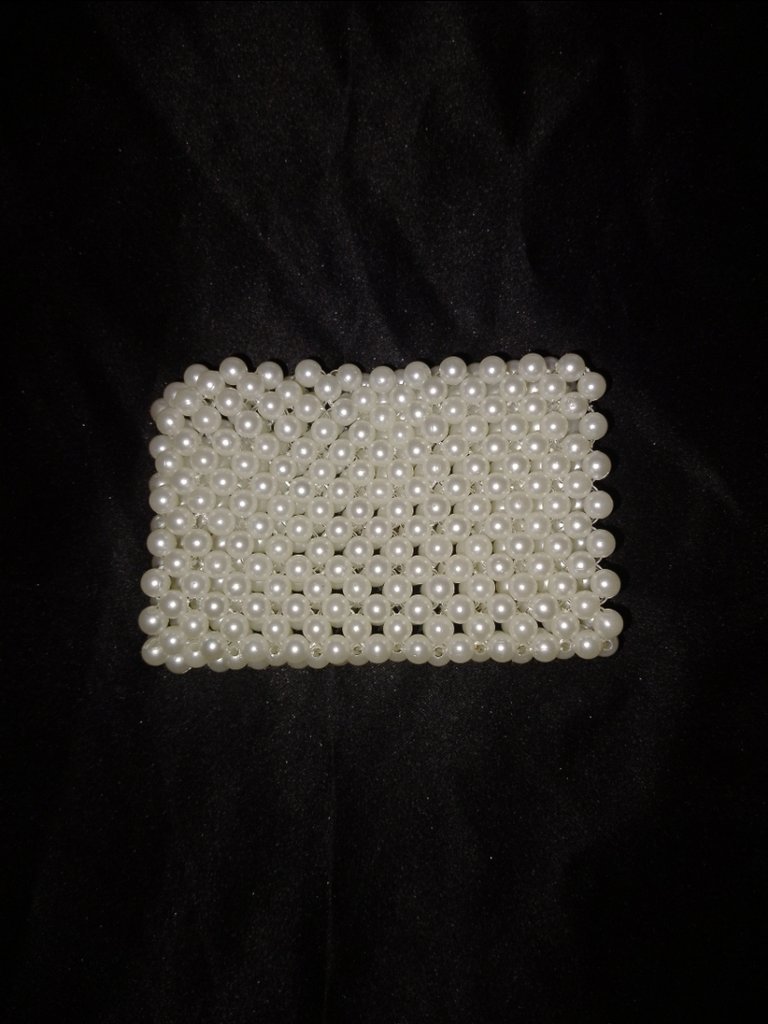
Using a shorter fishing line, i started joining one side by passing the line through the last bead below and then through the next beads on both sides of the folded mat, then crossed both lines with an extra bead
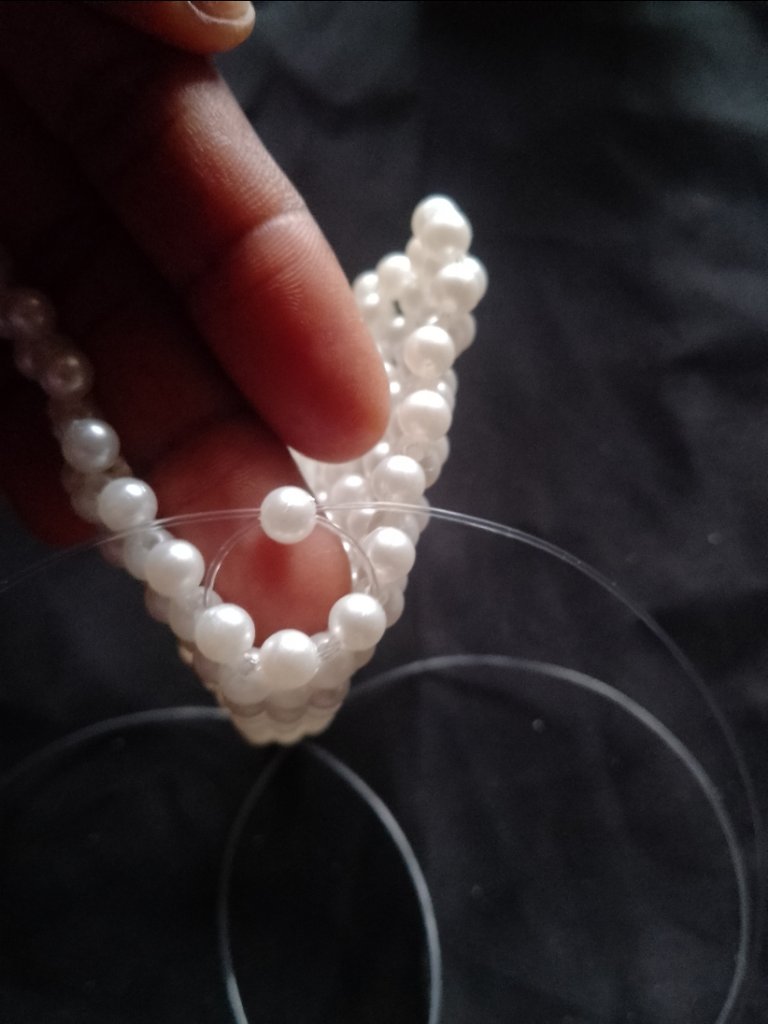
Repeated the above step until the side was joined completely
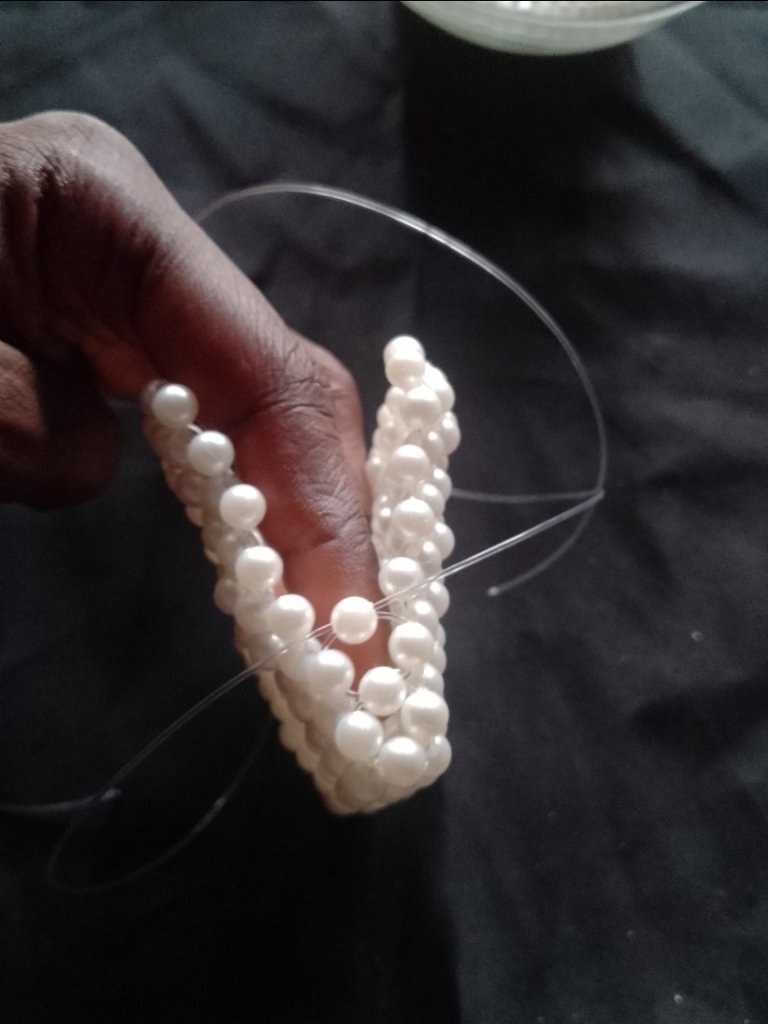
To join the last unit on the side of the holder, i created a loop and tightened to secure before passing the lines back through the beads before cutting.
Repeated the same process of joining on the other side of the holder
That's it!
I enjoyed making this beaded card holder and i hope the steps are easy for you to follow.
Thanks for reading through.🌷
I'd like to hear your thoughts in the comments
All images were drawn/ taken by me


