💎¡Welcome Community DiyHub!

😇Spanish
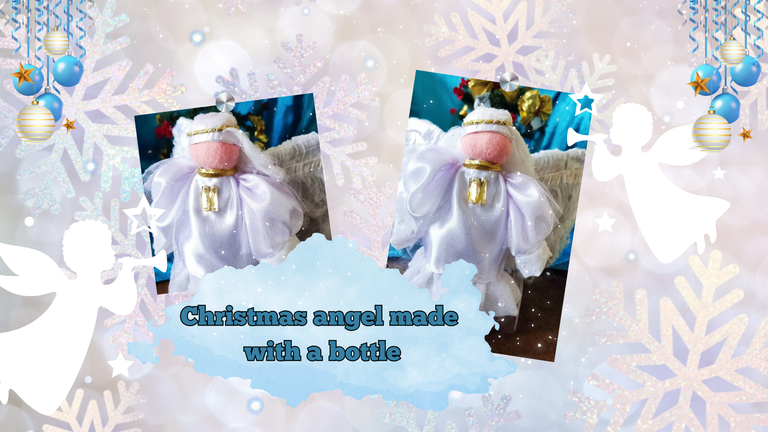
Esta semana mientras hacia una limpieza en mi cocina encontré unas botellas que contenían unas salsas de tomate y al verlas me vino unas ideas interesantes para darle un uso diferente convirtiéndolas en artículos para la Navidad, Una de esas ideas fue hacer con una de esas botellas un Ángel, así que me anime a hacer mi primer ángel navideño. Una vez le pregunté a mi mamá por qué colocaban angelitos en el árbol y su respuesta fue porque los ángeles anuncian la llegada del Niño Jesús, traen un mensaje de esperanza. Inspirada en ese recuerdo, puse manos a la obra para hacer este lindo Ángel con una botella.
😇English
This week while cleaning my kitchen I found some bottles that contained some tomato sauces and when I saw them I got some interesting ideas to give them a different use turning them into Christmas items, one of those ideas was to make an Angel with one of those bottles, so I decided to make my first Christmas angel. Once I asked my mom why they put little angels on the tree and her answer was because angels announce the arrival of Baby Jesus, they bring a message of hope. Inspired by that memory, I set to work to make this beautiful Angel with a bottle.


💎Elaboration of the head of the Christmas angel
✔️ #1
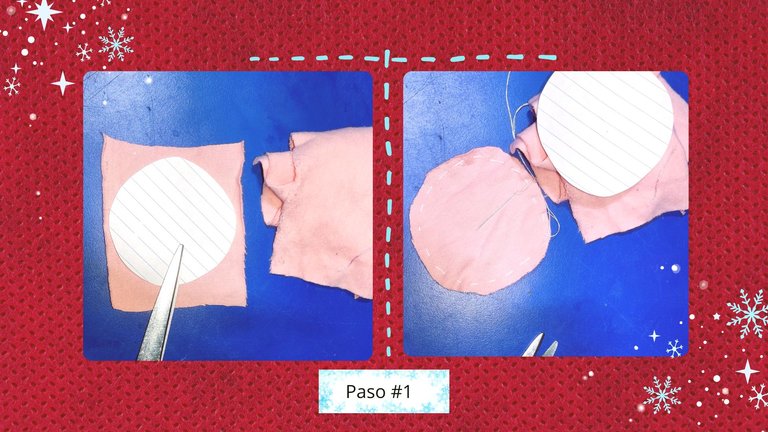
En una hoja blanca dibuja un círculo, luego con ayuda de una tijera recorta para sacar el patrón de este círculo. Una vez realizado el patrón, sujeta con agujas el círculo sobre la tela color piel. Corta la tela siguiendo el patrón.
Utiliza la aguja con hilo para coser el borde del círculo de tela color piel. De esta forma se podrá fruncir el borde del círculo de tela para luego colocar el relleno.
✔️ #1
On a white sheet of paper draw a circle, then with the help of a scissors cut out the pattern of this circle. Once the pattern is made, needle the circle on the skin colored fabric and cut the fabric following the pattern. Cut the fabric following the pattern. Use the needle and thread to sew the edge of the fur-colored fabric circle. This will allow you to gather the edge of the fabric circle and then place the stuffing.

✔️ #2
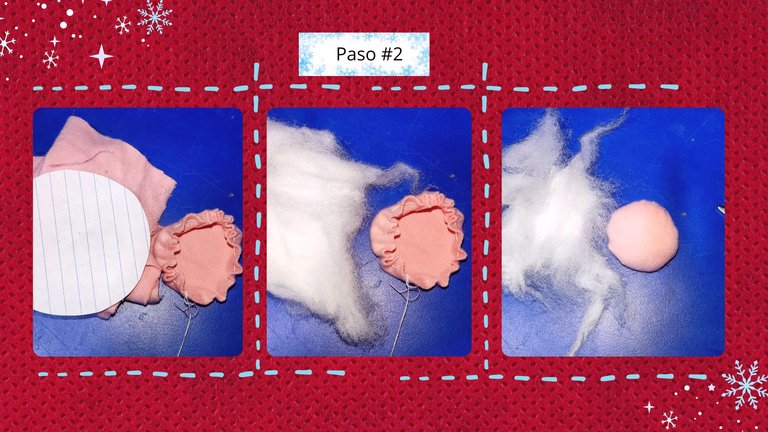
Una vez que está lista la costura del borde del círculo de tela, colocamos una pequeña cantidad de relleno para darle volumen y de esta manera se elabora una pequeña bola de tela color piel que nos servirá para hacer la cabeza de nuestro angelito. Rellena la pieza, y realizamos los ajustes necesarios con aguja e hilo.
✔️ #2
Once the edge seam of the fabric circle is ready, we place a small amount of stuffing to give it volume and in this way we make a small ball of skin-colored fabric that will be used to make the head of our little angel. Fill the piece, and we make the necessary adjustments with needle and thread.
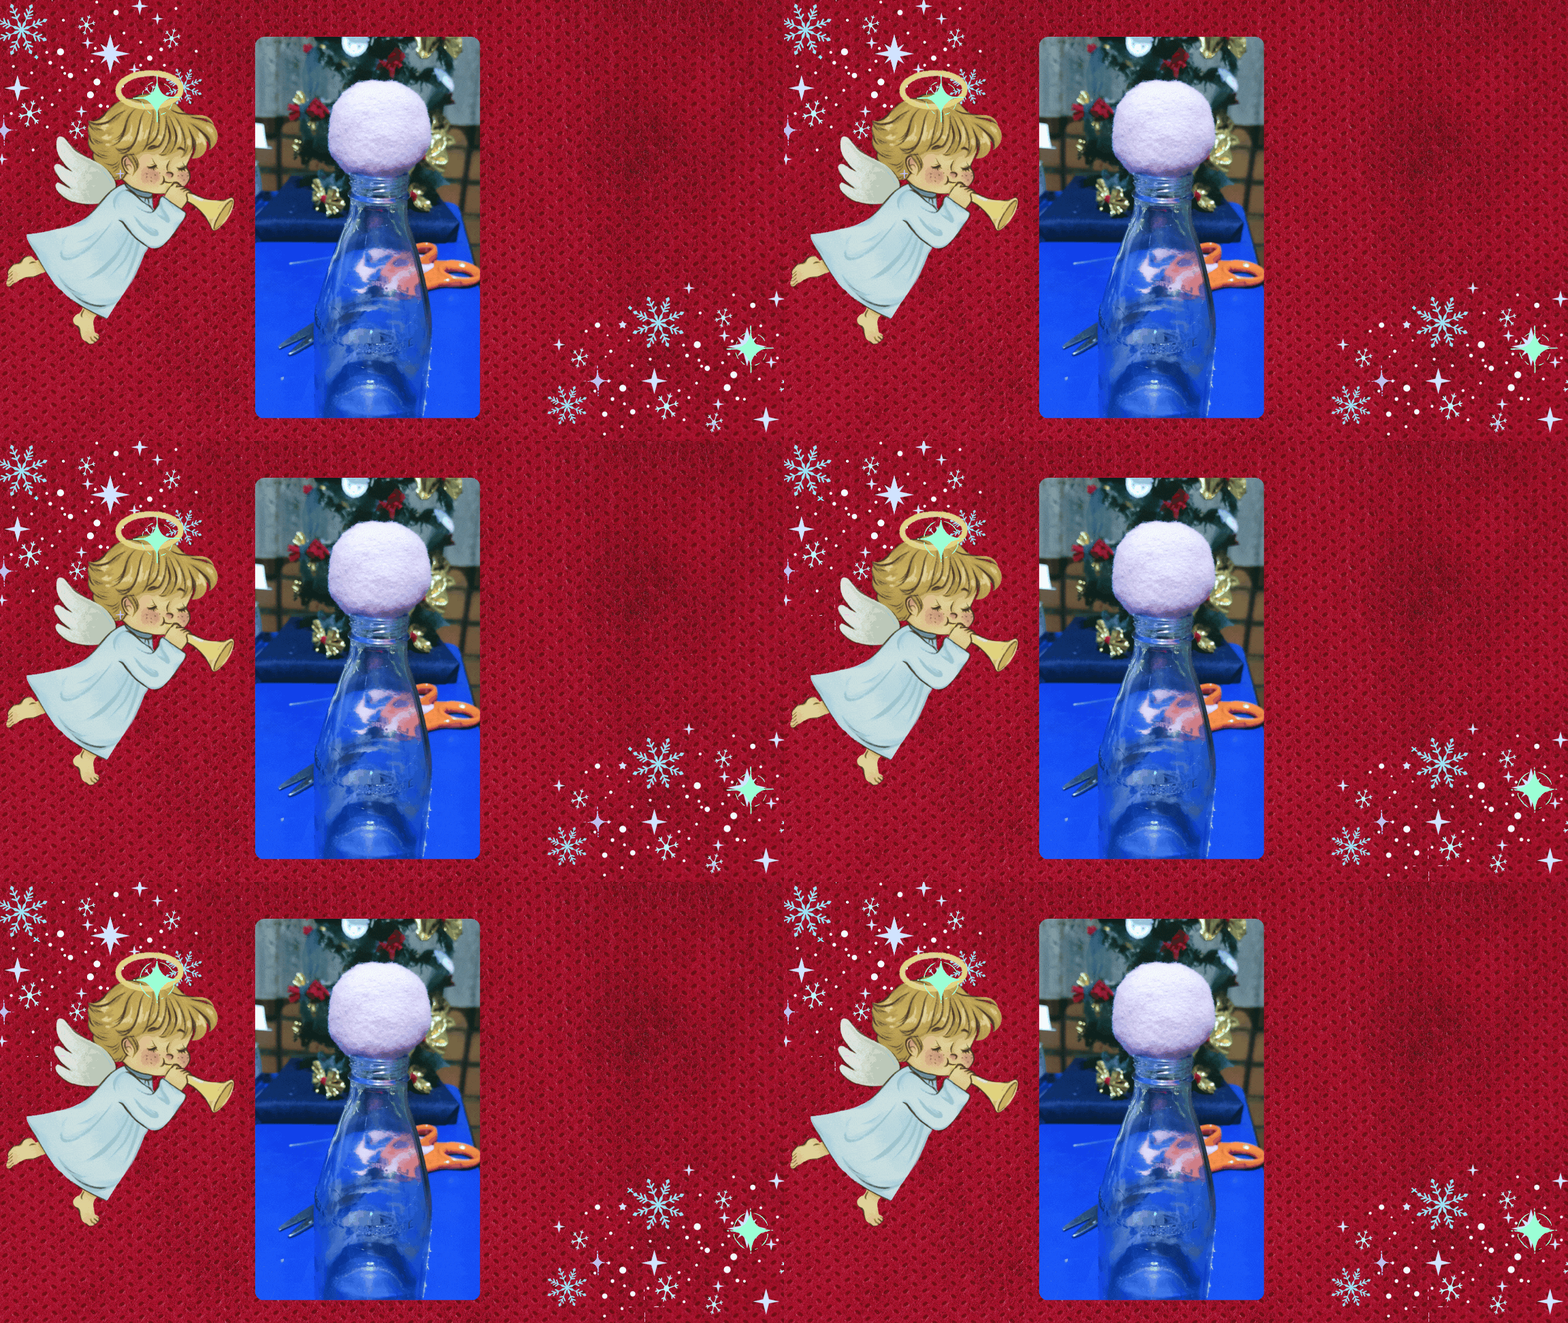

✔️ #3
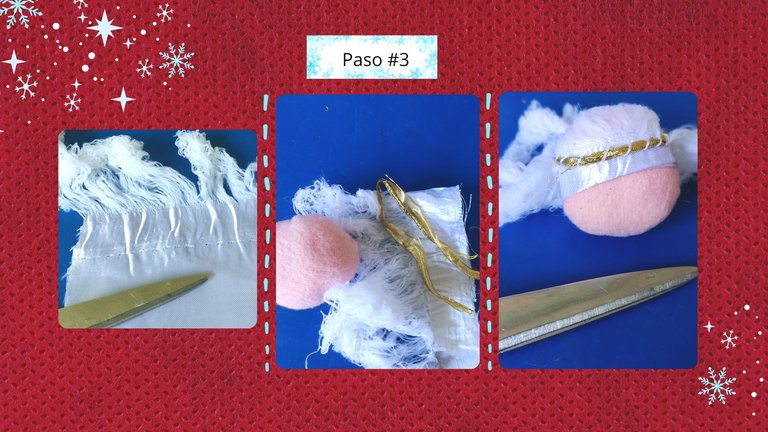
Al terminar con la elaboración de la bolita de tela color carne, en esta parte le otorgamos detalles a la cabeza del angelito como cabello y una corana. Deje este angelito sin rostro, para agregar el cabello utilice hilachas de tela de raso blanco que es una parte de la tela que generalmente desechamos al no encontrar un modo útil para ella, en este diseño le otorgue utilidad a las Hilachas de la tela de raso elaborando el cabello del angelito con ellas. Otro toque especial fue que utilice un retazo de cinta dorada para agregar a la cabeza del ángel una corona que sujete con ayuda de hilo.
✔️ #3
At the end of the elaboration of the ball of flesh colored fabric, in this part we give details to the head of the angel like hair and a corana. I left this little angel without a face, to add the hair I used white satin fabric threads which is a part of the fabric that we usually discard because we don't find a useful way for it, in this design I used the satin fabric threads to make the angel's hair with them. Another special touch was that I used a piece of gold ribbon to add a crown to the angel's head that I attached with thread.

✍️Christmas Angel Dress
✔️ Vestido de la botella
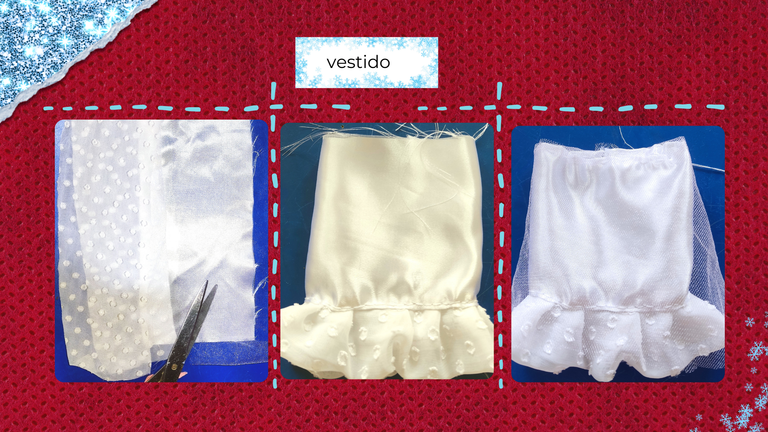
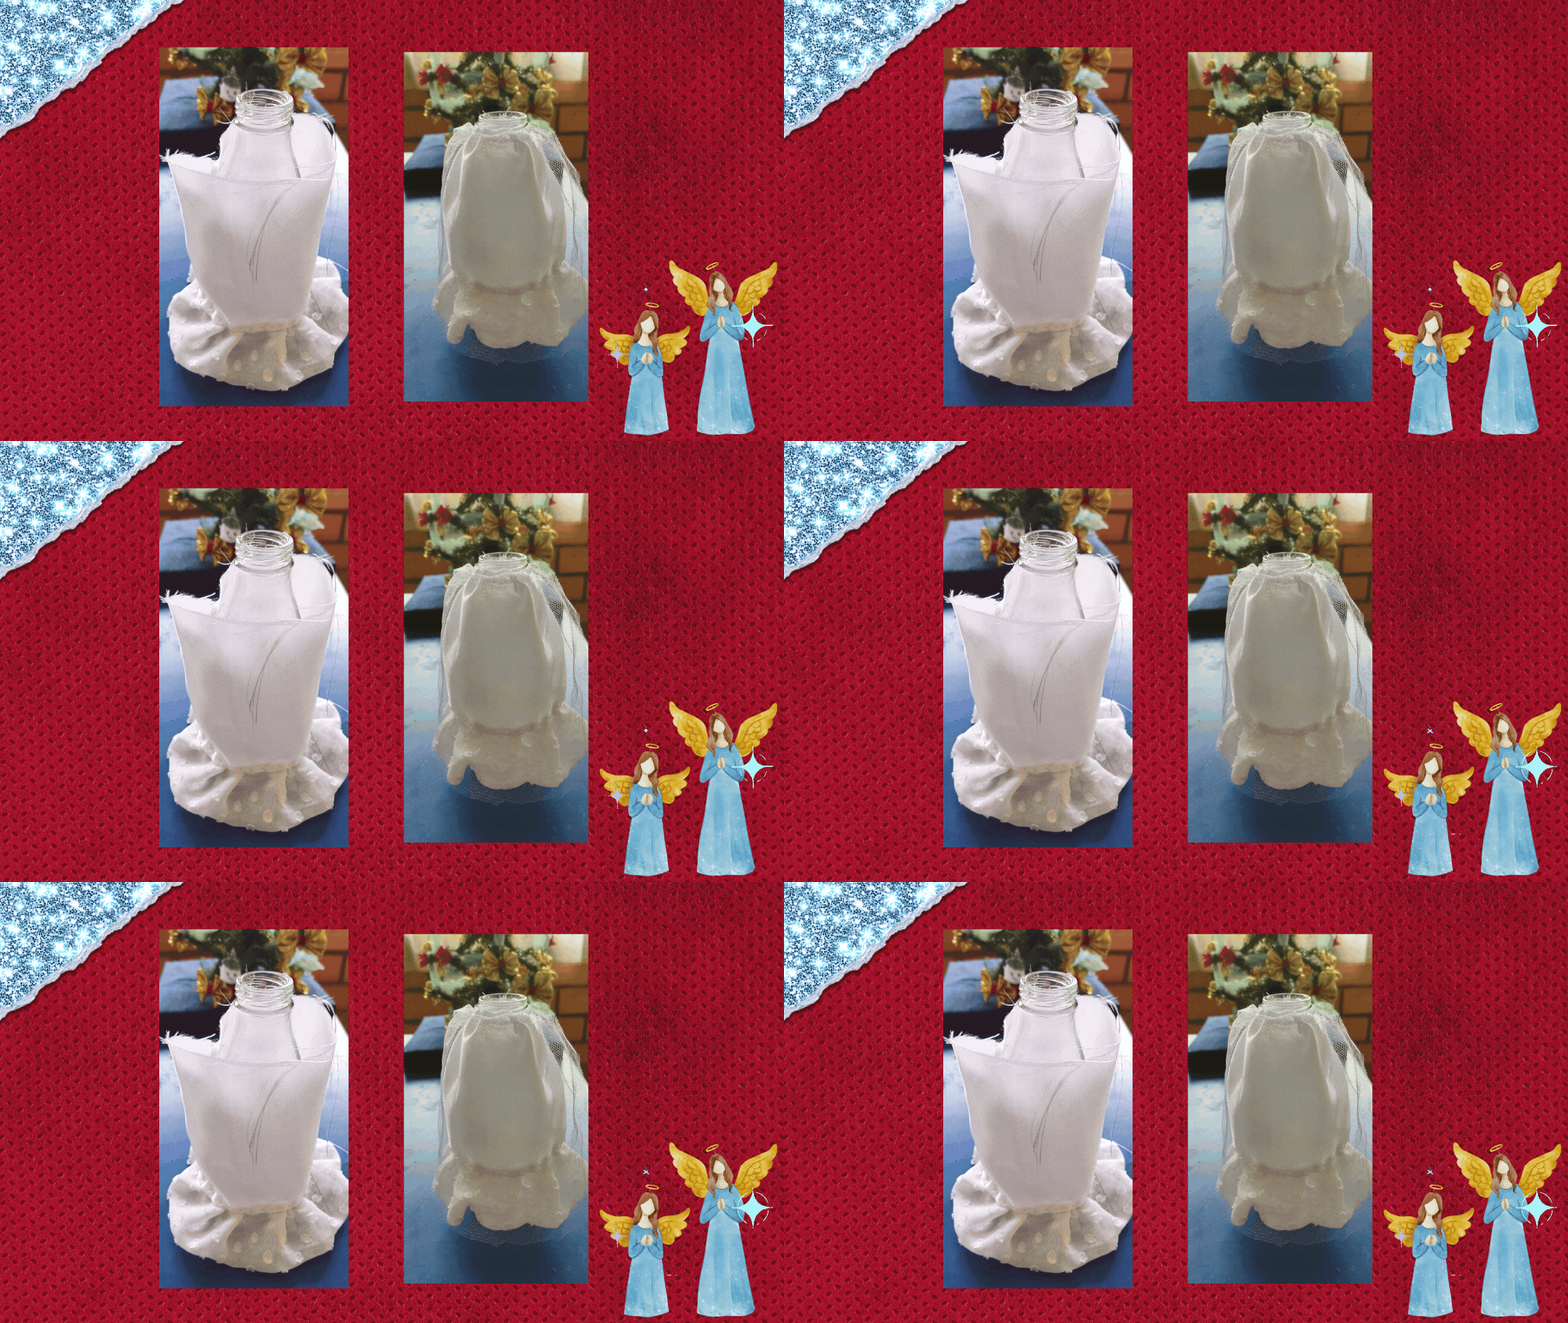
Para elaborar la falda del vestido lo primero que debemos hacer es seleccionar unos centímetros de tela de Raso satinado, este tipo de tela brillante hace que esté vestido resalte en su diseño, para los volantes de la falda se utiliza la tela de chifón blanco y el tul será el velo que cubrirá este vestido. Al coser cada parte de las telas al vestido, ajustamos con ayuda de hilo a la botella exactamente en el borde de la abertura de la botella, que será el cuello del cuerpo del angelito de Navidad.
✔️Bottle dress
To make the skirt of the dress the first thing to do is to select a few centimeters of satin satin fabric, this type of shiny fabric makes this dress stand out in its design, for the ruffles of the skirt we use white chiffon fabric and the tulle will be the veil that will cover this dress. When sewing each part of the fabrics to the dress, we adjust with the help of thread to the bottle exactly at the edge of the opening of the bottle, which will be the neck of the body of the Christmas angel.
✔️ Manga del vestido estilo Farol:
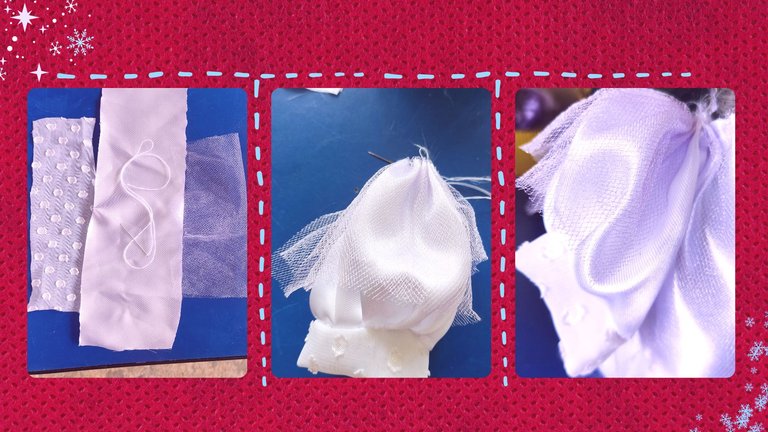
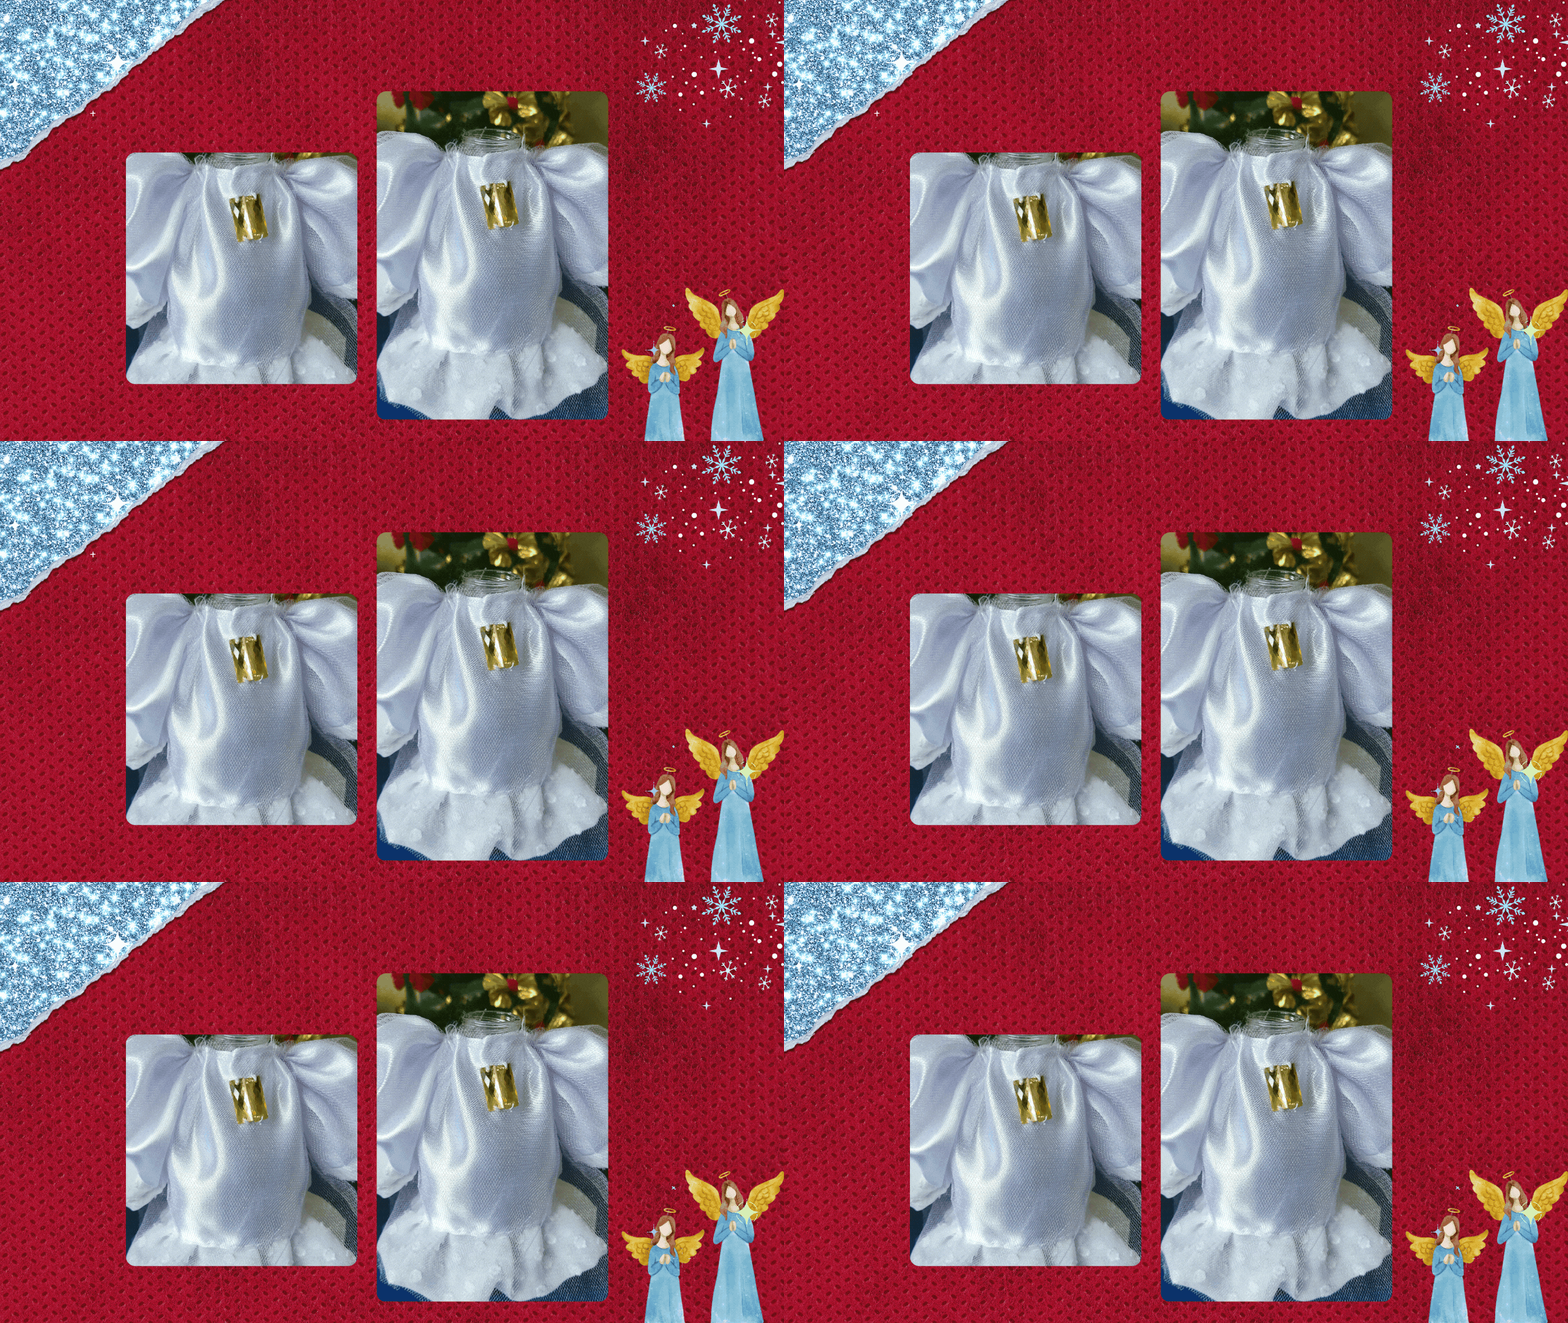
Al ajustar la falda a la botella, empezamos a medir la amplitud de la manga para armar nuestras mangas estilo farol para el vestido. Vamos a calcular las medidas tomando en cuenta el ancho de nuestra manga. Una vez trazadas las medidas, cortamos 2 piezas de cada tela que vamos a emplear en la manga. 2 piezas de tela de raso satinado, 2 piezas de tela de chifón blanco, 2 piezas de tela de tul blanco. Realizamos la costura de la manga y la sujetamos a la pieza de la falda del vestido. A este pequeño vestido le coloqué unas piedras de joyería dorada para resaltar el diseño del vestido.
✔️ Lantern style dress sleeve:
When fitting the skirt to the bottle, we start measuring the width of the sleeve to assemble our lantern sleeves for the dress. We are going to calculate the measurements taking into account the width of our sleeve. Once the measurements are drawn, we cut 2 pieces of each fabric that we are going to use in the sleeve. 2 pieces of satin satin fabric, 2 pieces of white chiffon fabric, 2 pieces of white tulle fabric. We sewed the sleeve seam and attached it to the skirt piece of the dress. I attached some gold jewelry stones to this little dress to highlight the design of the dress.

🌼Angel Body
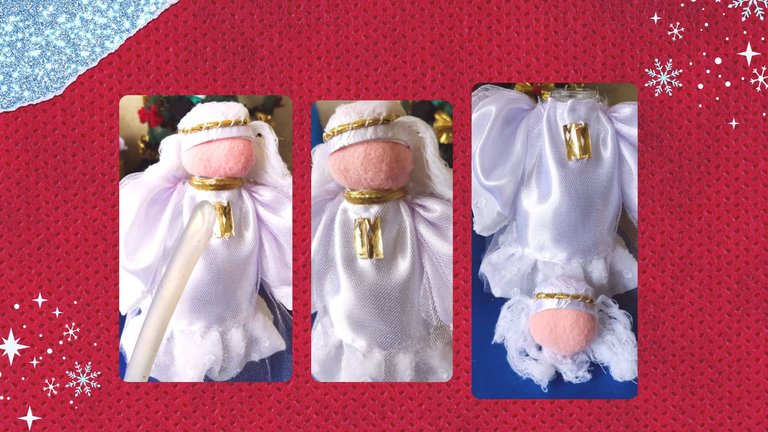
Al culminar el armado del vestido y la cabeza del ángel es el momento de unir la cabeza con el cuerpo de la botella con ayuda de silicona caliente. Con este paso ya tenemos el 60% del angelito.
Once the dress and the angel's head have been assembled, it is time to join the head to the body of the bottle with the help of hot silicone. With this step we already have 60% of the angel.

😇Christmas Angel Wings
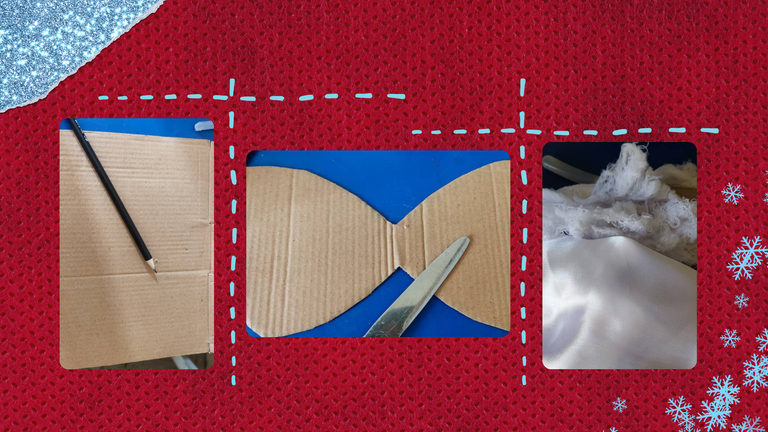
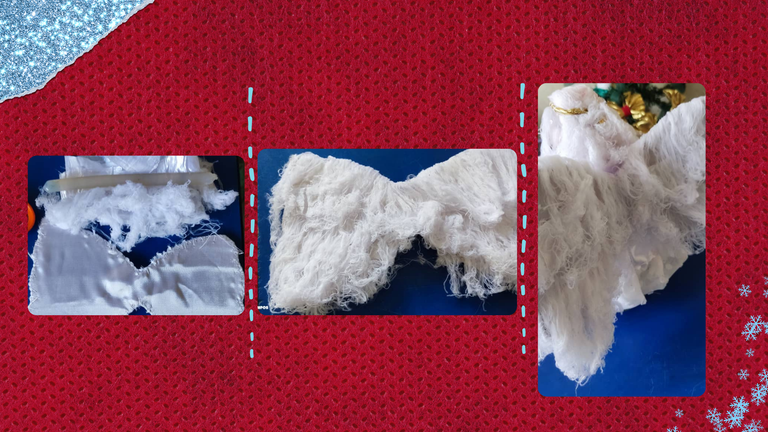
Para completar el 40% restante del cuerpo del angelito es necesario diseñar unas alas. En este paso, el cartón será la base de las alas del ángel. Para crearlas se deben dibujar en la pieza de cartón las formas de alas. Esta es una parte donde nuestra creatividad le agregará un toque especial. Una vez que tenemos el diseño de las alas en cartón, recortamos las alas. En este diseño, para cubrir ambas alas se necesita un resto de tela de raso blanco. Una vez cubiertas las alas con la tela, el toque de las plumas fue hecho con las hilachas que sobraron de la tela de raso sujetas con silicona caliente. Para mí fue una sorpresa ver que esta parte de la tela con las hilachas pueden ser muy útiles en varias manualidades. Todo es cuestión de darle la utilidad que buscamos en nuestras manualidades. Las alas quedaron con mucho volumen, blancas; este resultado me gustó mucho. Listas, ambas se colocan con silicona a la parte posterior del vestido; de esta forma, la silueta de las alas otorga ese rasgo angelical que necesitaba la pieza
To complete the remaining 40% of the angel's body, it is necessary to design wings. In this step, the cardboard will be the basis for the angel's wings. To create them, you must draw on the piece of cardboard the shapes of wings. This is a part where our creativity will add a special touch. Once we have the design of the wings on cardboard, we cut out the wings. In this design, to cover both wings we needed a white satin fabric remnant. Once the wings were covered with the fabric, the touch of feathers was made with the leftover lint from the satin fabric attached with hot silicone. For me it was a surprise to see that this part of the fabric with the threads can be very useful in various crafts. It's all a matter of giving it the use we are looking for in our crafts. The wings were left with a lot of volume, white; I liked this result very much. Ready, both are placed with silicone to the back of the dress; in this way, the silhouette of the wings gives that angelic feature that the piece needed.

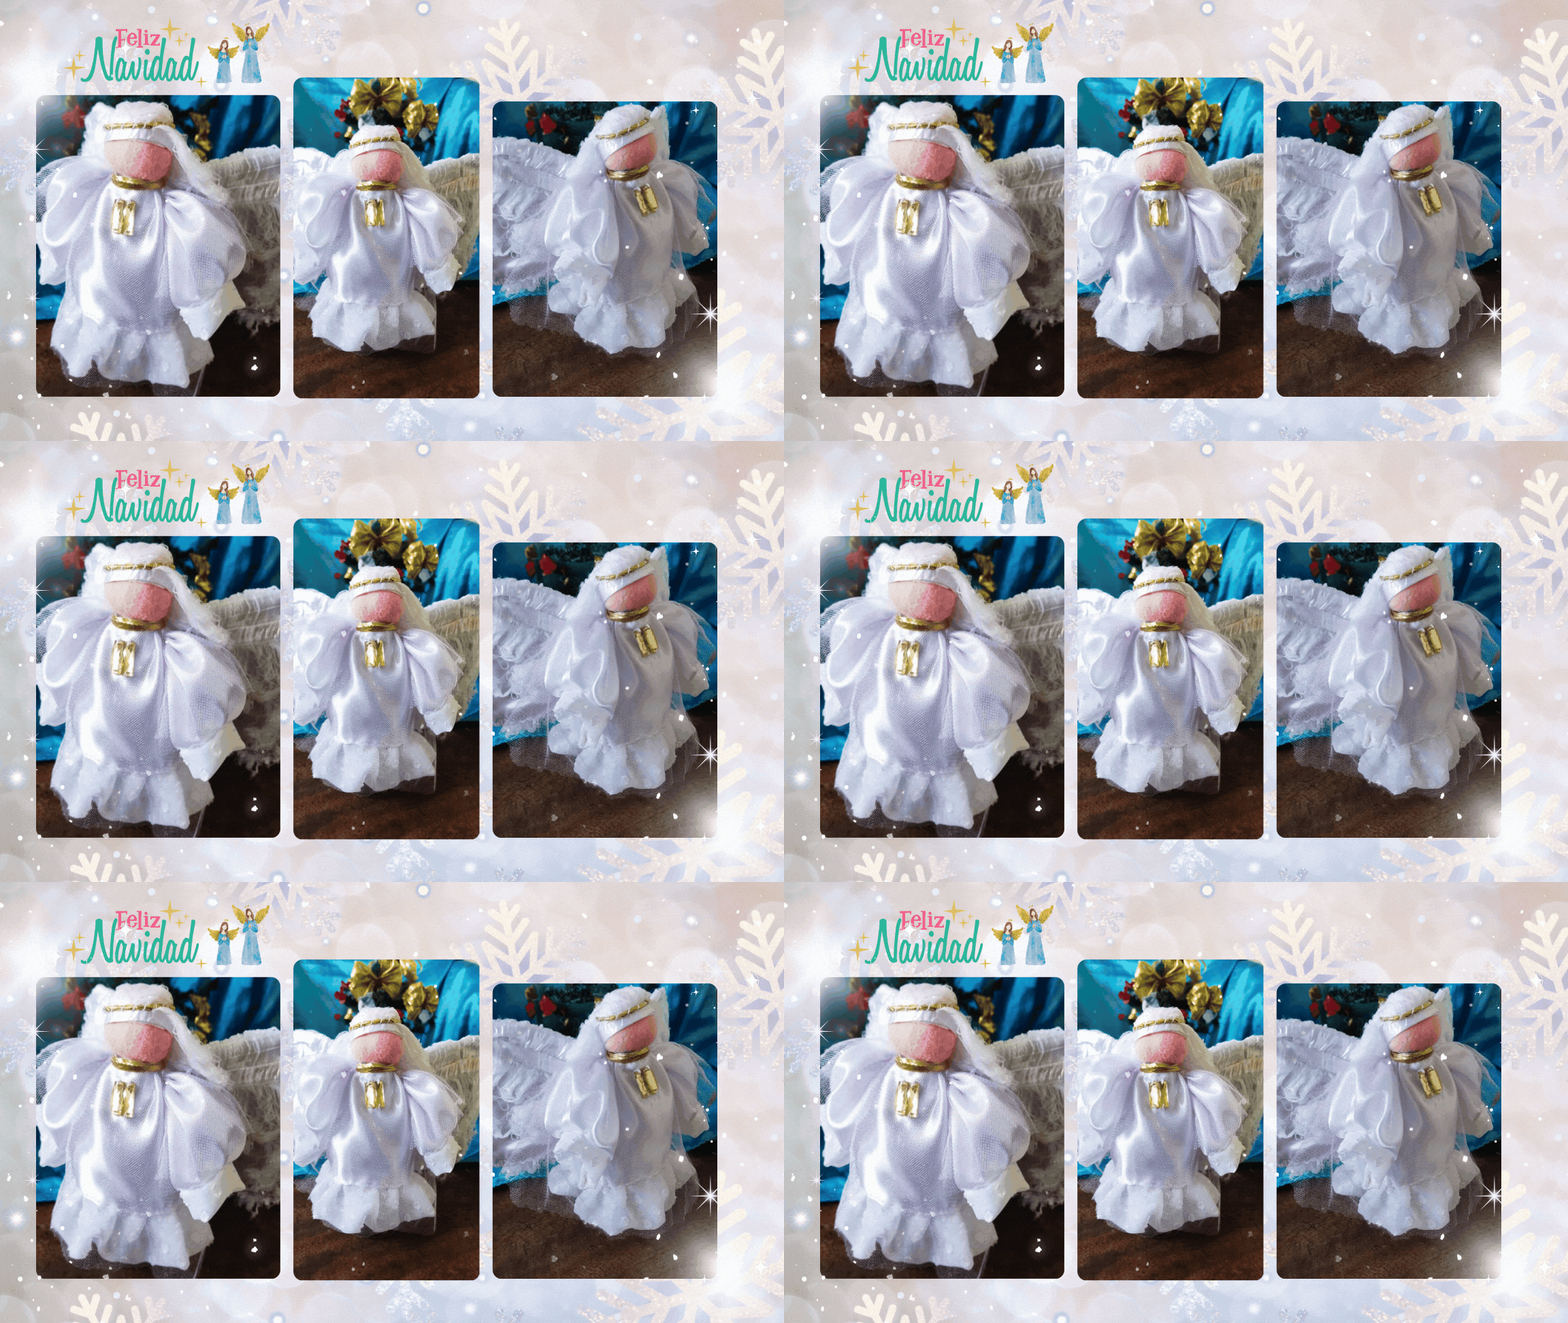
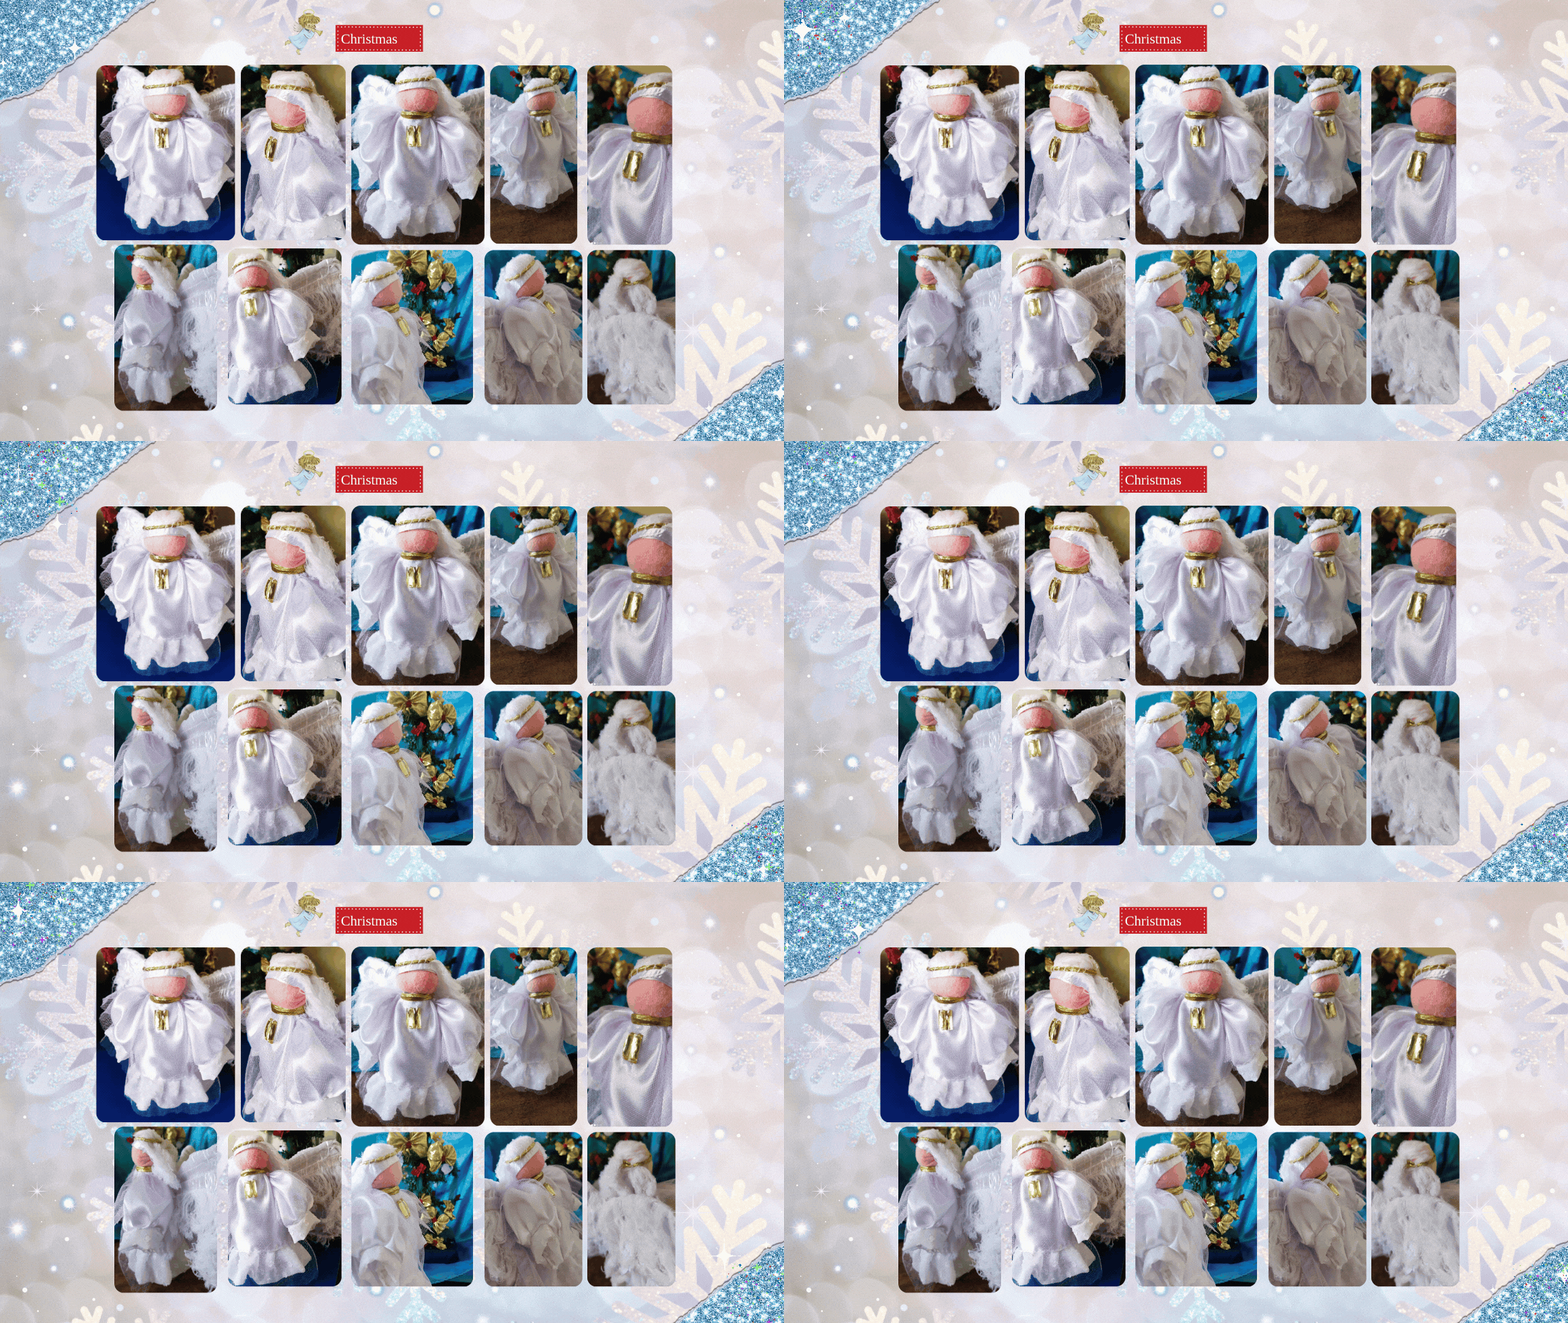
Finalmente, es el momento de revelar el resultado final. El ángel Navideño, elaborado a partir de una pequeña botella de vidrio. Un angelito resplandeciente para iluminar esta Navidad y promover el mensaje de esperanza en esta bonita época del año.
Finally, it is time to reveal the final result. The Christmas angel, made from a small glass bottle. A glowing angel to illuminate this Christmas and promote the message of hope in this beautiful time of the year.
DIYHub Christmas ft. Ecency 👉(Final Contest of 2024).

Las fotografias de este Ángel navideño elaborado con una botella es de mi propiedad @elisaday7 .
Este contenido es original, traducido al idioma English a través de Deepl.
Separadores de textos diseño Navidad elaborado a través de Canva en su versión Gratis por @elisaday7 .
Portada y presentaciones editadas con Recursos de Canva.
Gif ecency diseñado por @irisworld ( Ecencia Artes de Invierno y Navidad 2025)
