Namaste!
Remember my carrot harvesting fest earlier this year? Last time, too, I sowed carrot seeds in the second half of November, and even then, I had thought that next time, I would do this work a little earlier. But this time again, I delayed it. But this time, the reason for this delay is not my laziness but my desire to do it in a different and very, very cheap way.
You know that I have those rectangular crates in which I grew carrots last time too and they are easily available between 300 to 500 Indian Rupees. But let's assume someone doesn't even want to spend that much but wants to grow vegetables, then what should he do?
You might not believe how cheap and easy it is to make this grow bag and in my opinion, this is the best for growing root vegetables because it is breathable from all sides and it also expands a little when the vegetables grow under the soil, so that despite not being in the ground, the vegetables do not feel the lack of space to grow.
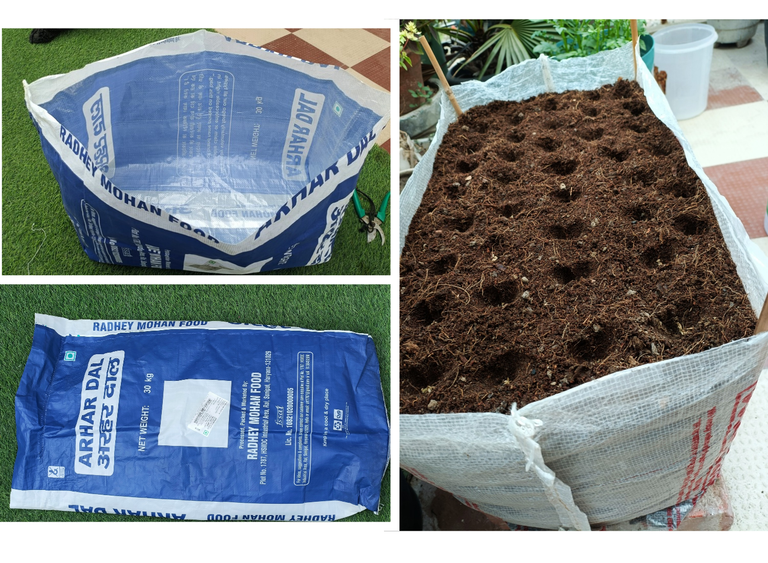
So here are the things I needed to make this amazing, foldable and most affordable grow bag to grow seasonal vegetables :
- A big plastic bag usually contains rice, pulses, sugar etc. I already had one such bag at home and I bought one from a grocery store which cost me 1 Indian Rupee. As of today, 1 USD is equal to 84.5 Indian Rupees and I am talking about just 1 Indian Rupee.
- Some wood sticks to make the frame. I had a broken cane stick chair at home. Before throwing it away, I had separated some whole sticks from it. You can also use any ordinary tree branch in its place. Their job is not to bear the weight but to just give a shape to our bag.
- Small nails or some strong thread, both worked equally well. I made one bag using thread and one using both nails and thread.
Now here is the process :
This is that empty bag of pulses I bought for 1 Indian Rupee from a local grocery store.
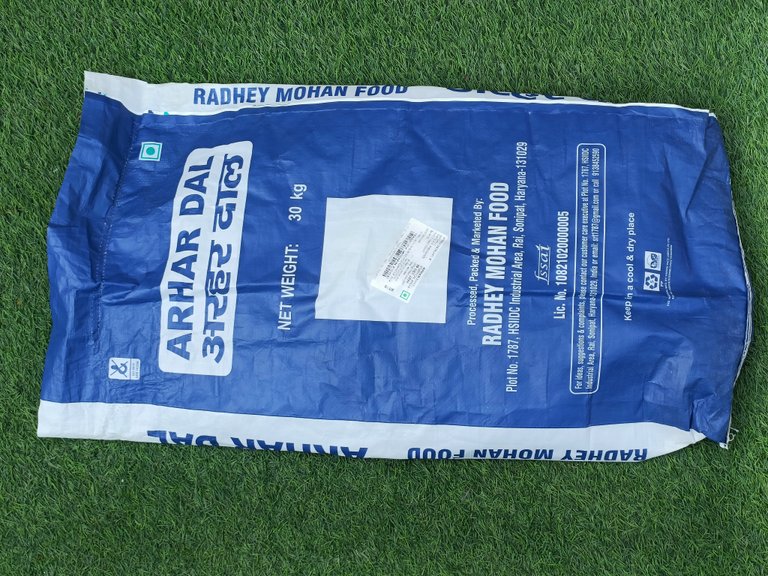
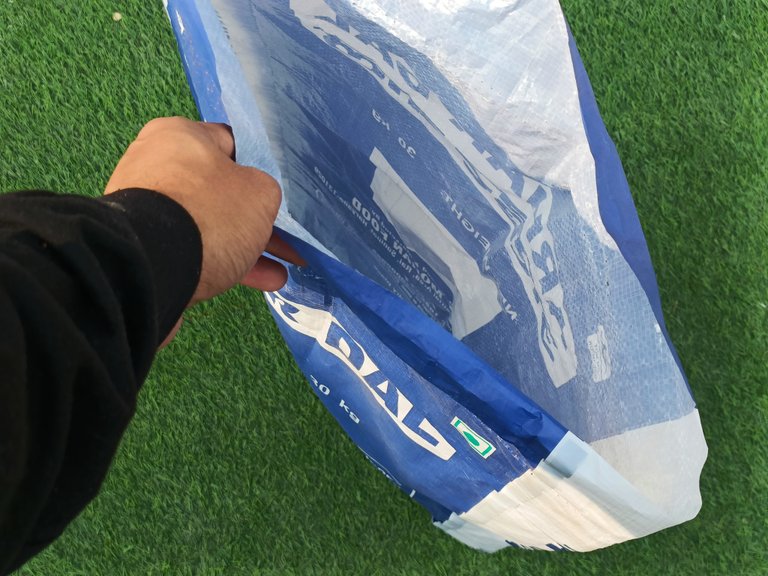
This is a vertical bag, i.e. it is open from the long side but I don't want such a deep and small pot so I will cut it horizontally from one side and seal its already open side with the help of needle and thread.
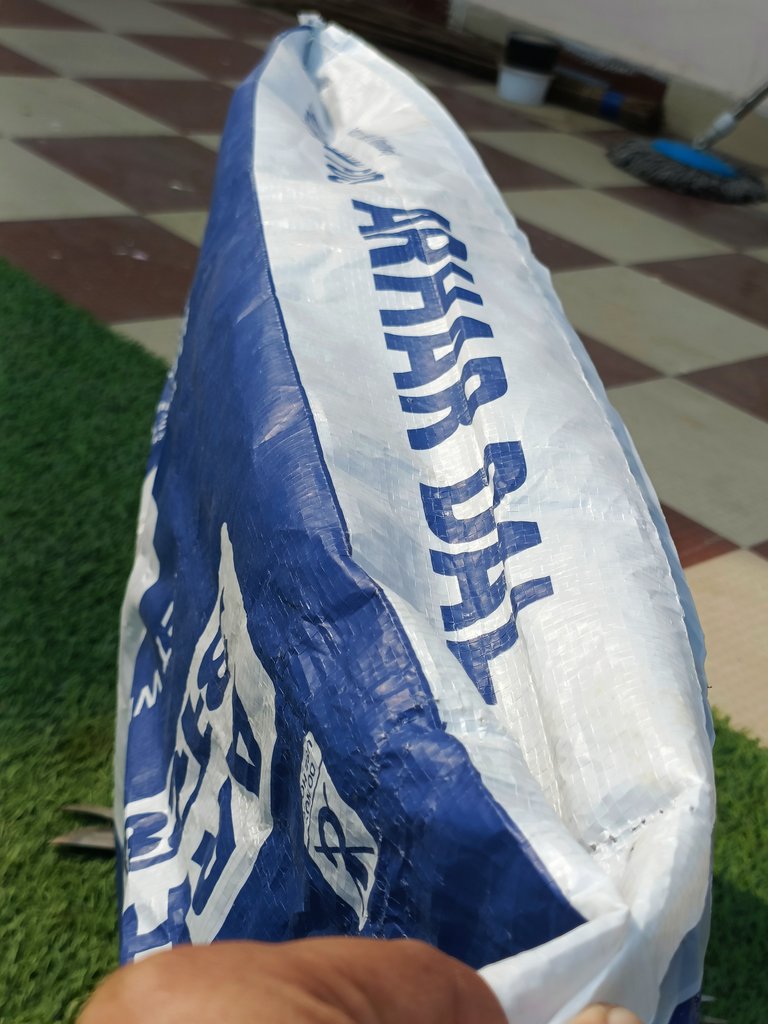
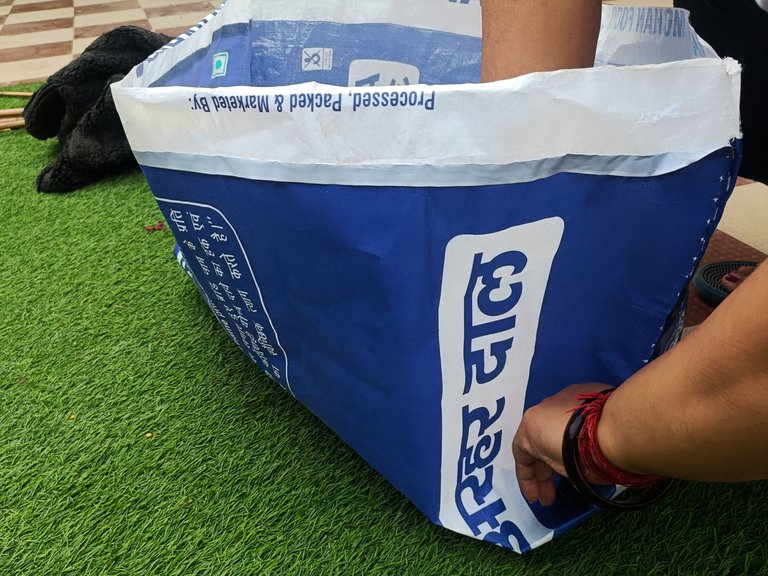
After which, it started looking something like this. After that, I folded the edges of its base a little to give it the shape of a box and punched it on its straight wall with a stapler.
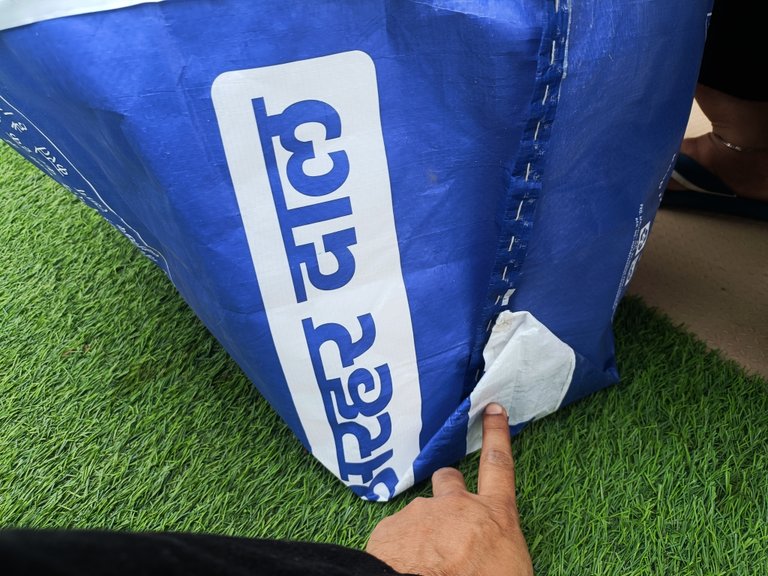
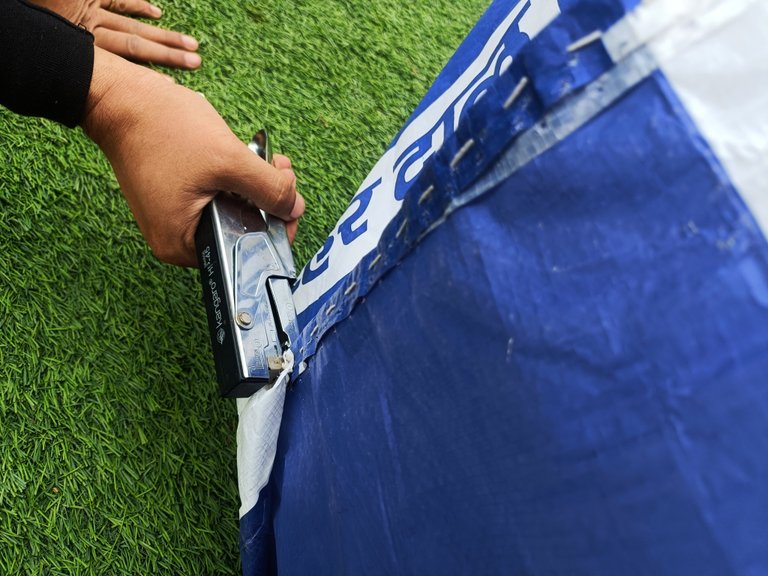
After folding and stapling the corners on both sides in the shape of a box, its shape looked like this from the outside.
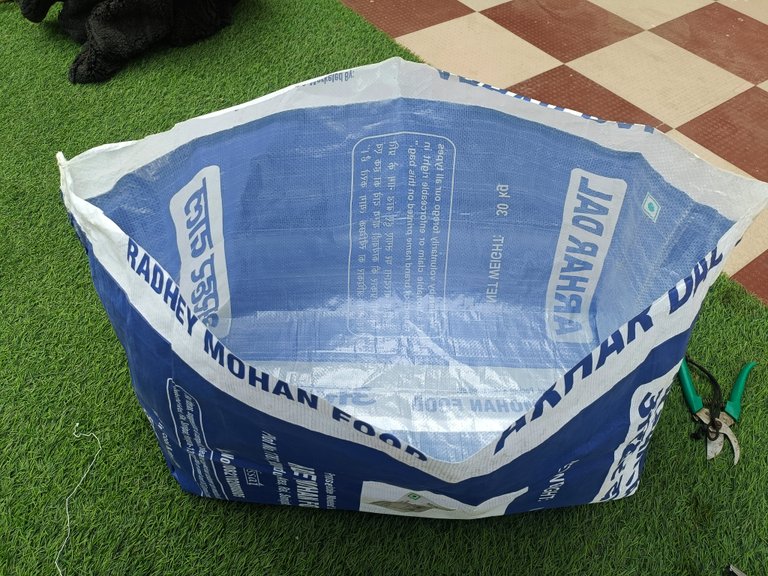
And its shape from the inside.
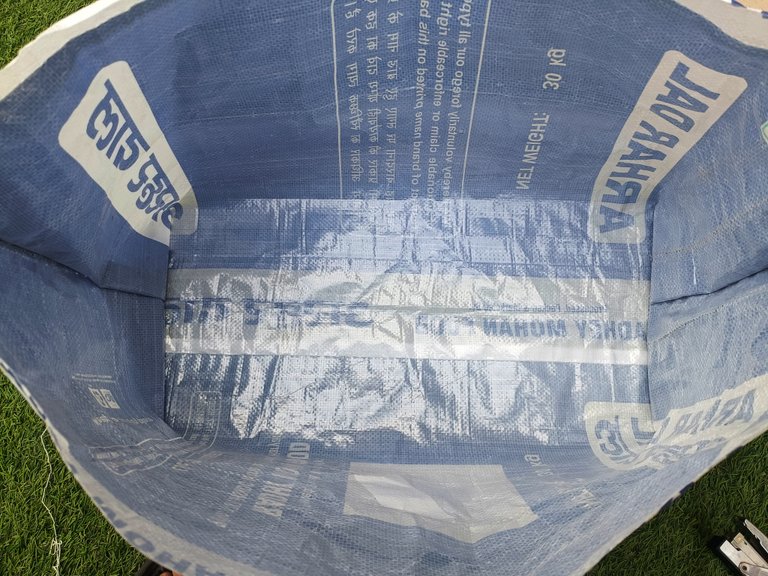
Now to maintain this shape, we need to make its frame for which I took those cane sticks from my store room and cut them in the size of the boxy shape seen inside this bag.
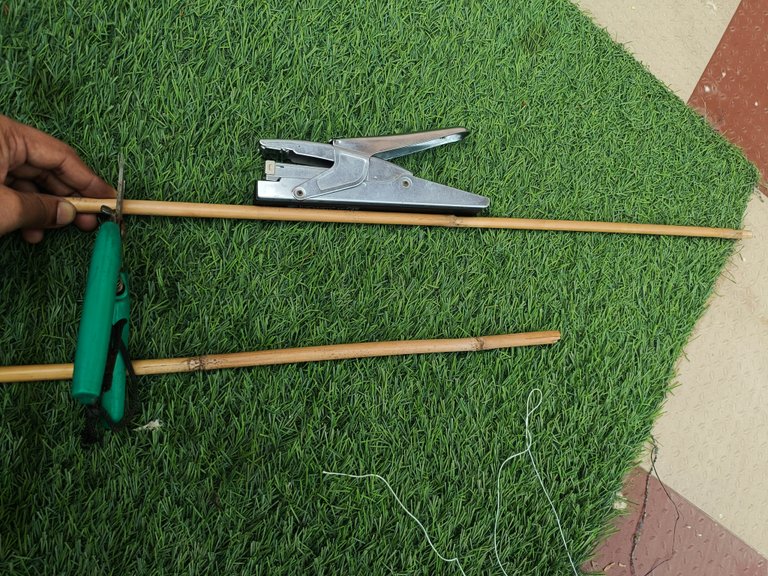
After cutting, these sticks will look something like this in the bag. Right now I have just kept them in the bag for you to see, but we also need to tie them together.
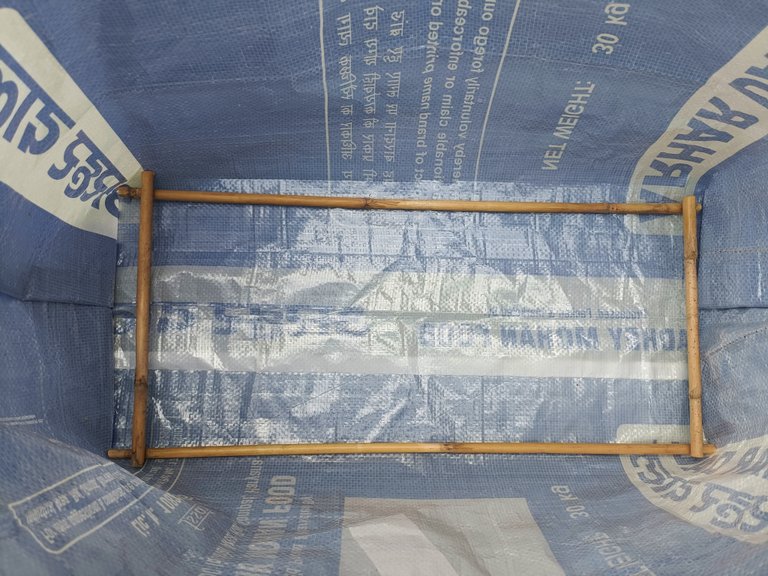
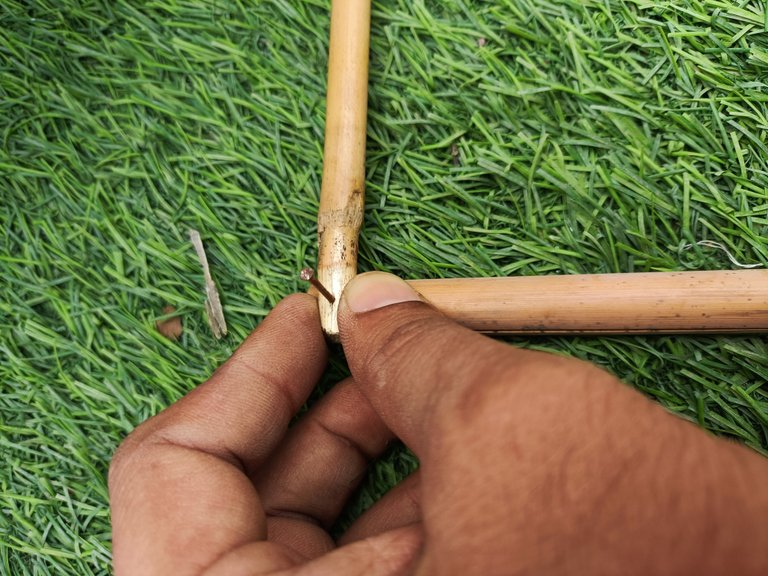
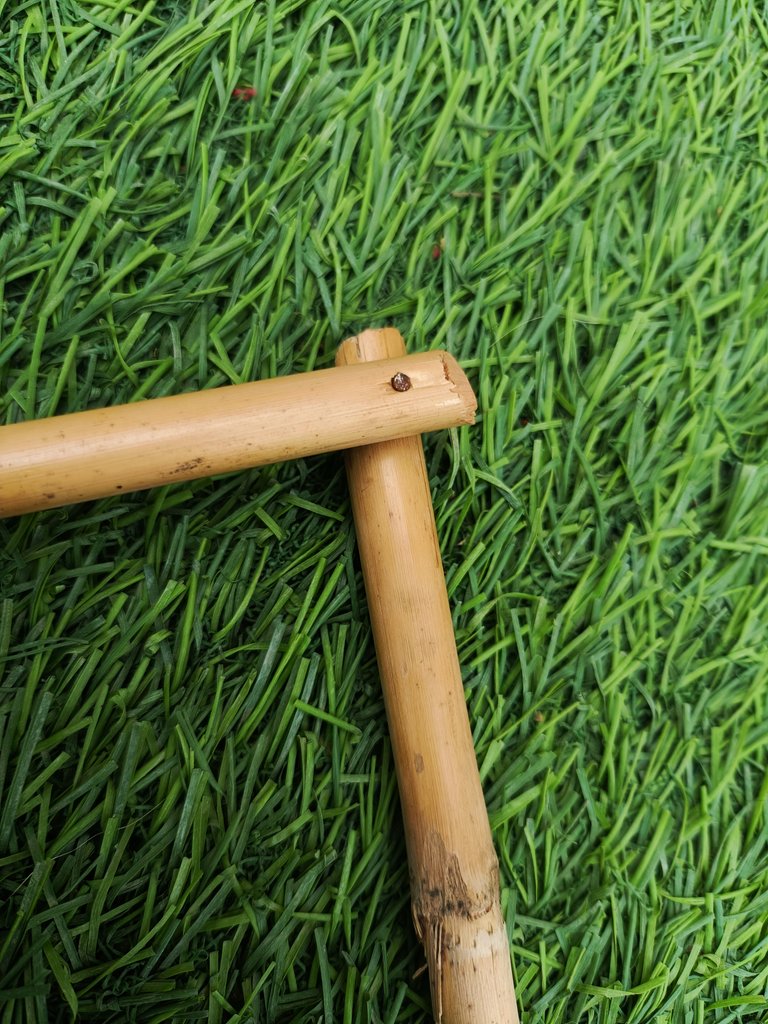
I fixed all those 4 sticks with each other with the help of small nails and also used one more stick in the middle to keep this frame a little more stable.
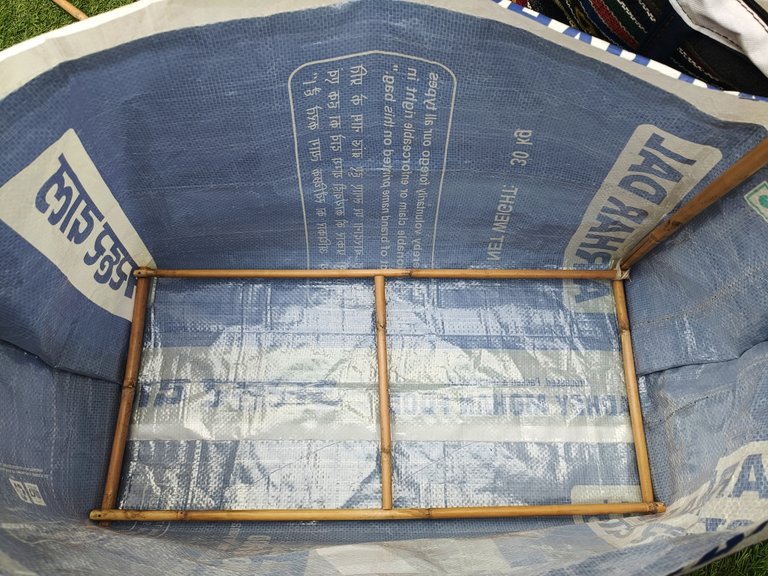
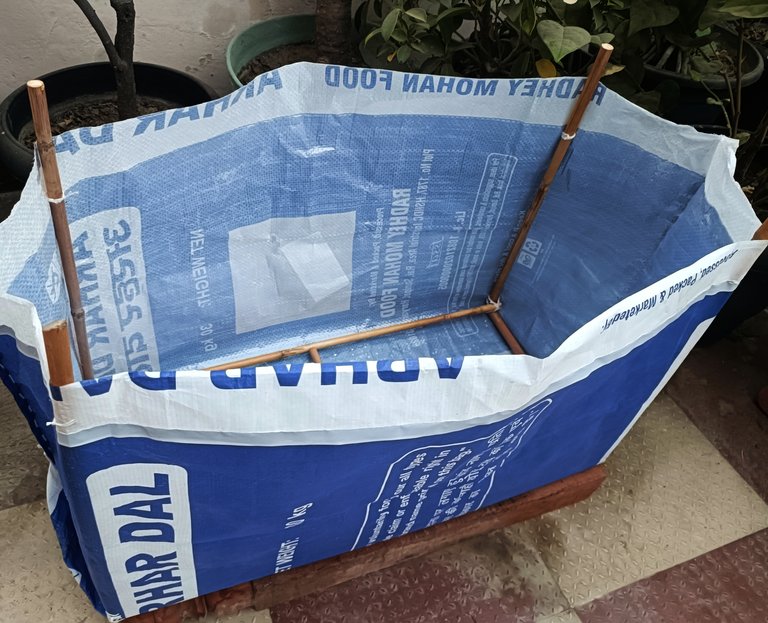
The frame of cane sticks that you can see in the picture shown below is the ready base and along with this I cut 4 more sticks a little bigger than the height of this pot, which I am going to tie one by one on all the 4 sides of this frame with the help of thread.
Just like you can see 2 vertical sticks on one side of the bag.
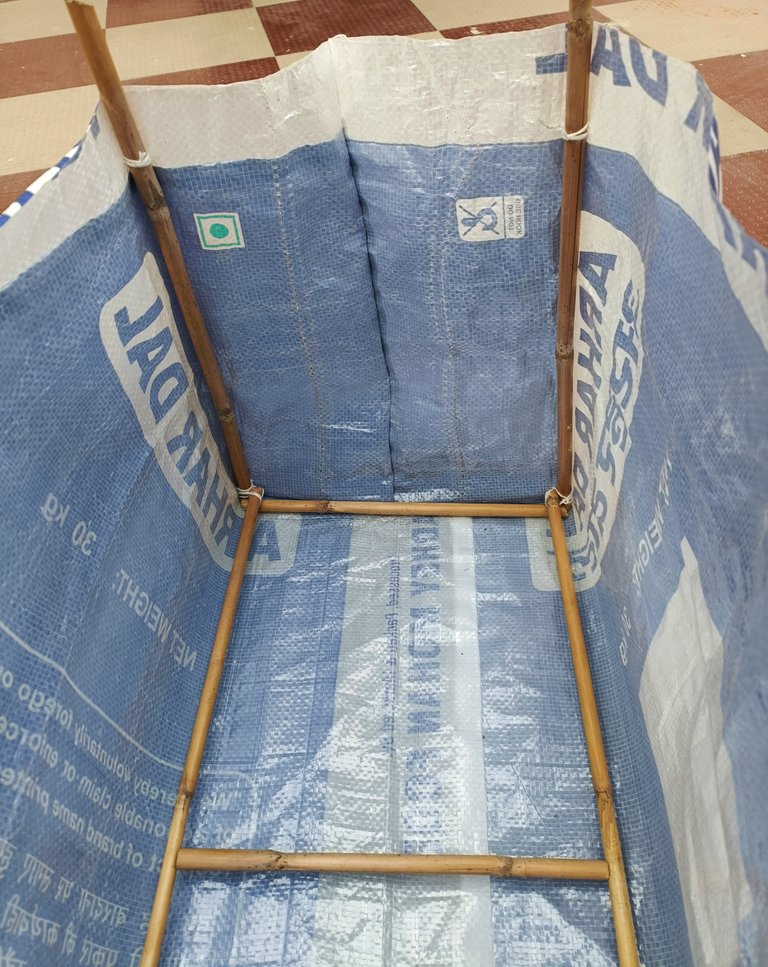
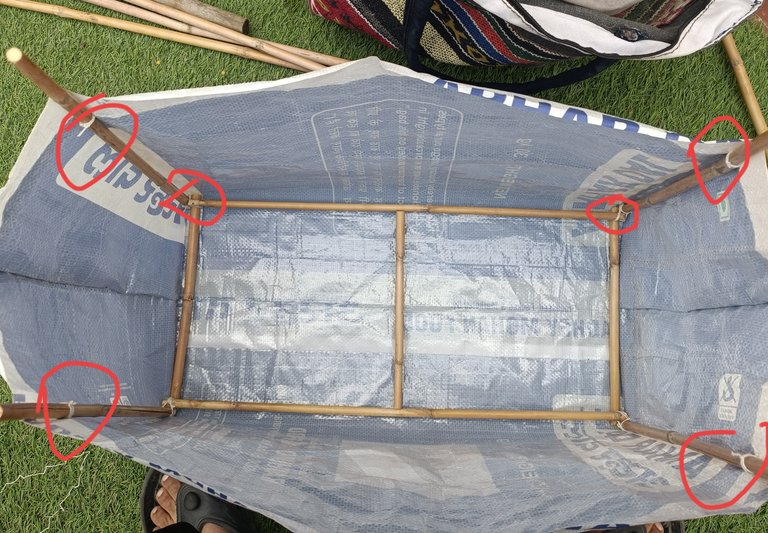
Here I hope you have noticed that I have tied all the vertical sticks at the base of the bag as well as at the top. The reason for doing this is that this will keep my bag in the shape of the frame from bottom to top.
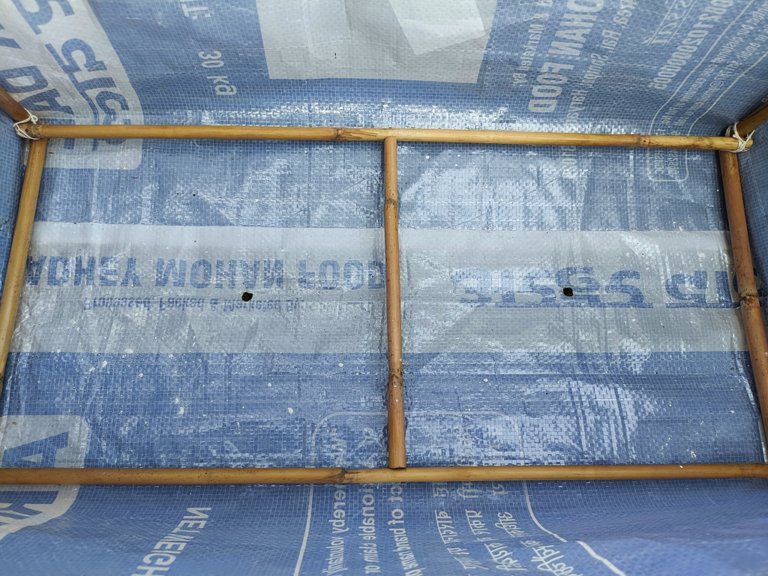
And this way my foldable, affordable and reusable grow bag was ready. After that I made two holes in it with a hot iron and placed the used Diwali diyas upside down on these holes for extra water drainage.
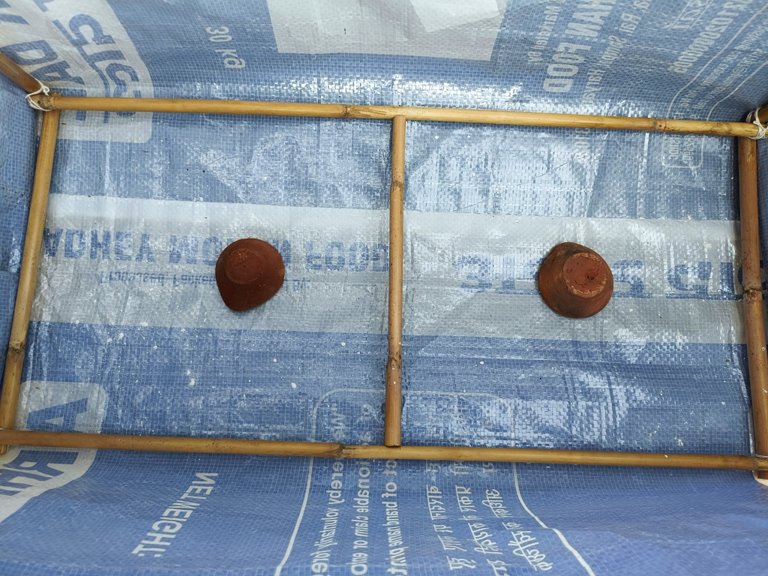
In the subsequent process, only the filling and seed sowing remained, which I have already done in another pot made in a similar way.
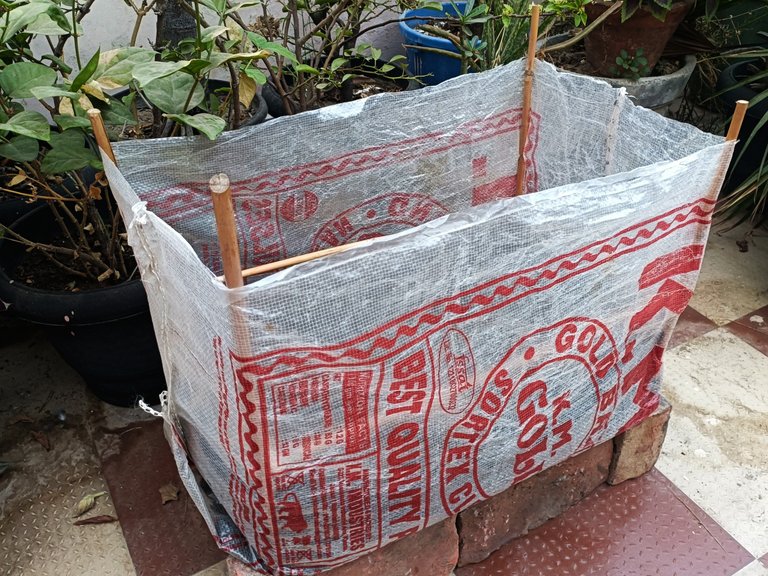
This is a grow bag prepared from a used bag that was already in my house. So after placing the diya on the bottom holes, I spread dry leaves on it in the first layer.
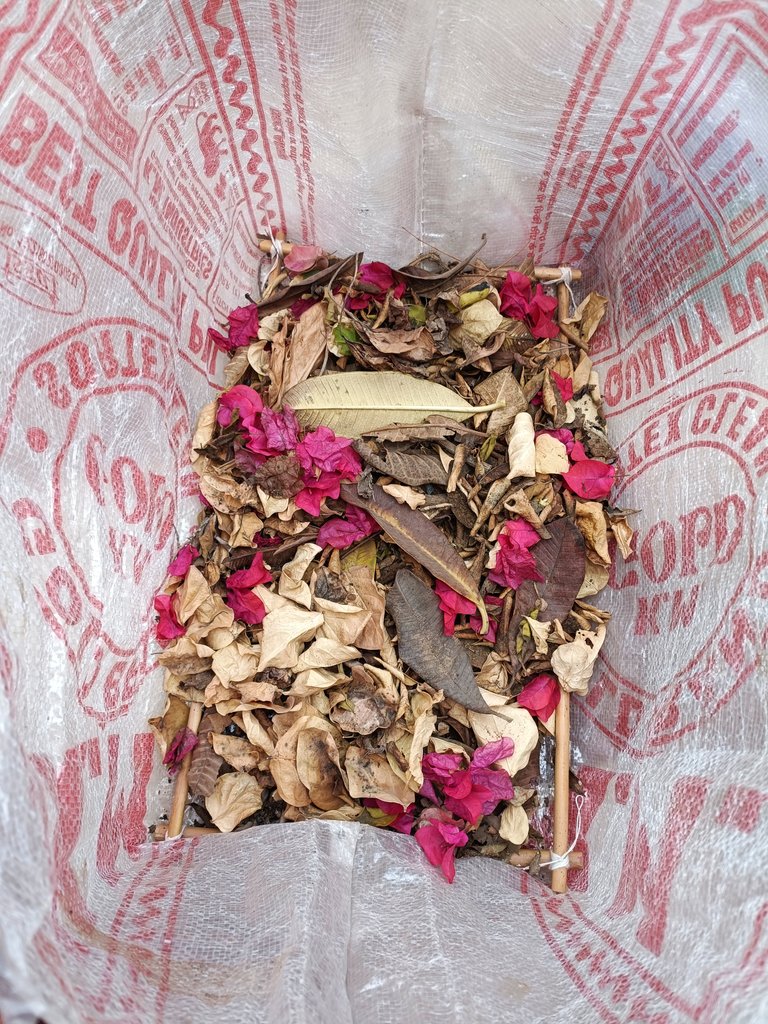
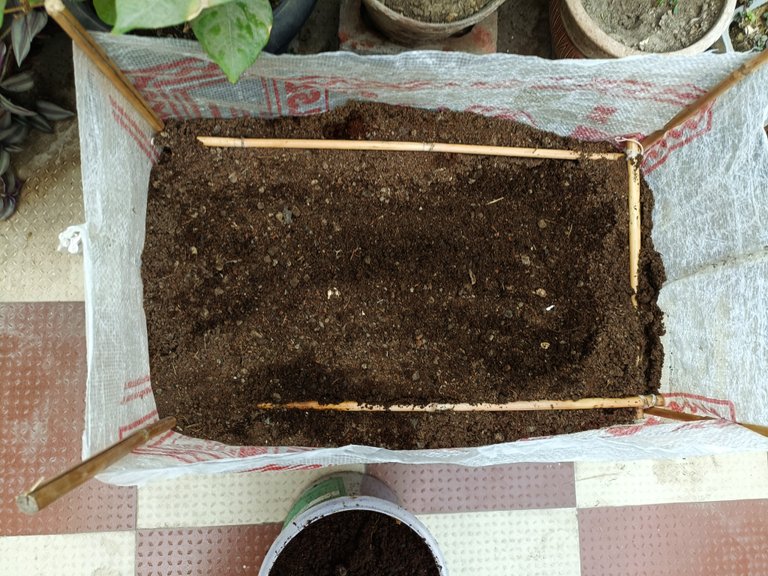
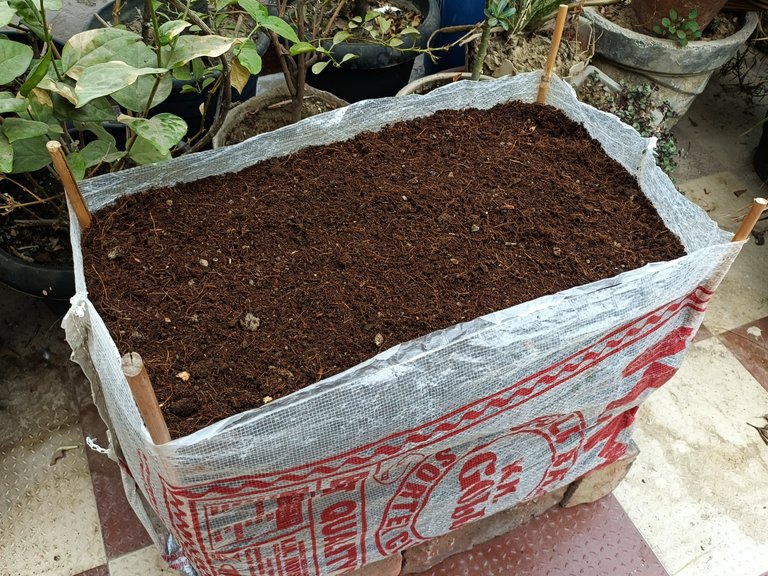
And then started filling it with potting mix and about 2 inches below the top I filled it with soil mix which was mainly made up of garden soil, coco peat and cow dung manure.
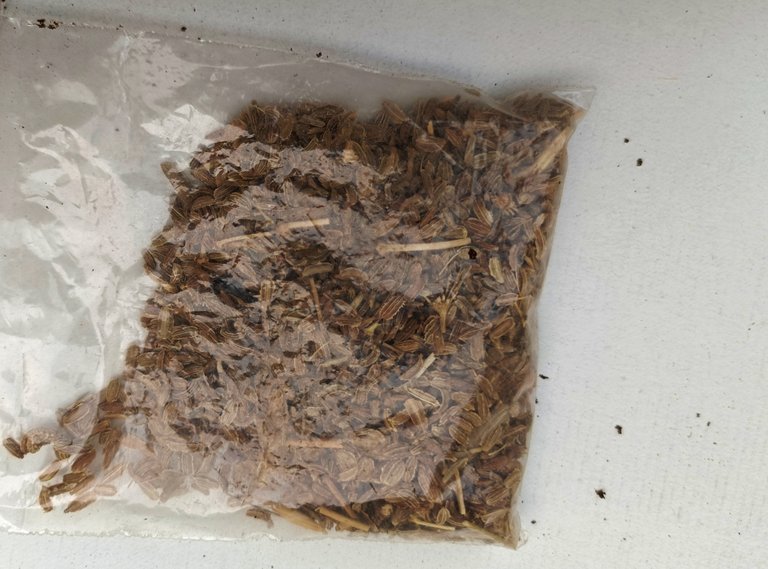
I sowed These carrot seeds in a pinch quantity in this pot at a distance of approximately 3 inches.
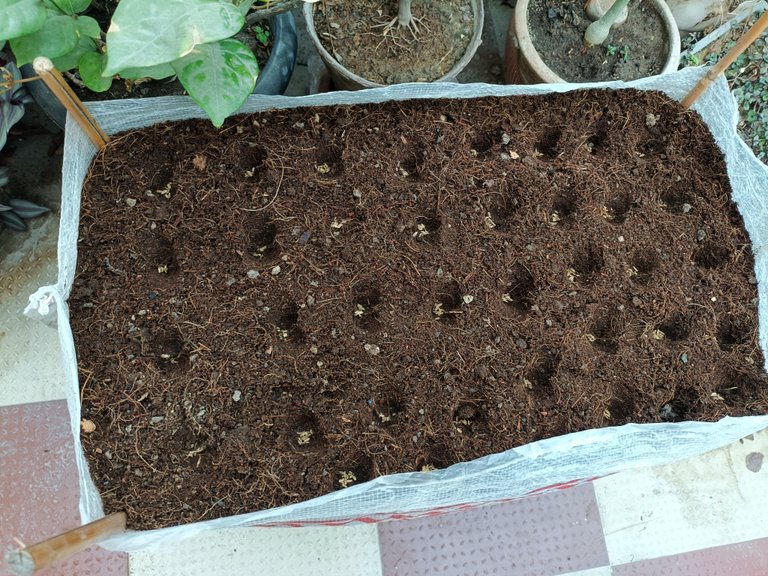
Here, you will probably understand the difference between a normal pot and this rectangular pot. In this grow bag, I have sown carrot seeds in more than 25 holes which will get full space to grow straight from top to bottom, whereas if you had sown carrots in a normal plastic pot, you would have been able to sow a maximum of 5 or 8 seeds in one pot.
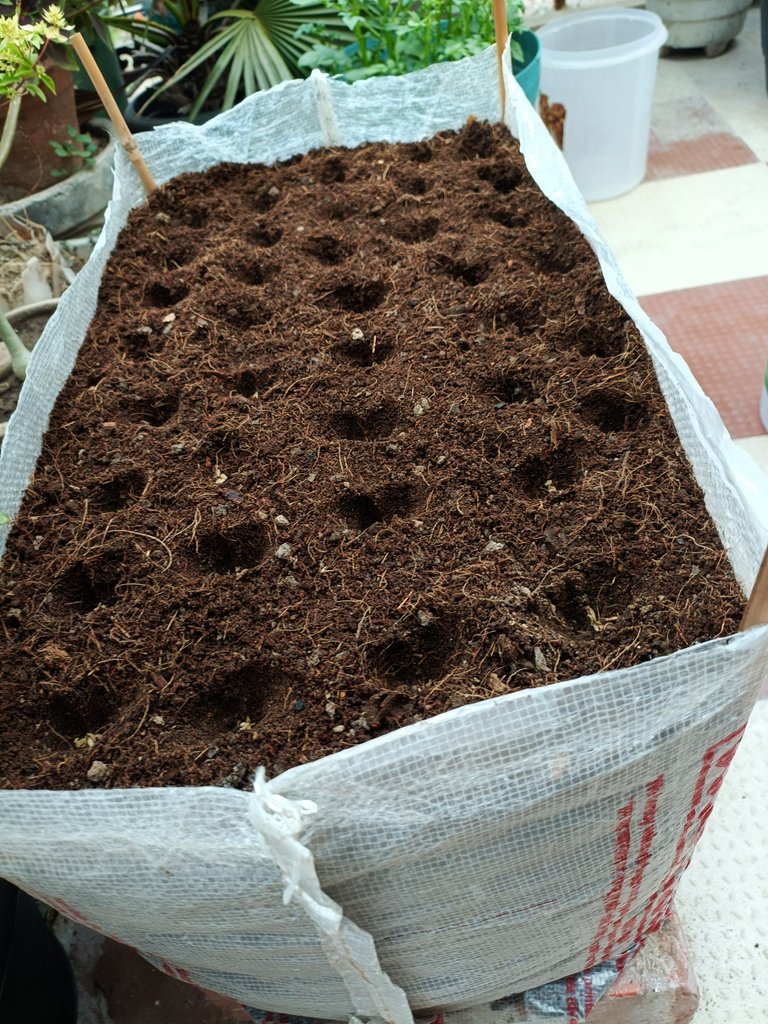
By the way, the size of my handmade grow bag is 24 x 15 x 15 Inches.
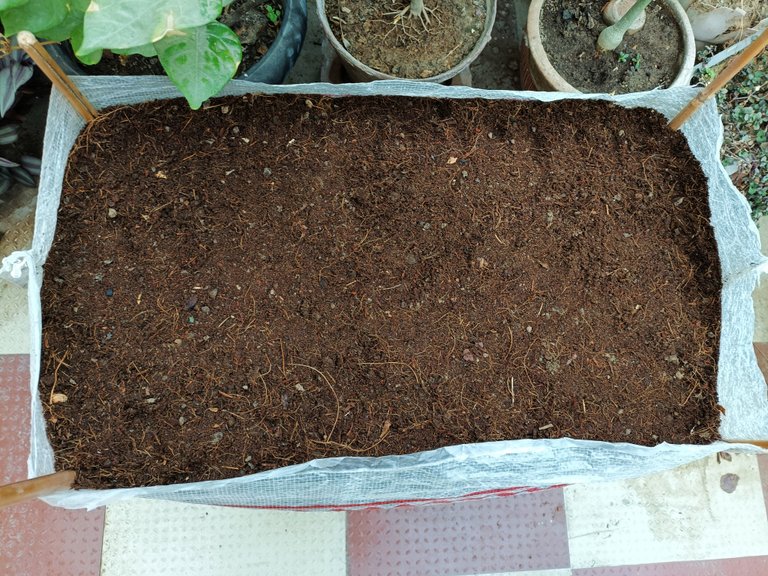
Well, after planting the seeds at a depth of about 1 inch, I covered the seeds with a light layer of soil mix and watered them. Now hopefully within the next 3 weeks, I will get germination of all these seeds, after which in about 3 months the day will come again when we will celebrate Carrot Harvesting Fest 2.O! 🥕🤞
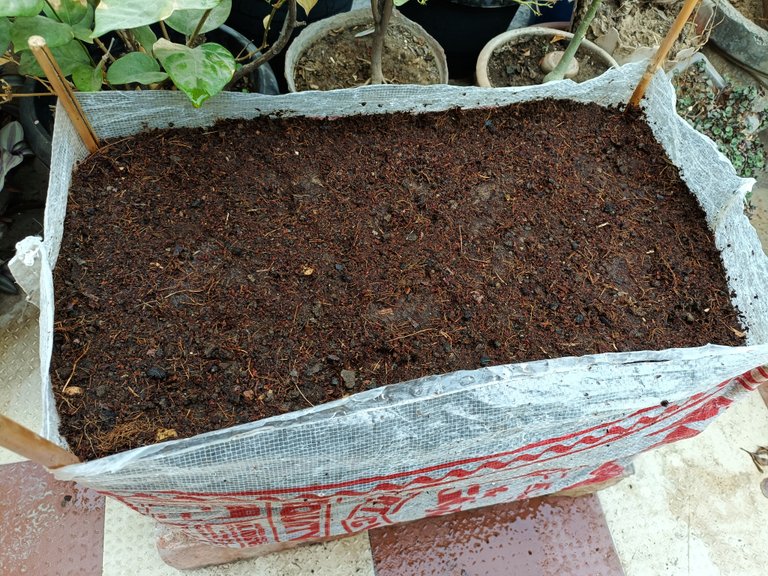
I hope you liked my gardening!😊
5% of this post reward goes to Ecency. Don't forget to support the projects you enjoy using.

Note:
- English is not my first language. So sometimes I use 'Google Translate'. Please don't think that anything I have written in this blog has been copied from somewhere or is AI-generated.
- Unless otherwise stated, All other content images and words are mine.
- Thumbnail made using canva but the images are all mine.

That's all for today.
Have a Happy and Blessed day!

Follow Ecency's curation trail to earn better APR on your own HP. 😊

 )
)