This marks my first social media post sharing a battle strategy experience in the Modern format with the new update season of the Conclave Arcana set. While I’ve managed to maintain my position in the Diamond League, it hasn’t been quite like before when I could push even higher in rating. In today’s post, I’ll highlight a strategic battle featuring Daarg Deadblast and how I constructively utilized its Weapon Training ability not effetively since I'm still learning the new card sets. The focus is on pairing Daarg with non-attacking units that may not deal damage on their own but are incredibly powerful thanks to their support or utility abilities—allowing them to become unexpected threats when empowered through Weapon Training with magic.
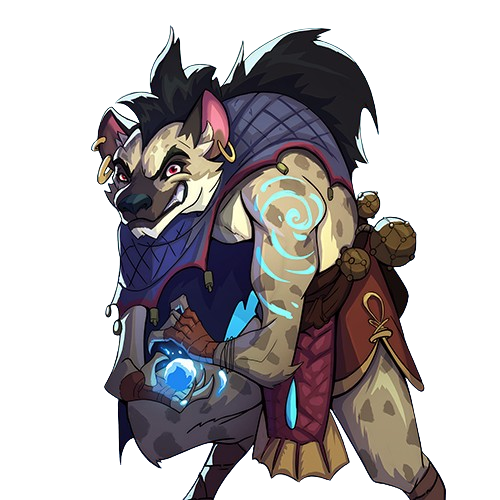
Daarg Deadblast is a Legendary card from the Rebellion set belonging to the Water Splinter, and it stands out as a highly versatile support unit thanks to its unique combination of abilities. With Weapons Training, Daarg can grant offensive capability to adjacent non-attacking monsters by giving them its 3 magic attacks, effectively turning passive units into powerful offensive assets. This becomes incredibly valuable in strategies that rely on utility monsters such as healers, buffers/debuffs—who typically do not have an attack. By placing Daarg next to these units, you gain the benefits of their support roles while boosting your team's overall damage output without compromising utility.
In addition to Weapons Training, Daarg Deadblast also offers a solid defensive and team-enhancing presence. Its Swiftness ability increases the speed of your entire team, helping you strike first and potentially dodge incoming attacks. Triage allows Daarg to heal the most injured backline monster each round, adding survivability to your team, especially in sustained battles. The Dodge ability further boosts its evasion, making it a harder target for physical attackers. With 8 health and even at a slow base speed of 1, Daarg is quite durable and synergizes well in many setups. Daarg becomes a crucial backbone of any Water Splinter lineup when strategically positioned and supported, especially in rule sets or strategies that highlight hybrid offense-support plays. I usually combo this card with Nimbledook Explorer for extra defense with healing and offense with Armored Strike.

Into the battle: https://splinterlands.com/battle/sl_4803e68f3435525733849ce89dd98bdf
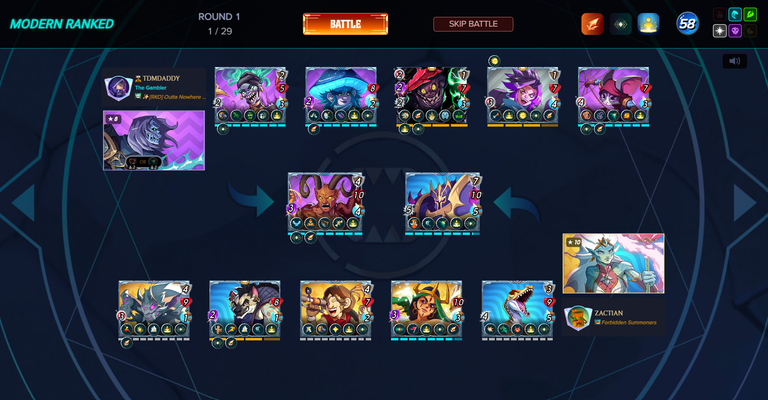
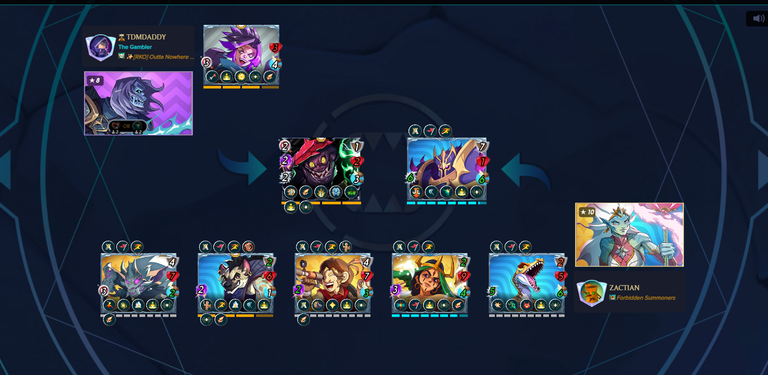
In this battle, the rule sets were Aimless, Up to Eleven, and Born Again, with a high 58 mana cap, and only Fire and Dragon splinters were inactive. I chose Prunda Undervesch as my summoner, primarily because it was a rental I had available, alongside other rented cards like Akane and Risqruel Drath. Many other summoners were either too expensive or didn't seem profitable unless consistently valuable for various matchups. Prunda gave me the flexibility to focus on the Water element, which I had rented cards for, while also integrating Life element cards I already owned. My lineup consisted of Commander Slade as the main tank, Giant Alpine Skink as the secondary tank, Janni Rebel in a support role, Nimbledook Explorer providing buffs and acting as a hybrid tank-melee attacker, Daarg Deadblast offering both Weapons Training and additional support abilities, and Luceheim Demon serving as ranged support. This lineup was designed with a strong focus on armor and healing buffs, combining magic and melee attacks to overwhelm the opponent through sustained frontline durability and layered offensive pressure.
The opponent, on the other hand, used Reklah as their summoner and deployed a lineup consisting of Helheim Demon, Wailing Wraith, Dark Arborist, Gramel the Hunger, Chaos Battle Mage, and Meriput Slinger, arranged in that order. Notably, the inclusion of Gramel the Hunger—a powerful and rare max-level promo card from the Conclave Arcana set—stood out as a significant threat. Given its strong stats and versatile abilities, it was clear that Gramel served as the opponent’s primary damage dealer. Their overall strategy appeared to be a well-balanced combination of magic and melee attacks, likely designed to create offensive pressure and adaptability across the board.
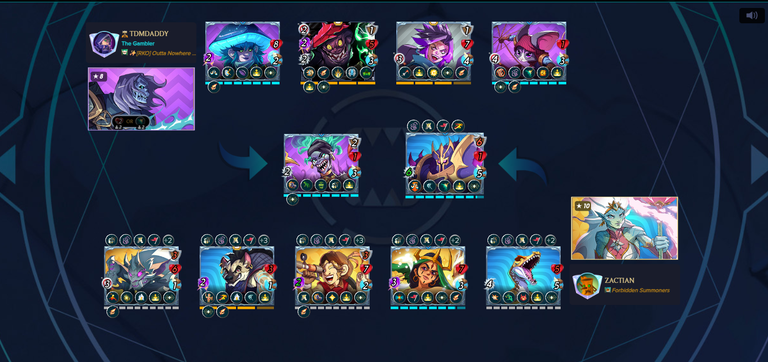
As the battle progressed, I gained the upper hand by overpowering the opponent’s Helheim Demon, thanks to the combined frontline strength of Commander Slade and Giant Alpine Skink and some favorable targeting from the Aimless ruleset. This strategic edge allowed me to chip away at the enemy lineup consistently. With the added sustain from having two Triage abilities in my team, which provided consistent healing each round, I could maintain durability while applying pressure. Given the momentum and durability advantage, I felt confident that victory was within reach as I continued to dominate in power and survivability.
The opponent’s Gramel the Hunger couldn’t deal significant damage, as many of their attacks missed my Commander Slade, partly due to my clear speed advantage. This gave me the upper hand throughout the match. Despite having a limited card pool, I was able to effectively utilize the resources available to me and secure the win through strategic placement and solid card synergy.

A Big Thanks! For supporting me, being here, and coming this far. I hope this strategy assists you with some of your battles with these rule sets.
Use my referral link: Click Here
Credits:
Edited the Design photo Splinterlands Modern League using PicsArt
Screenshot In-game splinterlands
