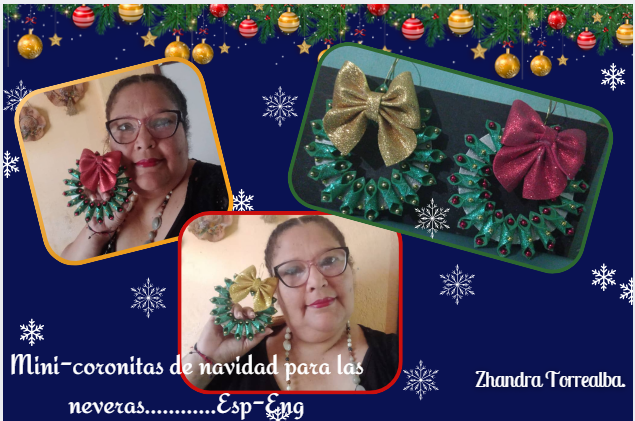

Hola mis amigos amantes de las manualidades, que Dios nos bendiga estas manos con laa que hacemos bellezas. Si ya paso navidad, pero no tuve tiempo que mostrarles antes, ya que no pase la navidad en mi casa y cuando venia era por raticos y asi fue hice estas lindas coronitas.
Materiales:
-Foami verde, rojo, dorado escarchado.
-Foami plateado.
-Imanes, cordon.
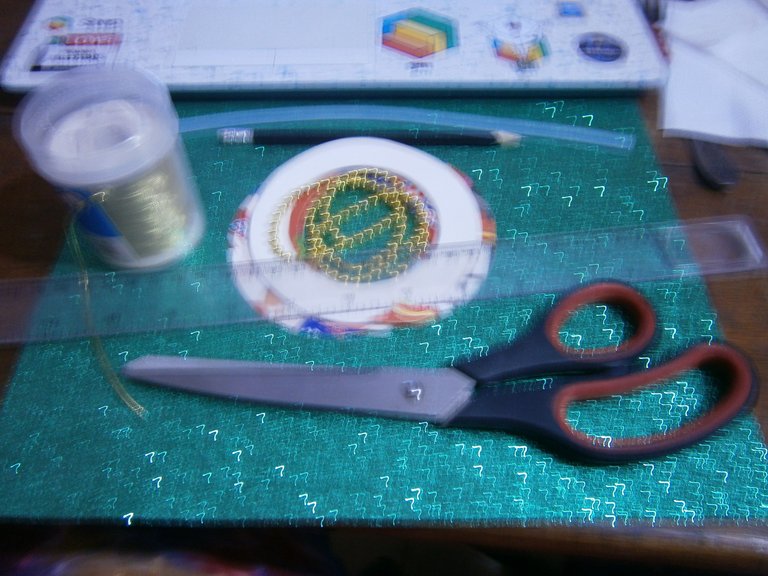
-Carton de cereal, lapiz, tijera, regla.
-Pistola y barras de silicon.
-Perlitas doradas y rojas.
-Tapas redondas de 14 y 12 cms de diametro.
Paso a Paso:
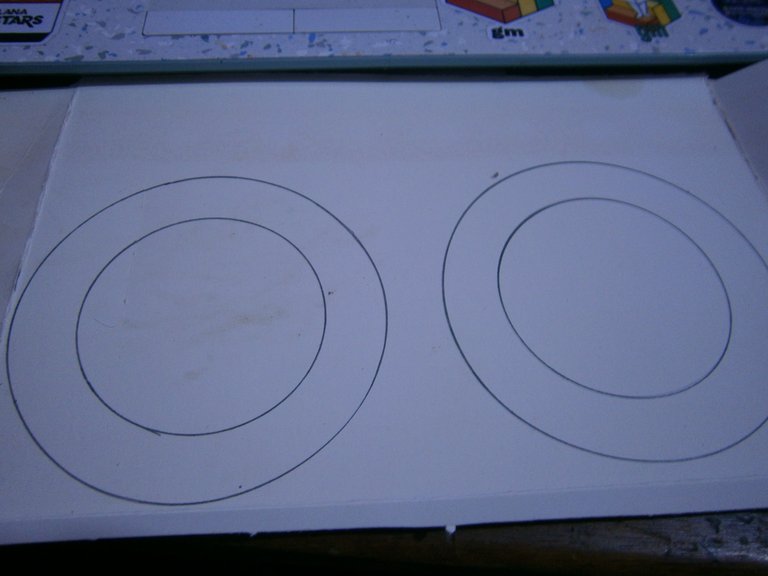
1.-Abrimos la caja del cereal para ahi trazar los circulos con las 2 tapas, debe quedar como de 2 cms de ancho.
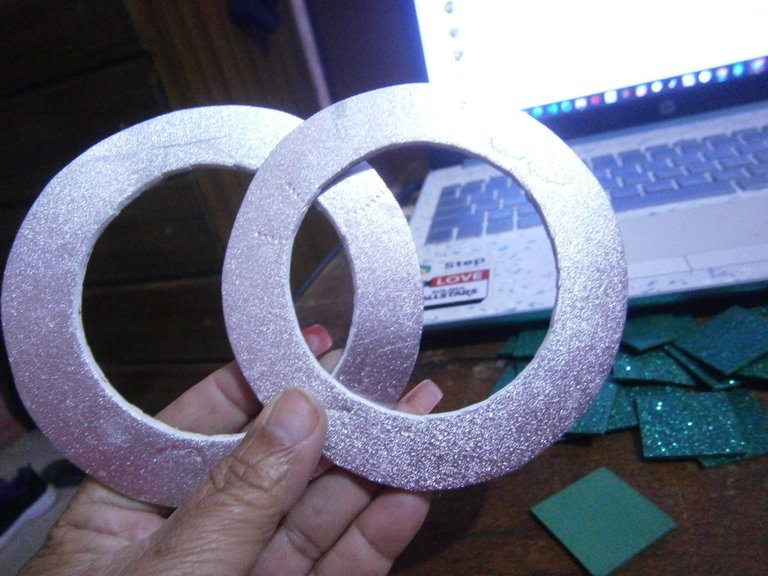
2.-Recortamos y luego pegamos estos circulos a otro foami, escogi uno plateado este hara contraste con los demas colores.
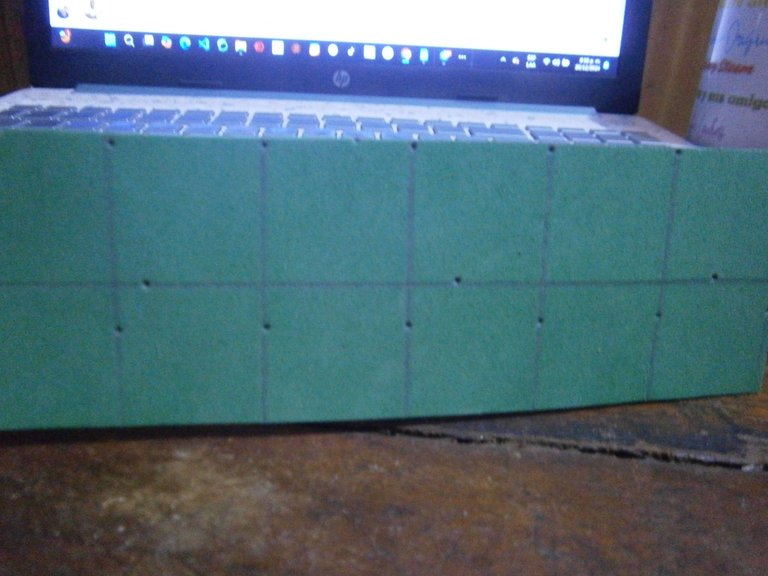
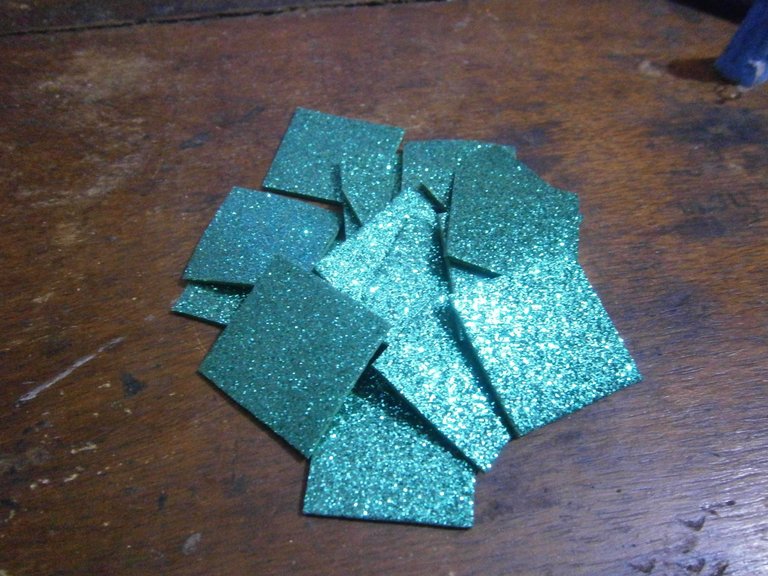
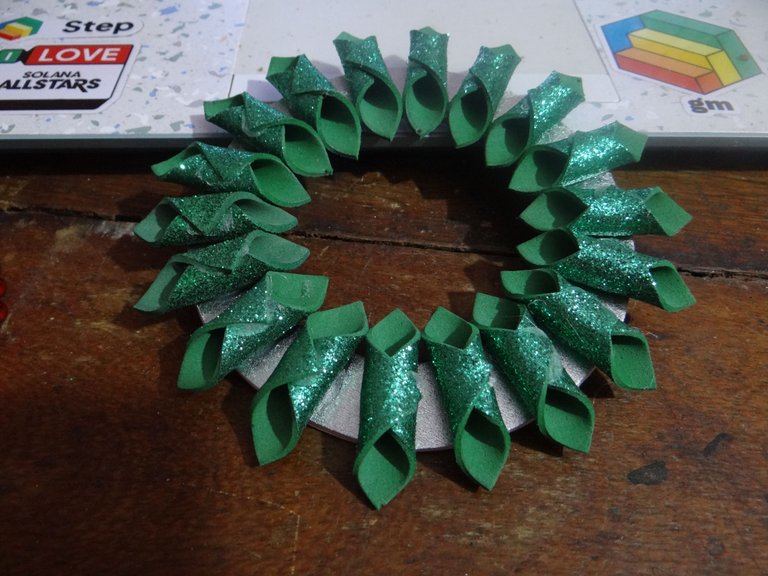
3.-Con el foami verde escarchado trazare cuadrados de 3 x 3 cms, tantos que sea necesario para la corona, eso dependera del tamaño del circulo, en uno use 19 y en el otro menos creo que 16.
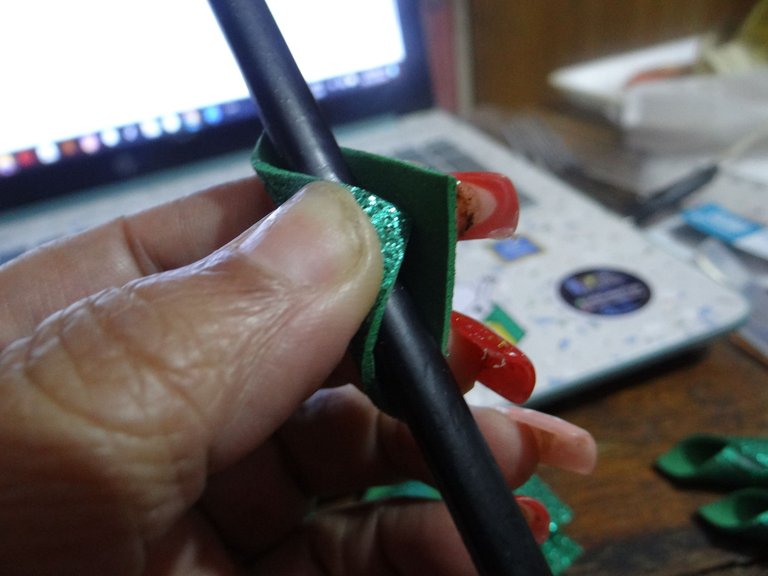
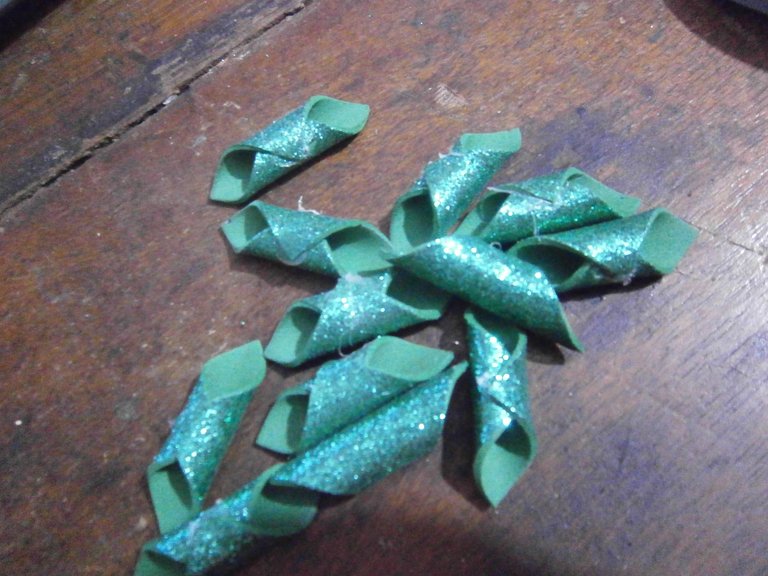
4.-Una vez cortados los cuadrados con la ayuda del lapiz y el silicon pegare puntas y las otras quedaran debajo del lapiz, no se que forma decirles como quedan pero asi como ven en las fotos.
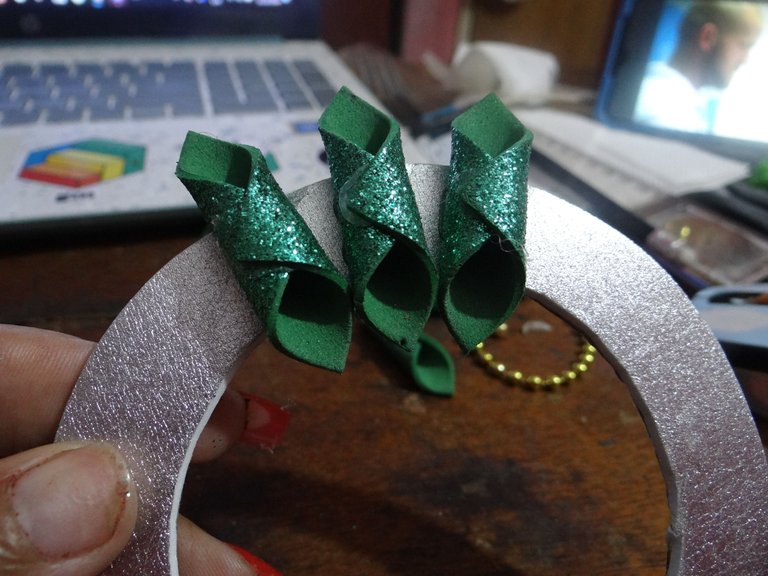
5.-Cuando las tenga todas listas, las voy pegando con silicon en el circulo, dejando un pequeño espacio, no deben estar pegaditas.
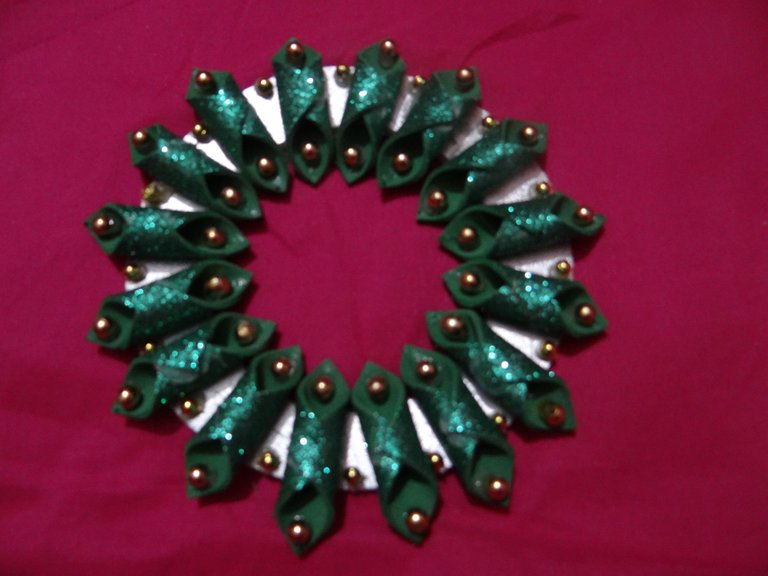
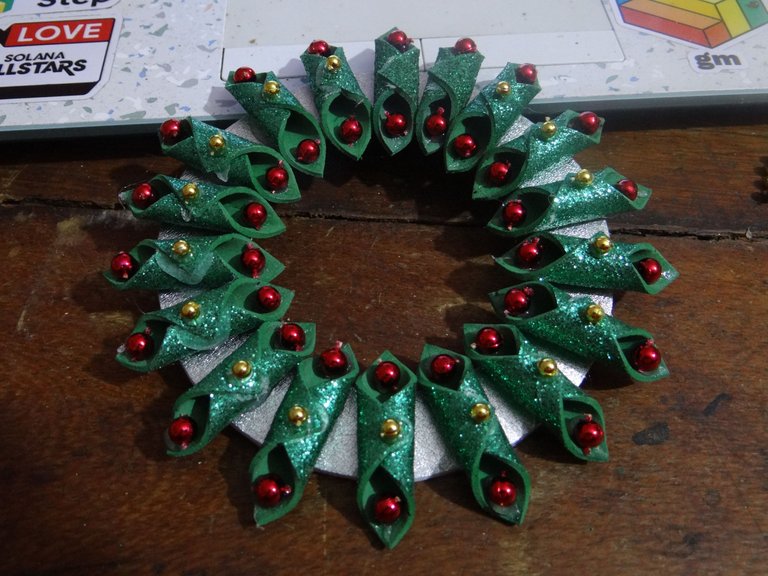
6.-En cada uno de los cuadrados en los extremos pegare una perlita dorada y otra en los espacios entre las partes verdes, asi tambien hice con las rojas con la diferencia que tambien lleva dorado.
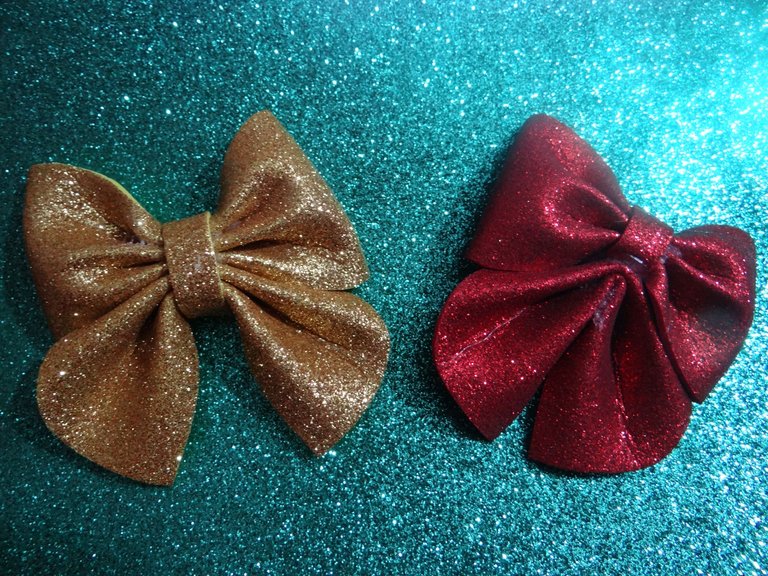
7.-Luego cada corona le hacen sus lazos, hice dos uno dorado y el otro rojo, esa clase se las debo porque debia hacer una publicacion especial aunque no es dificil pero cada quien tiene su manera de hacer las cosas.
8.-Aunque dije que era para la nevera por los imanes, que luego se los pegue, tambien le coloque un cordon dorado, por si lo quieren colocar en el arbolito o en otra parte como el carro.
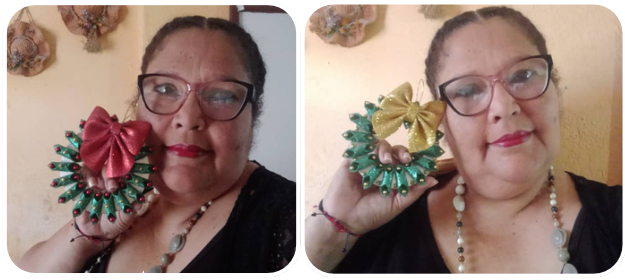
9.-Y luego de cada trabajo la foto final con su creadora que soy yo, pero sino voy a negar que la idea la vi en la internet pero le puse mi toque personal, la mayoria de las cosas que aqui hacemos lo hemos visto en las redes.
Espero que lo guarden para las proximas navidades y FELIZ AÑO tengan todos que sigamos dando mas de lo que sabemos, compartiendo y aprendiendo.
Las fotos del paso a paso todas son de mi autoria use camaras Sony y Olympus, celular Samsung Galaxy A12 para las selfies.
Portada editada con elementos Canva.
Traduccion con la app DeepL


Hello my friends who love crafts, may God bless these hands with which we make beauties. Yes, Christmas has already passed, but I didn't have time to show you before, since I didn't spend Christmas at home and when I came it was only for short periods of time, so I made these cute little crowns.
Materials:
-Green, red, gold frosted foami.
-Silver foami.
-Magnets, string.
-Cereal carton, pencil, scissors, ruler.
-Silicone gun and sticks.
-Gold and red beads.
-Round caps of 14 and 12 cm in diameter.
Step by step:
1.-Open the cereal box to trace the circles with the 2 lids, it should be about 2 cm wide.
2.-Cut and then glue these circles to another foami, I chose a silver one this will contrast with the other colors.
3.-With the frosted green foami I will trace squares of 3 x 3 cm, as many as necessary for the wreath, it will depend on the size of the circle, in one I used 19 and in the other less I think 16.
4.-Once cut the squares with the help of the pencil and the silicon I will glue tips and the others will be under the pencil, I do not know how to tell you how they are but as you can see in the pictures.
5.-When I have them all ready, I glue them with silicone in the circle, leaving a small space, they should not be glued.
6.-In each of the squares at the ends I will glue a golden bead and another in the spaces between the green parts, so I also did with the red ones with the difference that also has gold.
7.-Then each wreath is made with its own ribbons, I made two, one golden and the other red, I owe this class to them because I had to make a special publication although it is not difficult but everyone has their own way of doing things.
8.-Although I said it was for the fridge because of the magnets, which I glued later, I also put a golden cord, in case you want to place it on the tree or somewhere else like the car.
9.-And after each work the final photo with its creator who is me, but I will not deny that I saw the idea on the internet but I put my personal touch, most of the things we do here we have seen in the networks.

I hope you save it for next Christmas and HAPPY YEAR to all of you that we continue giving more of what we know, sharing and learning.
I used Sony and Olympus cameras, Samsung Galaxy A12 cell phone for the selfies.
Cover edited with Canva elements.
Translation with the app DeepL
