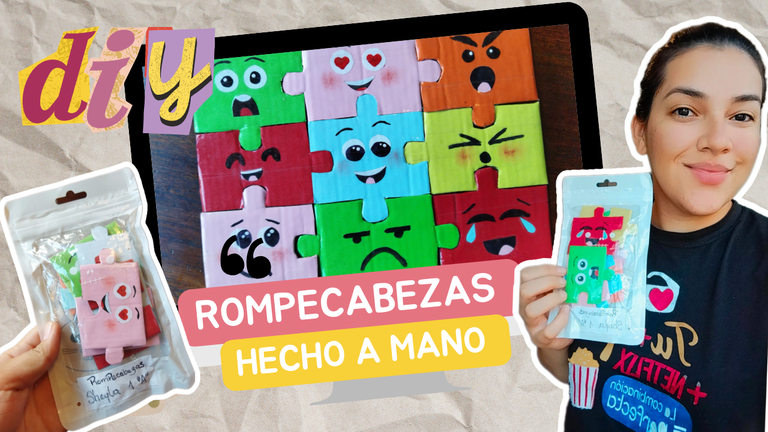
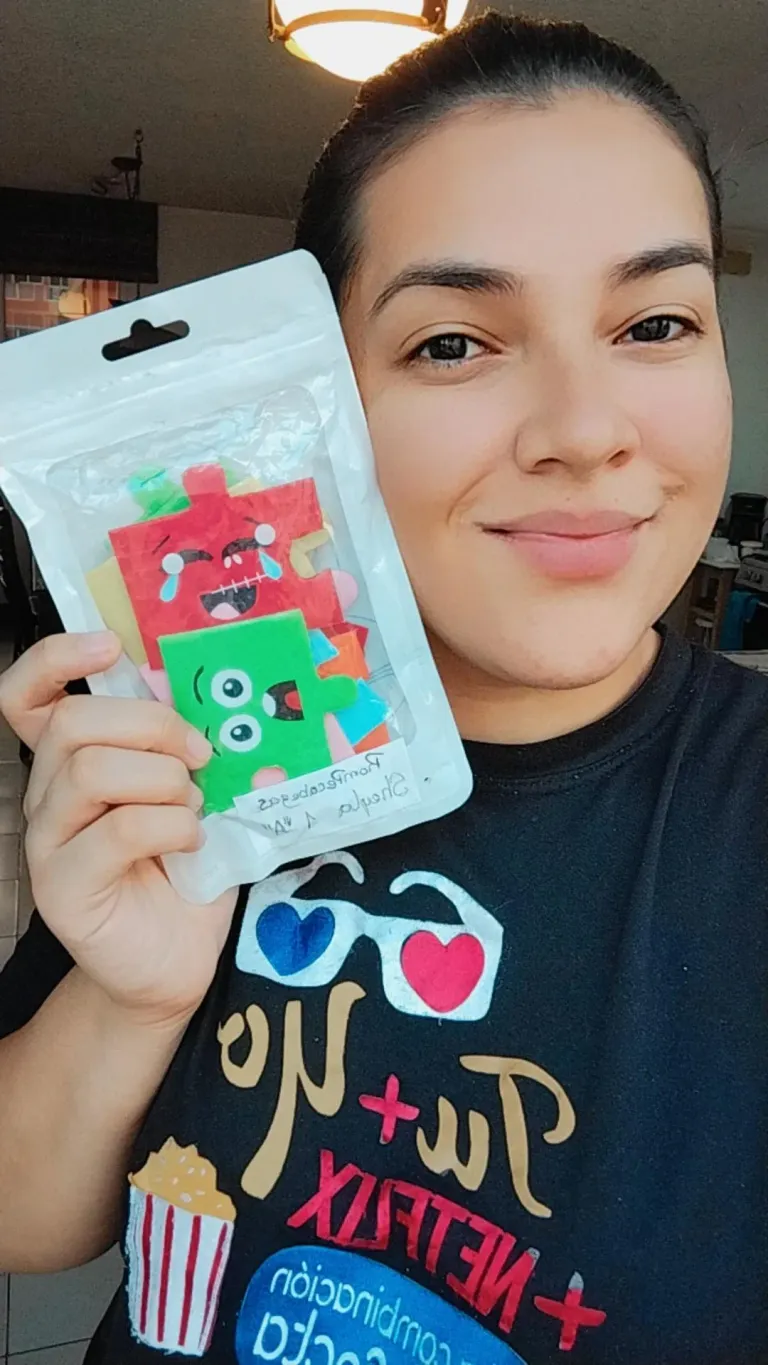
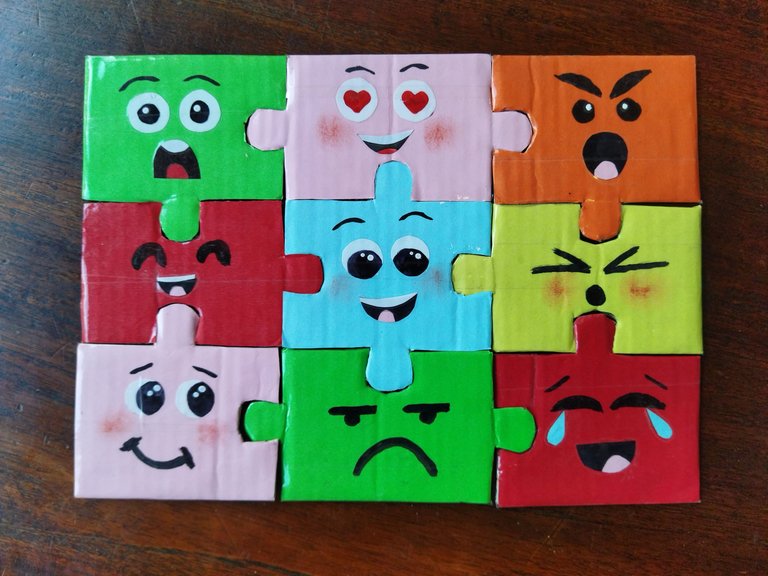
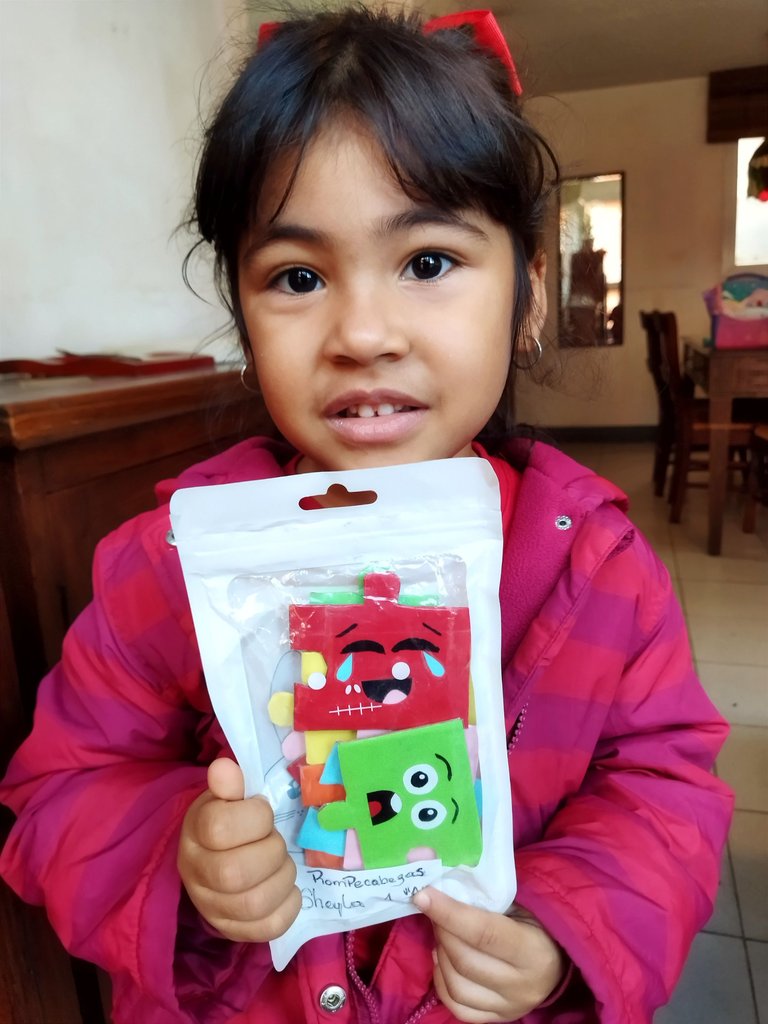
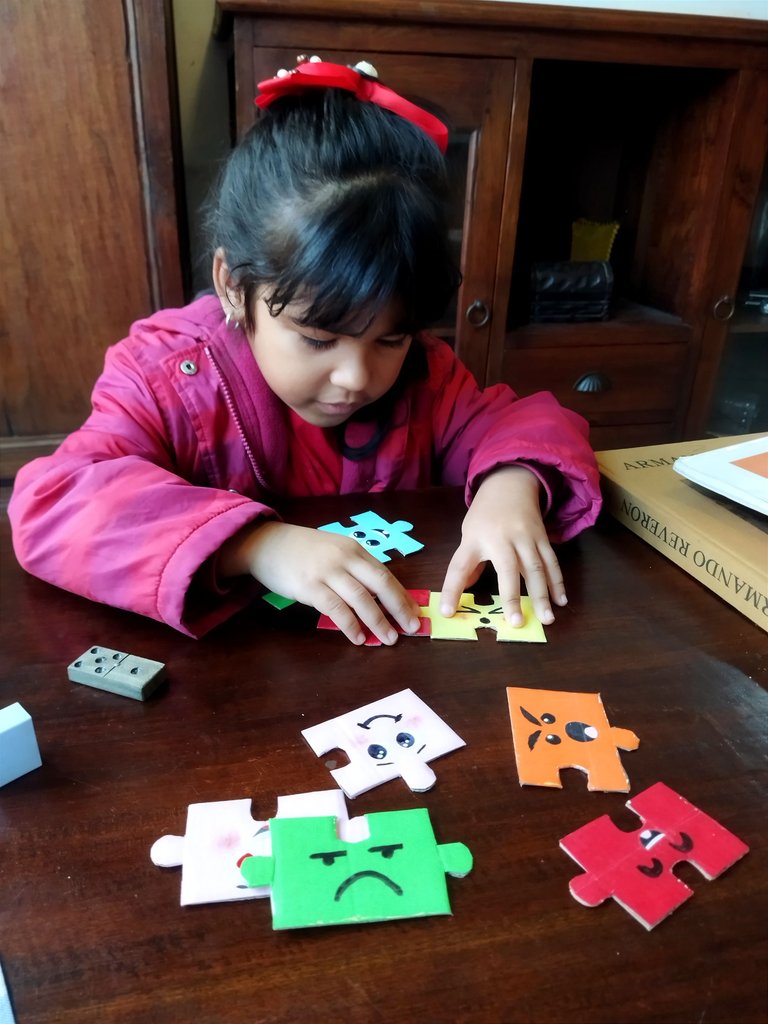
Hola amigos de #diy, espero se encuentren de maravilla y estén teniendo una excelente comienzo de semana. La semana pasada estuve realizando un rompecabezas hecho en casa que le mandaron a hacer a mi pequeña desde su preescolar, la verdad ella me ayudó en muchas cosas pero el mayor trabajo lo hice yo y es que quería que quedara bien, la idea principal para hacer este rompecabezas fue hacerlo de las emociones pues es el tema como el que se está trabajando este mes con los niños en el preescolar, para hacerlo busque varias ideas en internet para ayudarme y el resultado me encantó y lo mejor de todo es que fué hecho a mano y con materiales que tenía en casa, espero les guste, acompañame a ver el proceso.
Hello #diy friends, I hope you are feeling wonderful and are having a great start of the week. Last week I was doing a homemade puzzle that my little girl was sent to do from her preschool, the truth is she helped me in many things but I did the most work and I wanted it to look good, the main idea to make this puzzle was to make it of emotions because it is the theme that is being worked this month with children in preschool, to do it I looked for several ideas on the internet to help me and the result I loved and best of all is that it was handmade and with materials that I had at home, I hope you like it, come with me to see the process.
Materiales: || Materials:
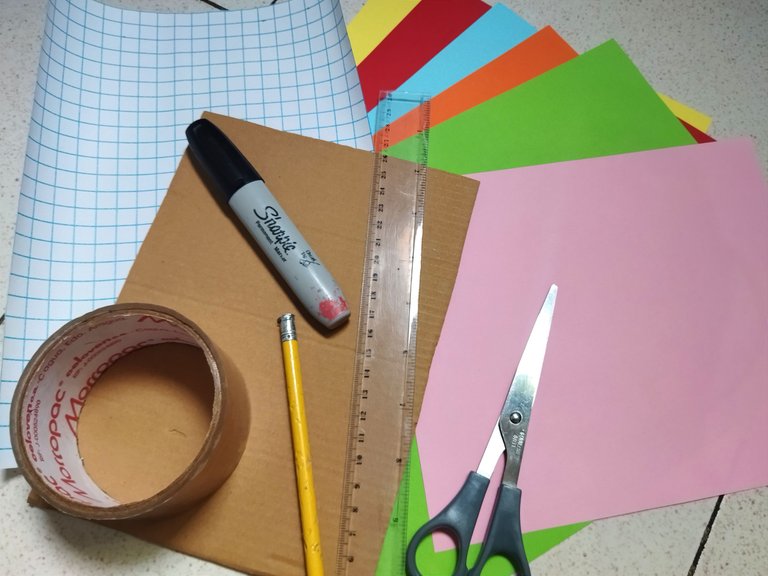
Para realizar este proyecto utilicé:
- Cartón
- Papel de construcción (varios colores)
- Papel contact blanco o de cualquier color
- Tijera
- Cinta adhesiva
- Lápiz
- Marcador negro
- Regla
- Silicón al frío
To make this project I used:
- Cardboard
- Construction paper (various colors)
- White or any color contact paper
- Scissors
- Adhesive tape
- Pencil
- Black marker
- Ruler
- Cold glue
Paso a paso || Step to step
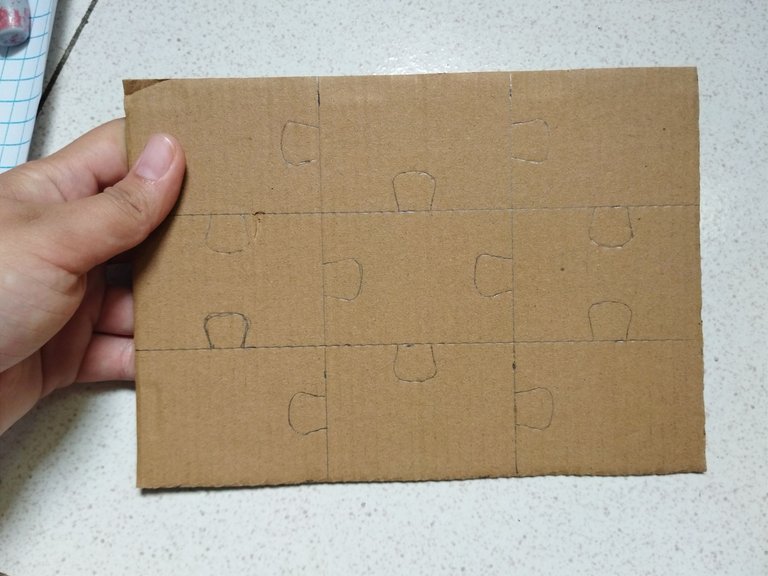
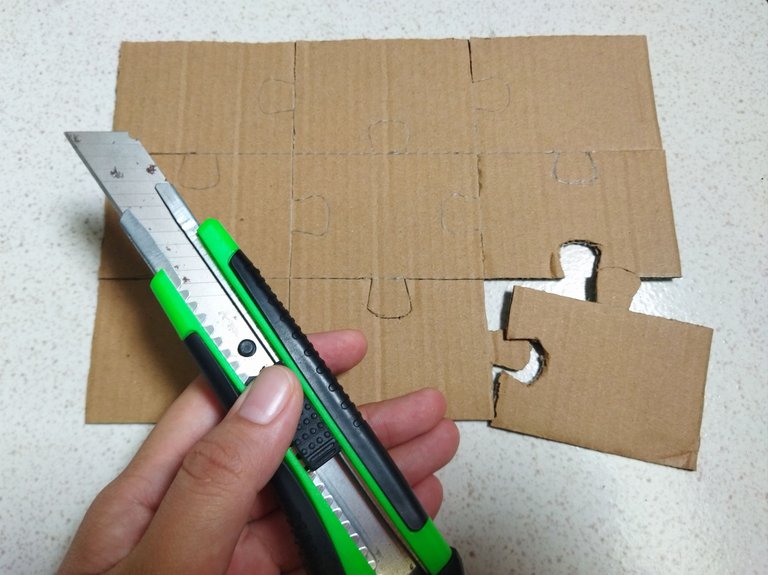
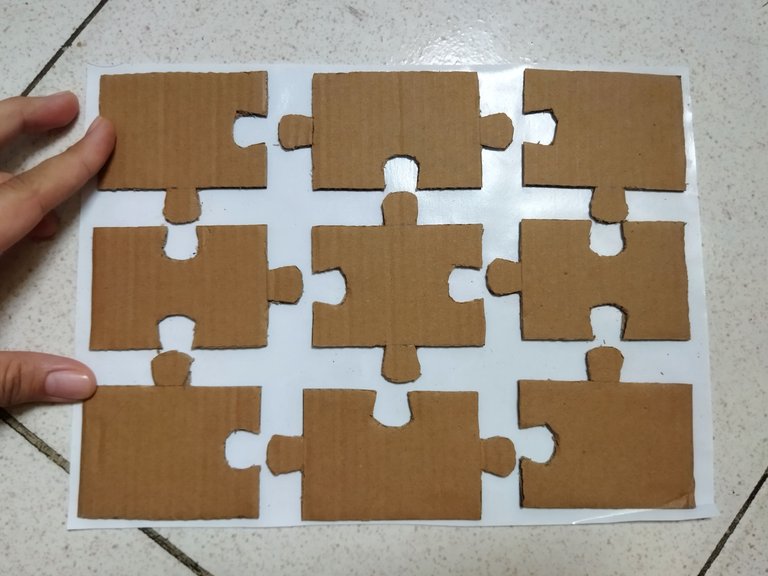
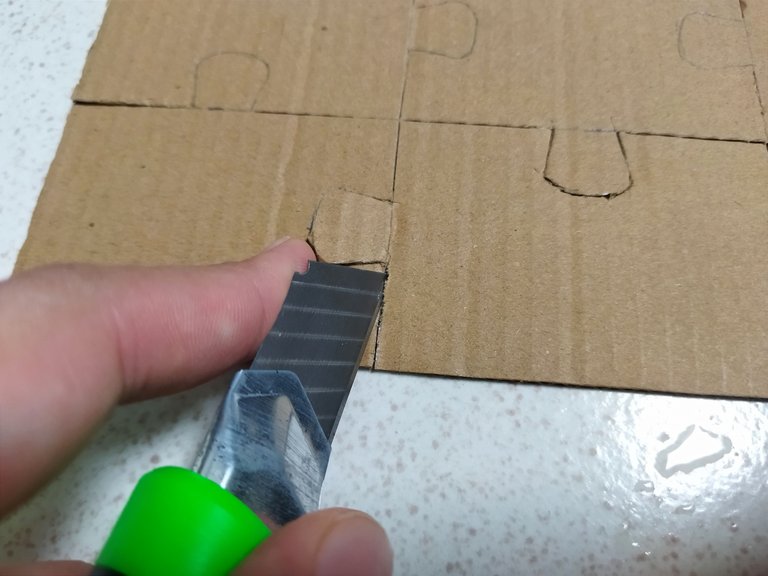
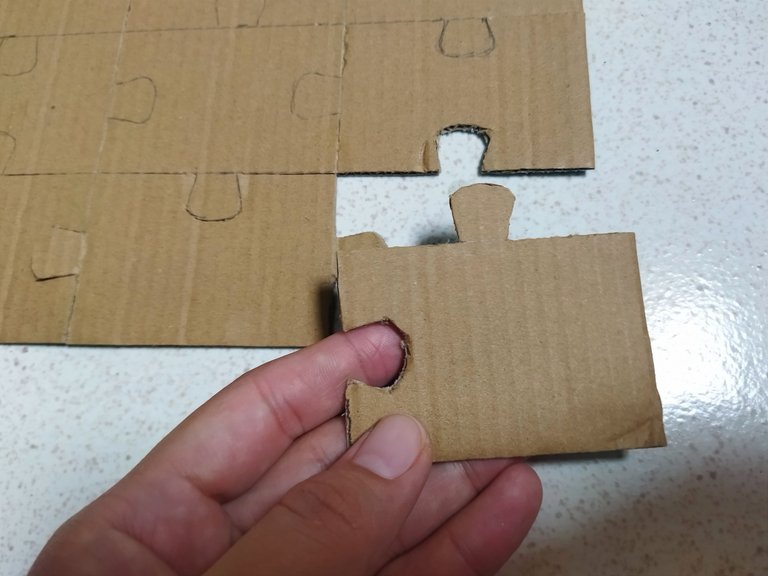
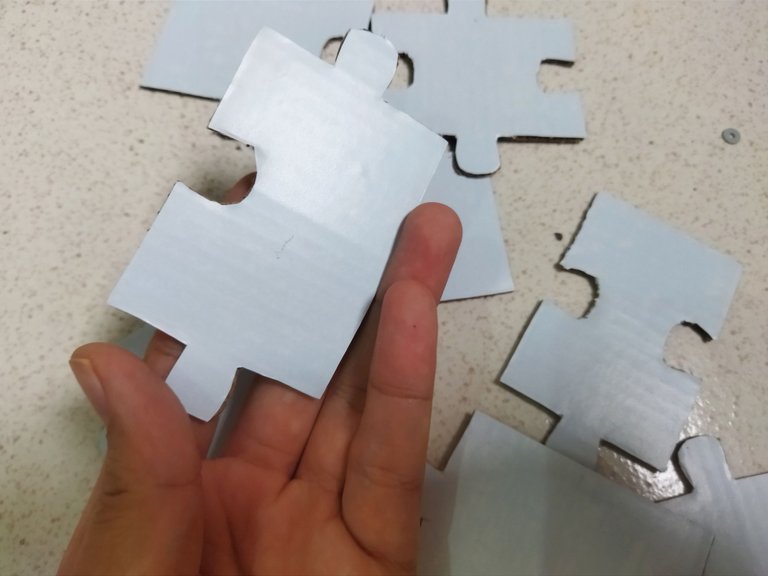
Comencé marcando las piezas del rompecabezas en el cartón, primero divide el carton en nueve piezas marcando con el lápiz y una regla para que salgan del mismo tamaño, luego les hice las uniones que son como unos brazos, para esto me ayude con una imagen de internet y luego venía la tarea más dura que era cortas todo las piezas, con las tijeras era casi imposible así que me ayudé con un exacto, aquí hay que ser presisos para cortar todo muy bien, después de tener todas las piezas cortadas las pegué en el papel contact y luego volví a cortar con mucho cuidado.
I started marking the pieces of the puzzle on the cardboard, first divide the cardboard into nine pieces marking with a pencil and a ruler so that they are the same size, then I made the joints that are like arms, for this I helped me with an image from the internet and then came the hardest task which was to cut all the pieces, with the scissors it was almost impossible so I helped me with an exacto, here you have to be careful to cut everything very well, after having all the pieces cut I glued them on the contact paper and then I went back to cut very carefully.
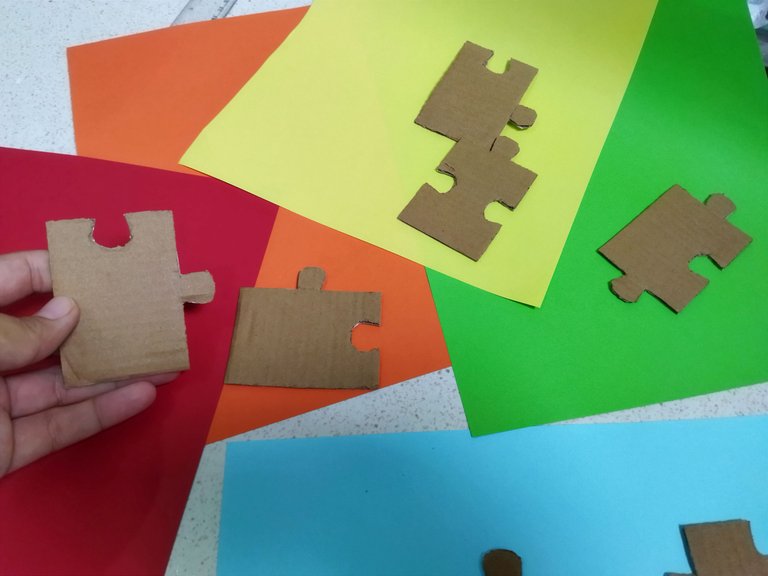
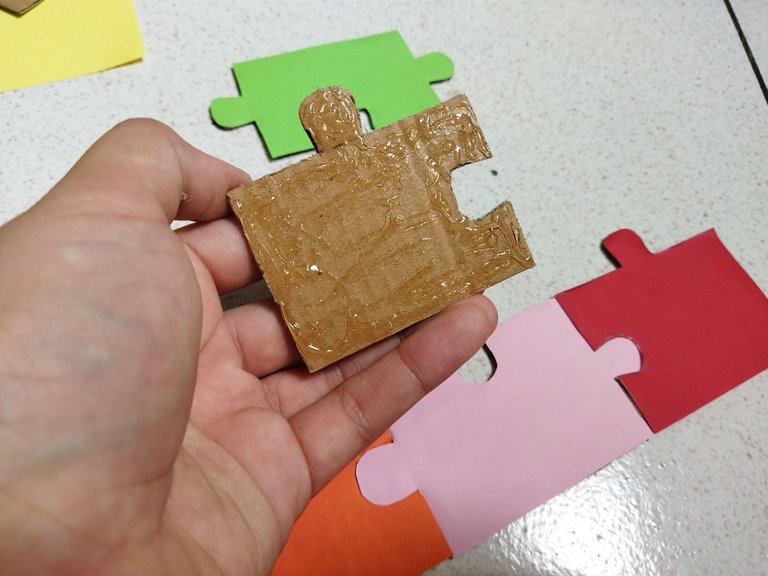
Después de tener todas las piezas cortadas con el papel contact por un lado vamos a usar las papeles de colores para pegar por el lado rústico del cartón, dividí las piezas entre los colores de papel que tenía, algunas repetí el color pero traté de que no fueran piezas que van juntas, ahora pegué las piezas con silicón frío a los papeles de colores y recorté nuevamente con mucho cuidado.
After having all the pieces cut with the contact paper on one side we are going to use the colored papers to glue on the rustic side of the cardboard, I divided the pieces between the colors of paper I had, some of them I repeated the color but I tried not to have pieces that go together, now I glued the pieces with cold silicone to the colored papers and cut them again very carefully.
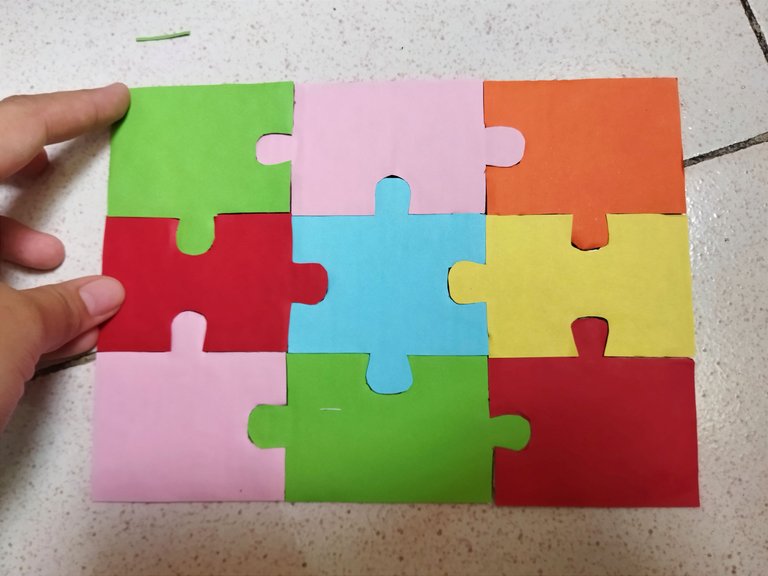
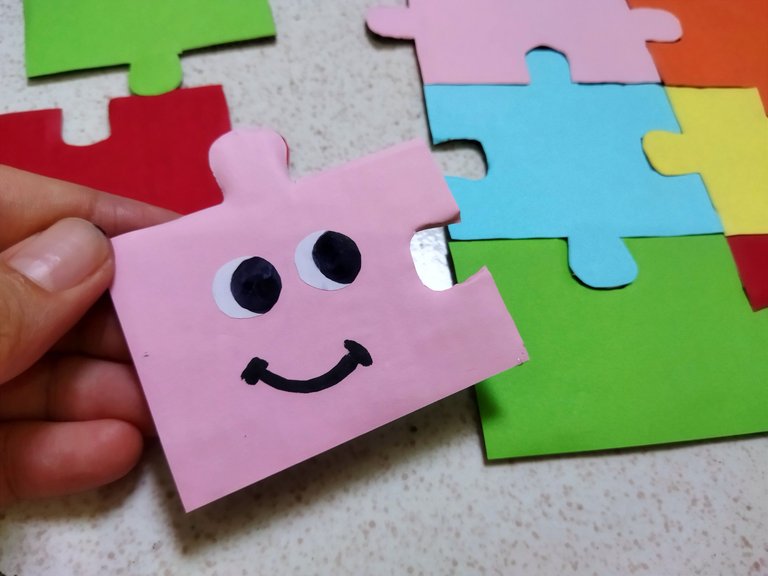
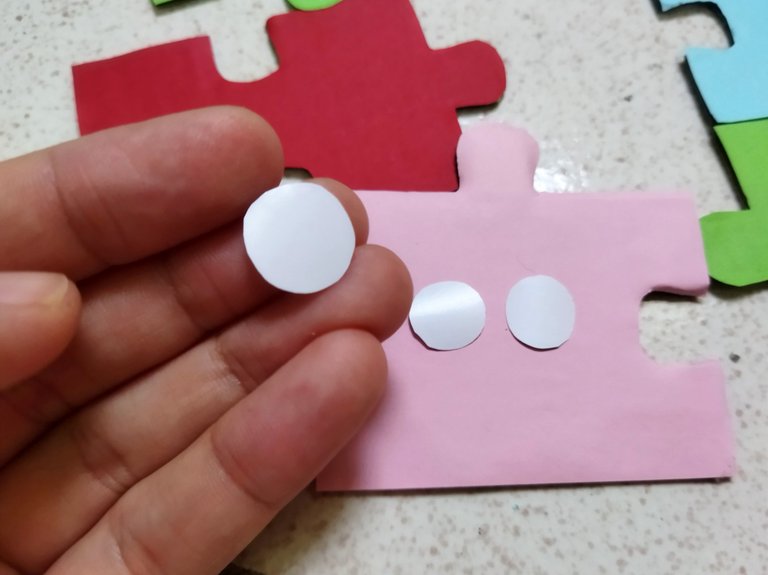
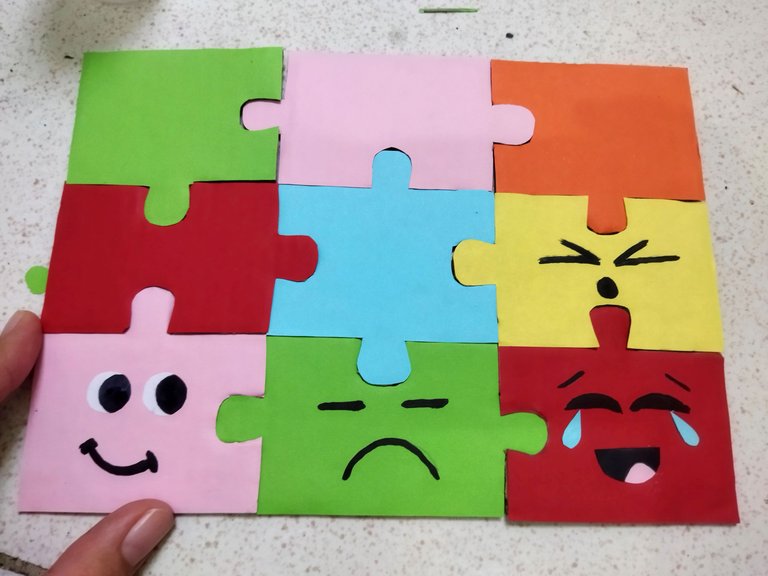
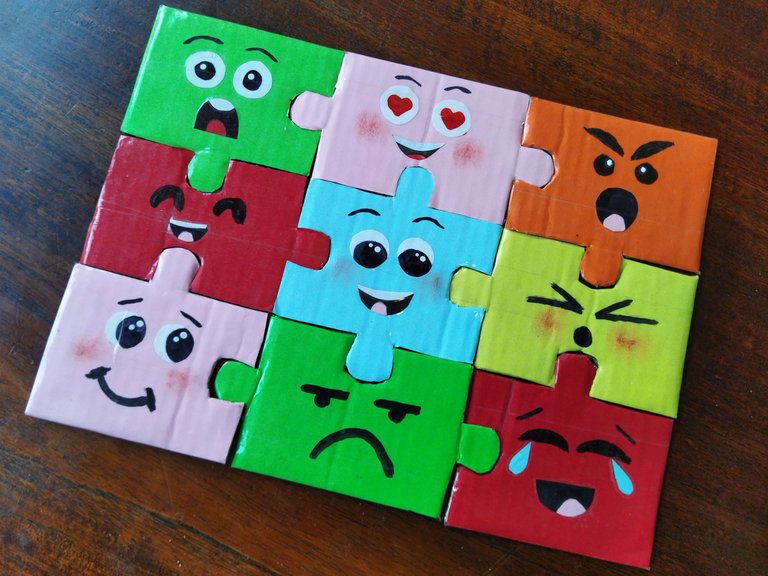
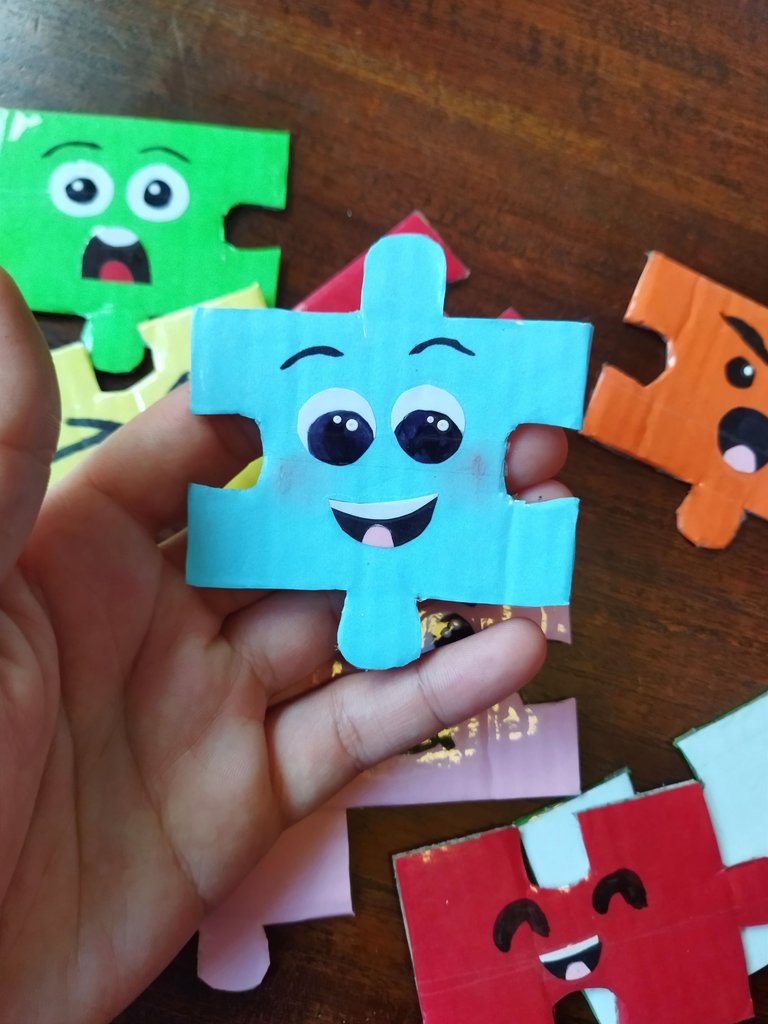
Después de tener todas las piezas cortadas con los diferentes colores, toca la parte más divertida que es darles vida, yo usé un marcador negro para hacer las expresiones, primero marqué con lápiz para no cometer errores, las emociones también las busque en internet y también me ayudé con los emojis del teléfono para hacer las caras, en algunas tuve que usar un retazo de papel rosado para hacer la boca y los ojos también los corté con los recortes del papel contact blanco que me quedó, el resultado fué mucho mejor de lo que esperaba, por último usé la cinta adhesiva para proteger todas las piezas y que no se dañen tan rápido. ¿qué tal les pareció este nuevo trabajo? Los leo en los comentarios 😊 a mí me encantó muchísimo como quedó este rompecabezas y pude explotar un poco de creatividad el día de hoy, mil gracias por leerme, ¡Hasta luego!
After having all the pieces cut with the different colors, the most fun part is to give them life, I used a black marker to make the expressions, first I marked with pencil to avoid making mistakes, the emotions I also looked for them on the internet and I also helped me with the emojis of the phone to make the faces, in some I had to use a piece of pink paper to make the mouth and the eyes I also cut them with the white contact paper cutouts that I had left, the result was much better than I expected, finally I used the adhesive tape to protect all the pieces so they don't get damaged so fast. How did you like this new work? I'll read you in the comments 😊 I really loved how this puzzle turned out and I was able to exploit a bit of creativity today, thank you very much for reading me, see you later!
¡Gracias por leerme, hasta luego!
Thank you for reading me, see you later !


Camera: Xiaomi Redmi 9T. | Separadores: Aquí | Edition: CANVA | Translation: Deepl.com

