Greetings, Hive DIY community, I wish you good health and peace of mind this week. Fortunately, my health has improved a little, and I hope that next week I'll only have my usual chronic health issues, which I now know how to deal with.
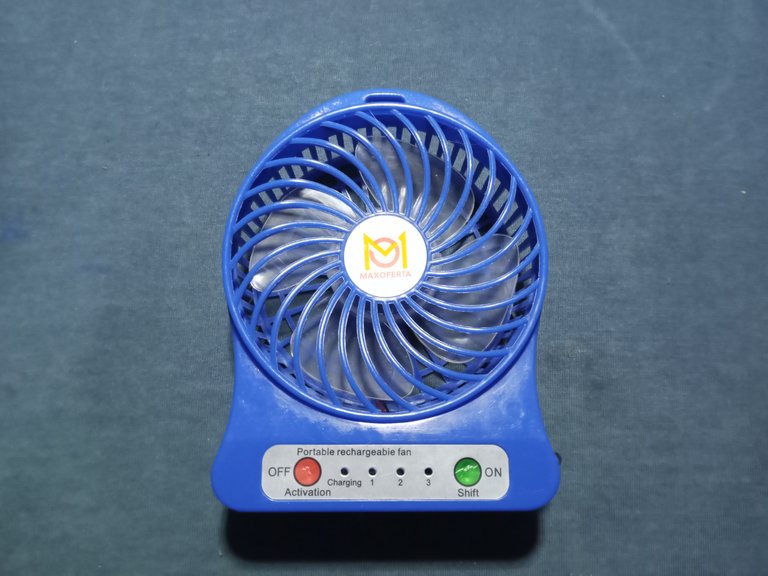
This time, I'm sharing how I repaired a toy fan with recycled parts from discarded DVDs.
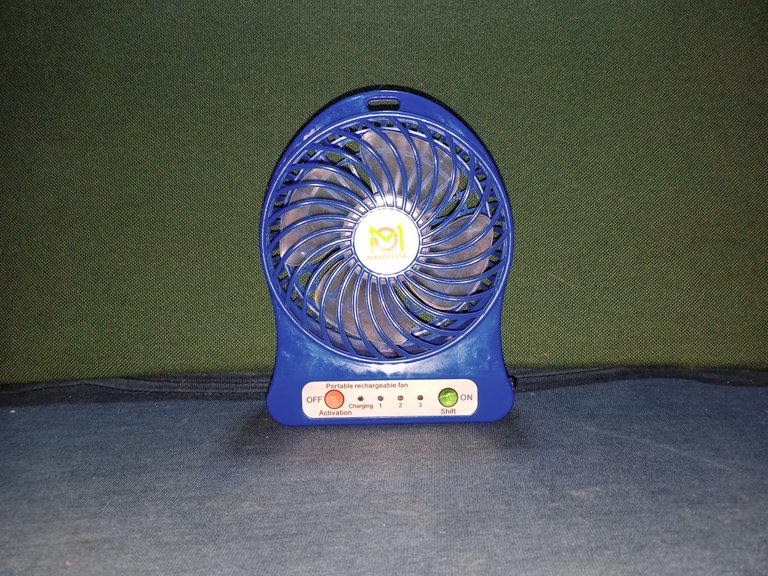
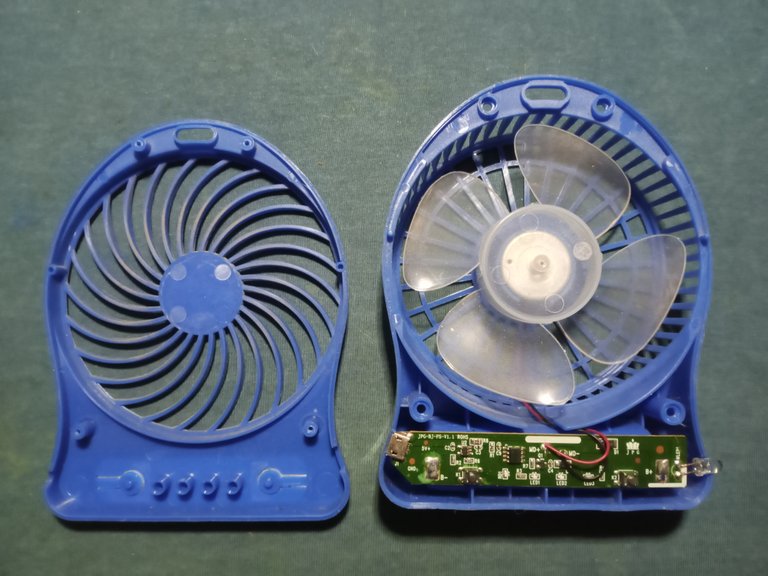
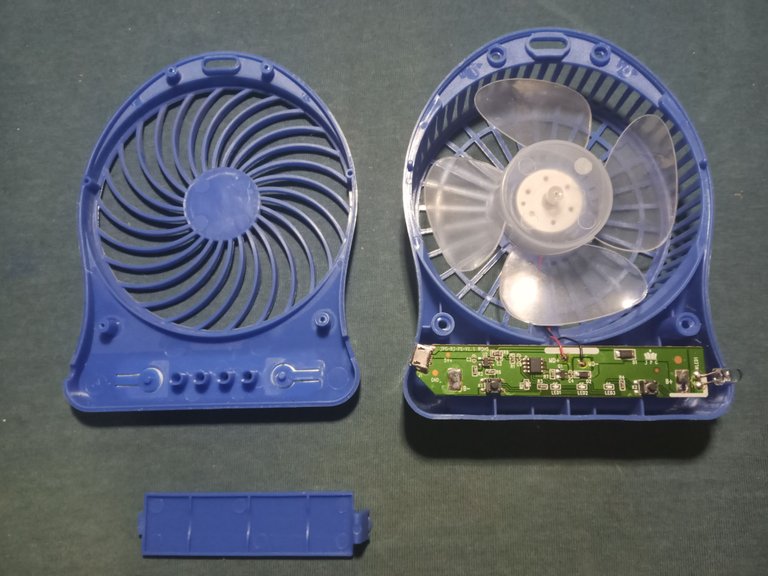
The problem with this fan is that it didn't respond to the power command; when I activated it, the blade wouldn't spin.
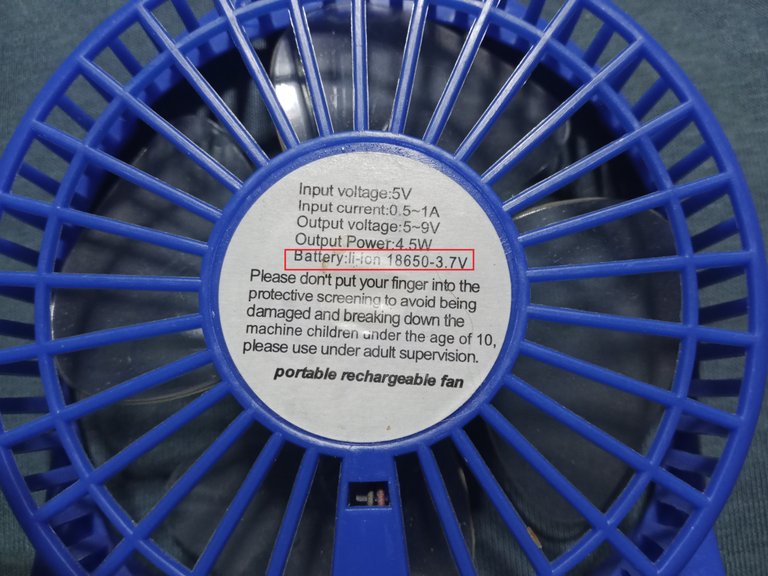
The fan has a 3.7-volt lithium-ion battery, just like the Chinese speaker in my previous post.
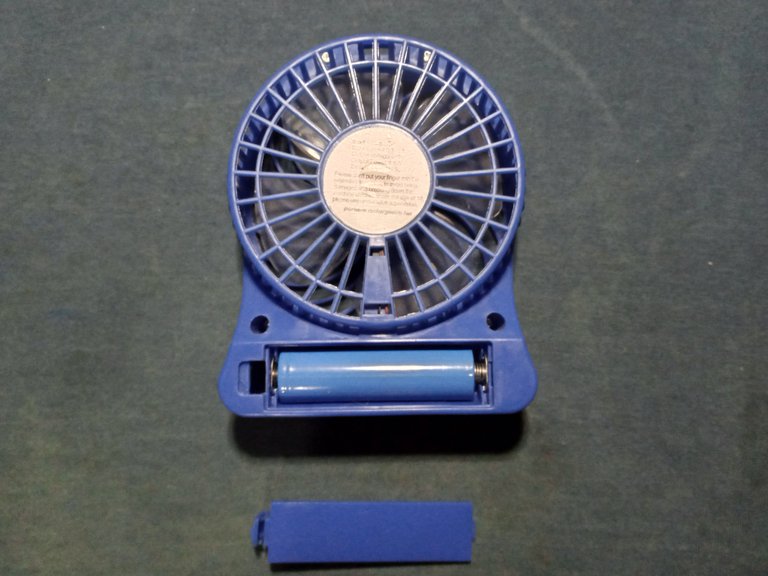
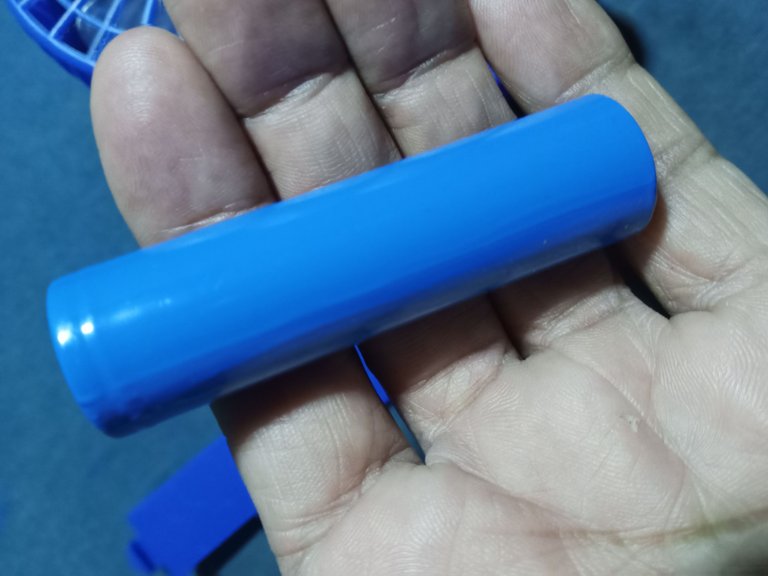
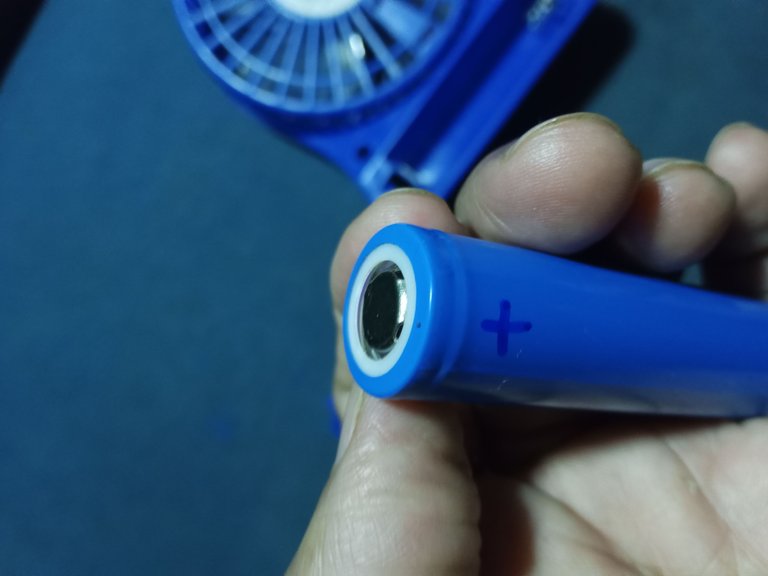
As you can see, these rechargeable batteries don't have any screen printing indicating polarity; they only have a notch on one side, indicating the positive side.
So I used a marker to define the polarity, and it worked flawlessly.
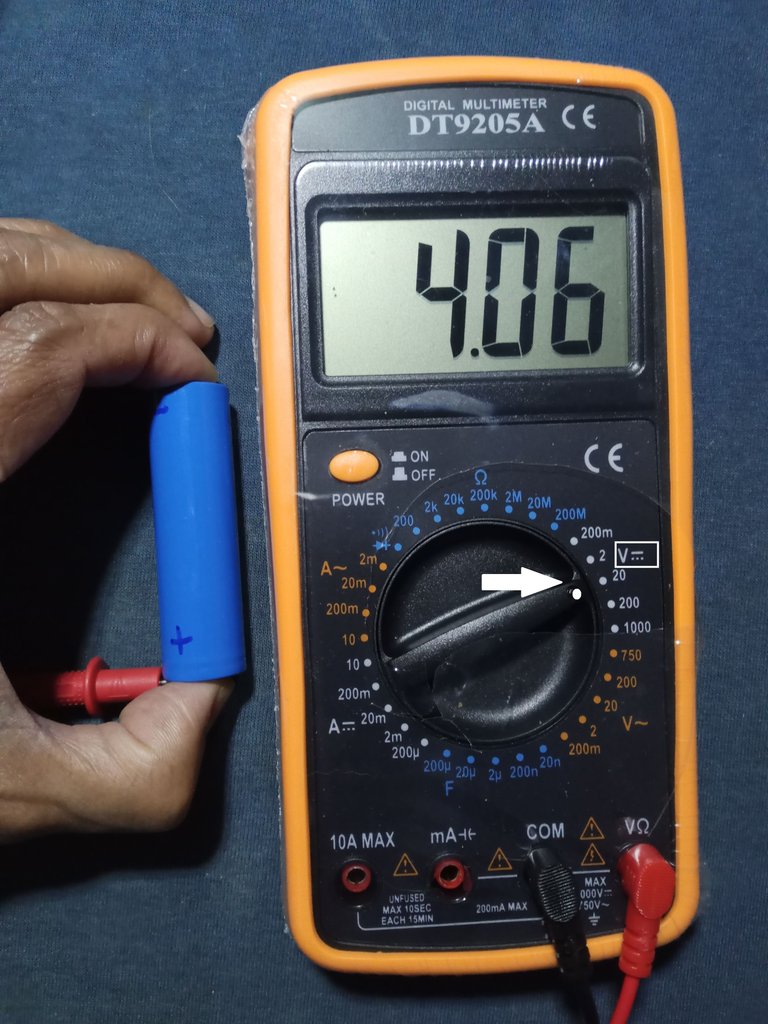
The most basic thing to do in these tests is to measure the battery or the transformer input, depending on what applies to the device being tested.
I check the rechargeable battery and the voltage is appropriate, I do not have a meter to verify the intensity of the current in 3.7 volt batteries (remains pending for a future project)
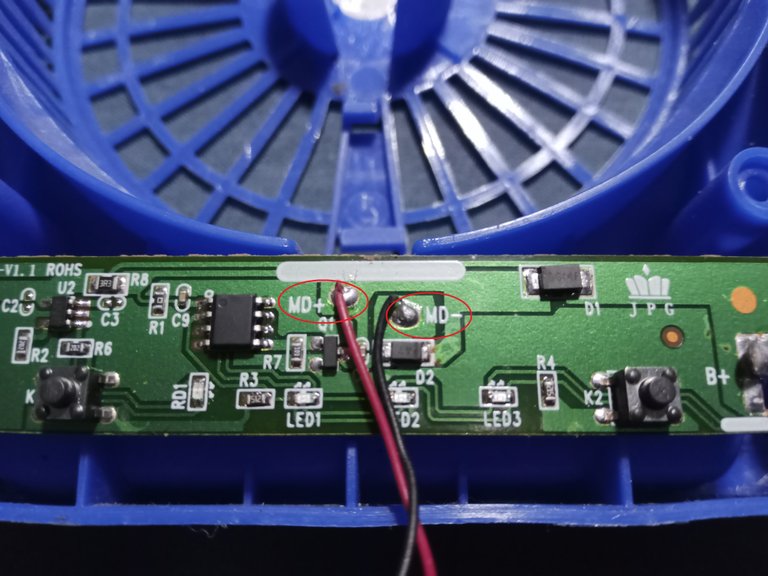
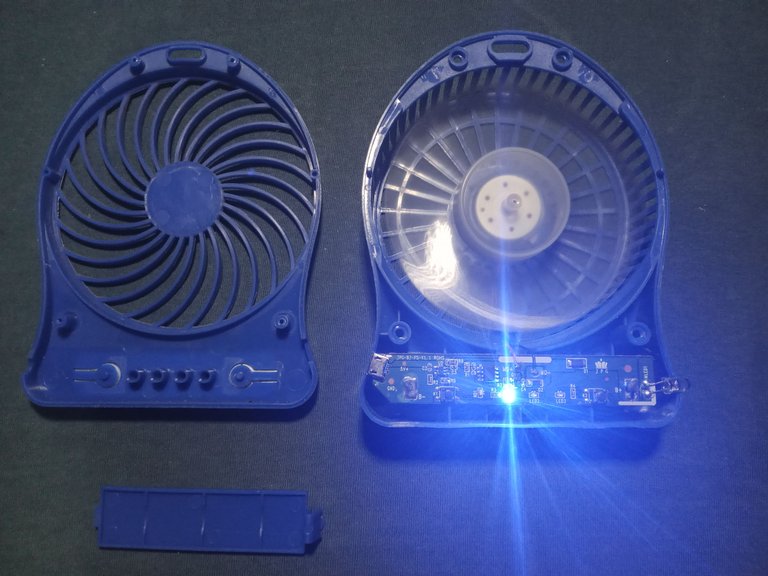
I did a quick check of the circuit board, there were no traces of sulfates or damage, I discharged the voltage on the board with a tool made from a microwave bulb and measured components, everything looked good.

The fan's battery charger uses the same charging connection as many cell phones, so I checked the charging circuit and so far there's been no problem; everything seems to be working fine.

The fault had to be the motor, without a doubt.
The fan blade is already pressure-mounted at the factory and the fan motor was inserted in the same way, it is pressed into its support and to secure the motor, a few drops of hot silicone were placed at the factory.

You can apply a few drops of alcohol to the silicone bar and the stuck silicone will come off after a while, or you can apply heat with a hair dryer.
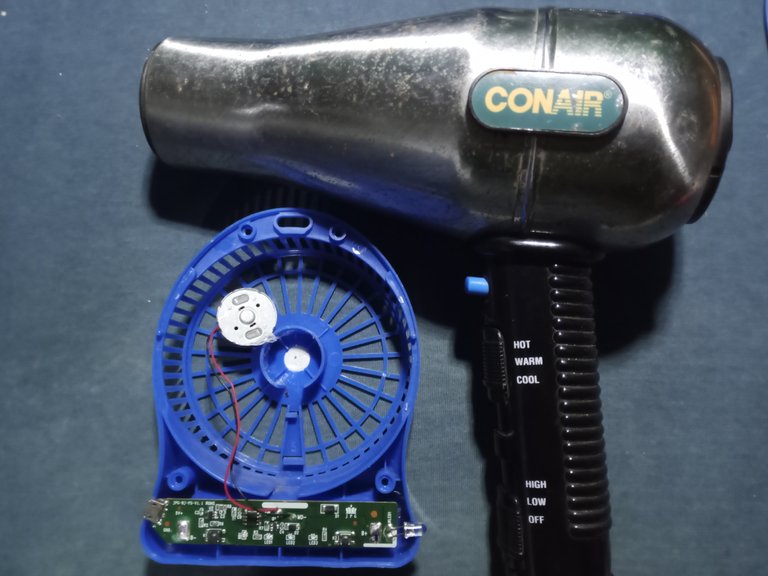
It doesn't require too much heat or long waits, and it's my favorite method, so I applied hot air with the hair dryer.

I verify that the polarity of the motor power supply is correctly indicated on the electronic board before desoldering.
Using an adjustable power supply, I tested its operation. I applied three volts. The motor was indeed faulty. If I applied voltage, I had to assist the start by manually turning the motor shaft, and after a short time of operation, it stopped.
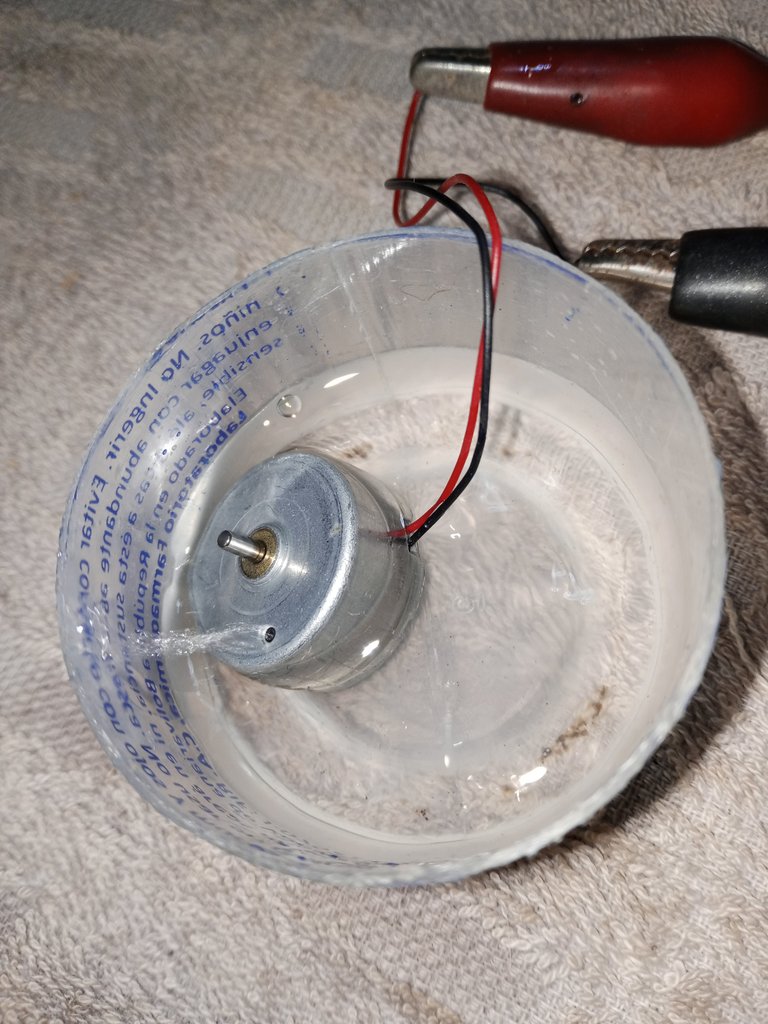
Maintenance of these motors is simple; sometimes, it's enough to greatly extend their lifespan. You just need to immerse it in alcohol and apply about three volts for a couple of minutes.
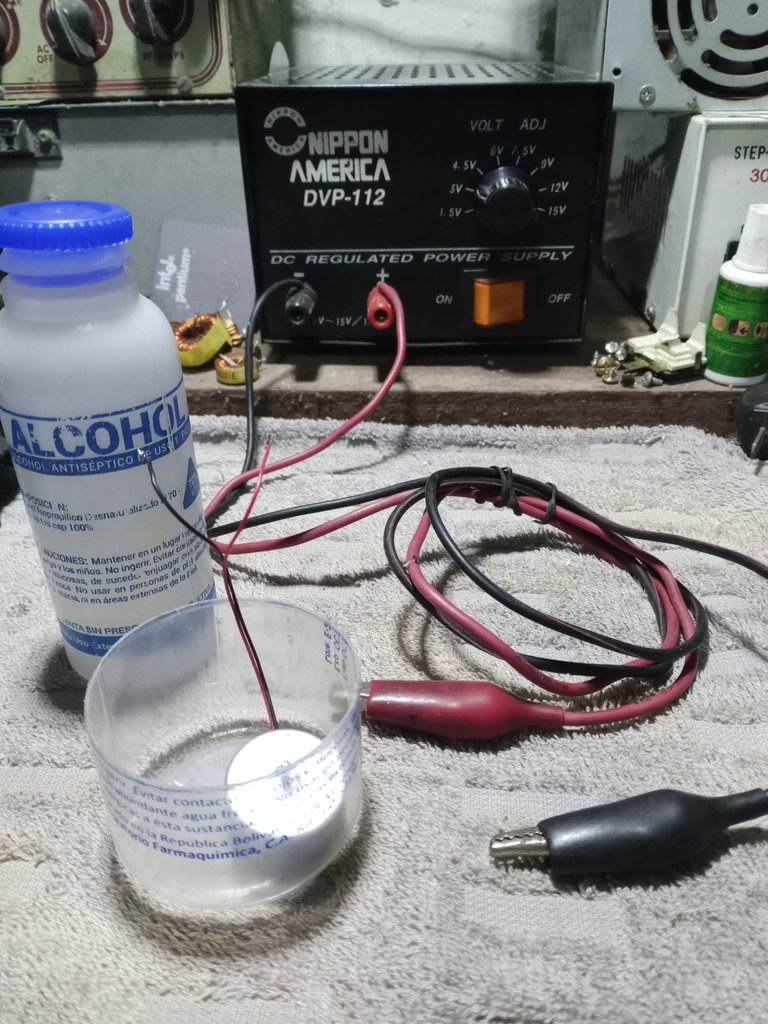
There's no danger in performing this maneuver. I've recovered motors of this type many times with this simple maintenance.
The motor was damaged. After maintenance, it continued to fail, and I had to replace it with another one.
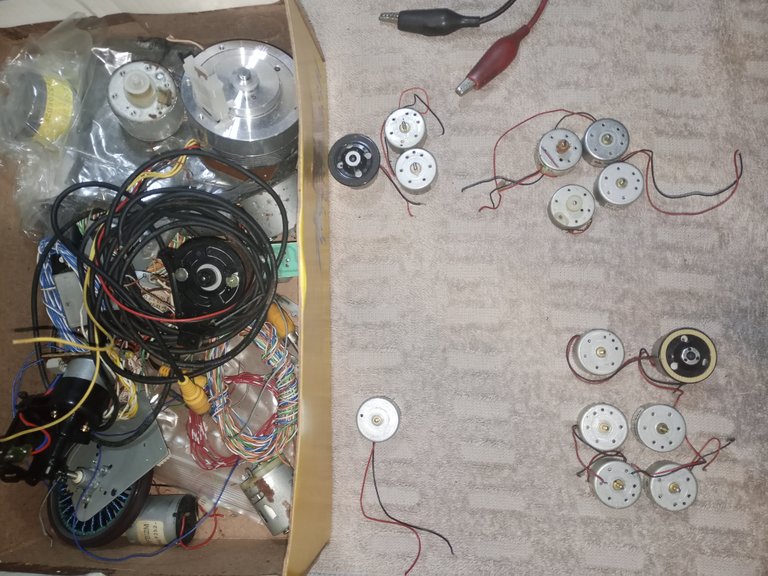
I looked in the spare parts yard for recycled motors. I have motors from many discarded devices: old tape players, motors from damaged toys, old VHS tapes, and tons of DVD motors salvaged from abandoned devices and recovered from the scrapyard.
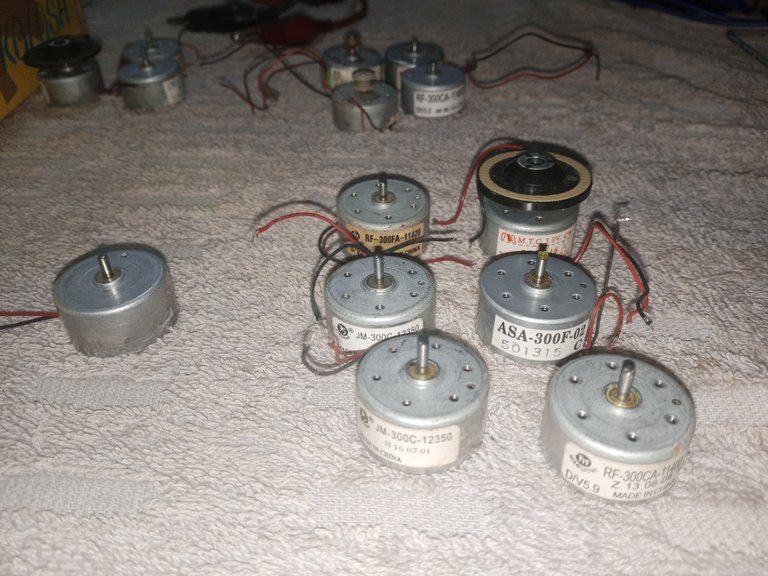
These DVD motors have short and long shafts; I needed a motor with a long shaft for the replacement.
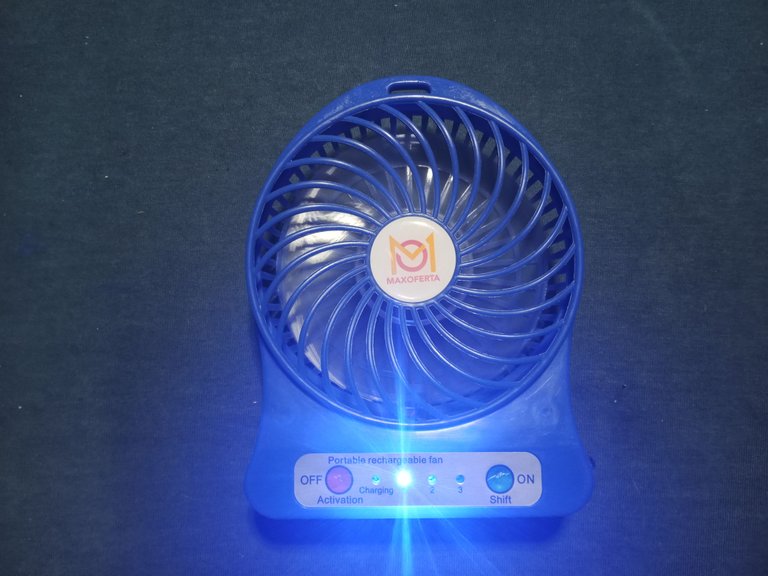
It was very easy to assemble. I checked it and the fan worked perfectly.
These motors vary their speed in the same way as DVD motors, but in this case the exact speed is less demanding. The old motor wouldn't work well for fixing a DVD, but they work perfectly in a fan.
A DVD player plays a disc from the center outward. As the player moves, the motor that spins the disc must adjust its speed precisely to retrieve the information and reproduce it accurately.
Interestingly, vinyl or LP records were played from the outermost edge toward the center of the disc, unlike DVD or Blu-ray discs, which are played from the center of the disc outward.
Thank you so much for stopping by and reading.
I wish you a great week.
Peace.
As always, I remind you that before making a repair or working on any equipment, you should have a minimum of basic knowledge. It's best to get training to avoid accidents or damaging any equipment.
- I have used Google Translate for the English language.
- I used TextStudio for the header in Spanish.
- The images, unless otherwise noted, are screenshots of my work in the workshop.

Saludos, comunidad de Hive DIY, les deseo mucha salud y tranquilidad en esta semana. Felizmente, he mejorado un poco más de salud, espero que para la próxima semana tan solo tenga mis fallas crónicas de salud de siempre, que ya sé cómo sobrellevarlas.
En esta ocasión les comparto como repare un ventilador de juguete con repuestos reciclados sacados de DVD descartados.
El problema con este ventilador es que no respondía a la orden de encendido, al activarlo, el aspa no giraba.
El ventilador tiene una batería de litio ion de 3,7 volts, igual que el parlante chino de mi publicación anterior.
Como se puede ver, estas baterías recargables no tienen serigrafías que indiquen la polaridad, solo tienen una muesca de un lado, para indicar el lado positivo.
Así que use un marcador para definir la polaridad, y trabajar sin fallos.
Lo más básico en estas revisiones, es medir la batería o a la entrada del transformador, dependiendo de lo que se aplique para el artefacto que revisamos.
Verifico la pila recargable y el voltaje es apropiado, no dispongo de un medidor para verificar la intensidad de la corriente en baterías de 3,7 volts (queda pendiente para un proyecto futuro)
Hago una revisión rápida a la placa de circuitos, no hay resto de sulfatos o de daños, descargue el voltaje de la placa con una herramienta hecha con un bombillo de microondas y medí componentes, todo lucia bien.
El cargador de la batería del ventilador usa la misma conexión de carga, que muchos teléfonos móviles, así que comprobé funcionamiento del circuito de carga y hasta ahora no había novedad, todo parece funcionar bien.
La falla debía ser el motor sin duda.
El aspa del ventilador estaba colocada a presión y el motor del ventilador estaba inserto de la misma manera, está colocado a presión en su soporte y para asegurar el motor, se le colocó de fábrica unas gotas de silicona caliente.
Puedes aplicar unas gotas de alcohol sobre la silicona de barra y la silicona adherida se desprenderá al rato o puedes aplicar calor con un secador de cabello.
No hace falta demasiado calor ni esperar mucho y es mi método favorito, por lo que aplique aire caliente con el secador de cabello.
Verifico que la polaridad de la alimentación eléctrica del motor está bien indicada antes de desoldar.
Con la ayuda de una fuente ajustable probé el funcionamiento, aplique tres volts, el motor efectivamente tenía fallas, si aplicaba voltaje tenías que ayudar el arranque girando con la mano el eje del motor, y en poco rato de funcionamiento se detenía.
El mantenimiento de estos motores es sencillo, algunas veces es suficiente para alargar mucho su vida útil, solo necesitas sumergirlo en alcohol y aplicar unos tres volts por un par de minutos.
No hay peligro al hacer esta maniobra, he recuperado muchas veces motores de este tipo con este simple mantenimiento.
El motor estaba muy dañado y después del mantenimiento continuo fallando al arrancar y deteniéndose, tengo que cambiarlo por otro.
Busque en el depósito de repuestos, motores reciclados, tengo motores de muchos aparatos descartados: tocacintas antiguos, motores de juguetes dañados Antiguos VHS y montones de motores de DVD rescatados de aparatos abandonados y recuperados de la chatarra.
Estos motores de DVD tienen ejes cortos y ejes largos, necesitaba un motor con el eje largo para el reemplazo.
Es muy sencillo el armado, comprobé el funcionamiento y el ventilador quedo funcionando perfectamente.
Estos motores varían su velocidad de la misma manera en que los motores del DVD, pero en este caso la velocidad exacta es menos exigente, el motor viejo no funcionaría bien para arreglar un DVD, pero en un ventilador trabajan perfectamente.
En un DVD se lee un disco desde el centro hacia afuera, al desplazarse el lector
el motor que gira el disco, tiene que ajustar la velocidad de una manera exacta, mientras se aleja del centro del disco para que se reproduzca la información de una manera precisa.
Como dato curioso, los discos de vinilo o LP, se reproducían desde el lado más externo hacia el centro del disco, lo contrario a los discos DVD o Blu-ray, que se reproducen desde el centro del disco hacia la parte externa.
Muchas gracias por pasar y leerme un rato.
Les deseo una excelente semana.
Paz.
Como siempre les recuerdo que antes de hacer una reparacion o intervenir algun equipo, se debe tener un minimo de conocimientos basicos. Lo mejor es capacitarse para evitar accidentes o dañar algun equipo.
- He usado el traductor de Google para el idioma inglés.
- Use el programa de TextStudio para el encabezado en español.
- Las imágenes a menos que lo indique son capturas de mi trabajo en el taller.