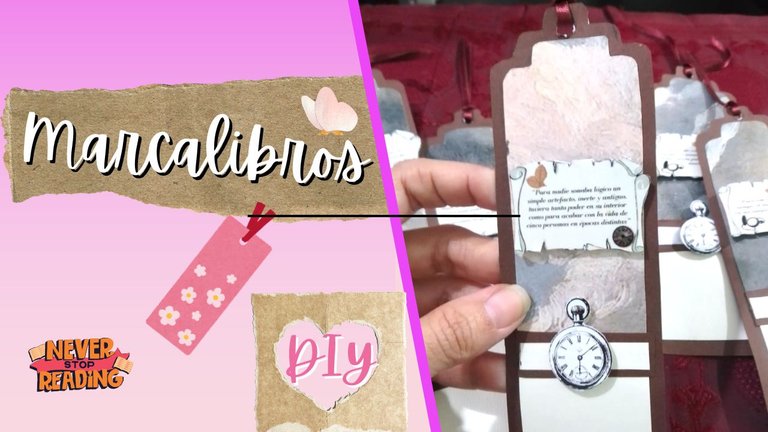
Portada diseñada por mi en el editor de Canva
Hi friends, I finally get the opportunity to share content with you, and I am very excited because I recently had a very important event, the baptism of my first book 😃. I didn't want to arrive empty handed, so I thought about the ideal gift for the guests who would attend the event until I came to the conclusion that the best thing would be some bookmarks, but these would be special because they would be personalized with phrases and details of my book, so the first thing I did and I recommend to you is to go to canva to externalize and polish your idea, this way I designed what I had in mind and this was the result.
Hola amigos, finalmente consigo la oportunidad de compartir contenido con ustedes, y es que estoy muy emocionada porque recientemente tuve un evento muy importante, el bautizo de mi primer libro 😃. Yo no quería llegar con las manos vacías, así que pensé en el regalo ideal para los invitados que asistirían al evento hasta que llegué a la conclusión de que lo mejor sería unos marcalibros, pero estos serían especiales porque estarían personalizados con frases y detalles de mi libro, de modo que lo primero que hice y que les recomiendo a ustedes es ir a canva para exteriorizar y pulir su idea, de esta manera yo diseñé lo que tenía en mente y este fue el resultado.
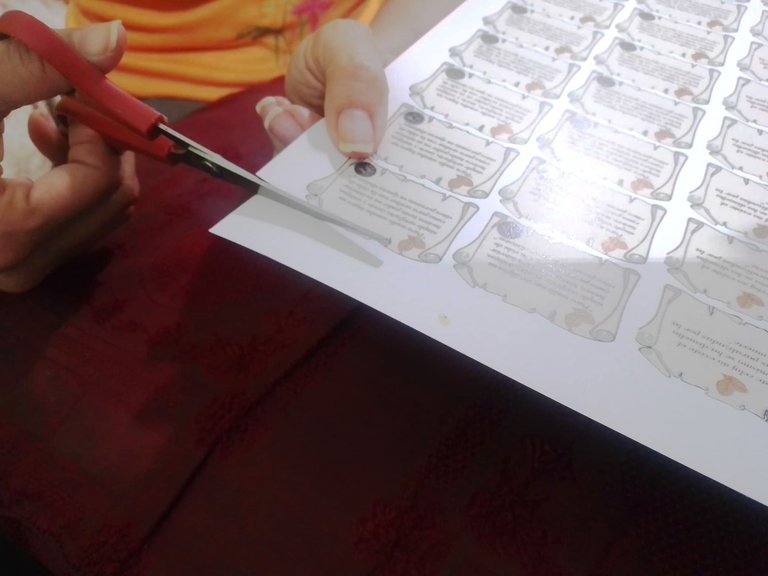
After having the design of the whole bookmark, I printed the images and phrases that I needed, I asked them to be printed on opaline cardboard because its density is perfect for this, which will guarantee a better finish, firmness and durability.
Luego de tener el diseño de todo el marcalibros, imprimí las imágenes y frases que yo necesitaba, pedí que los imprimieran en cartulina opalina porque su densidad es perfecta para esto, lo que garantizará un mejor acabado, firmeza y durabilidad.
 |  |  |
|---|
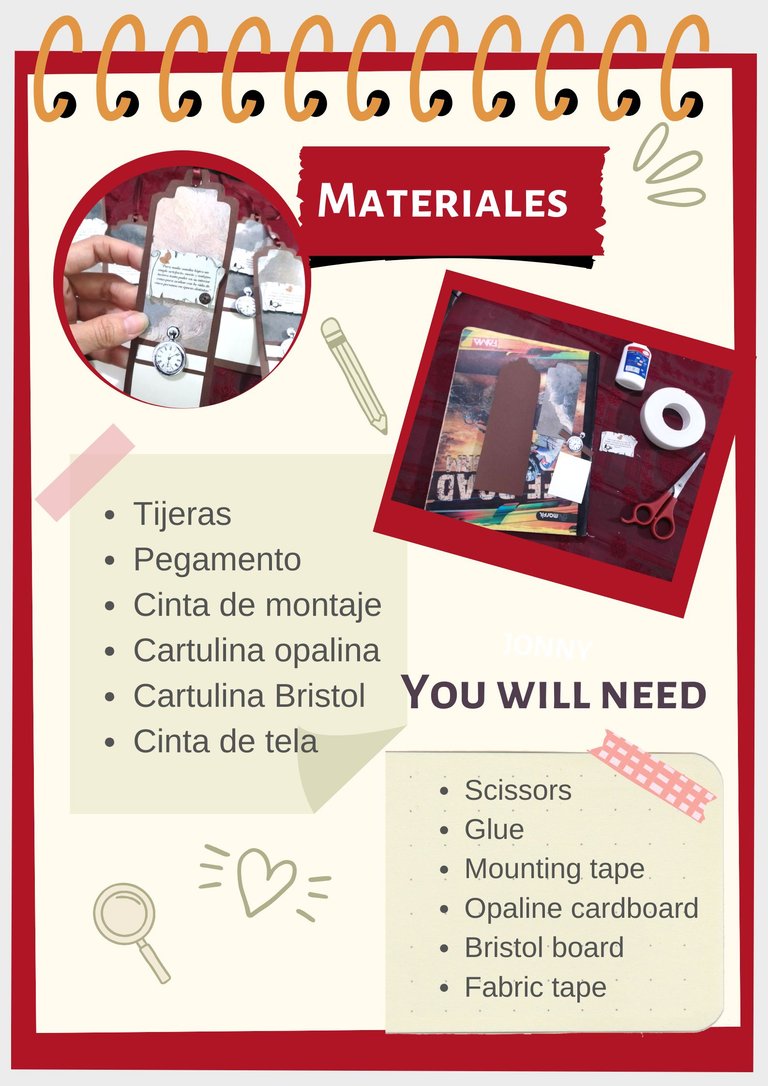
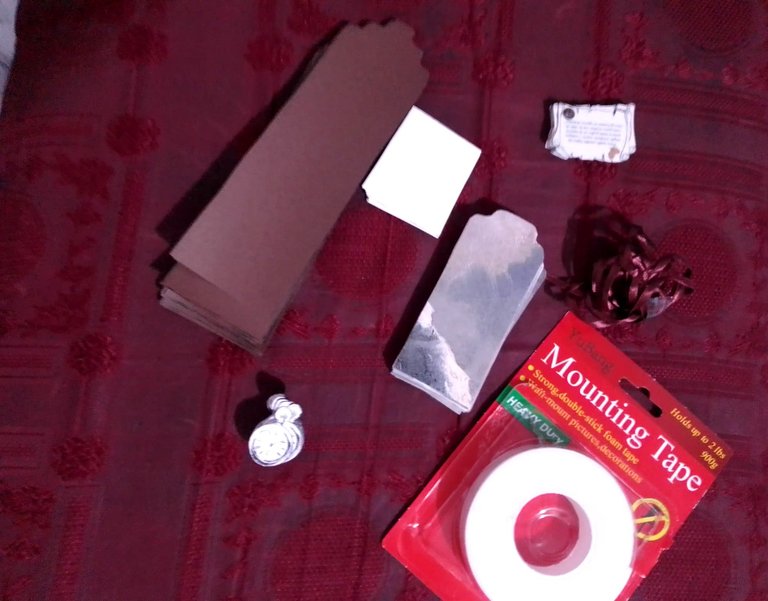
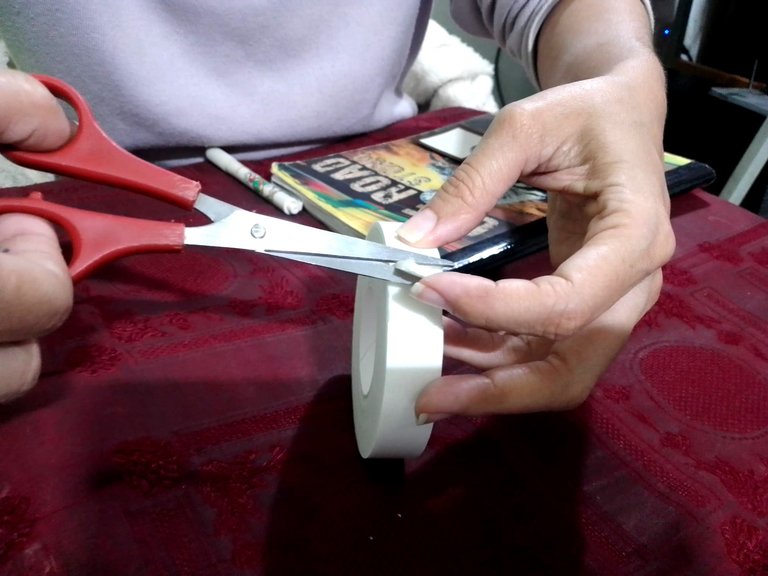
This is the list of materials I used, all of them are very easy to obtain.
Esta es la lista de materiales que usé, todos ellos son muy fáciles de conseguir .
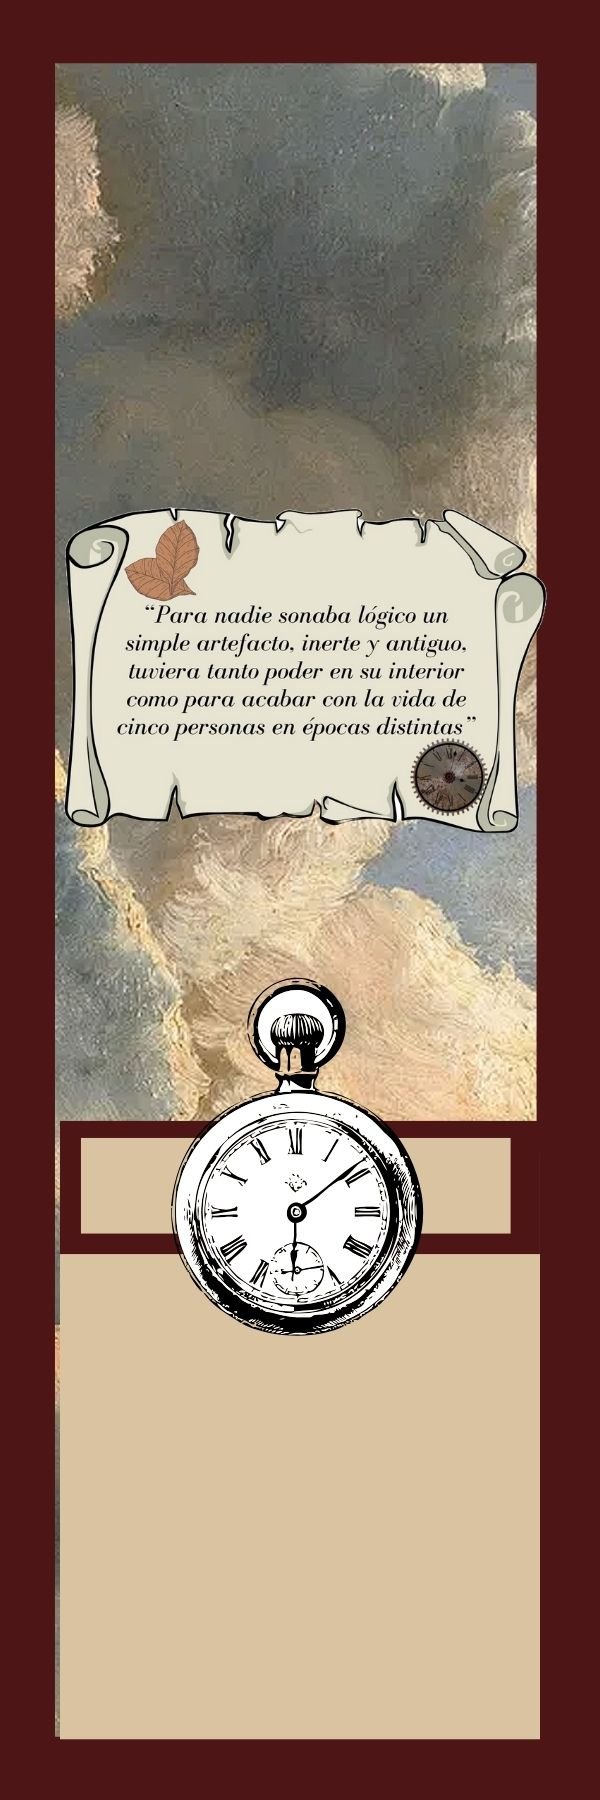
Diseñado en el editor de Canva
Based on the design I made in canva I made the molds, I wanted them to be small bookmarks, so mine are 15 cm long and 7 cm wide, in the same way I drew and cut out smaller pieces that I will then join into one piece, anyway you can do it to your liking and with the dimensions you want.
Basándome en el diseño que elaboré en canva me dediqué a hacer los moldes, yo quería que fuesen marcalibros pequeños, así que los míos tienen 15 cm de largo y 7 cm de ancho, de la misma forma dibujé y recorté piezas más pequeñas que luego voy a unir en una sola pieza, de todos modos tú puedes hacerlo a tu gusto y con las dimensiones que desees.
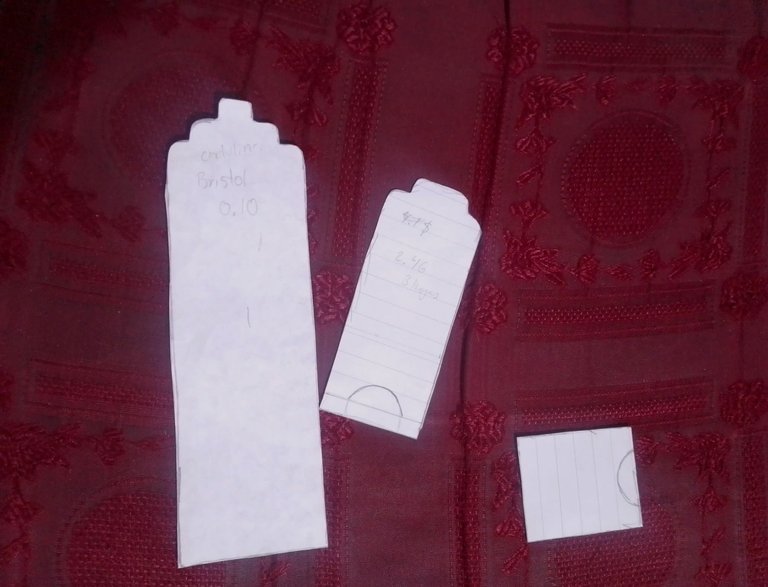
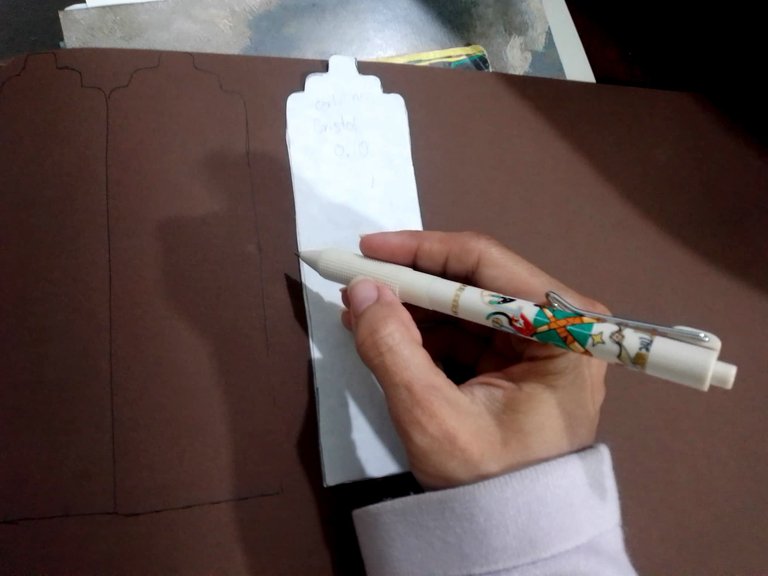
This bookmark consists of a large piece of 15 cm on which go the smaller ones, so the first thing I did was to draw the figure (using the large mold) on the Bristol cardboard, this has a lower density than the opaline, but this is compensated with the other pieces that go on top, the Bristol is also a softer and more delicate material. Then I cut out the figures.
Este marcalibros consta de una pieza grande de 15 cm sobre la cual van las más pequeñas, así que lo primero que hice fue dibujar la figura (usando el molde grande) sobre la cartulina Bristol, esta tiene una densidad menor que la opalina, pero esto se compensa con las demás piezas que van encima, el Bristol es además un material más suave y delicado. Después recorté las figuras.
 |  |  |
|---|
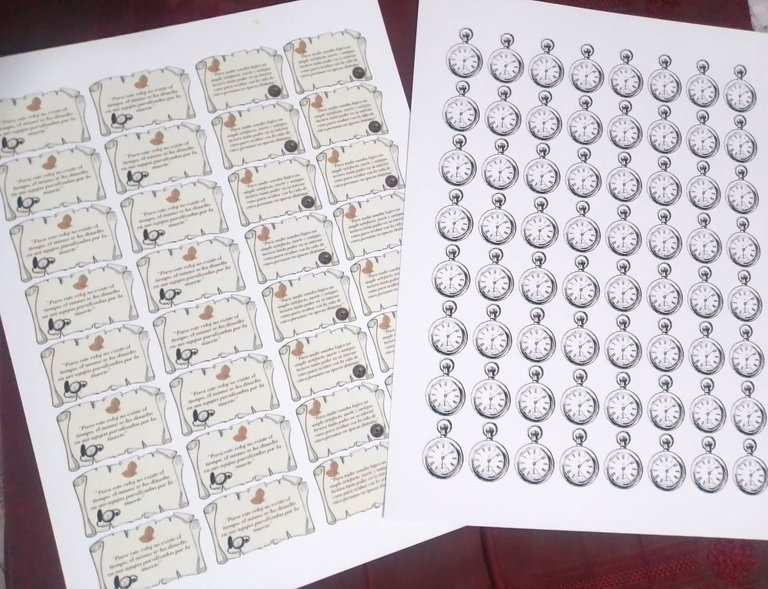
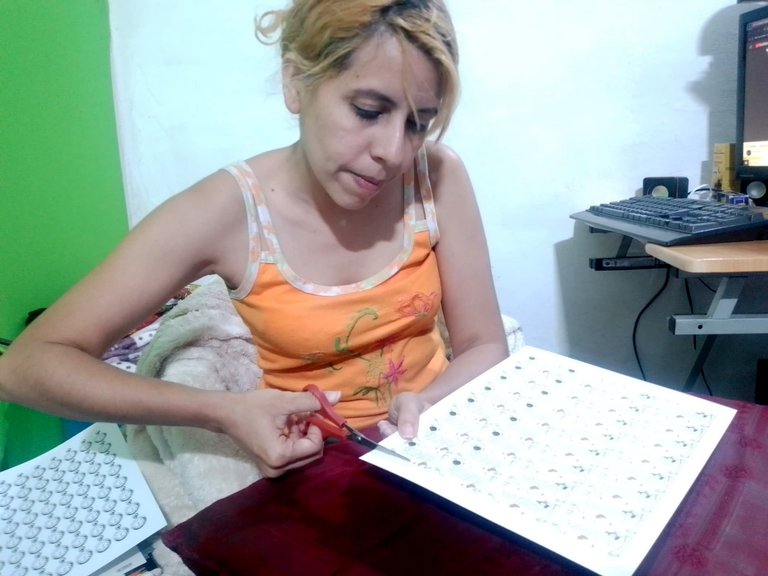
I also cut out all the phrases and images that I had previously printed.
También recorté todas las frases e imágenes que imprimí previamente.
 |  |
|---|
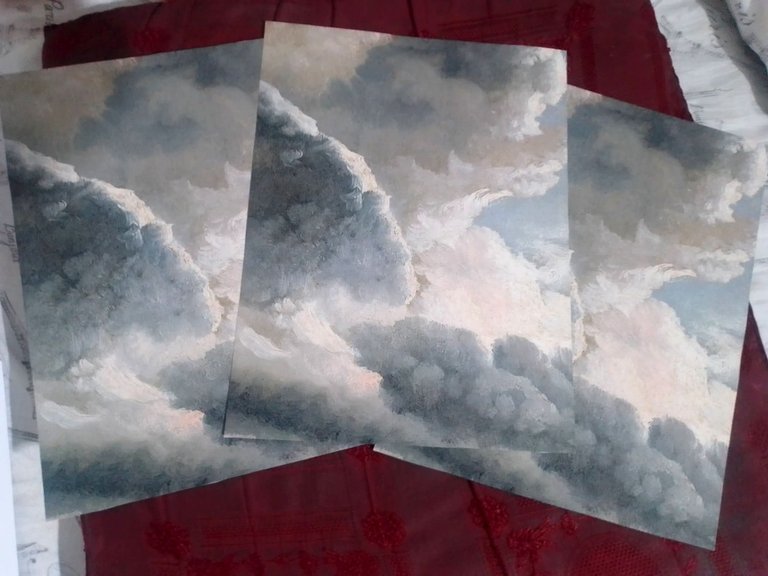
I also did the same with the figure that has the same base silhouette, but I cut it over a cloud design that I previously printed, and once I had all the elements I needed I proceeded to assemble the bookmark, I think this is the most fun and creative part of the process.
También hice lo mismo con la figura que tiene la misma silueta de base, pero la recorte sobre un diseño de nubes que imprimí previamente, y una vez que tuve todos los elementos que necesitaba procedí a ensamblar el marcalibros, creo que esta es la parte más divertida y creativa del proceso.
|  |
|---|
I put glue on the back of the smaller piece and glued it onto the larger base. My intention was to have a cloudy sky in the background.
Puse pegamento por la parte posterior de la pieza más pequeña y la pegué sobre la base más grande. Mi intención era tener de fondo un cielo nublado.
|  |  |
|---|
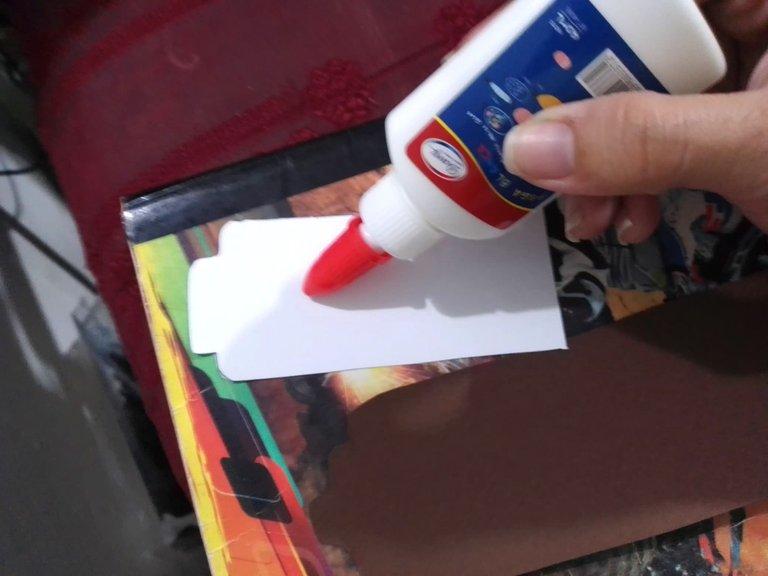
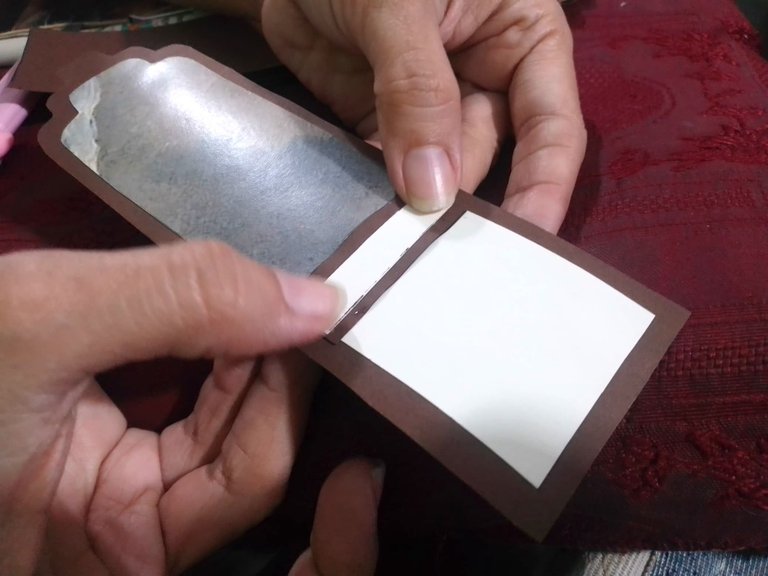
Then I glued on the base, just at the bottom, the smallest piece, a square of approximately 6 cm, for this I used thread cardboard but you could also use opaline.
Posteriormente pequé en la base, justo en la parte de abajo la pieza más pequeña, un cuadrado de aproximadamente 6 cm, para esto usé cartulina de hilo pero también podrías usar opalina.
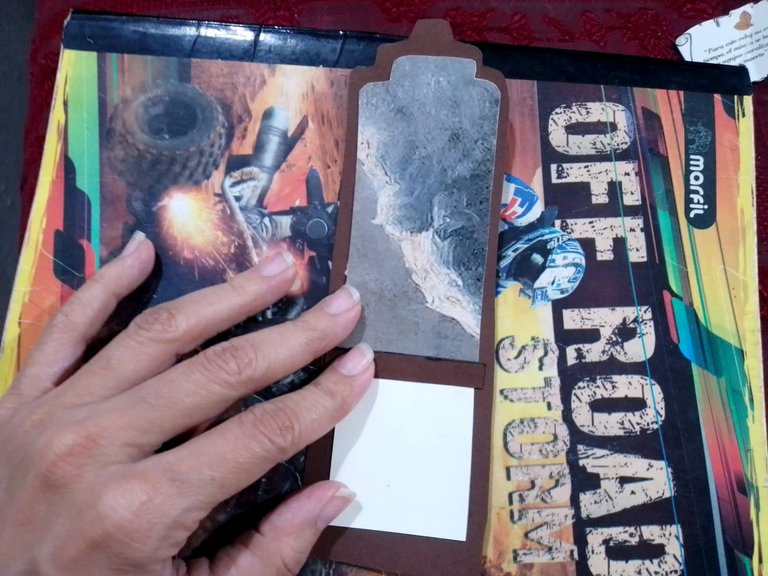
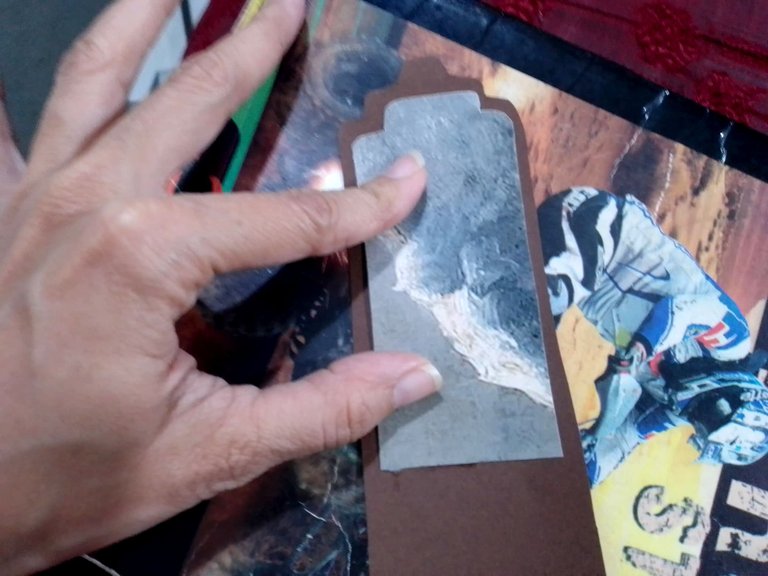
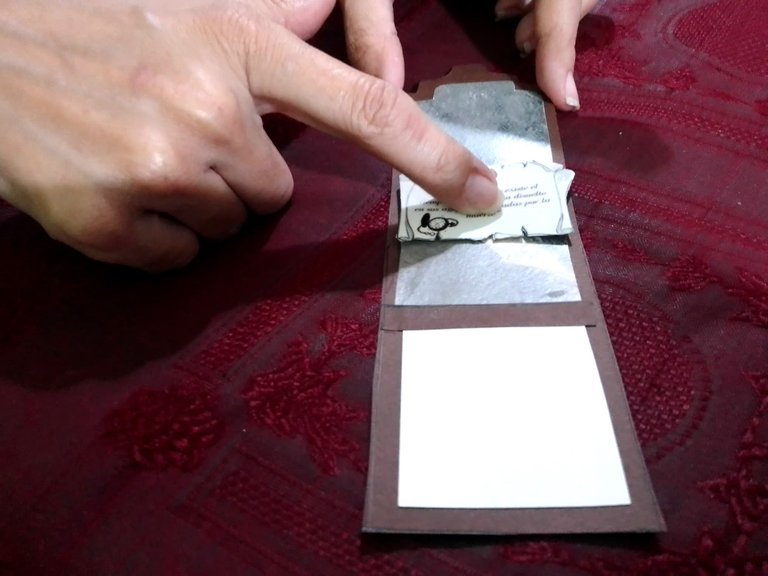
I decided to cut out a smaller piece of ivory card stock to highlight the space between the cloudy sky and the square I glued below.
Yo decidí recortar una pieza más pequeña en cartulina color marfil para resaltar el espacio entre el cielo nublado y el cuadrado que pegué abajo.
 |  |  |
|---|
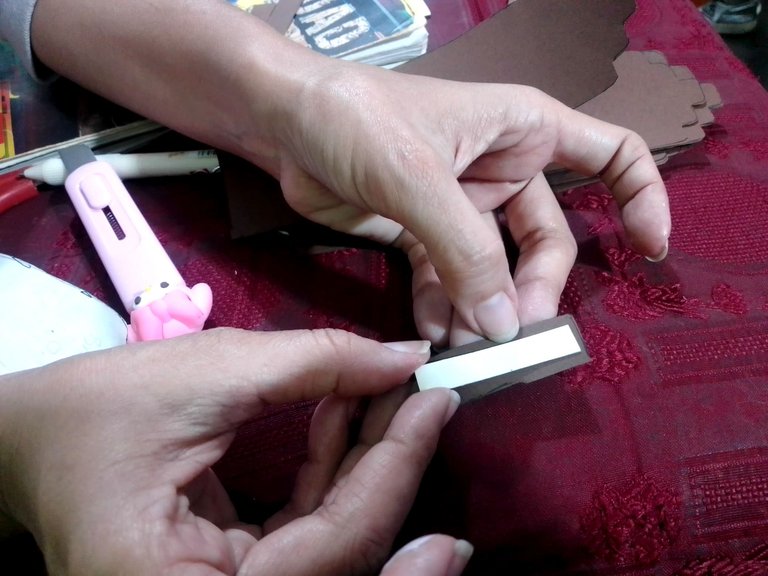
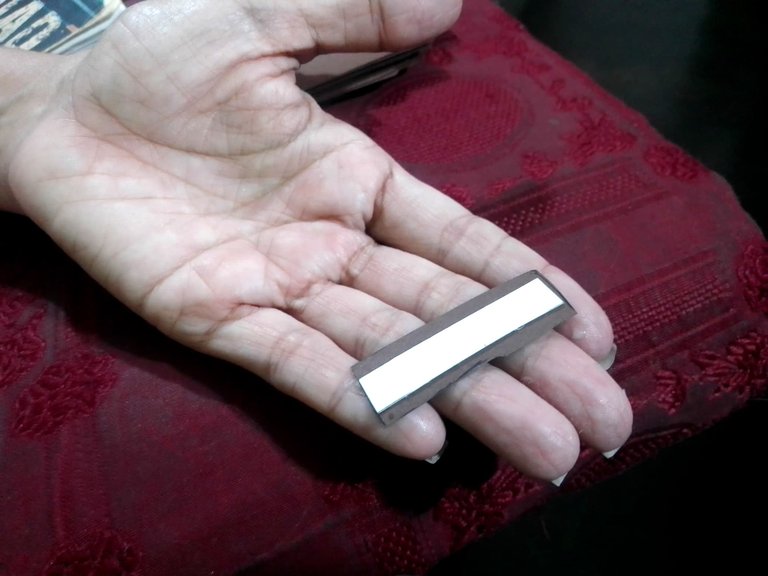
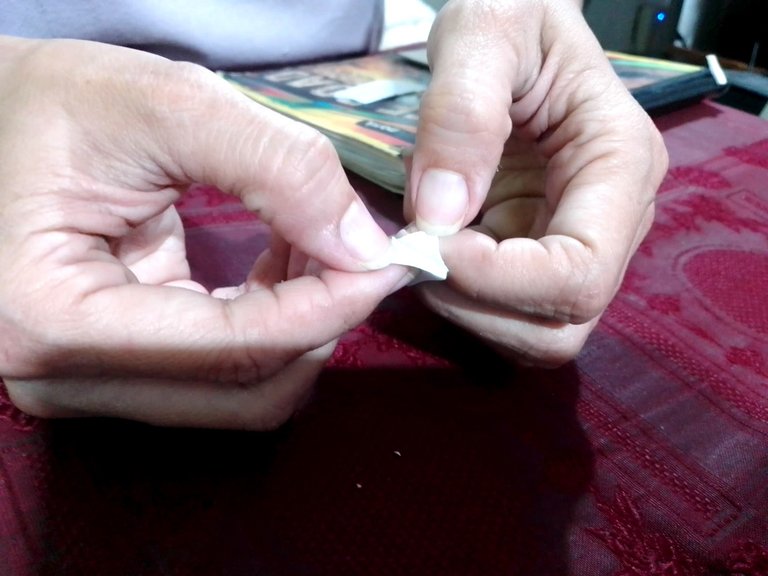
Now we come to a part that can be optional, but I like to do this step, I mean to cut a little piece of mounting tape (which has glue on both sides) and glue it on the back of the images that I printed and then glue them to the bookmark, I like to use this tape because the images are embossed. In the same way I could mount tape to the clock image that goes right in the middle.
Ahora llegamos a una parte que puede ser opcional, pero a mi me gusta hacer este paso, me refiero a cortar un pedacito de cinta de montar (la cual tiene pegamento por las dos caras) y pegarla por la parte de atrás de las imágenes que imprimí para luego pegarlas al marcalibros, me gusta usar esta cinta porque las imágenes quedan al relieve. De la misma manera le pude cinta de montar a la imagen del reloj que va justo en el medio
 |  |  |
|---|
 |  |
|---|
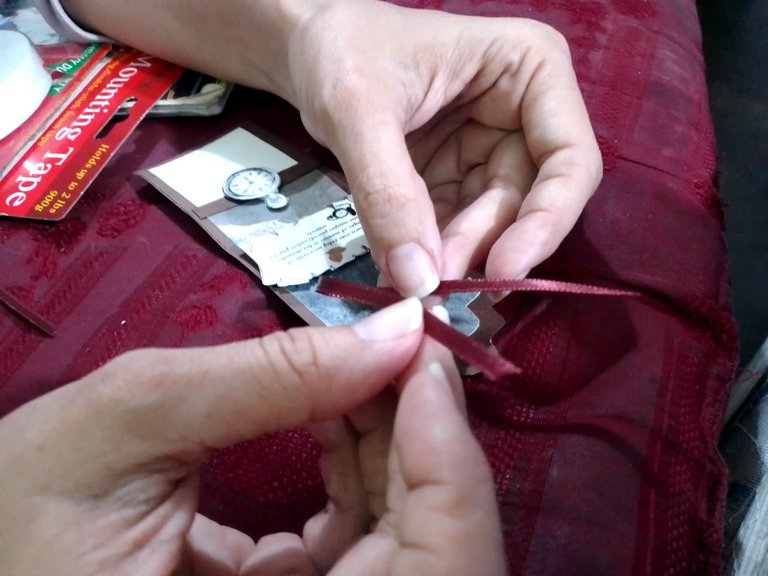
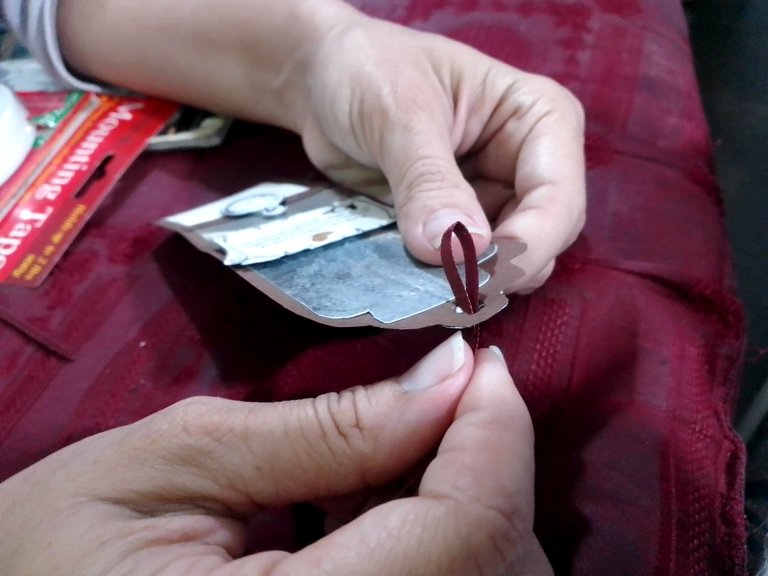
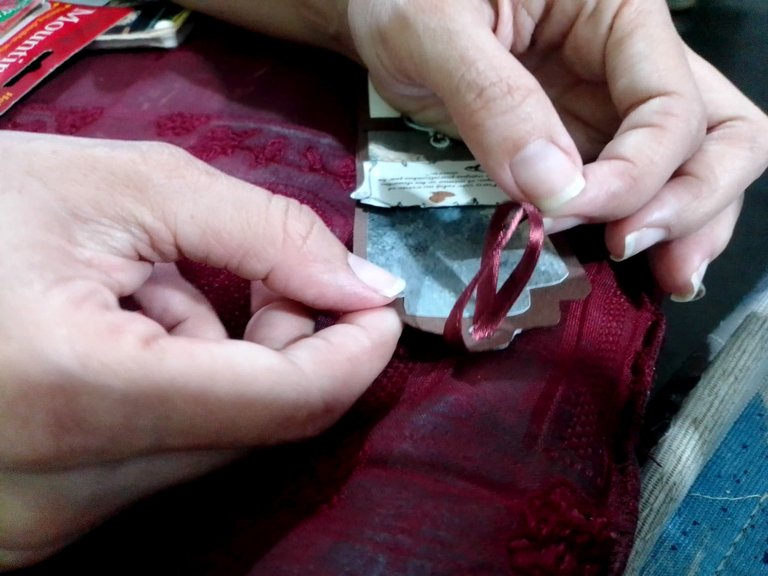
At this point I just gave the final touch, I cut a very thin fabric ribbon (it can be as long or short as you like) folded it in half and passed it through a hole I made in the bookmark at the top, then passed the two ends through the loop and pulled the ribbon, as shown in the pictures.
A este punto solo le di el toque final, yo corté una cinta de tela muy delgada (puede ser tan larga o corta como gustes) la doblé a la mitad y la pasé a través de un agujero que le hice al marcalibros en la parte superior, posteriormente pasé las dos puntas a través del lazo y halé la cinta, tal como se muestra en las fotografías
 |  |  |
|---|

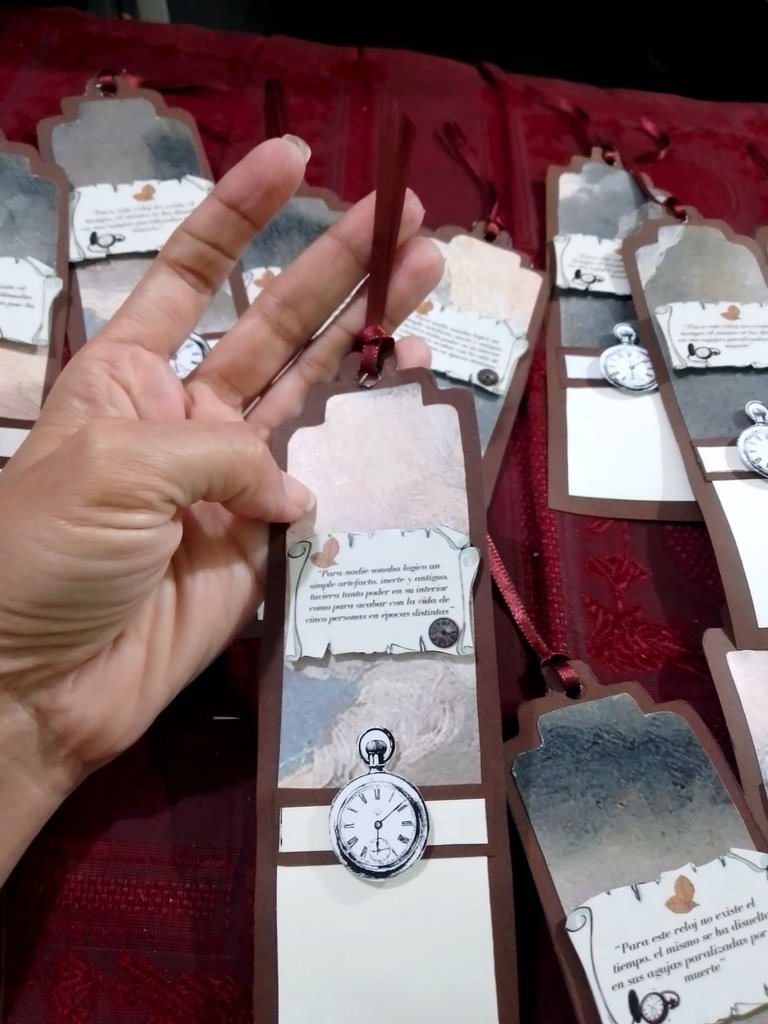
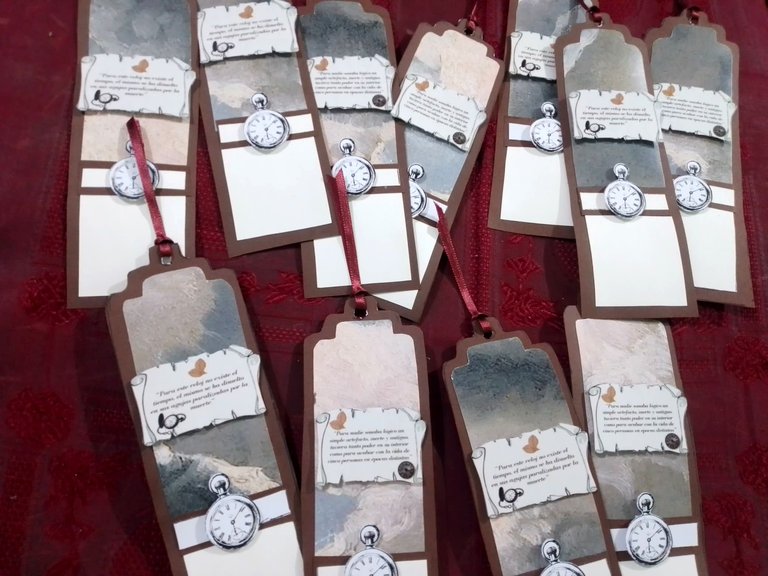
And this was the result of my personalized bookmarks, I used phrases from my book and dark colors to go with the melancholic and even gloomy aura that many scenes have, but it's all a matter of imagination and creativity, you can use the designs, images and colors you want, or just use handwritten phrases, the important thing is that you give it your personal touch.
Y este fue el resultado de mis marcalibros personalizados, usé frases de mi libro y colores oscuros que fuesen con el aura melancólica y hasta tétrica que tienen muchas escenas, pero todo es cuestión de imaginación y creatividad, puedes usar los diseños, imágenes y colores que desees, o usar simplemente frases escritas a mano, lo importante es que le des tu toque personal.
 |  |
|---|
I hope you liked it, friends, the sky is the limit for creativity, take paper, cardboard, scissors, glue and let your imagination run wild. See you another time 😉
Espero que les haya gustado, amigos, el cielo es el límite de la creatividad, toma papel, cartulina, tijeras, pegamento y deja volar tu imaginación. Nos vemos en otra oportunidad 😉
Imagen diseñada por mi en el editor de Canva.
All images in this post are my own, taken with a ZTE Blade A51.
Todas las imágenes de este post son de mi propiedad, las tomé con un teléfono celular ZTE Blade A51.