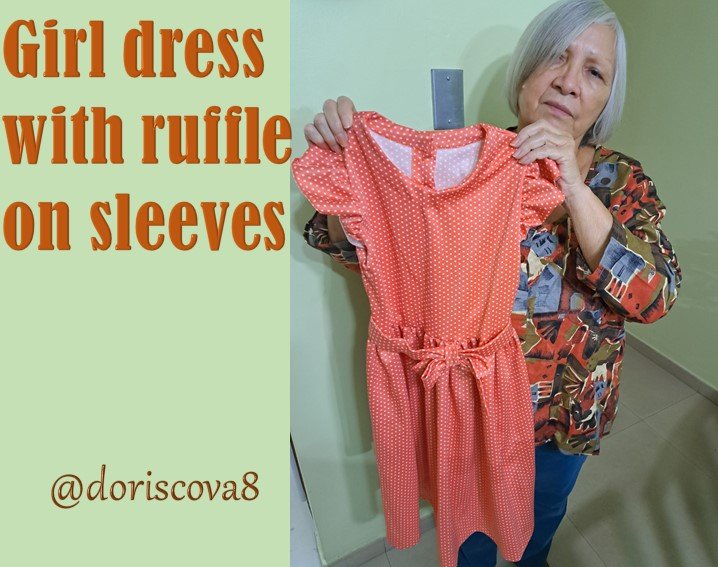
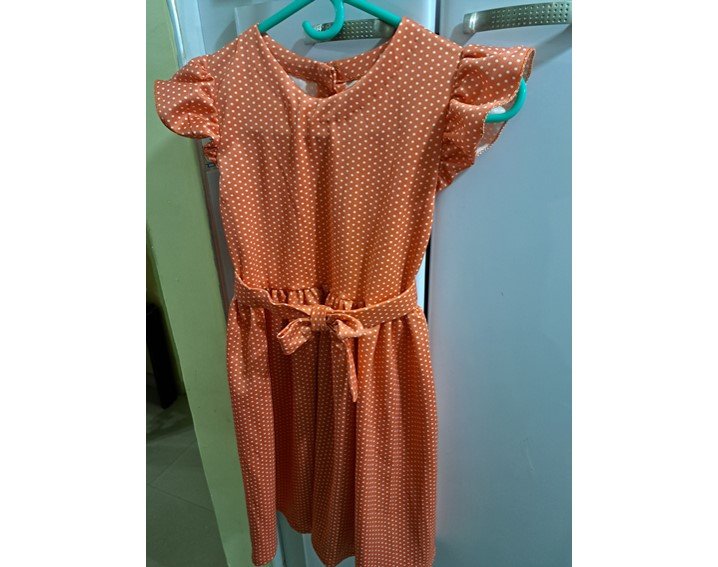
Today I bring you the realization of a dress for girl, which is quite simple, but very nice just for those hot days, but without taking away elegance, for this use a synthetic fabric very soft fall and that is very appropriate for this type of costumes because that polka dot pattern looks very nice in clothes for girls.
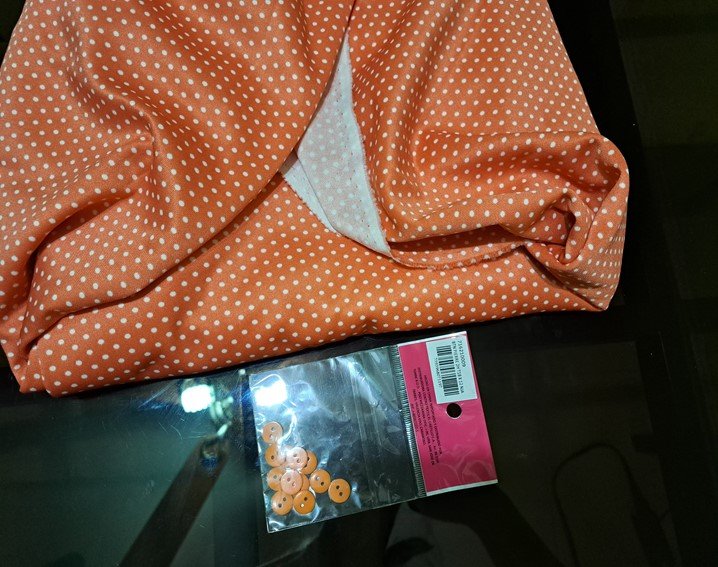
Materials
- 1 meter of fabric 140 cm wide
- 6 buttons
- Thread in the color of the fabric
- Sewing machine
- Scissors
- Hand sewing needles
- Tape measure
- Patterns for the blouse
- 1 badge
Hoy les traigo la realización de un vestido para niña, que es bastante sencillo, pero muy lindo precisamente para esos días calurosos, pero sin quitarle elegancia, para ello utilice un tejido sintético de caída muy suave y que es muy apropiado para este tipo de trajecitos porque ese estampado de lunares sé ve muy lindo en ropa para niñas.
Materiales
- 1 metro de tela de 140 cm de ancho
- 6 botones
- Hilo del color de la tela
- Máquina de coser
- Tijeras
- Agujas de coser a mano
- Cinta métrica
- Patrones para la blusa
- 1 gafete
Procedure
Step 1
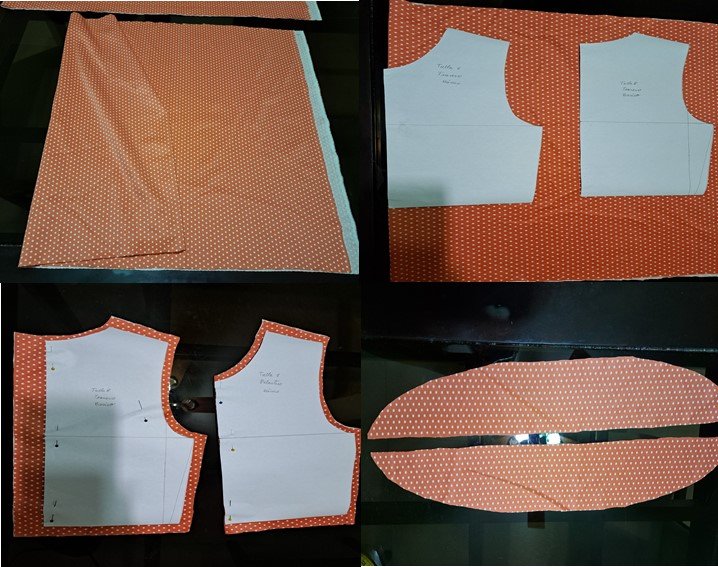
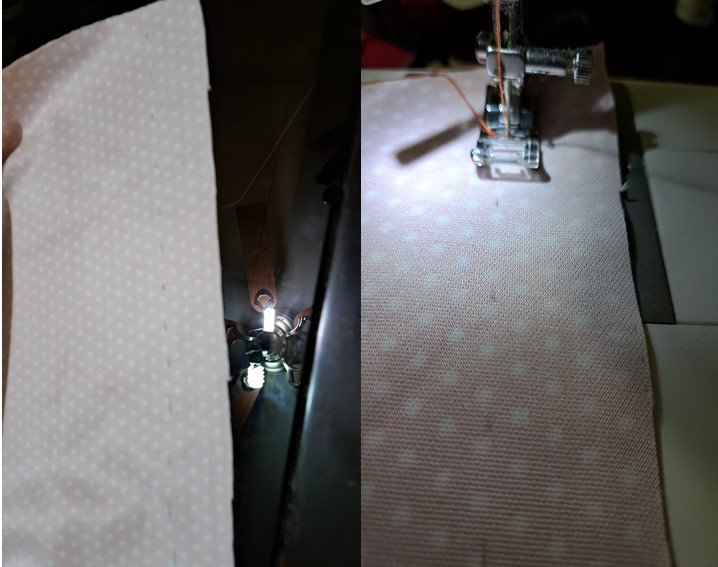
The first thing I did was to cut a 140 cm wide by 65 cm long piece for the skirt.
Then on the remaining fabric place the blouse patterns and then cut them, also cut the pieces for the ruffle of the sleeves and a piece for the belt of 140 cm long by 10 cm wide.
Procedimiento
Paso 1
Lo primero que realice fue cortar para la falda una pieza de 140 cm de ancho por 65 cm de largo.
Luego sobre la restante tela coloque los patrones de la blusa y seguidamente los corte, también corte las piezas para el volante de las mangas y una pieza para el cinturón de 140 cm de largo por 10 cm de ancho.
Step 2
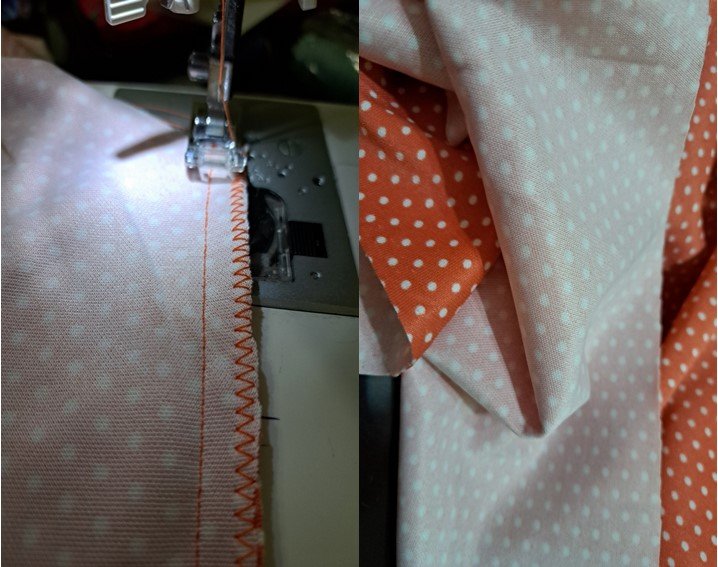
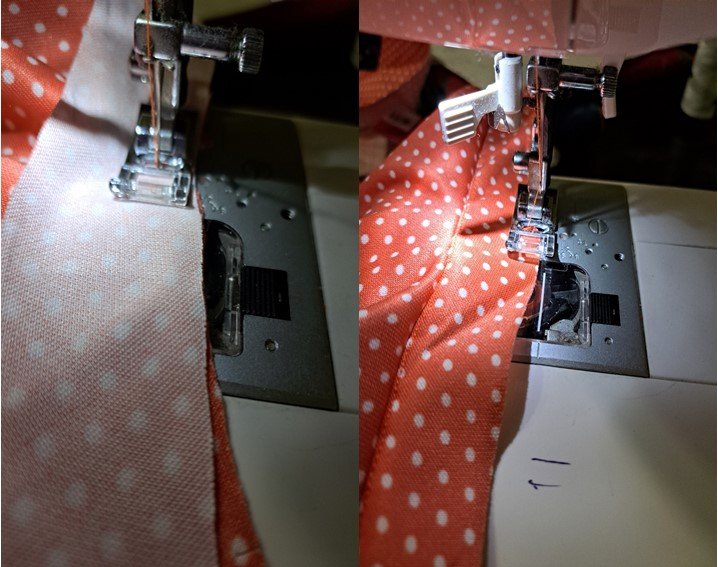
I proceeded to sew the sides of the blouse and the shoulder seam and then zigzag stitched them for a better finish.
Paso 2
Procedí a coser los costados de la blusa y la costura de hombros y les pasé luego una costura de zigzag para un mejor remate.
Step 3
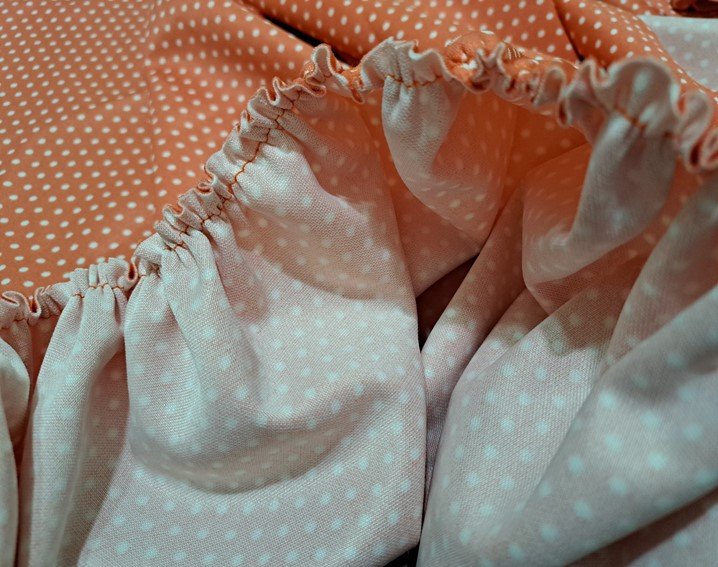
I proceeded to pleat the skirt.
Paso 3
Luego procedí a plisar la falda.
Step 4
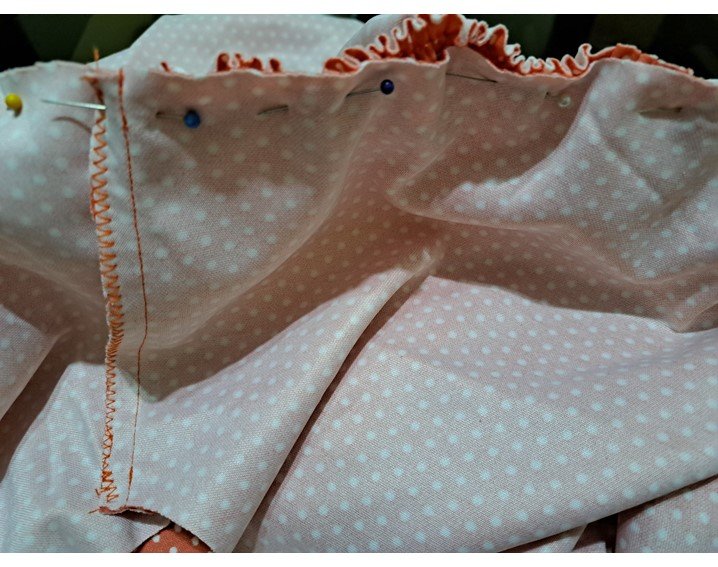
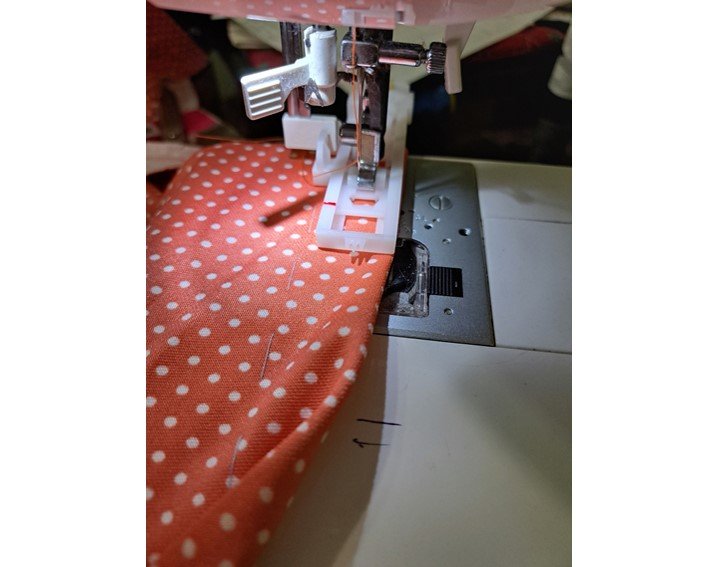
I then pinned the skirt to the blouse to adjust the lengths so that they matched very well, taking into account the back opening.
Paso 4
Luego fui uniendo la falda a la blusa mediante alfileres para ir ajustando los largos de tal forma que cuadraran muy bien teniendo en cuenta la abertura posterior.
Step 5
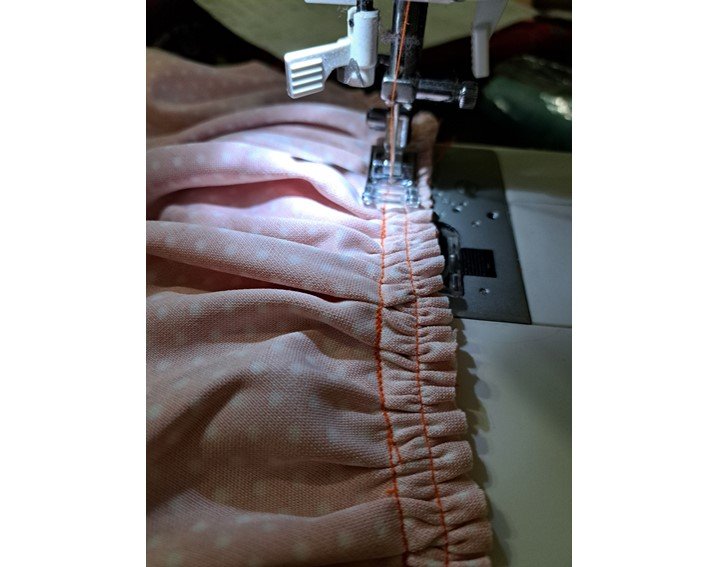
Machine stitch the blouse to the skirt.
Paso 5
Realice la costura a máquina de la unión de la blusa con la falda.
Step 6
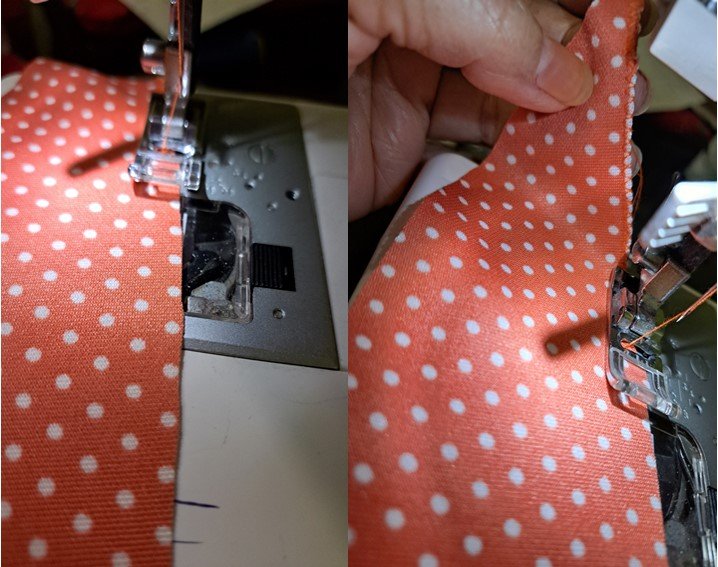
I marked where I was going to sew the hem of the skirt and sewed it.
Paso 6
Marqué por donde iba a coser el ruedo de la falda y lo cosí.

Step 7
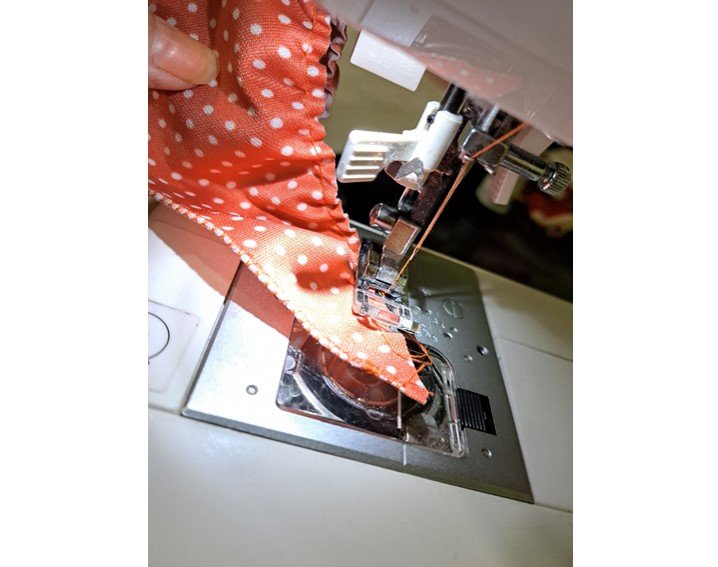
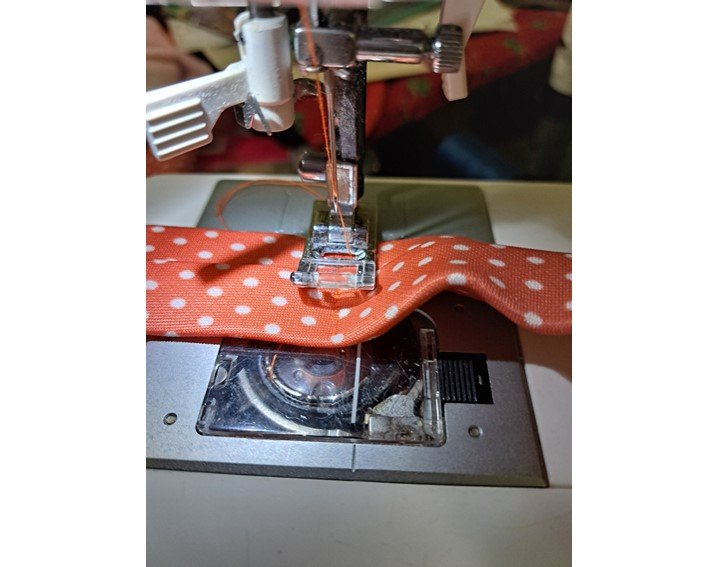
Attach a bias-cut strip to the neckline and sleeves to polish them.
Paso 7
Coloque una tira cortada al sesgo al cuello y las mangas para pulirlas.
Step 8
I proceeded to make the buttonholes using the tool provided with the machine.
Paso 8
Procedí a la realización de los ojales utilizando la herramienta que trae la máquina para ello.
Step 9
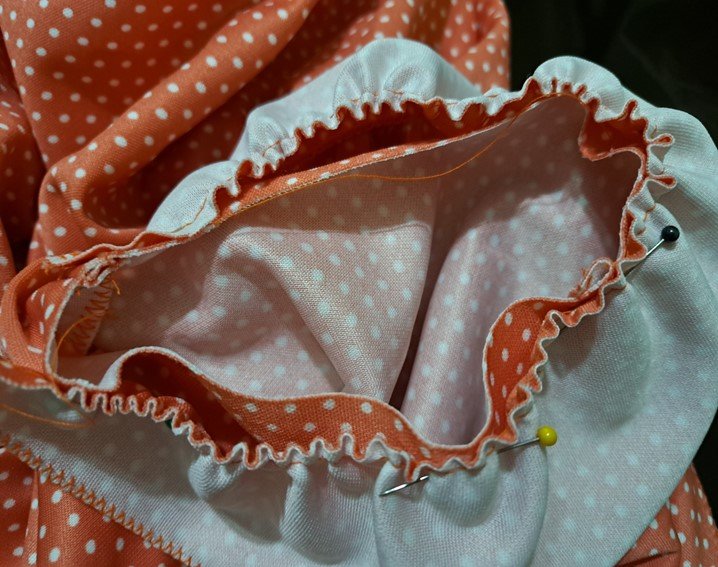
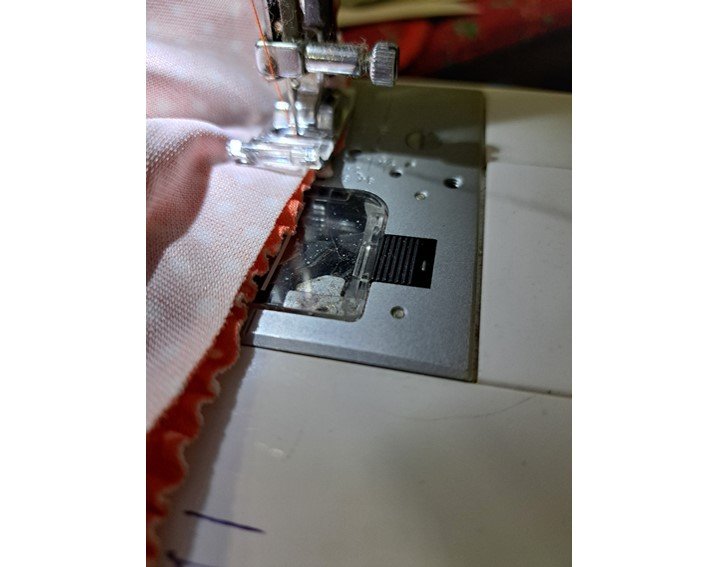
Then continue by zigzagging the ruffle piece along the selvage to the outside and then purl it.
Paso 9
Luego continúe realizándole un zigzag a la pieza del volante por el orillo que va hacia afuera para luego rucharla.
Step 10
Pin the ruffle piece to the sleeves.
Paso 10
Unir mediante alfileres la pieza del volante a las mangas.
Step 11
Proceed to machine sew the ruffle to the sleeves once the length has been adjusted.
Paso 11
Procedí a coser a máquina el volante a las mangas una vez ajustado el largo.
Step 12
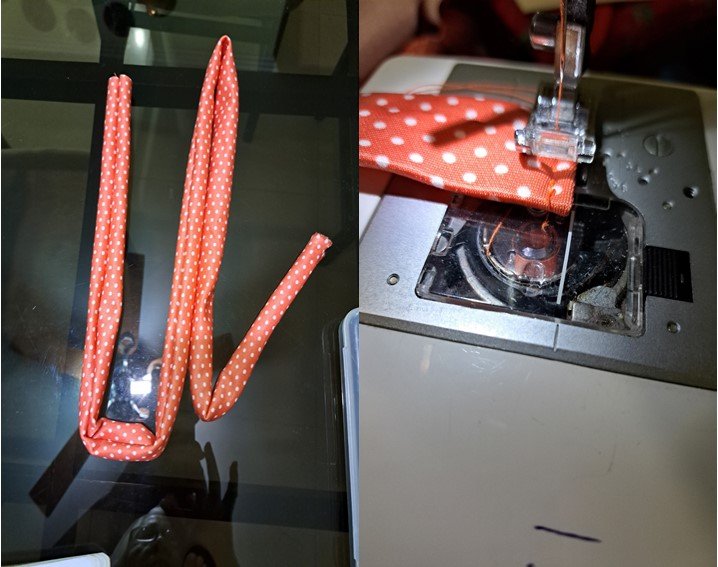
Then make the belt with the cut piece, proceeding to join it on the reverse side and then turn it over, take advantage so that the belt was firmer I put a piece of thick fur, which is a material for waistbands, only in the part that covers the waist circumference leaving the soft ends to make a loop, I closed the ends.
Paso 12
Luego realice el cinturón con la pieza cortada, procediendo a unirla por el revés y luego voltearla, aproveche para que el cinturón quedara más firme le coloque una pieza de pelón grueso, que es un material para pretinas, solamente en la parte que abarca el contorno de cintura dejando las puntas suaves para realizar un lazo, cerré los extremos.
Step 13
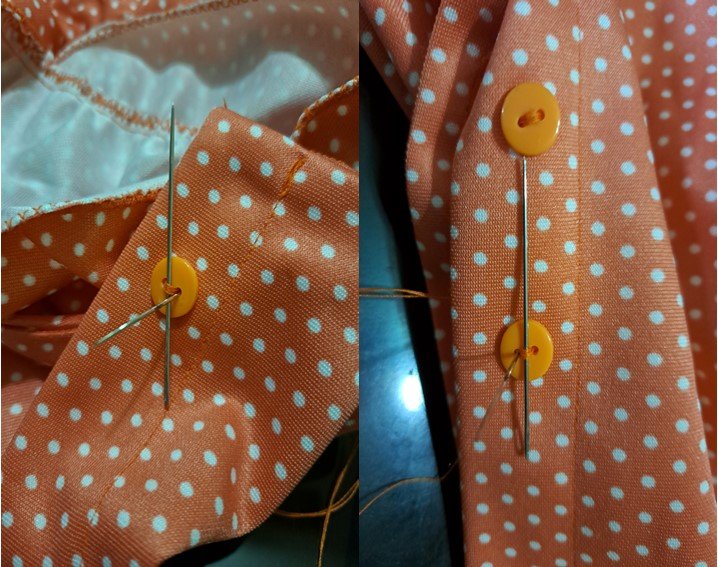
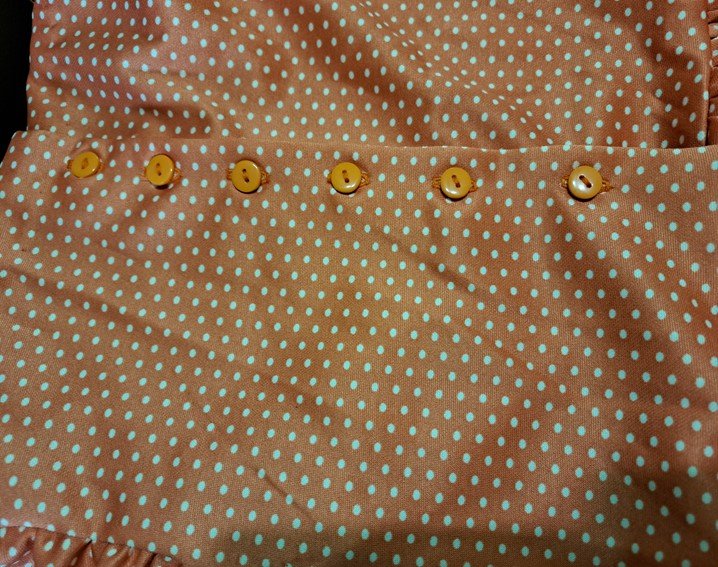
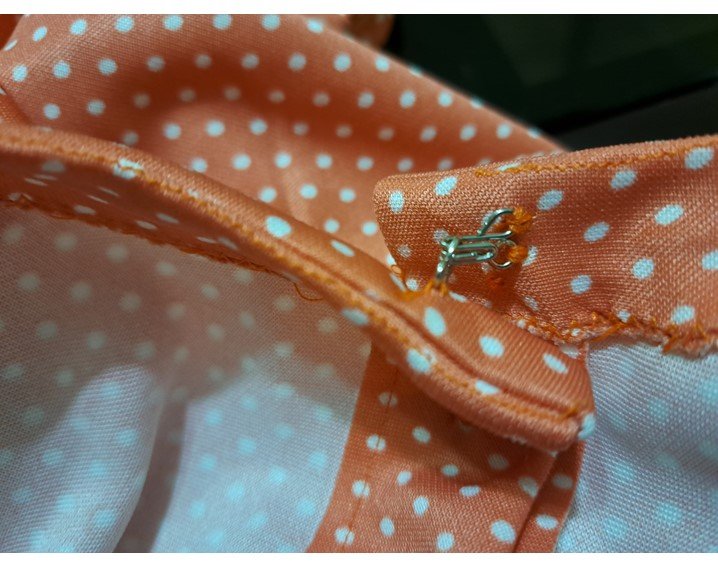
Place the buttons according to the buttonholes made and for a better finish I put a badge at the top.
Paso 13
Coloque los botones de acuerdo a los ojales realizados y para un mejor acabado le coloque un gafete en la parte superior.

Translated with www.DeepL.com/Translator (free version)
Fuente de imágenes: Archivo Personal.


MIS REDES SOCIALES