#needlework
Hello my fellow needleworkers, I hope you all are doing well and you are having a lovely day.
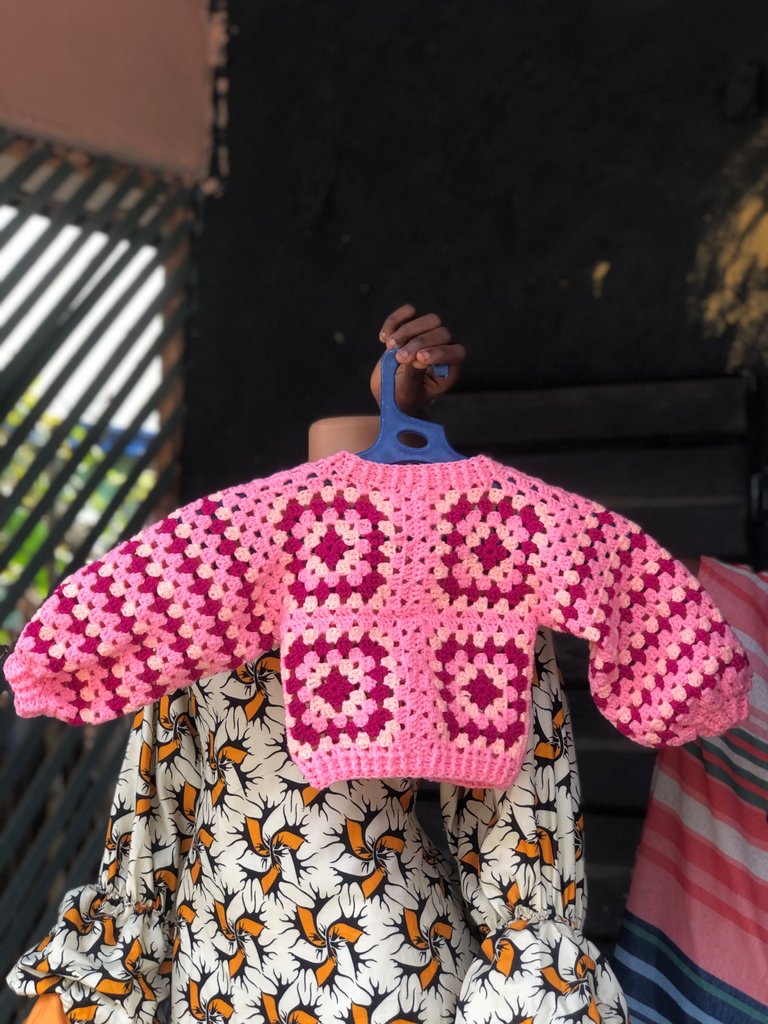
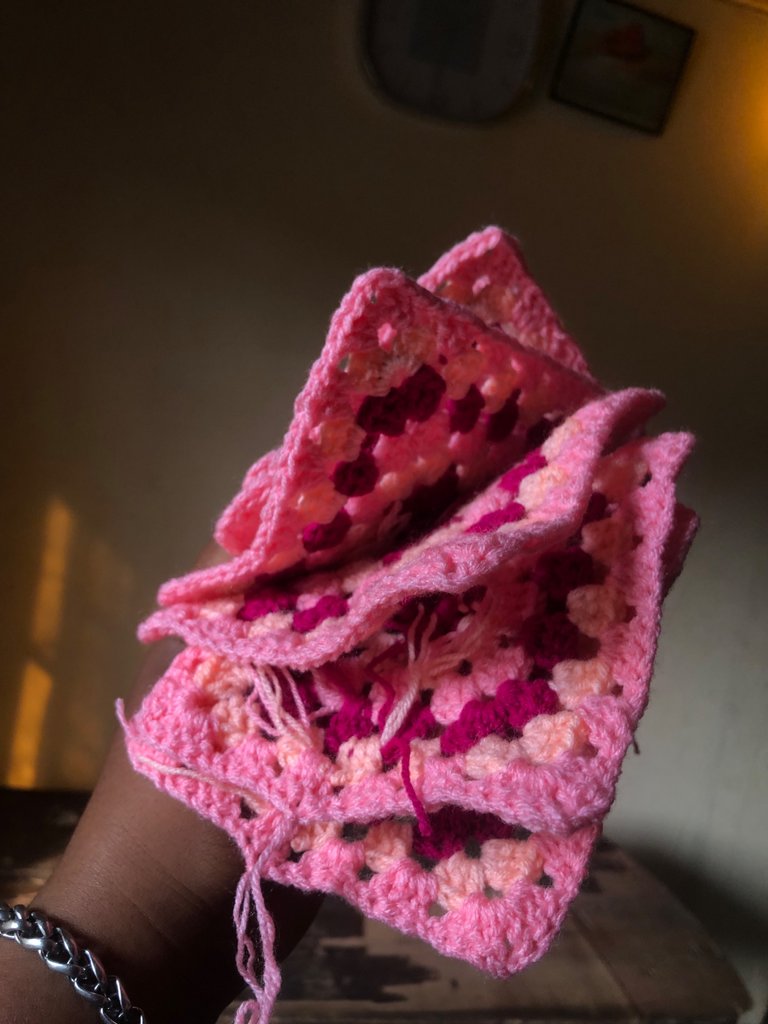
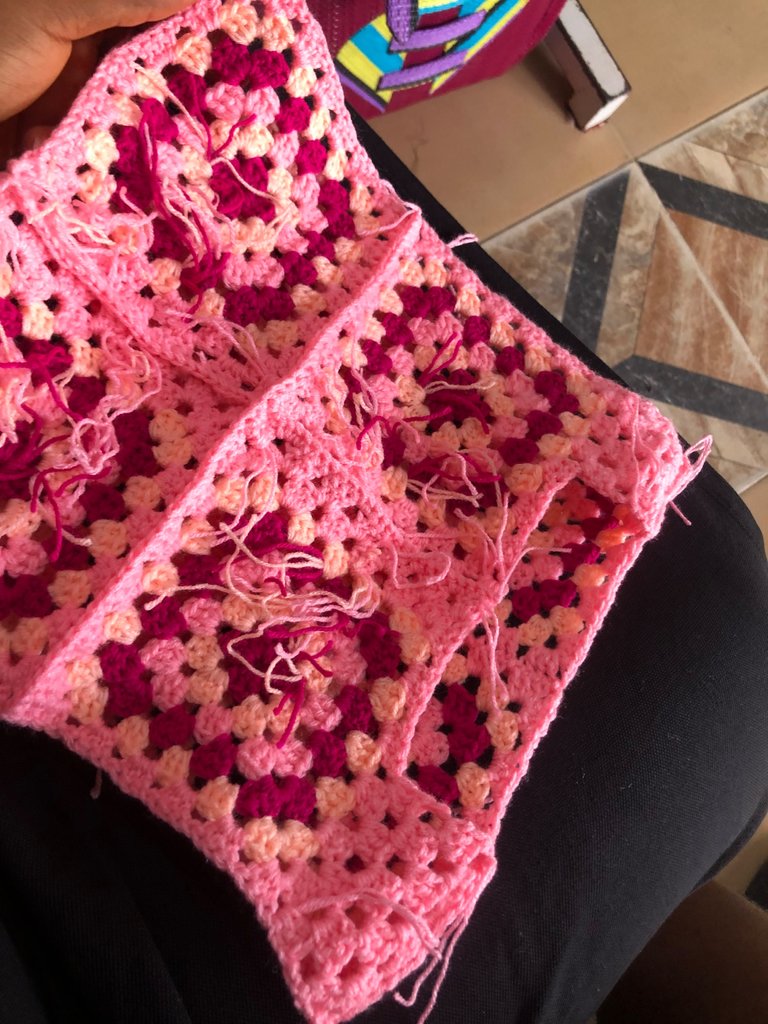
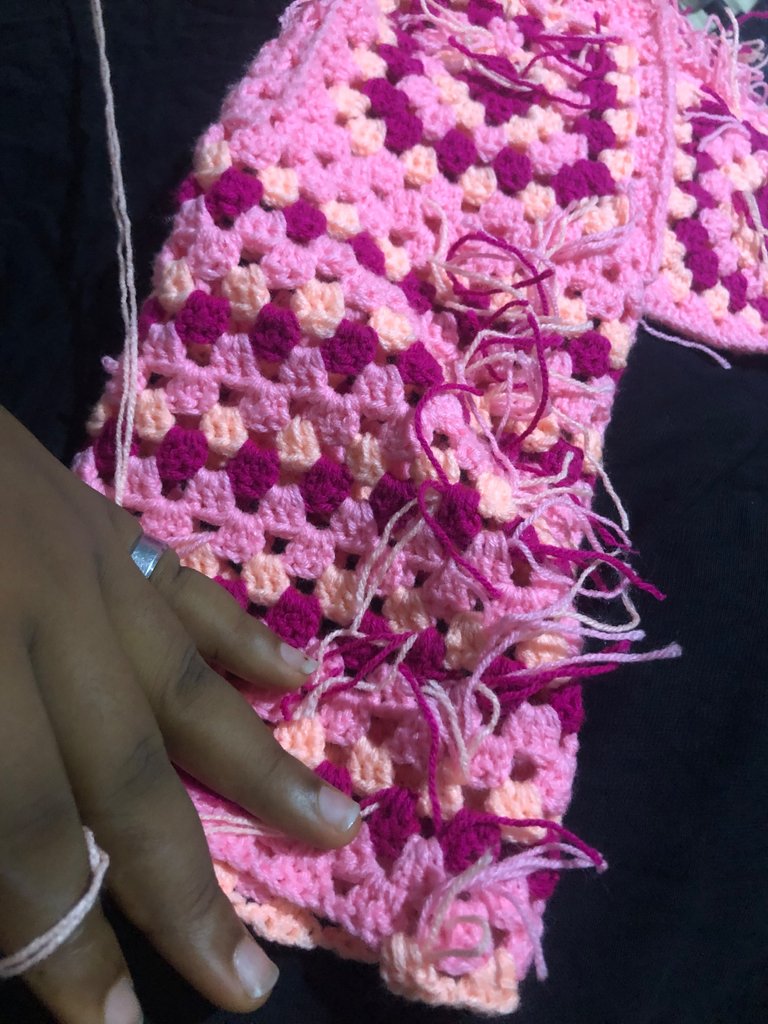
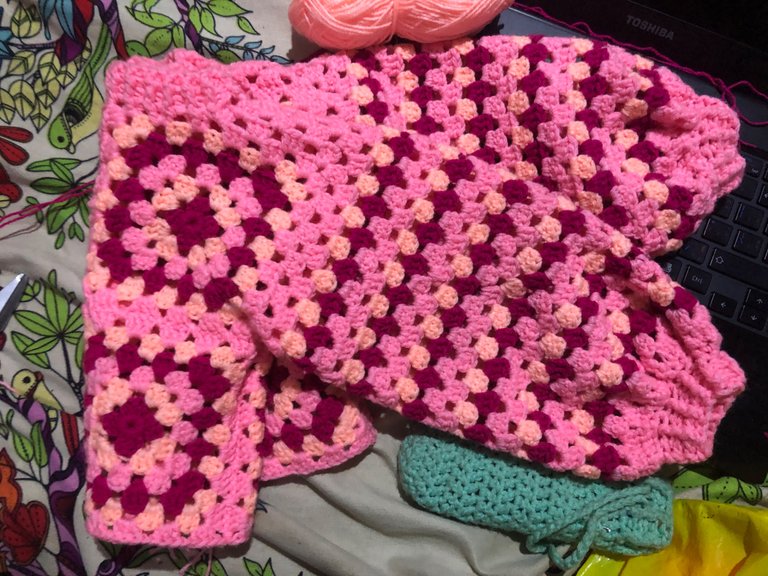
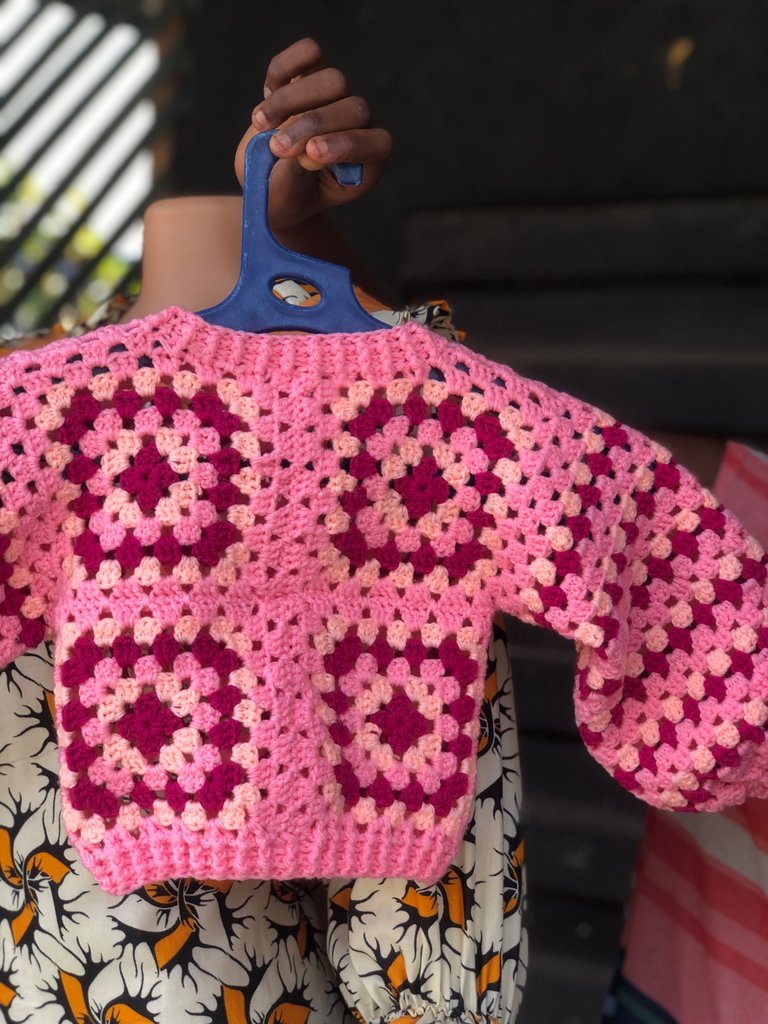
Today I’m sharing this beautiful granny square pullover I made for a little girl.
So I can’t say “I got an order from a client” because that wasn’t how it started out. So here’s the story.
I was randomly talking to an acquaintance once and I got asked what I do and I said “ oh I’m a social media manager and a crocheter”.
He asked to see samples of what I've done and I sent it. That’s how the order process started.

He said he has kids and would love to get them something just in case the cold gets really unbearable.
I quickly told him crochet wear is the best for such situations.
He agreed and asked me to send samples of pullovers for kids.
He picked this exact design buh we decided to use a different color palette.
Just to put this out there, I know squares are exhausting for some people.
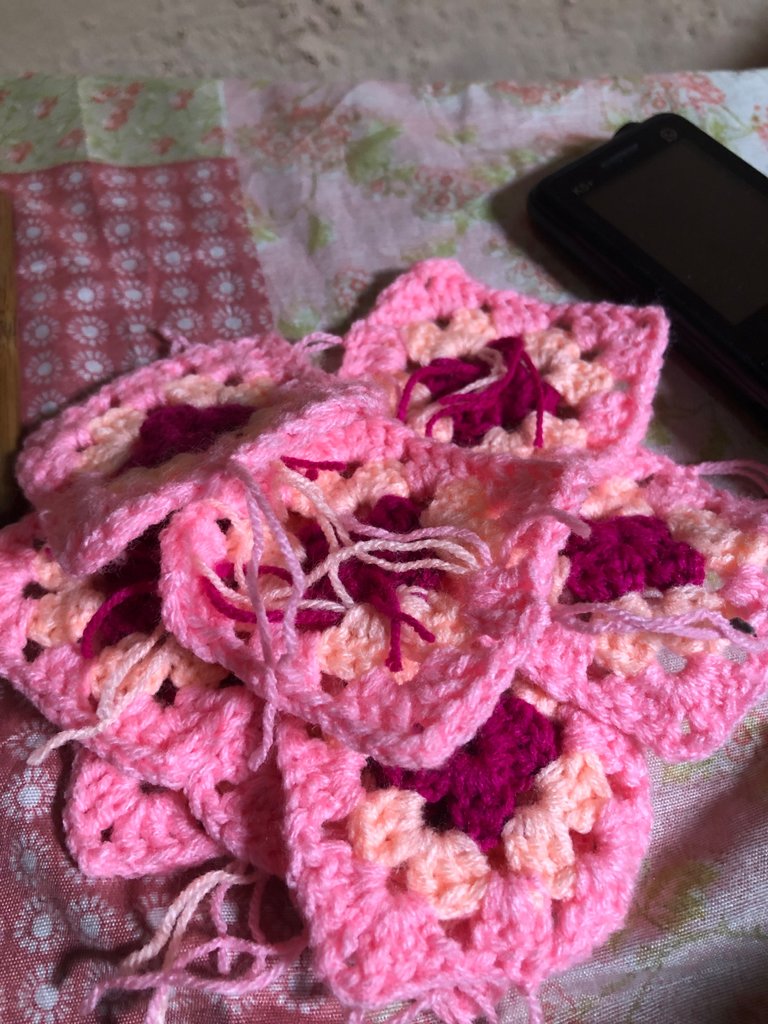
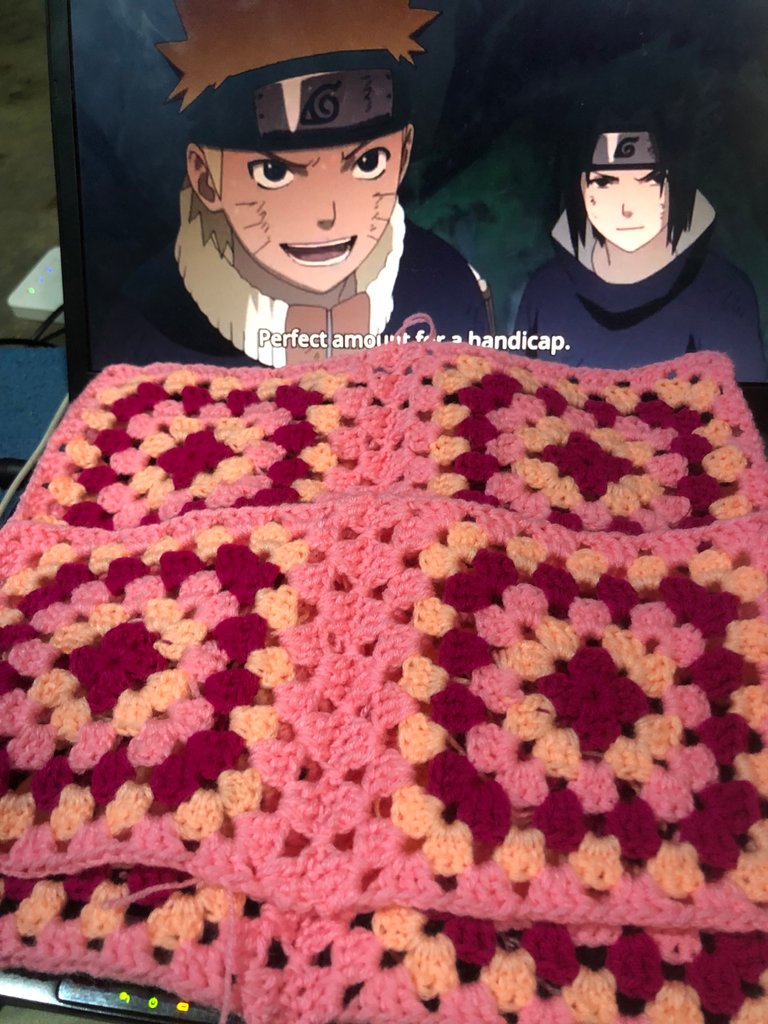
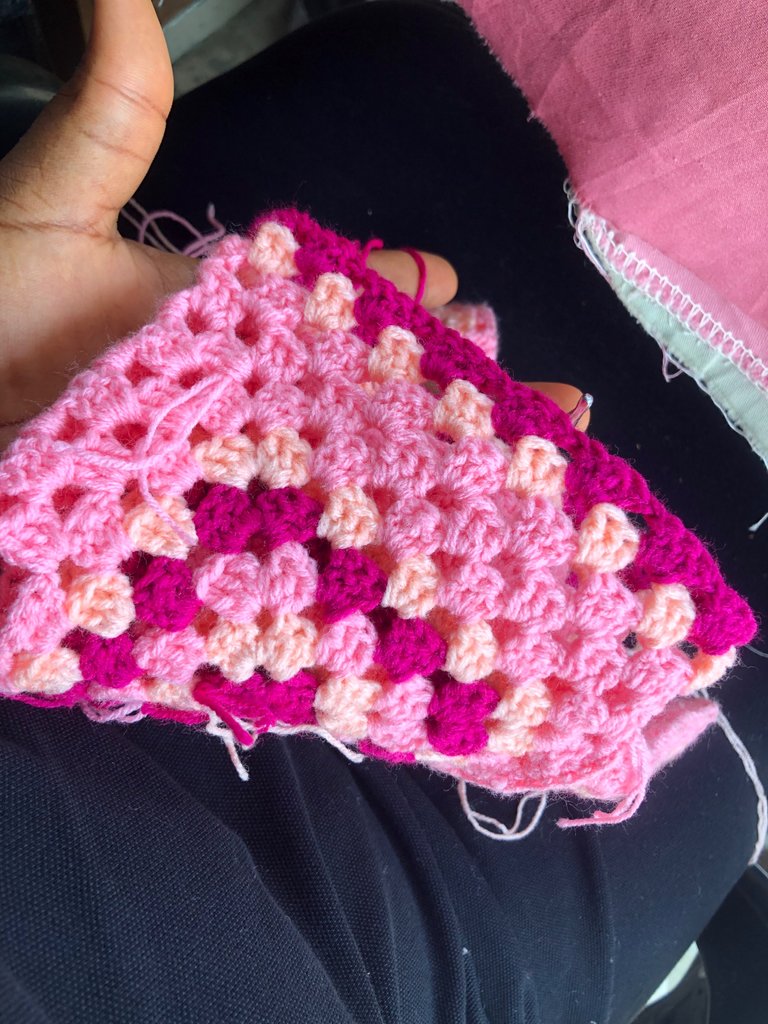
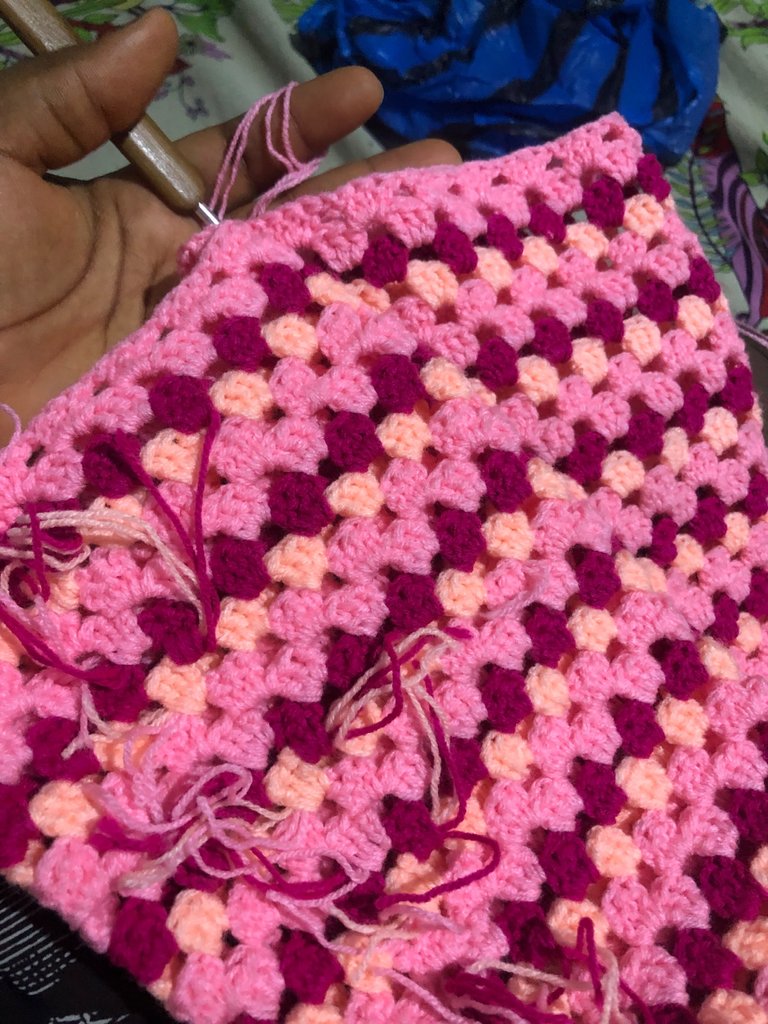
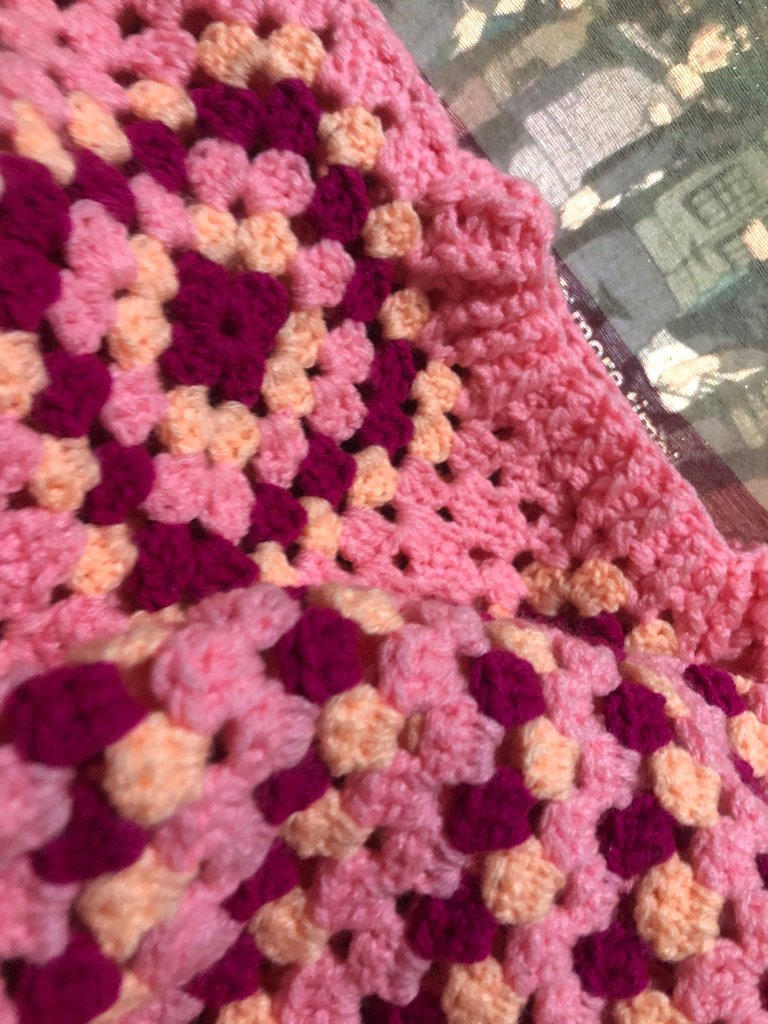
Most times I get exhausted too but I still love working on squares especially when they are color changing.
When I started working on this I won’t lie right I did it all day everyday till I finished it.
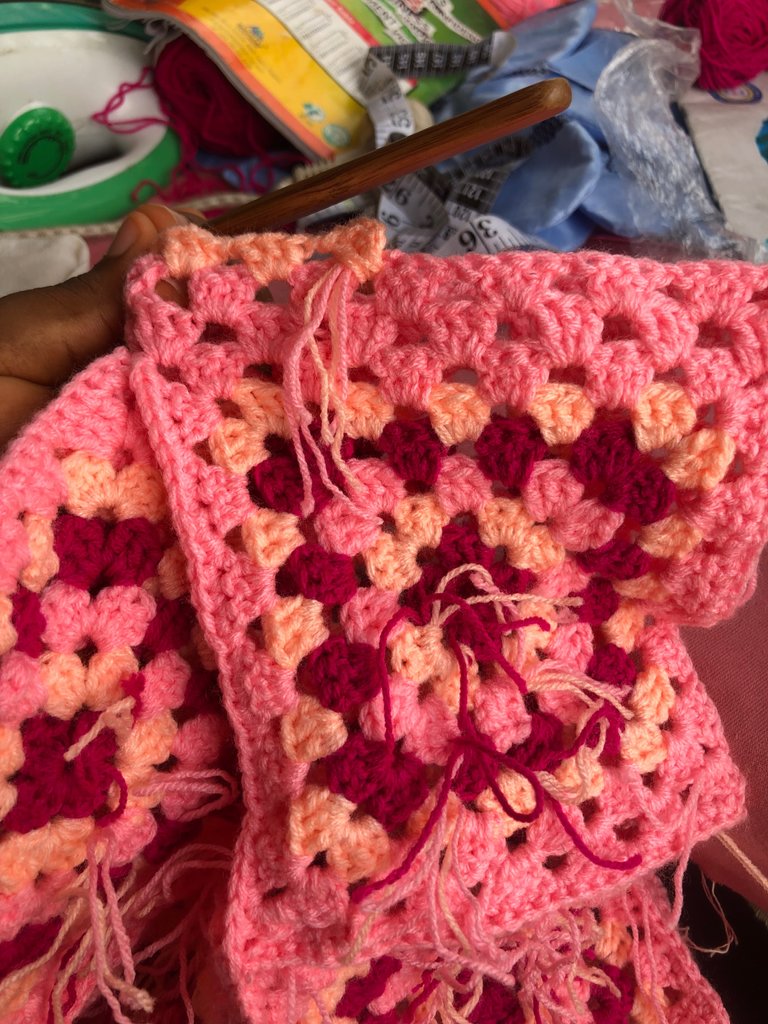
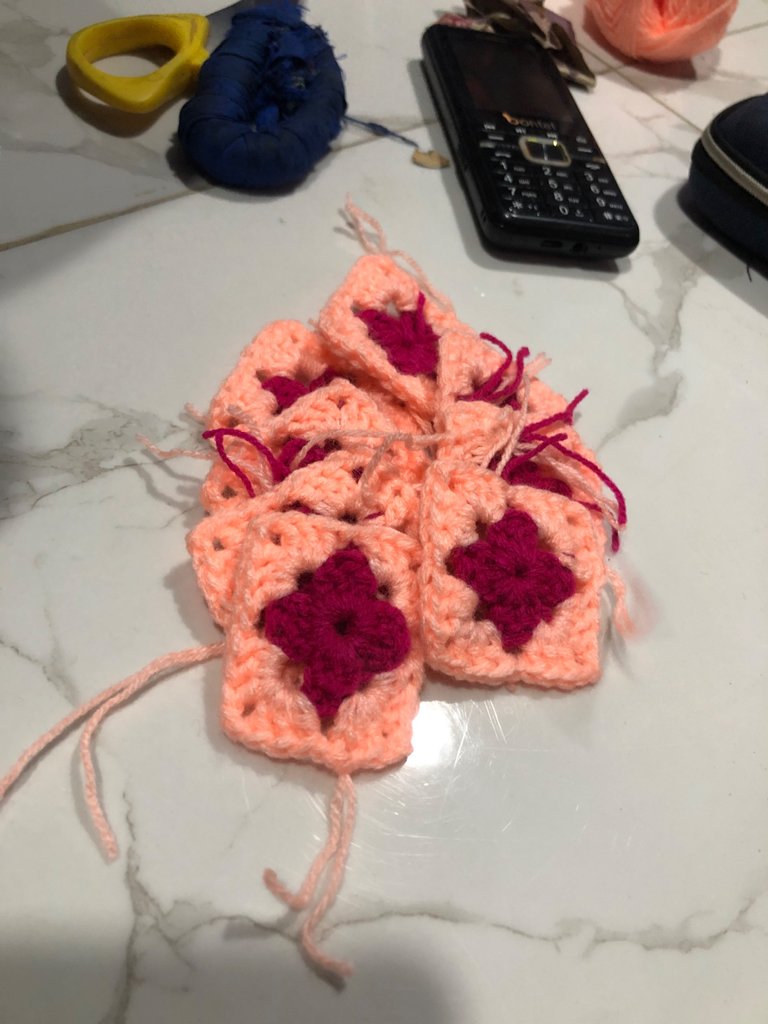
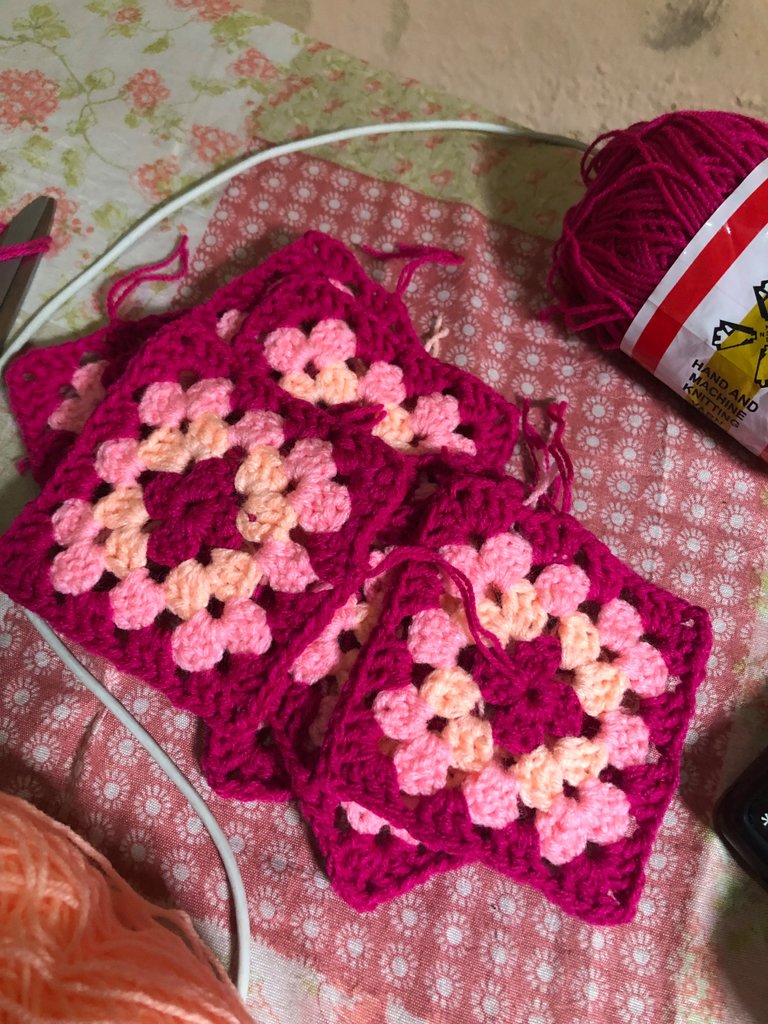
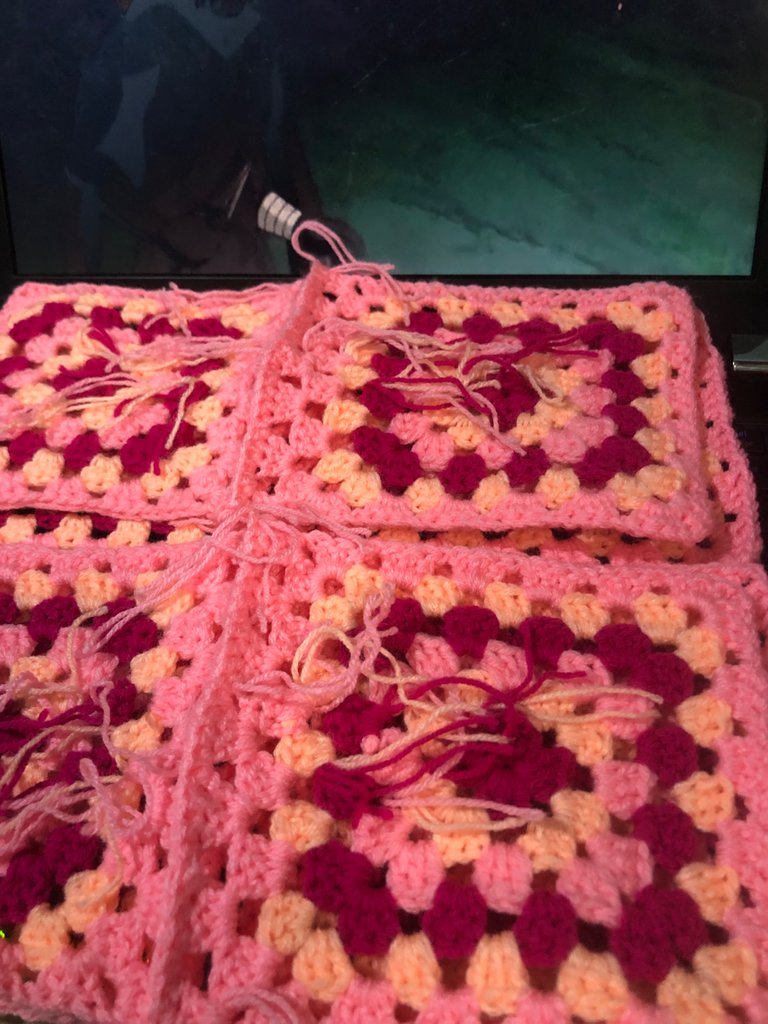
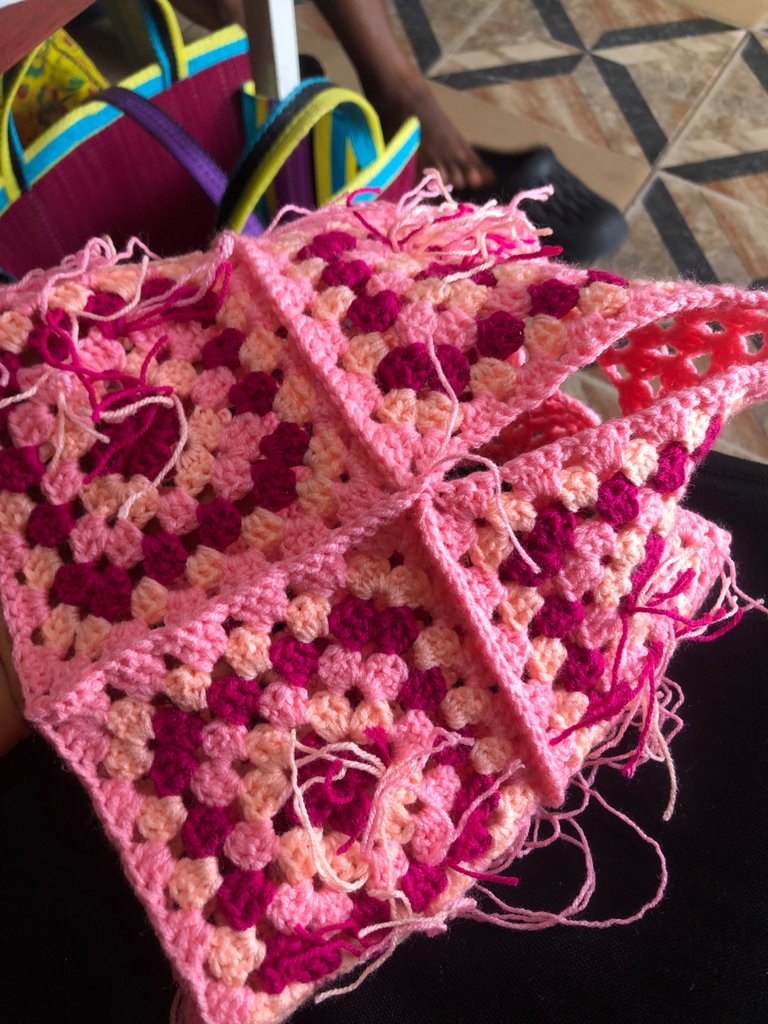
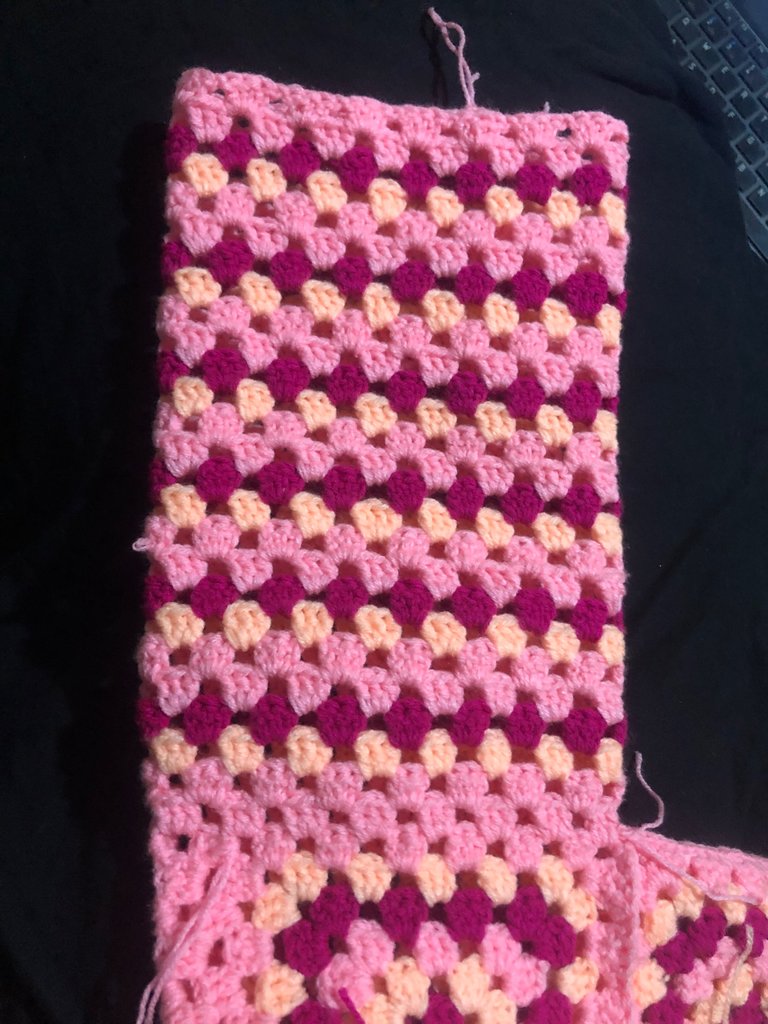
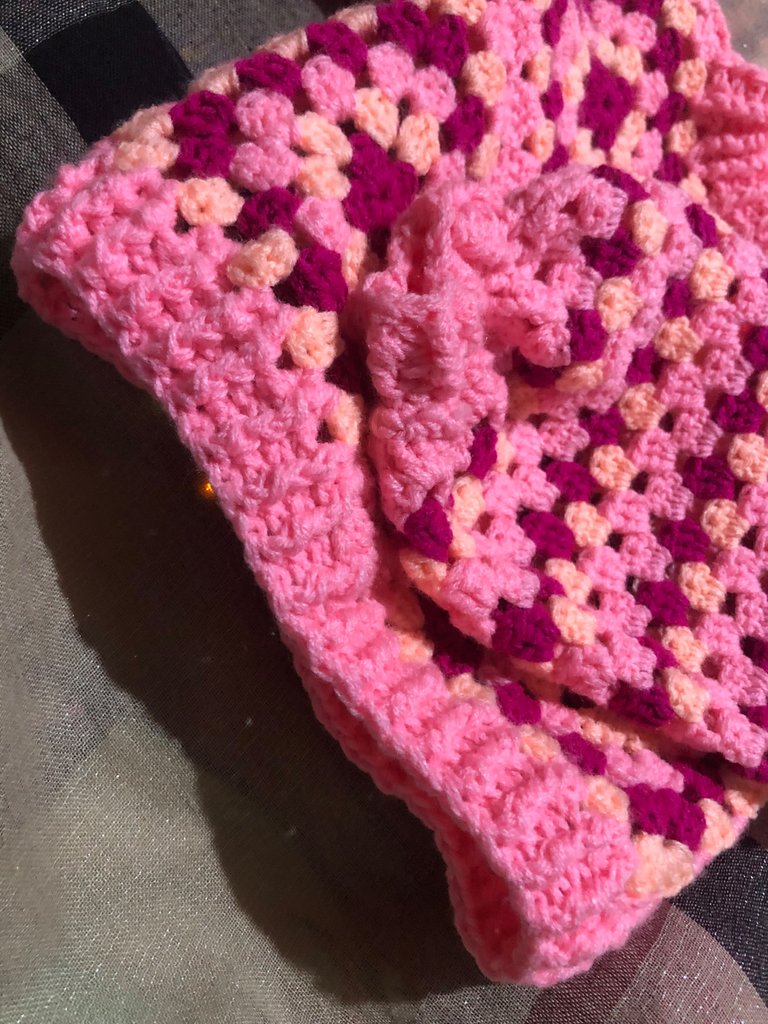
The job was just so fun. Making the tiny squares and always switching it to get this pattern was just the icing on the cake.
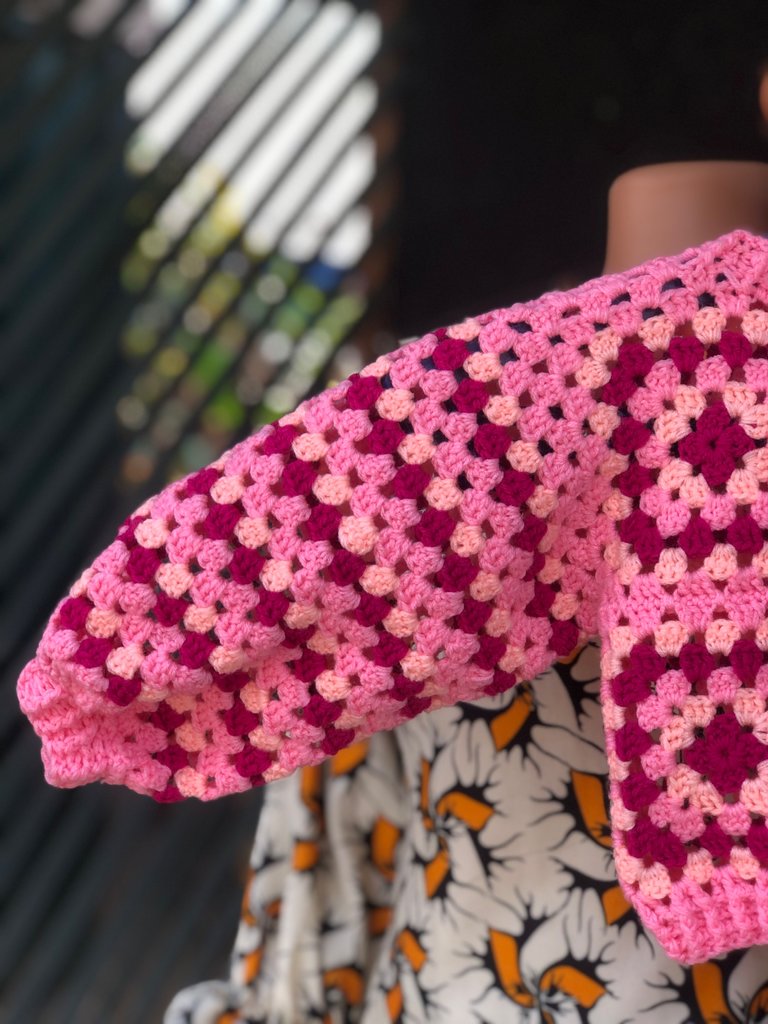
I had to make 8 giant ( not so giant) squares then join them to get the front and back panel.
I made a few rows of granny square stitches for the shoulder so it’ll fit perfectly.
I Joined some parts of the side so I can easily make out the arm whole width or length for the sleeves I wanted to make.
Making the sleeves didn’t seem so hard ( at some point I thought it will be honestly, bear in mind that I have never made this pullover pattern before and I didn’t watch a tutorial or get help too ) (now I’m typing it out seems like it was a bad thing to do hahahaha).
Anyways the color switching made it more fun and anticipating the next color switch made me do this faster than usual because I just couldn’t wait to insert another color to the project. (I know i say this every time but color changing project are a lot of fun)
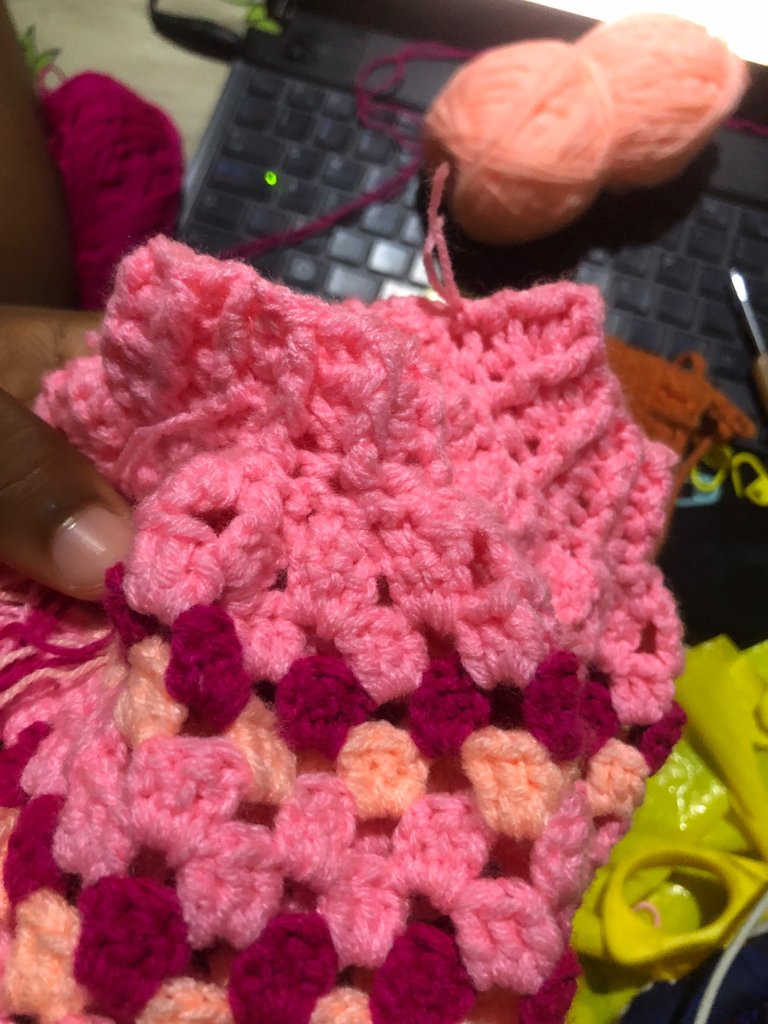
I made this first sleeve then did a duplicate on the other side. I went on to make the base for the sleeves with front post back post double crochet stitch (that is such a long name for one stitch).
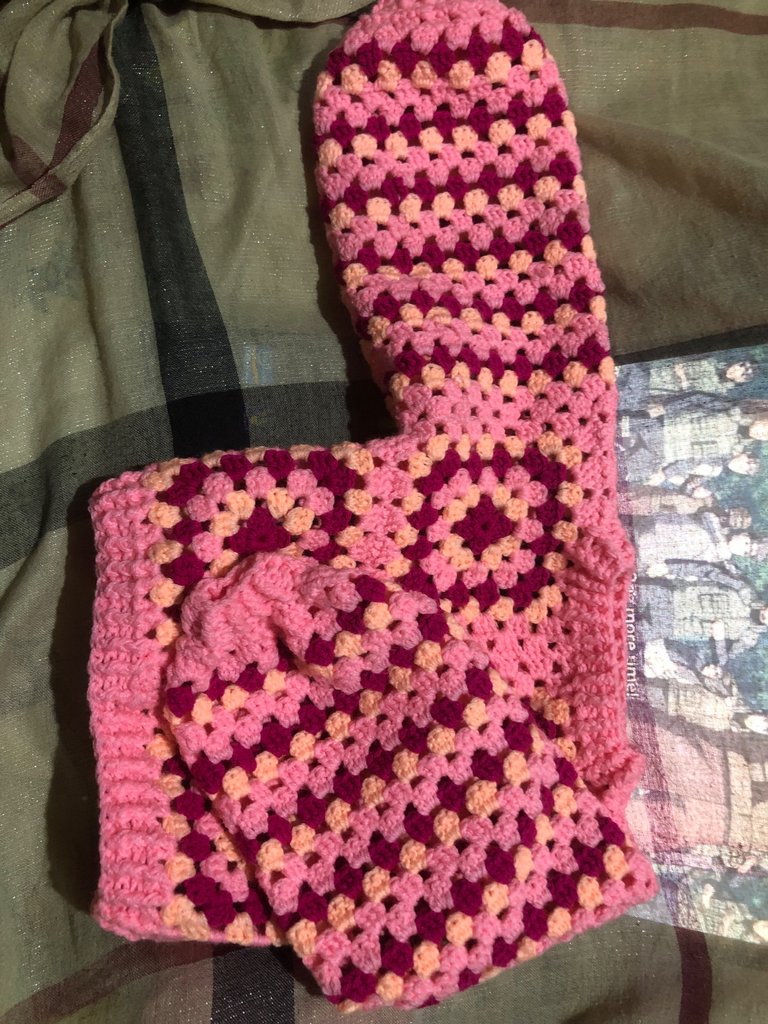
After that it came out the way I wanted so I did it for the other side too.
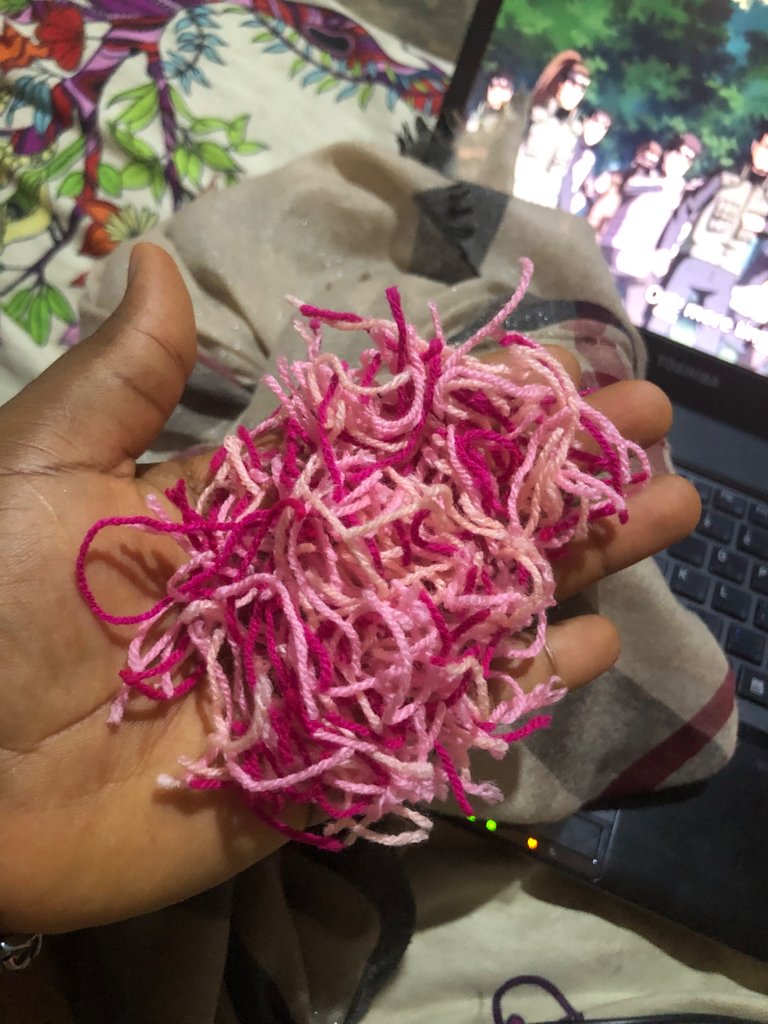
Went on to make the neck thicker with the same stitch. For the last I had to hide and cut the yarn stitching out. Was a whole lot of yarn coming from such a tiny fit.
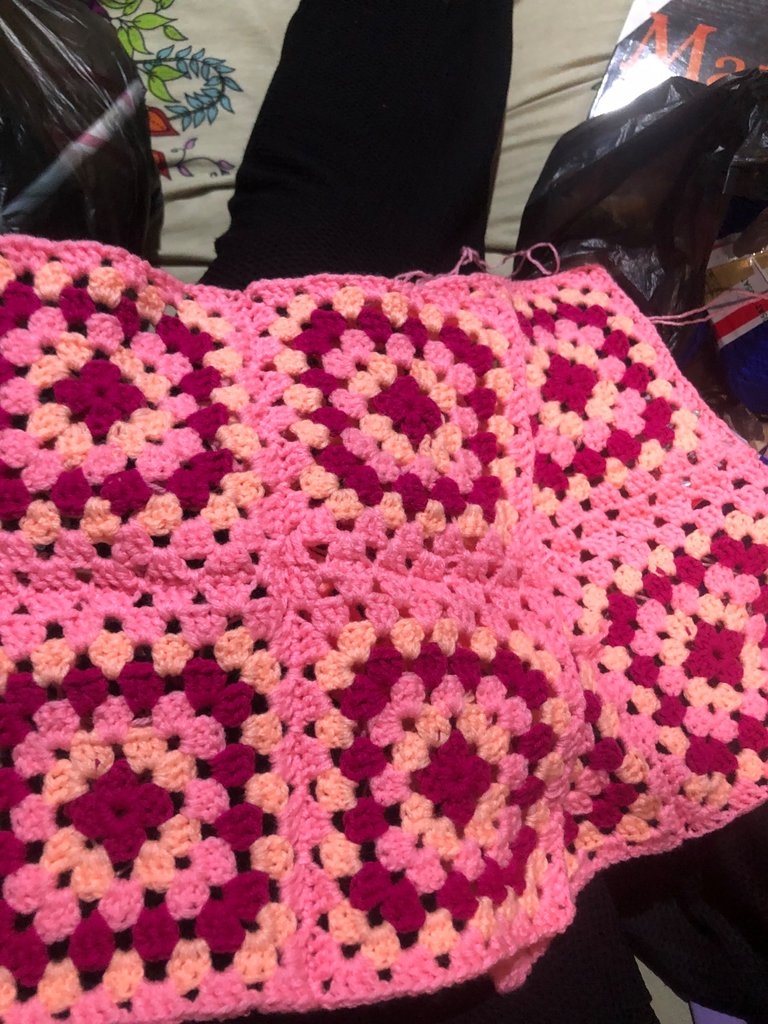
But oh well I finished it up burnt the part that we’re safe to be burnt then took pictures and displayed it.
It looked really pretty and I loved the outcome.
I just had to display it.
Oh I forgot this was for this daughter next one is coming soon.
- 4.0 mm hook for the body
- Stitch markers.
- 8 balls of 40g acrylic yarn
- scissors
- measurement tape
Ps: the pictures used here belong to me and were taken with my mobile phone.


