#needlework
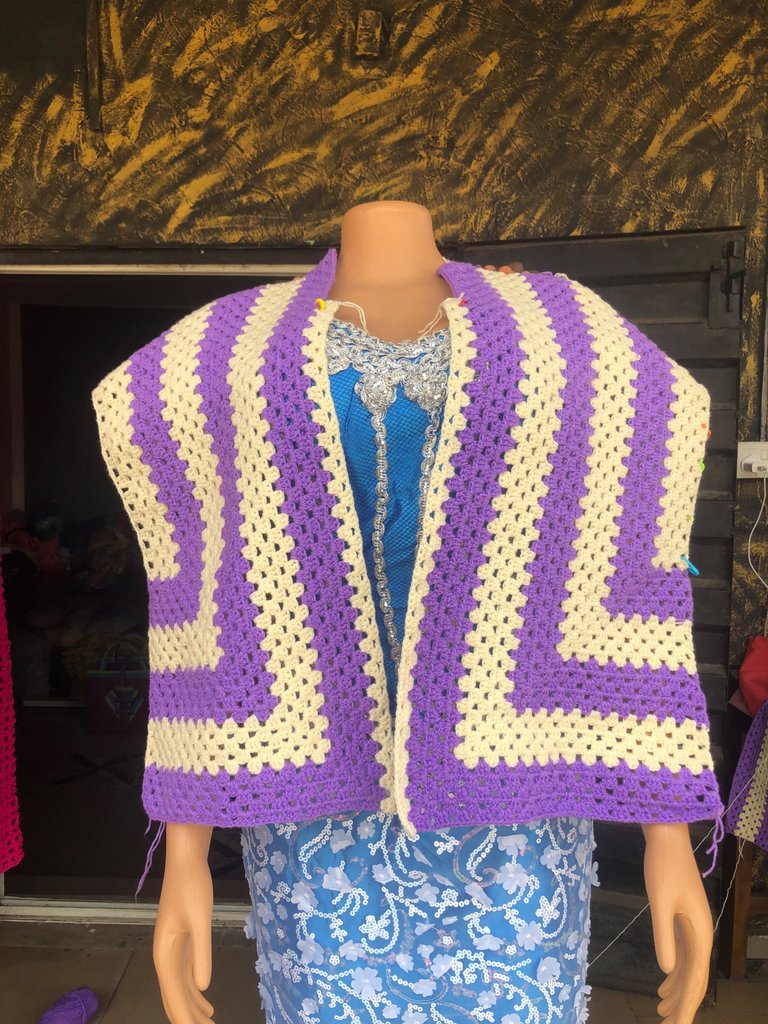
Hey guyssss I hope everyone is okay. Hope you are having a productive day. So I have been hoarding this for a while and yeah it time to show you …(drum rolls please…) KUNTA!!!
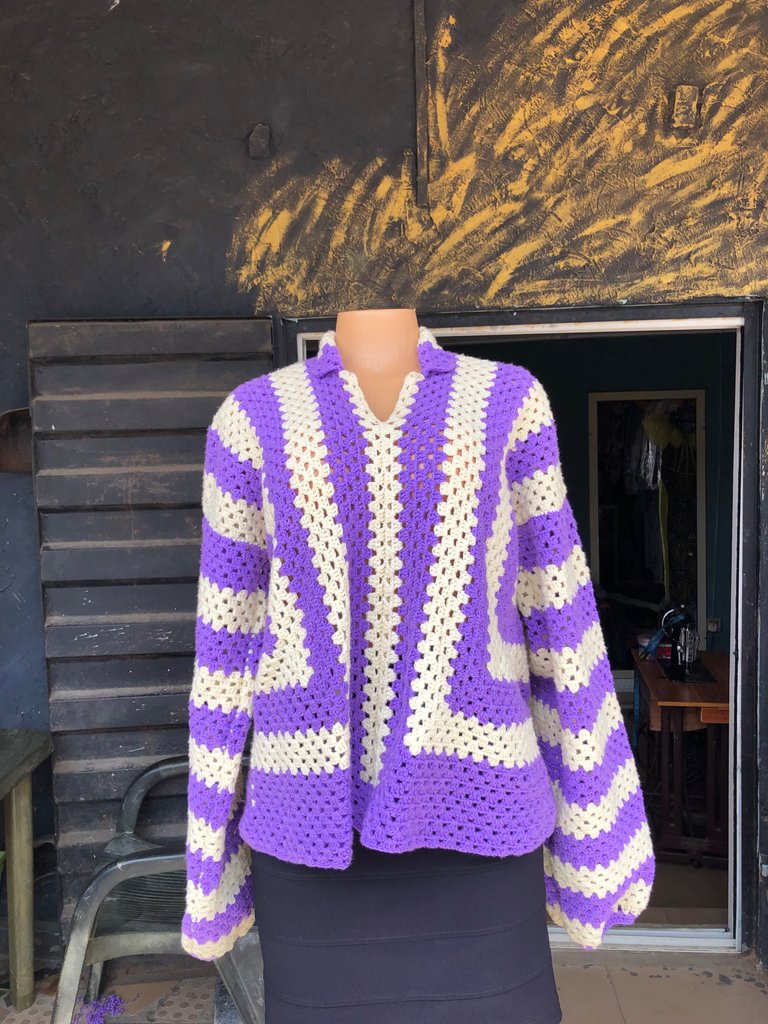
I am so excited to show and share the story behind this with you all because I loved every bit of this and would love to tell you all the ups and ups of making this beautiful dual colored pullover.
First off this client came from my snap. I post most of my work there too.
I got a random text ( just a casual hello) and when we finished exchanging pleasantries he said he wanted to place an order for a shirt and sent a sample of it.
What he sent was actually knit wear and most people mistake it for crochet.
I explained that to him and he was stunned.
He went on to ask if I could send samples of crochet shirts so he can easily pick from that and wouldn’t have to inconvenience me by sending knitwear
That was a really nice thing to do. He was really thoughtful actually.
I sent the pictures and he picked this pattern.
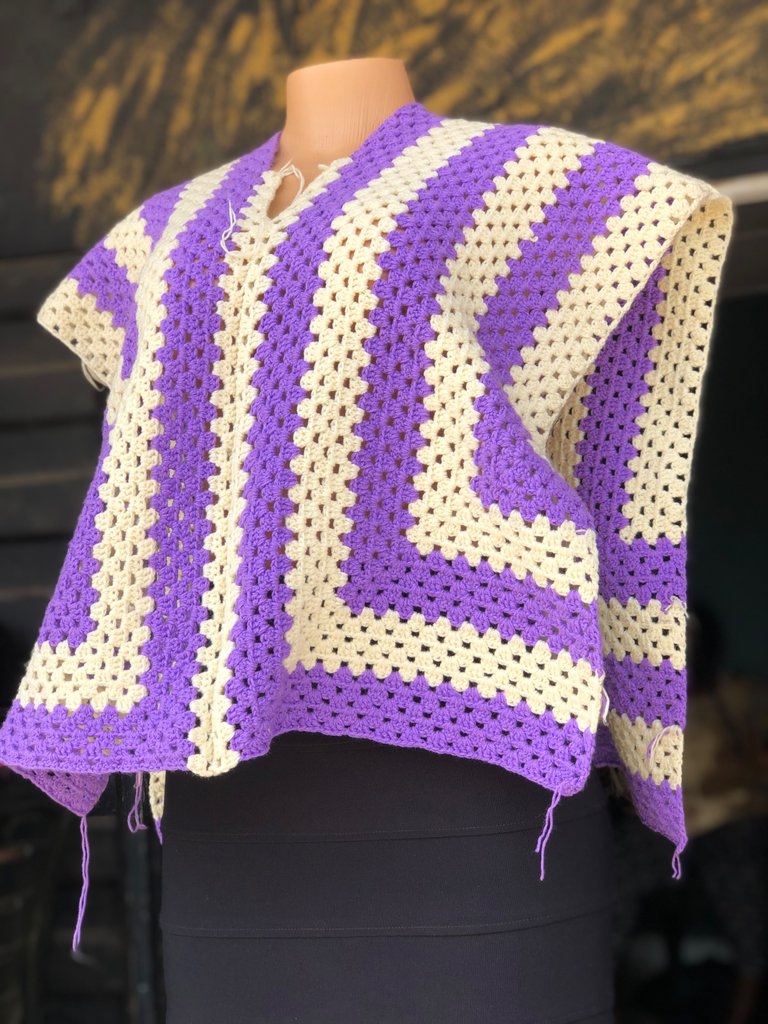
The original picture was a short sleeved shirt so he said he wanted it longer and that he was not really a fan of short sleeved outfits.
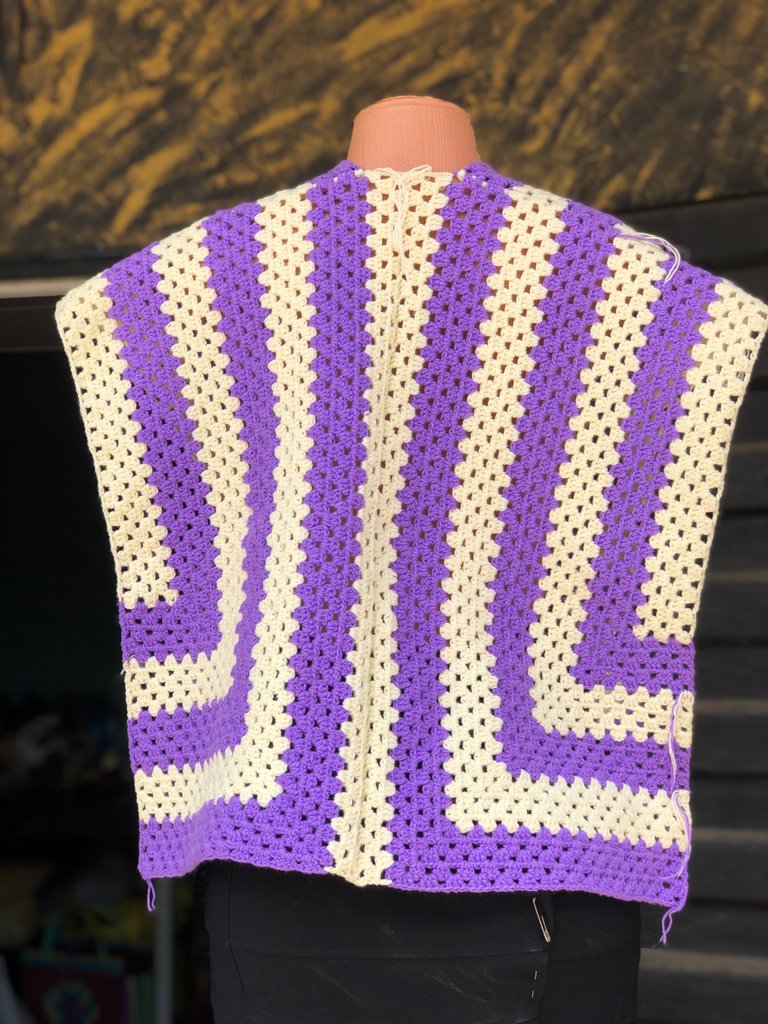
When I got this order I confused it for a hexagon granny stitch shirt and then I had to stare again it was not it.
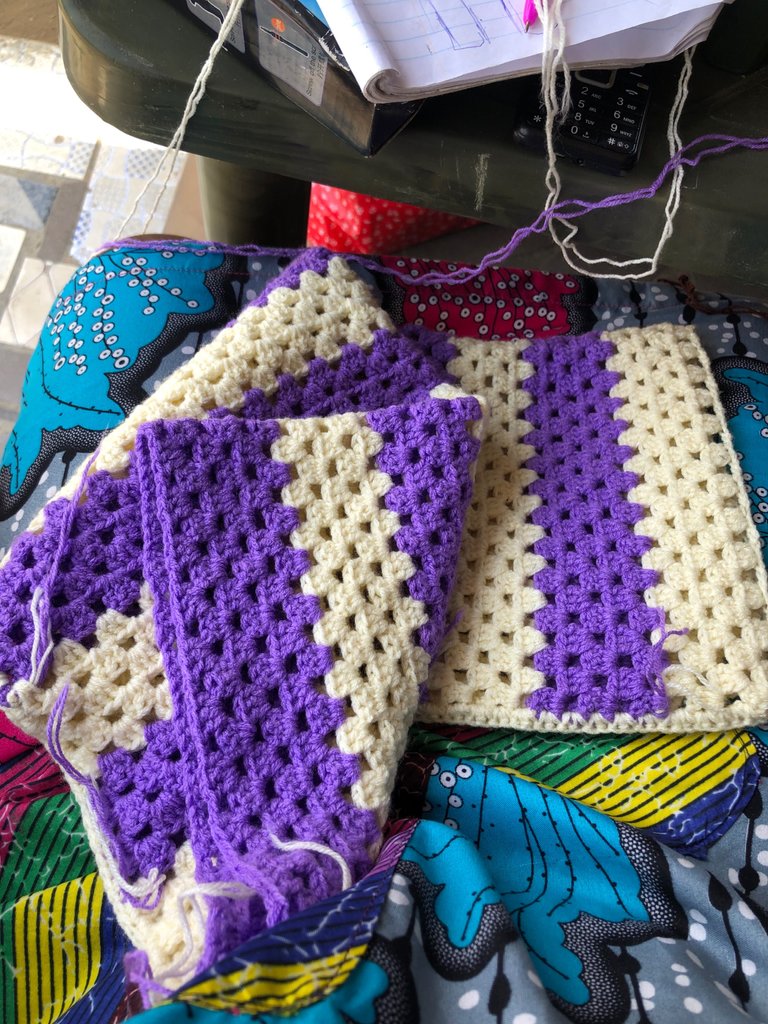
I tried to decipher how it was made and when I got it I voiced easy peasy (😂)
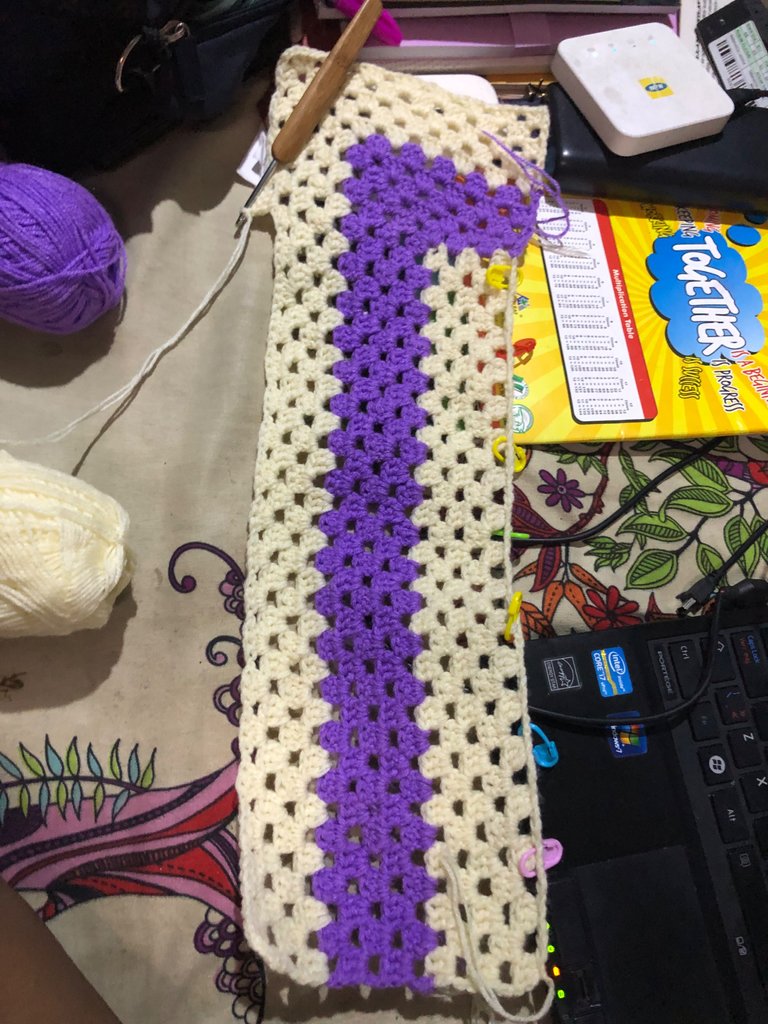
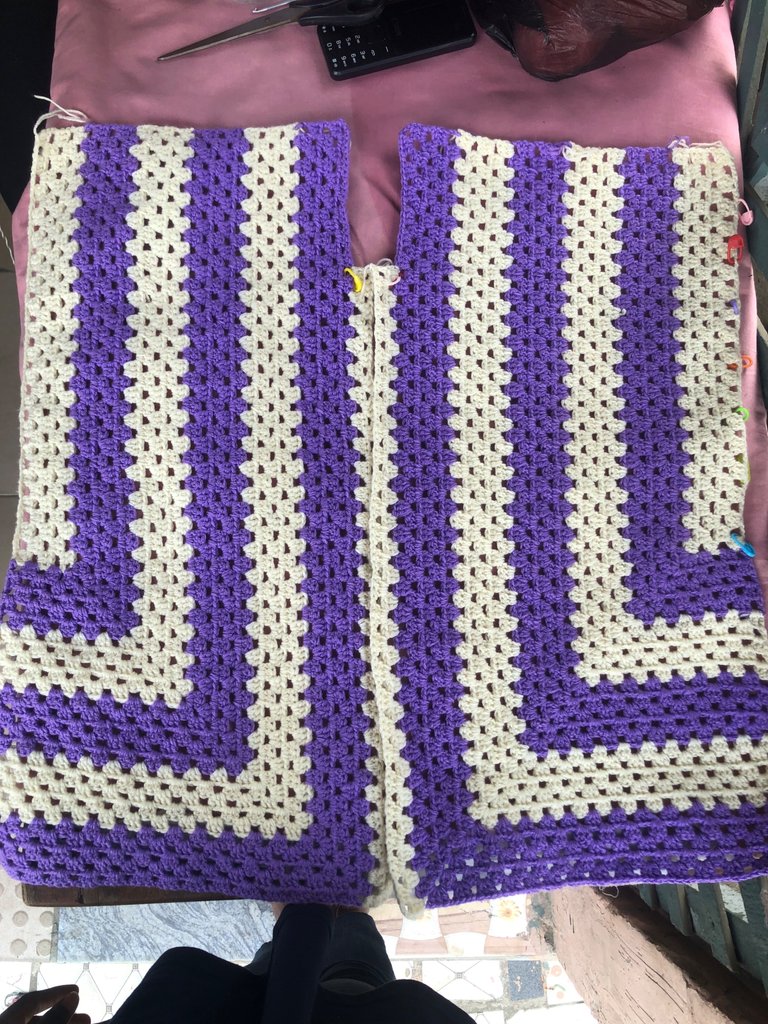
I started making the front panels first because to me I felt that was going to be the hardest part.
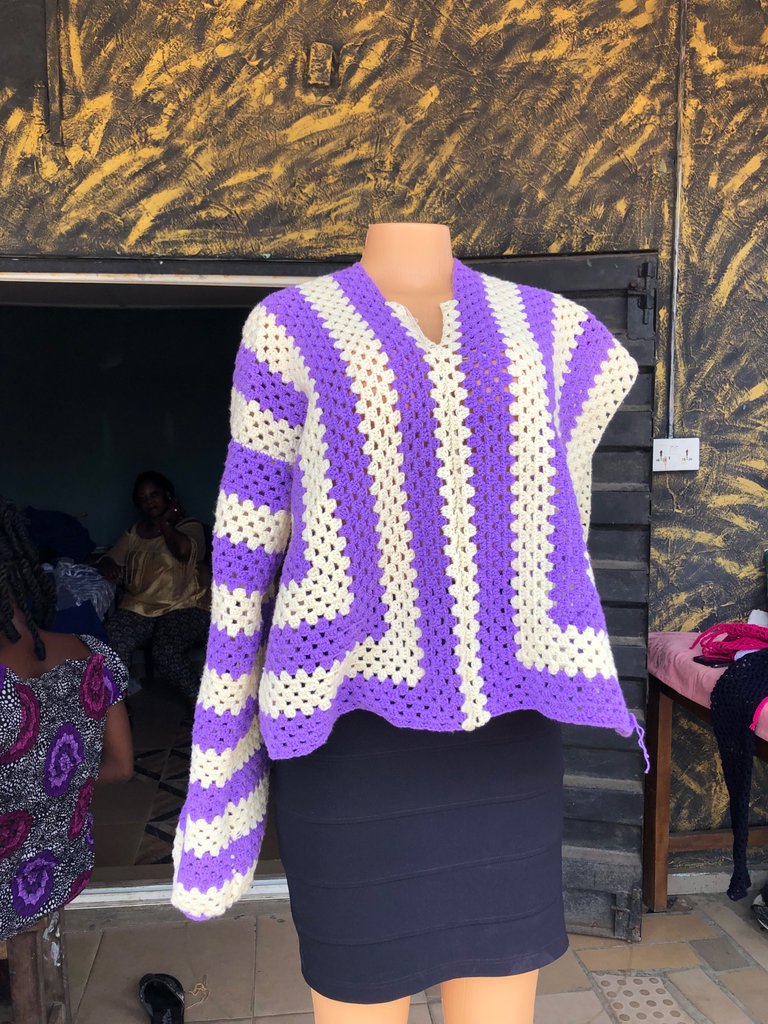
Which was a lie, no part of this was stressful.
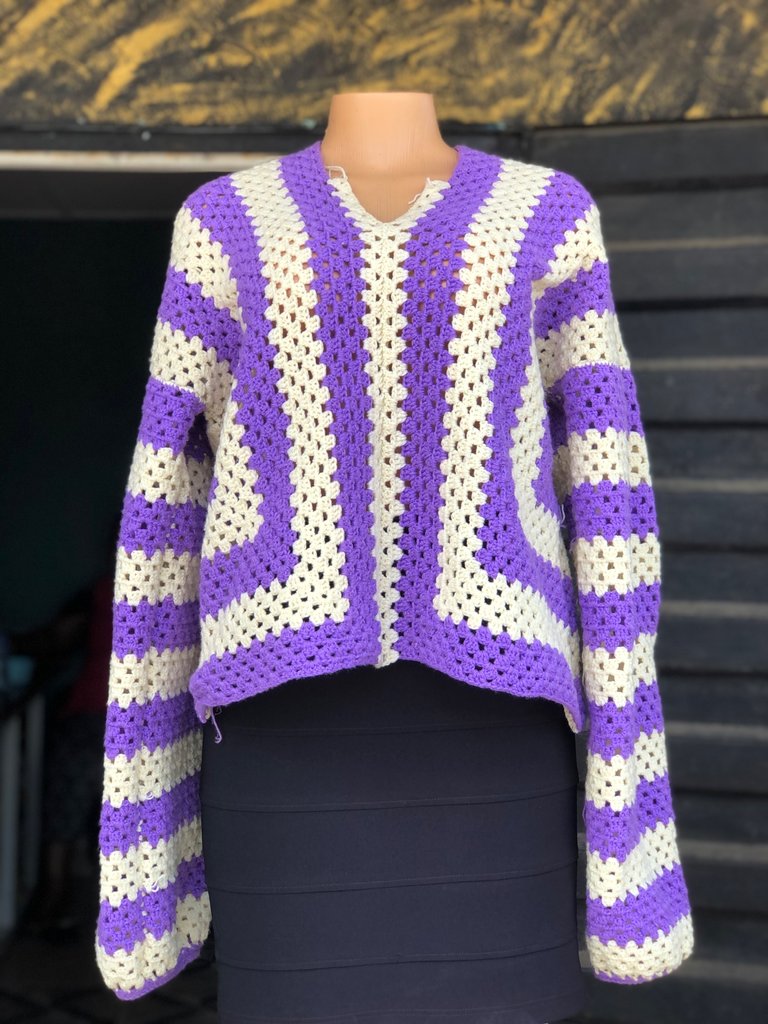
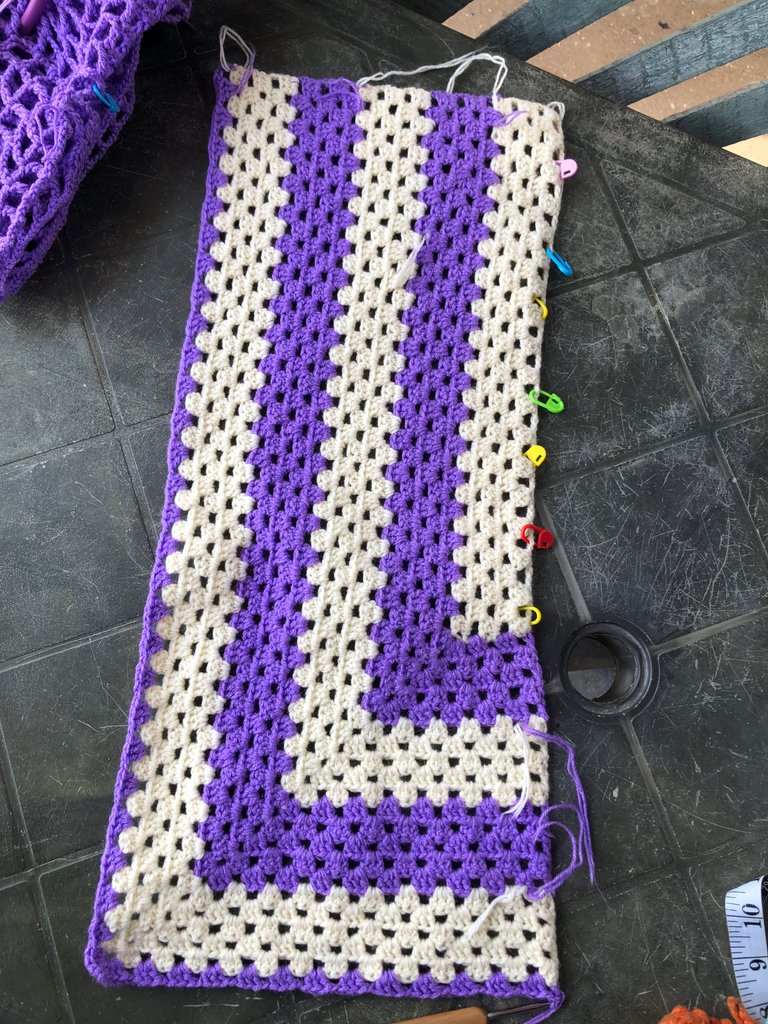
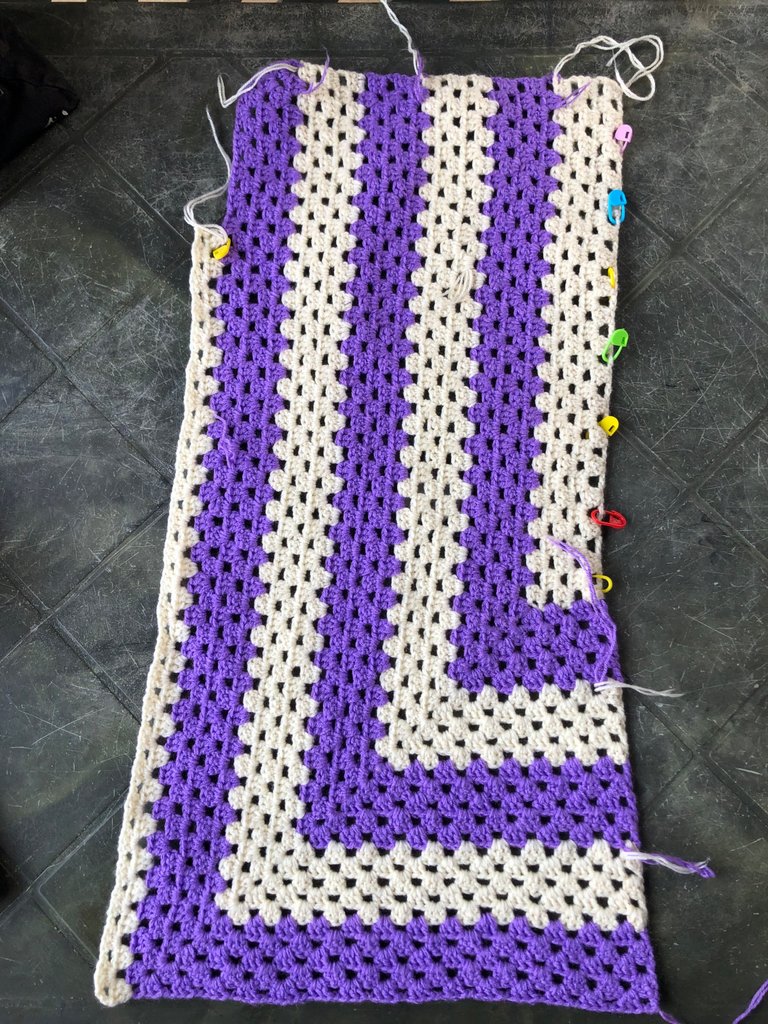
When I finished with the front panels I went on to the back which was funnnnn, I had to make more rows so I can keep accurate space for the neck.
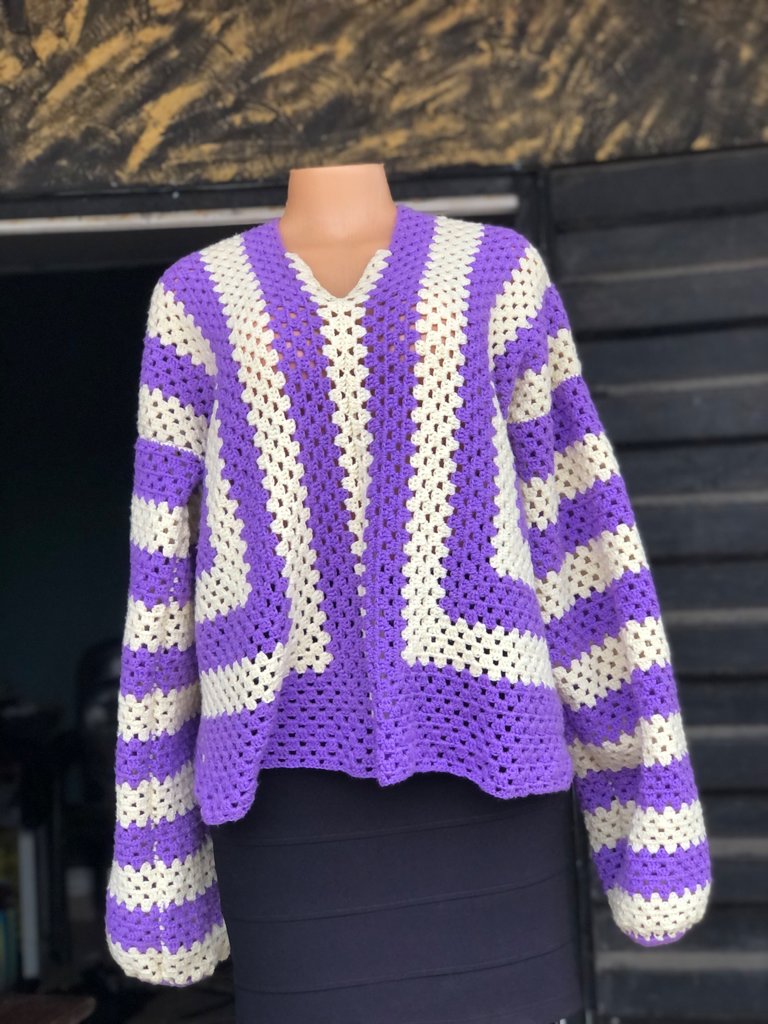
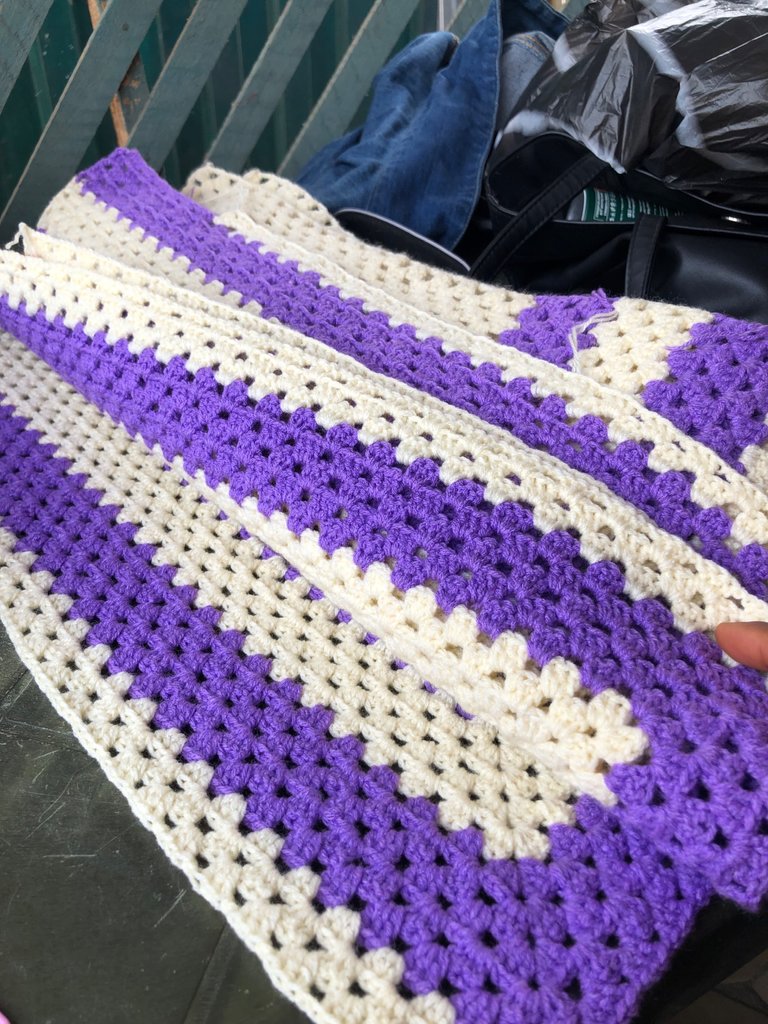
Making the hands was really fun. Just switching colors for the different rows and it was amazing. I genuinely had a lot of fun doing this part.
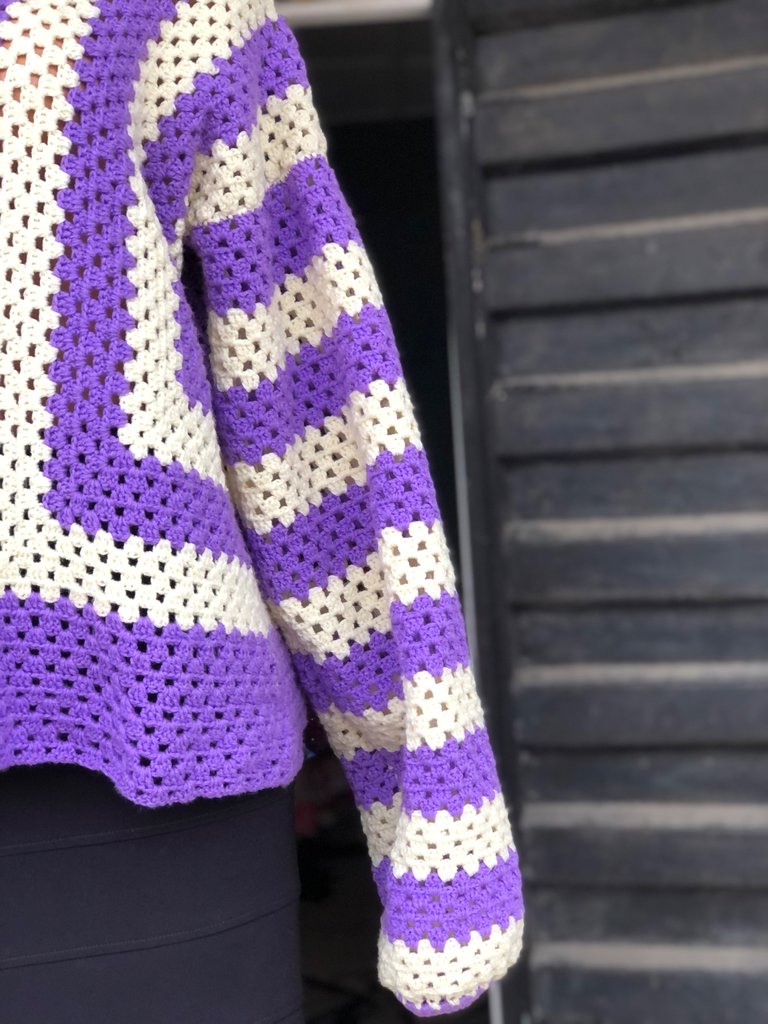
Then came joining the pieces together. I had to do the front panels first. Then the back panels. Then adding the front and back. I made the sleeves differently though.
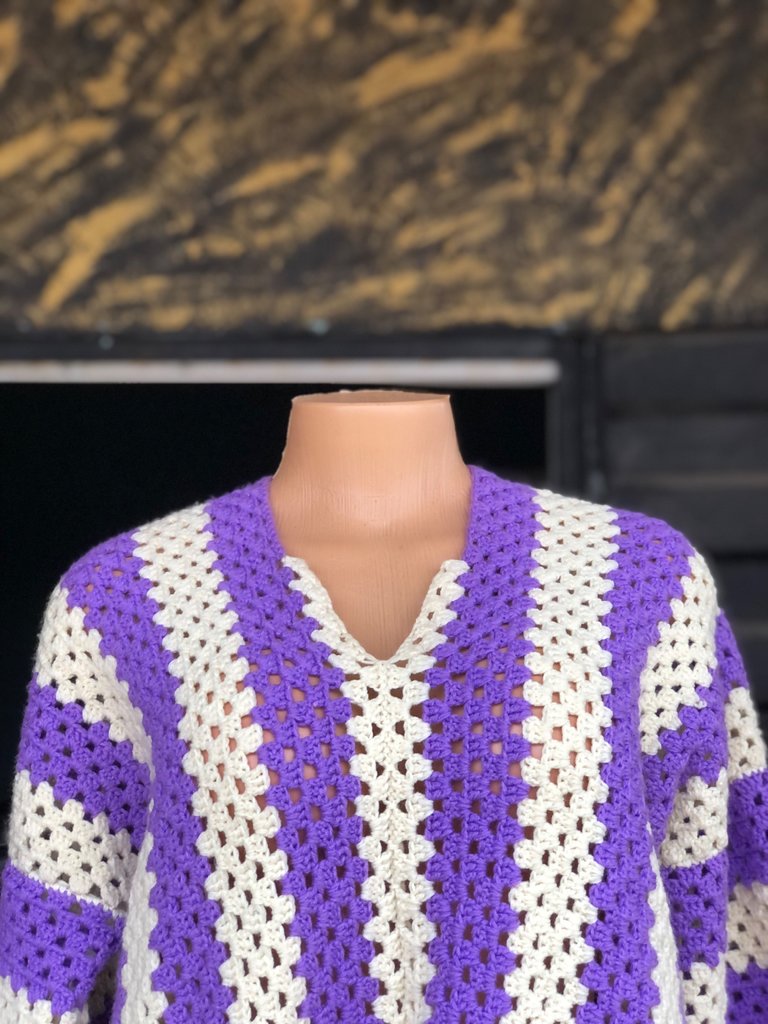
Had to do the first to be very sure of the look then I joined it and attached it to the shirt. Next one I did it and repeated the same process I did with the first sleeve.

When I finished it looked too short to me so I had to add a few rows of purple beneath before I went on to the next thing which was the collar.
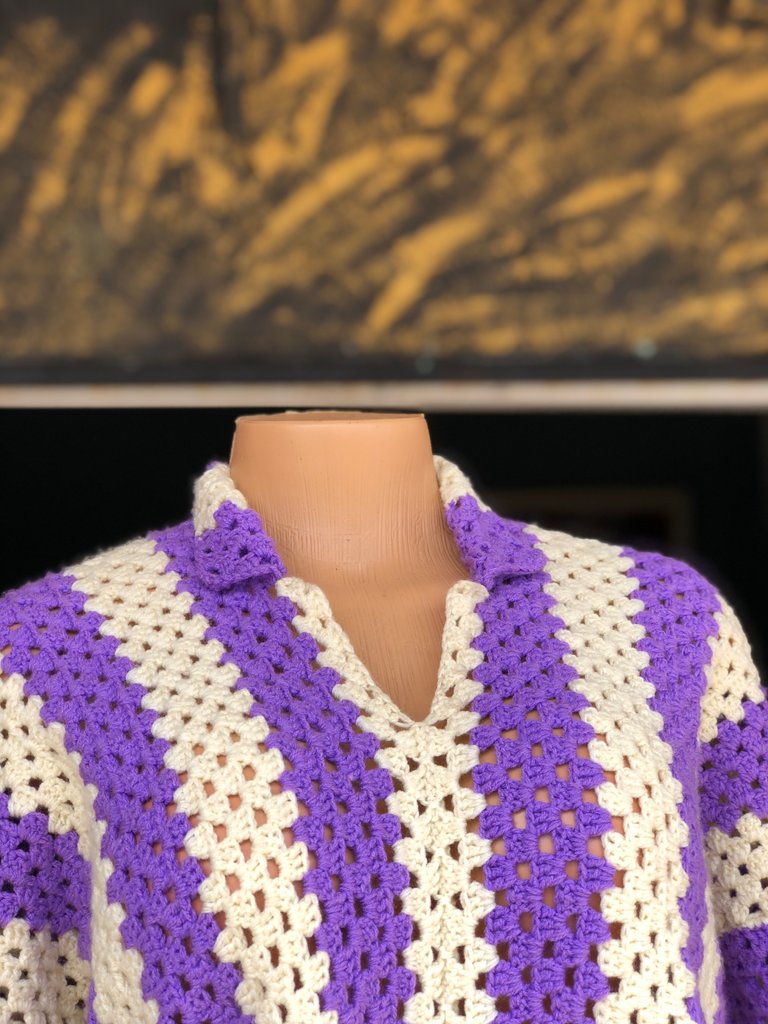
Had to follow a specific pattern for this one so I still switched colors and then I finished I had to hide the yarn that was sticking out from everywhere then cut it
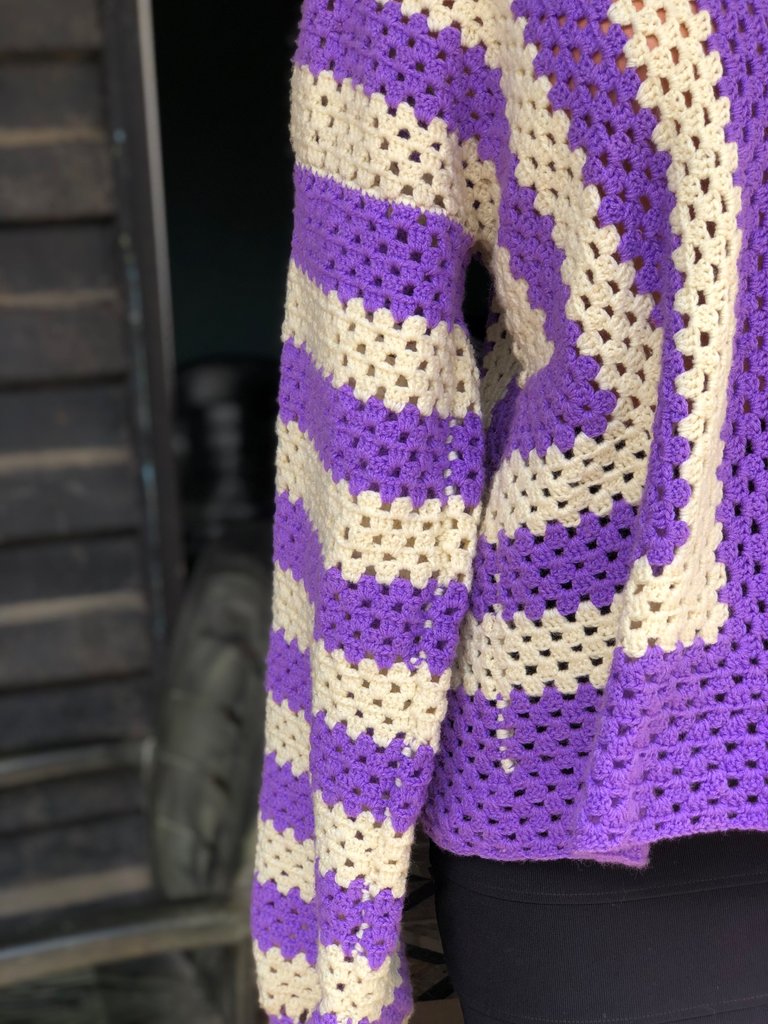
Changing colors in a uniform manner
Things i used to make this:
*3.5 ‘mm hook fort the skirt
**scissors
*darning needle for the loop
*16 ball of 40g yarn
*stitch markers
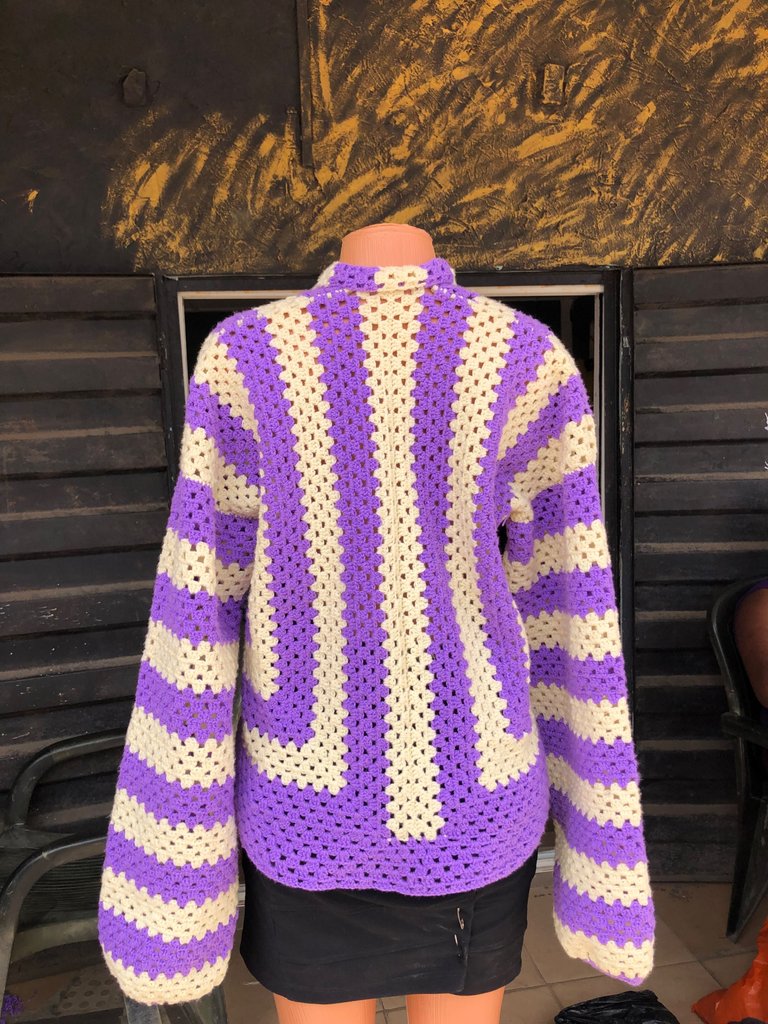
PS: the images above belong to me and were taken with my mobile device
