Last week, I got an order to make a three piece beach set for a lady. A few days back, I shared the first part of the three piece project featuring the bikini bottom which you can find here. Today, I would be sharing with the community the second piece which is a crochet bralette.
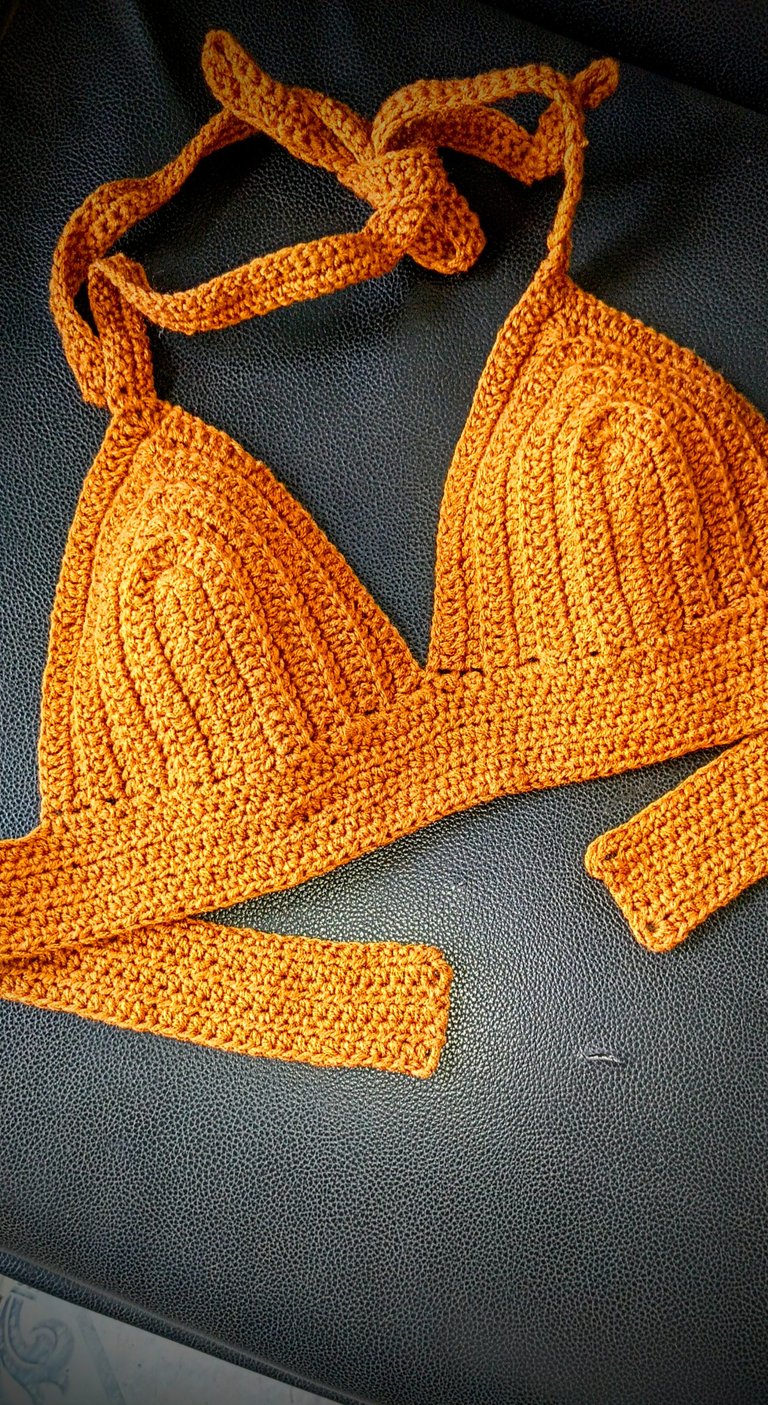
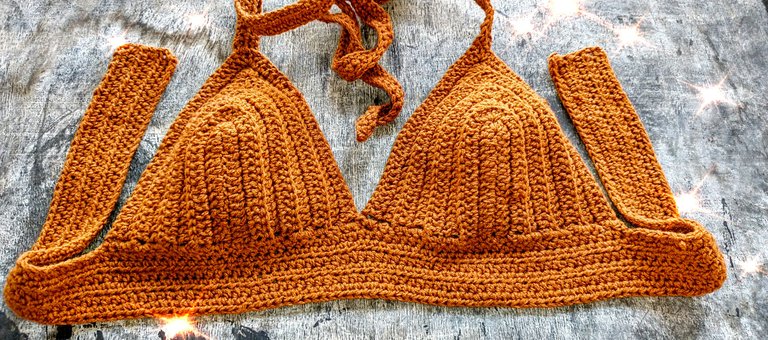
This crochet bralette is made in different segments and at the end of the day, all the segments are coupled together to form a whole bralette.
Making this particular bralette wasn't such a hard task for me because a few months ago, I made a crochet dress from a crochet bralette and believe me when I say that the bralette was the easiest part of that entire dress.

Materials Needed
- Crochet yarn
- Stitch markers
- 4.0mm crochet hook
- Tape measure
- A pair of scissors
- Darning needle

Procedure
First off, I took the necessary measurements from the client. Just this week alone, so many people have asked me if I actually take measurements while making my projects or I just do abracadabra. This question in itself is a funny one but I still spend time explaining to curious individuals that yes, I indeed take measurements while making crochet crafts for clients.
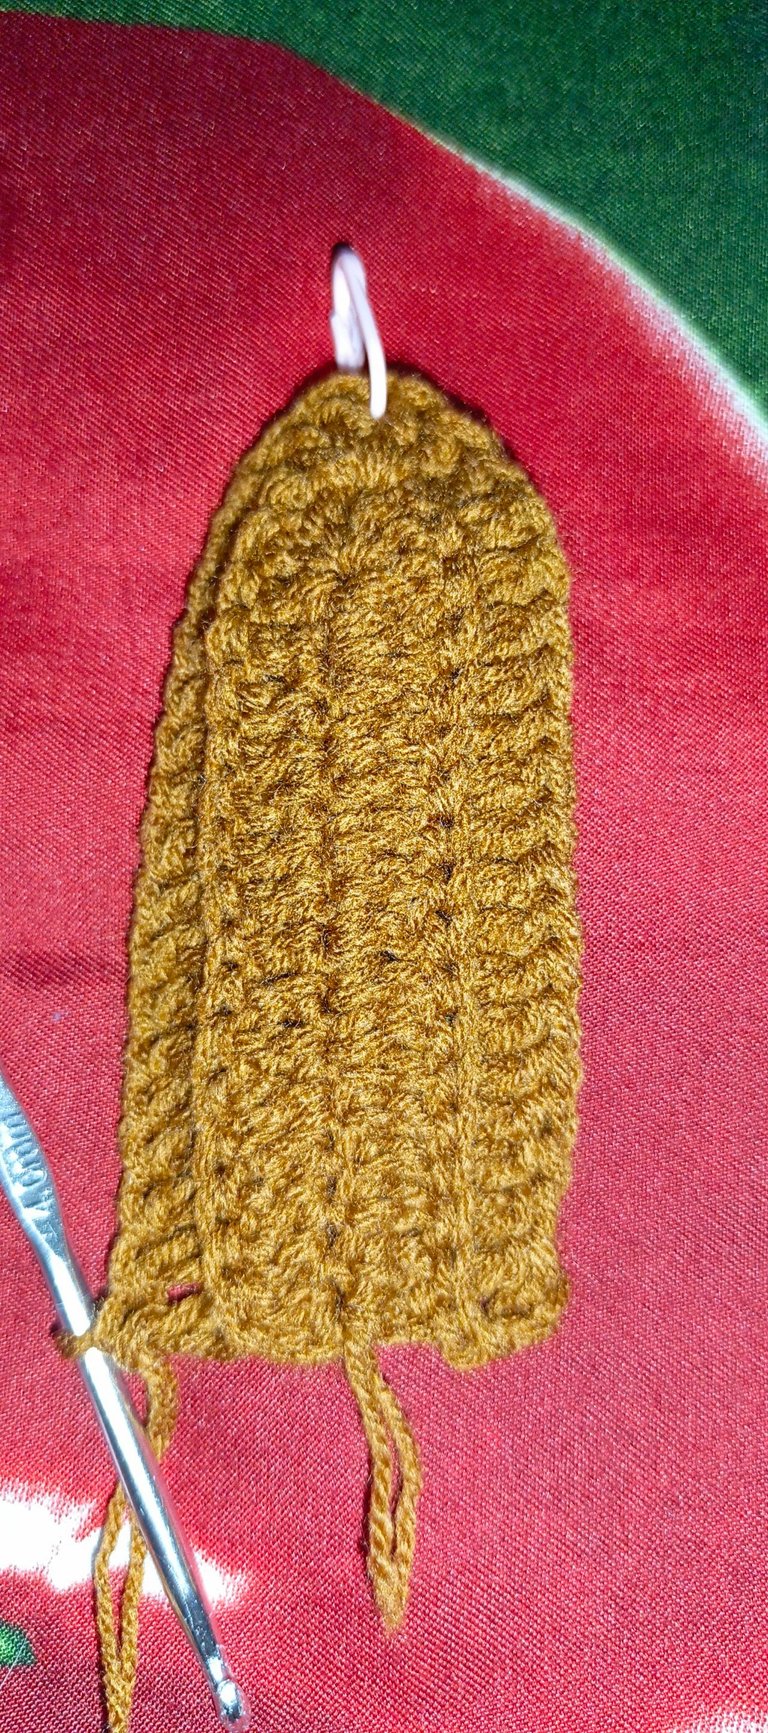
The next thing I did was to make a chain of eleven plus three stitches. With the three extra stitches used as the turning stitch, I went ahead to begin making double crochet stitches into the eleven chains I just made.
At the end of the row, I made an increase of three and from there on, I worked on the other side of the same initial chain of eleven. This counted as my row one.
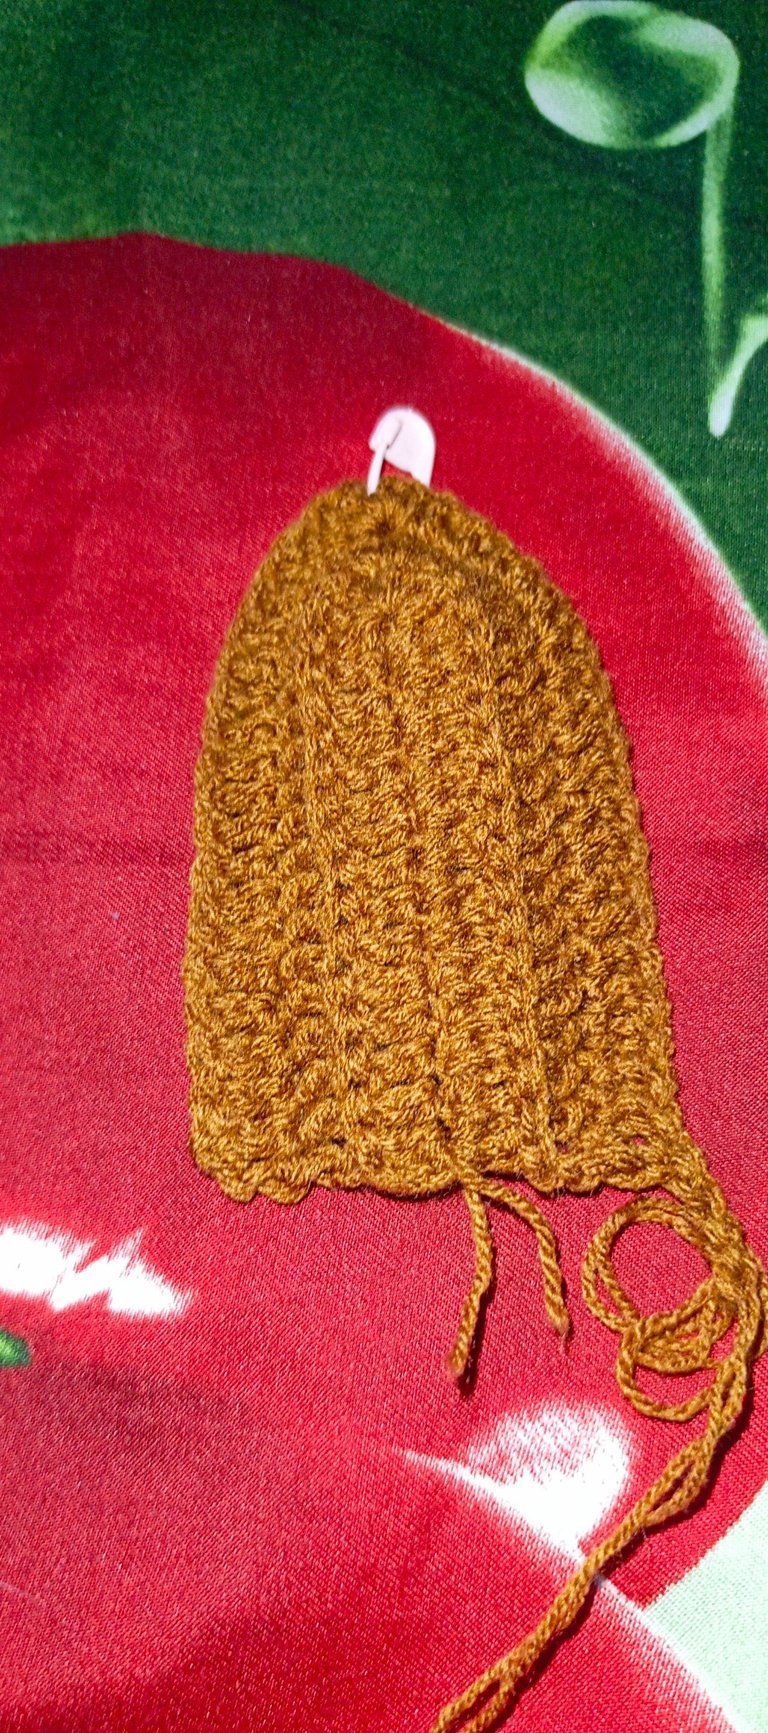
Once I reached the end of row one, I made a chain of two and went ahead to make double crochet stitches again. At the peak of the row where I made an initial increase of three, I make two double crochet stitches, chain two and make two more double crochet stitches into the same space. I ensured I marked the peak at every time to avoid making mistakes.
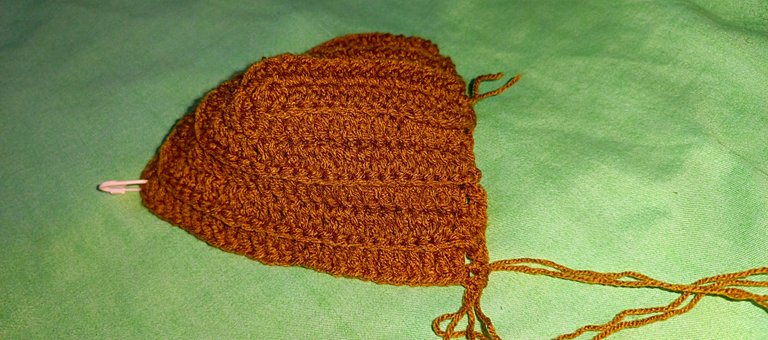
I continued making more rows with the same pattern; only making increases at the apex of the bralette cups. Once I got the desired width, I fastened off and went ahead to make a replica of the same bralette cup.
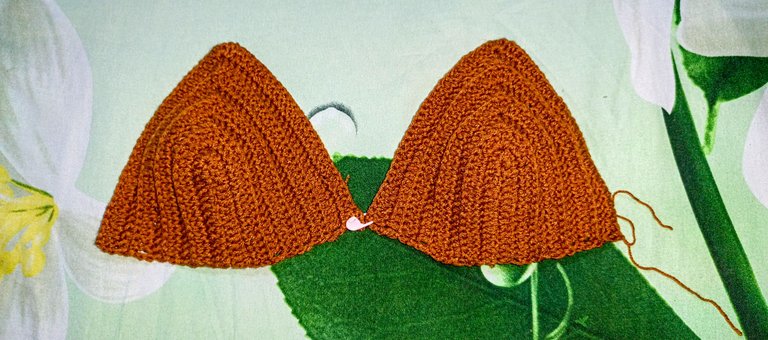
Once I got two bralette cups, it was time to couple them both and then begin the next phase of the project. With the aid of stitch markers, I joined the cups just to make sure there weren't any mistakes.
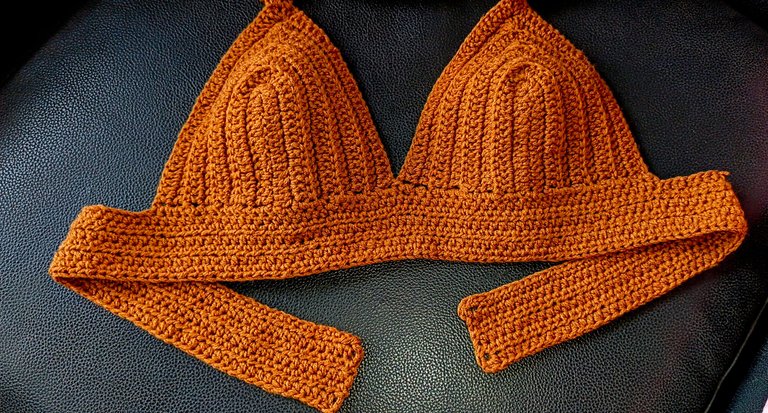
With that, I went ahead to make a band for the bralette using half double crochet stitches.
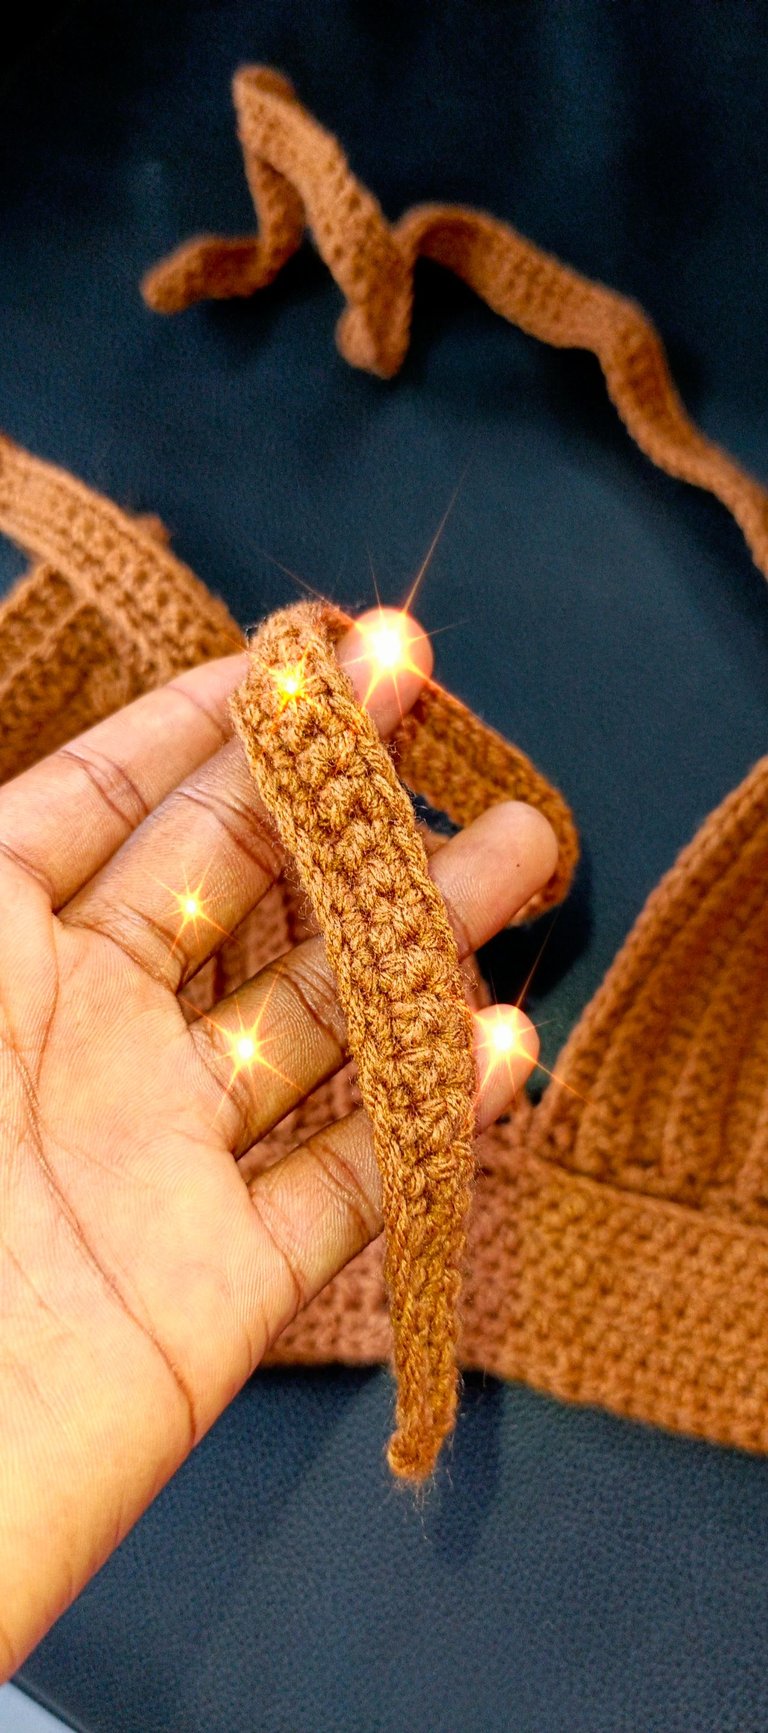
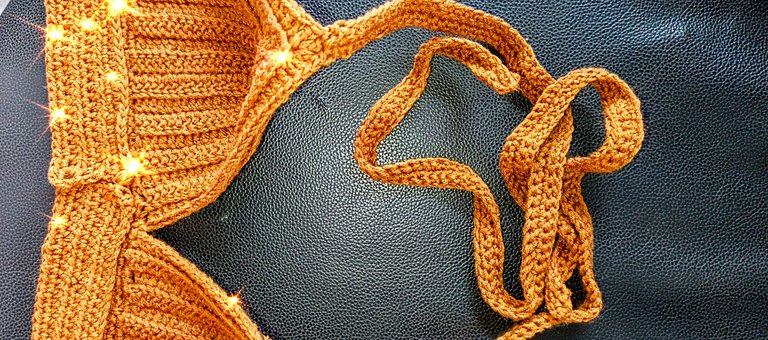
Once I finished with the bands, I went ahead to make the ropes or straps, if you will. These straps can either be tied round the neck, or put through the little holes I made on the band.
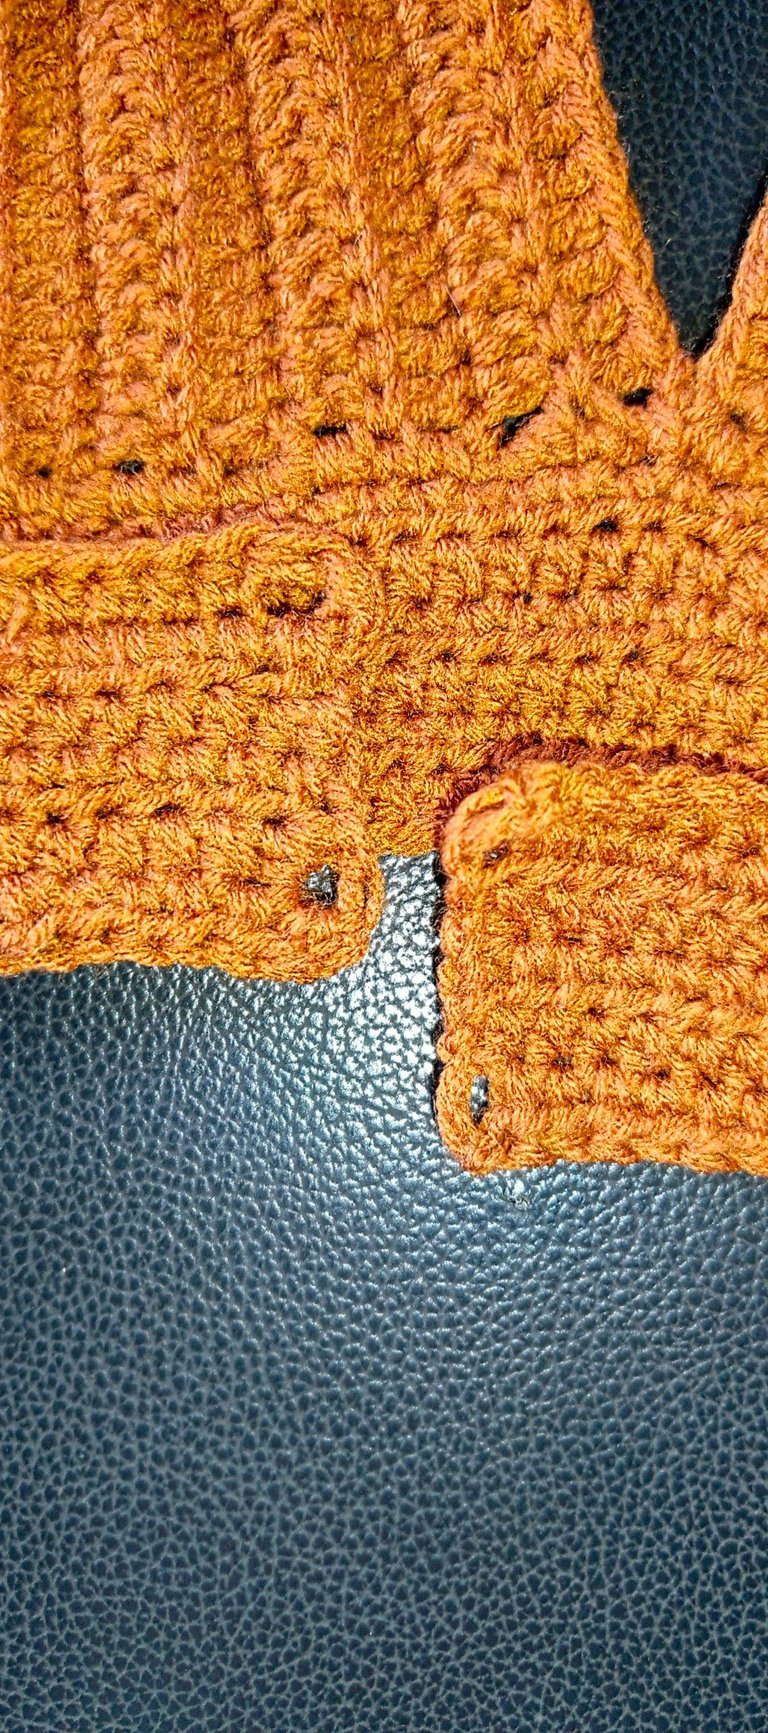
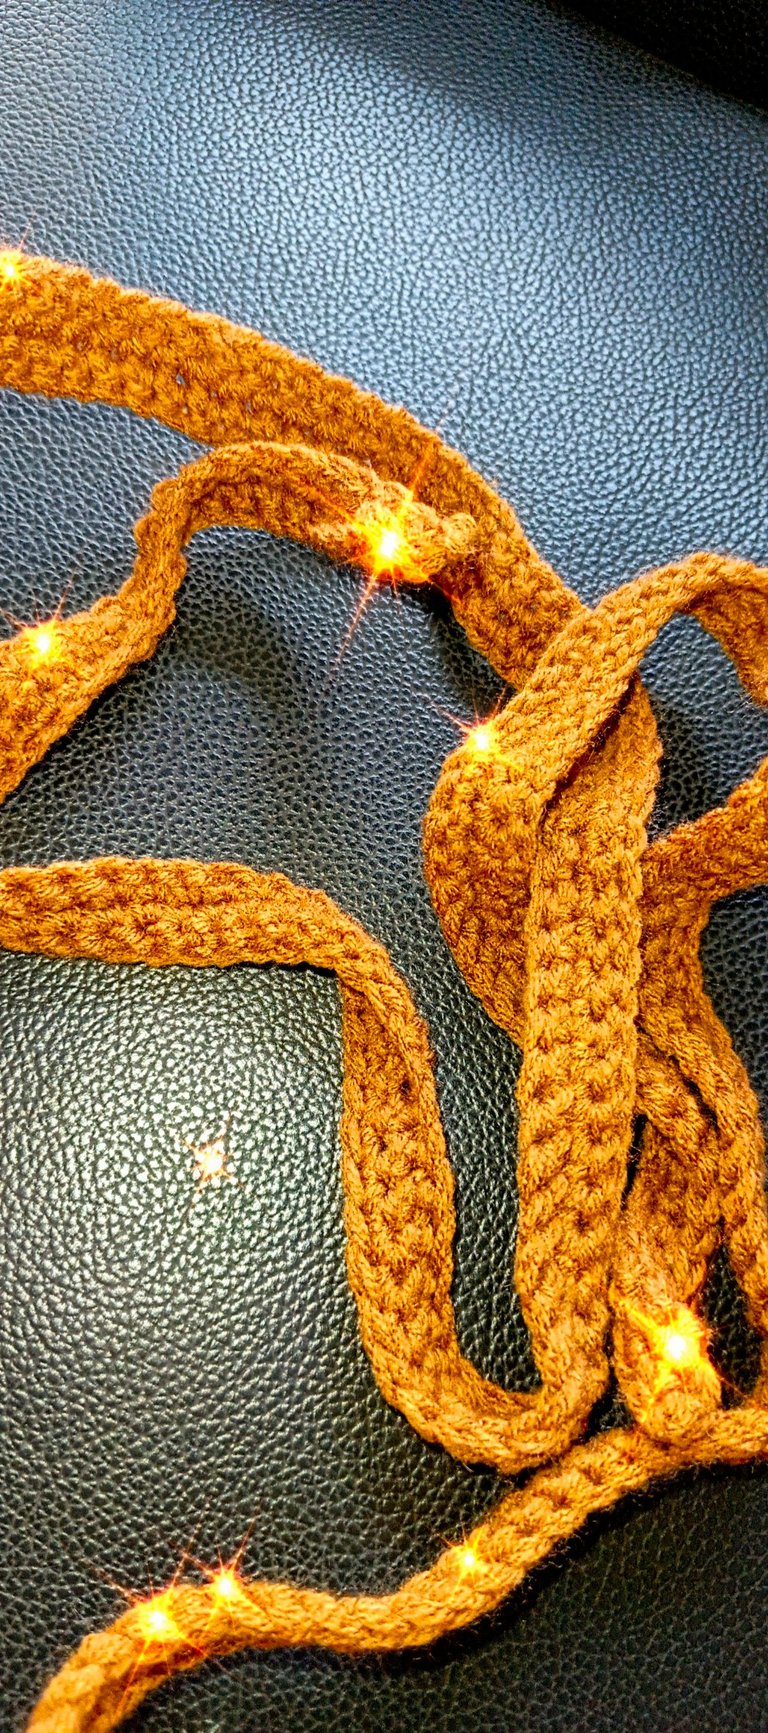
The straps brought me to the end of the project. This bralette took about five hours from start to completion and I'm really glad about how it turned out.
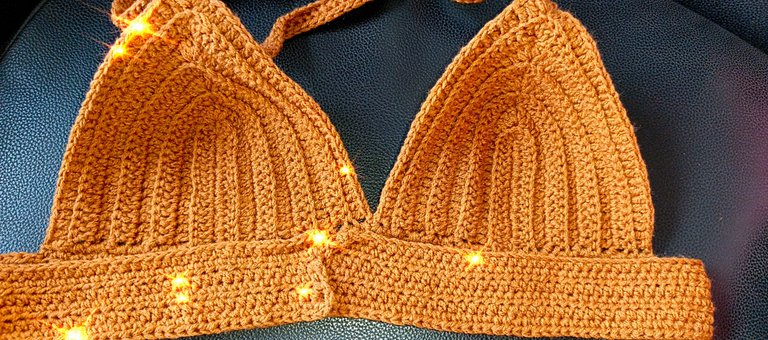
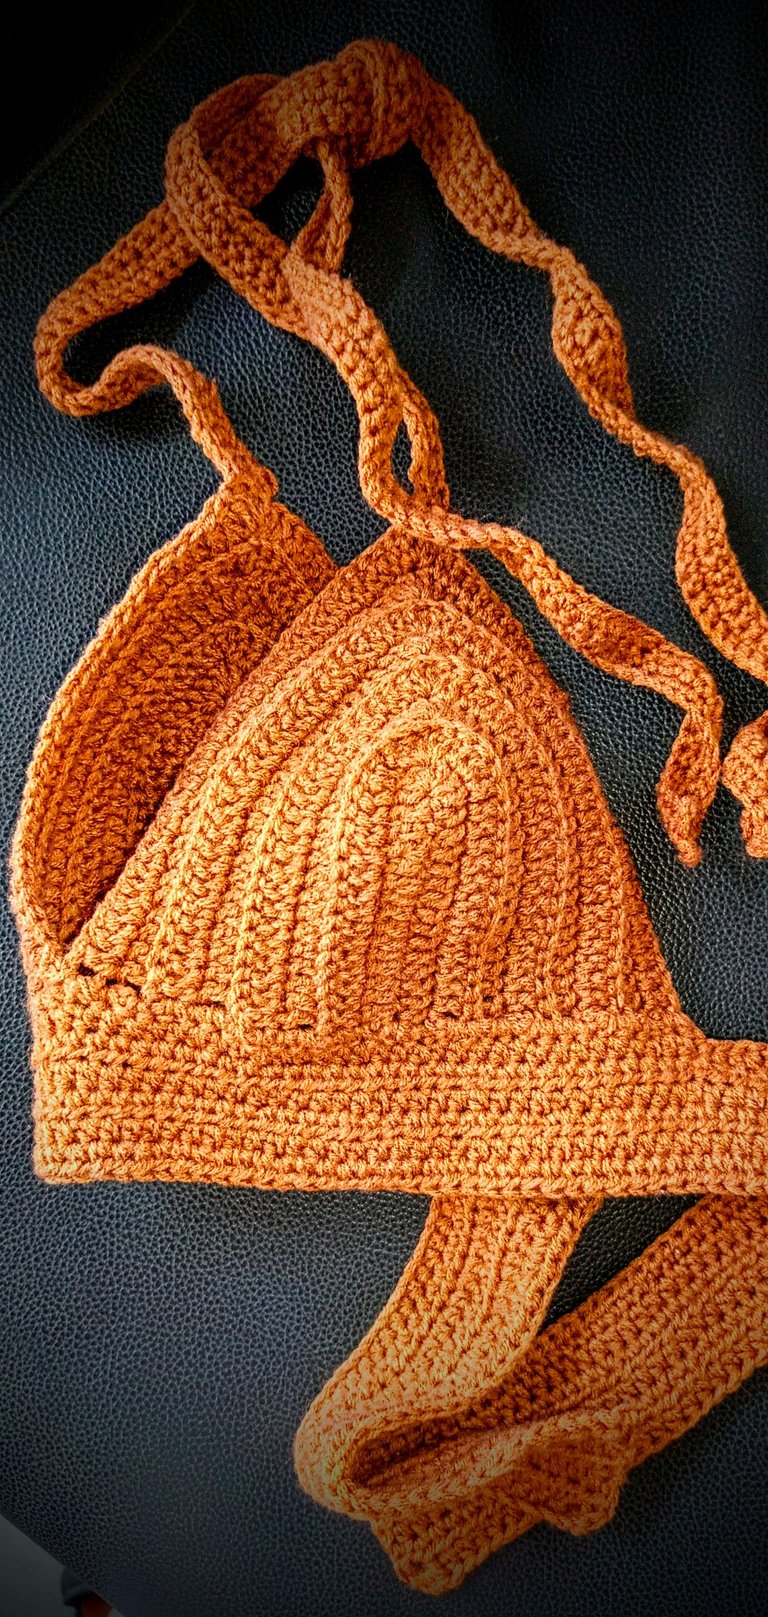
What do you think of the second piece of the beach set?
All images used belong to me and were taken with my mobile device except stated otherwise.
Liebe🤍
Posted Using InLeo Alpha

 )
)